How to Crochet for Beginners: A Step-by-Step Guide
Learn to crochet from scratch: what to buy, how to hold the hook and yarn, the slip knot, the chain, single crochet and finishing, with fixes for common beginner mistakes.
By AlixaPublished 11 min read
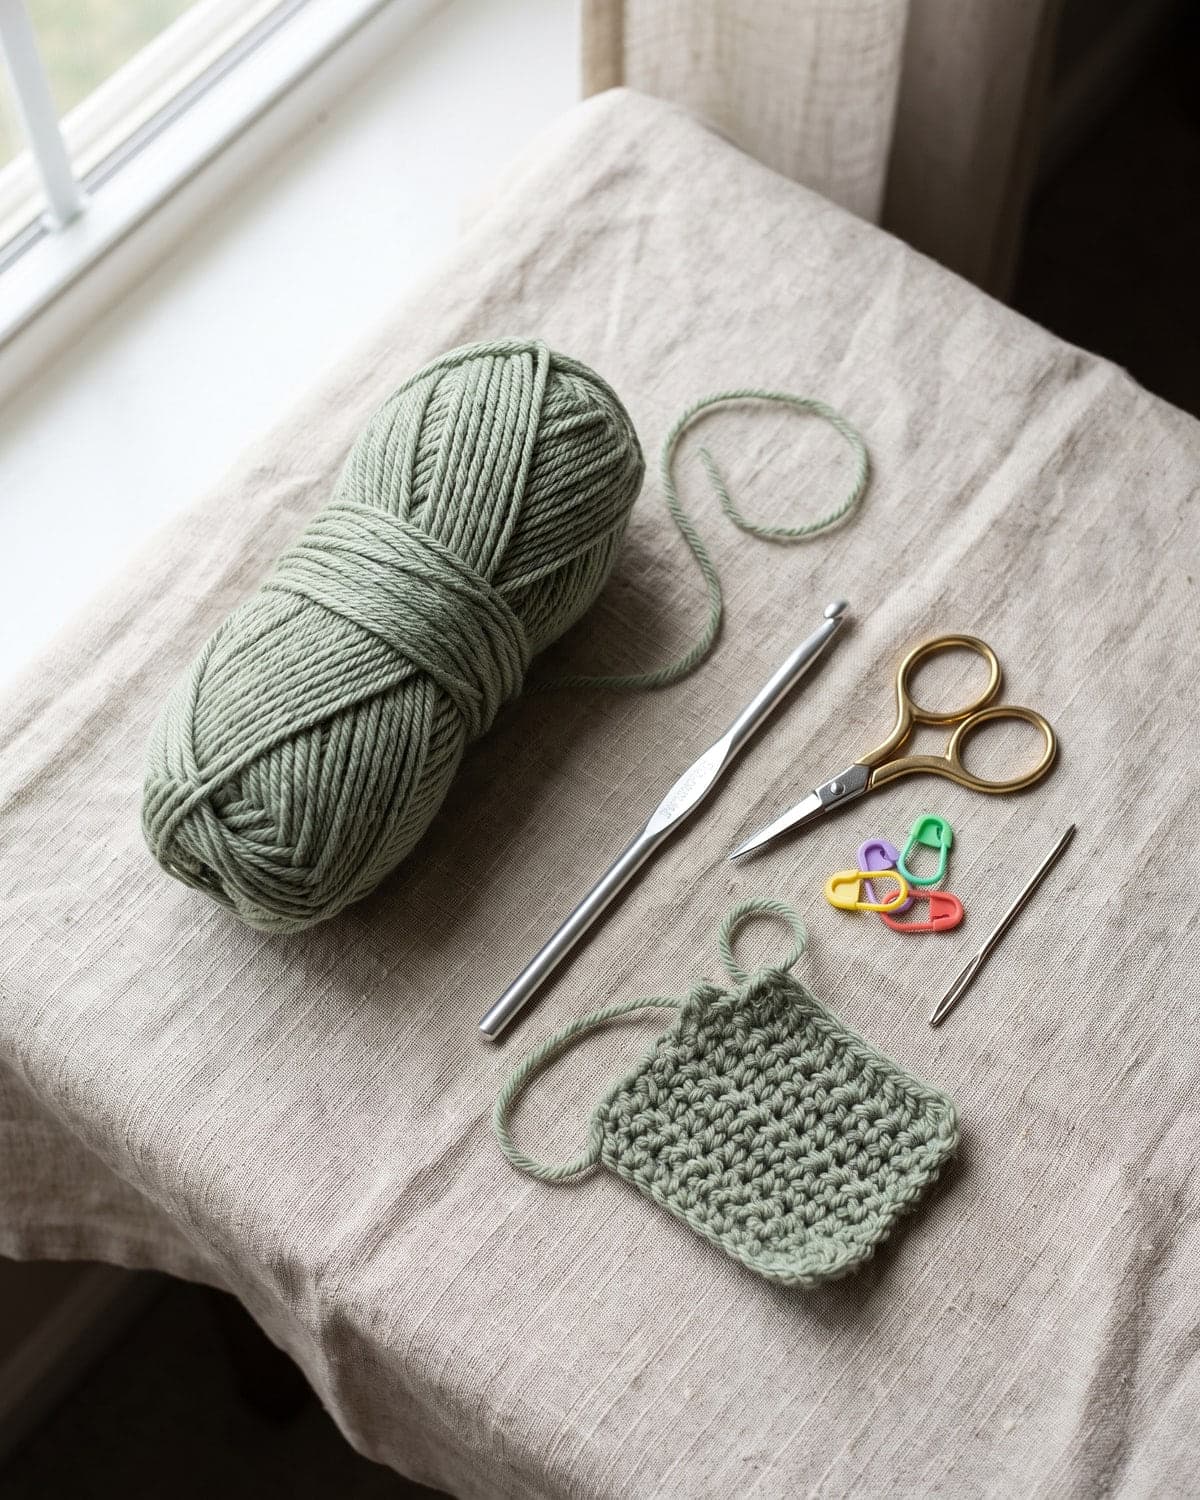
Learning to crochet takes one hook, one ball of yarn and about an hour of patience. This guide walks you through everything in the order you'll actually need it: what to buy, how to hold the hook and yarn, the slip knot, the chain, your first rows of single crochet, and how to finish a piece so it doesn't unravel.
Terms used here: US crochet terms, with the UK name in brackets the first time each stitch appears. A US single crochet is a UK double crochet, so always check which terms a pattern uses before you start.
What you need to start crocheting
You can ignore most of the craft aisle. A beginner needs five things:
- One ball of medium-weight yarn. Look for the number 4 on the label (called worsted or aran). Choose a smooth yarn in a light, solid colour so you can see your stitches. Avoid black, fluffy, or splitty yarn for now.
- A 5 mm crochet hook (US size H-8). Aluminium hooks are cheap and let the yarn glide. If your hand tires, try one with a soft handle.
- Small scissors.
- A blunt tapestry needle with a large eye, for weaving in yarn ends.
- A few locking stitch markers (optional but helpful). A safety pin or a scrap of contrasting yarn does the same job.
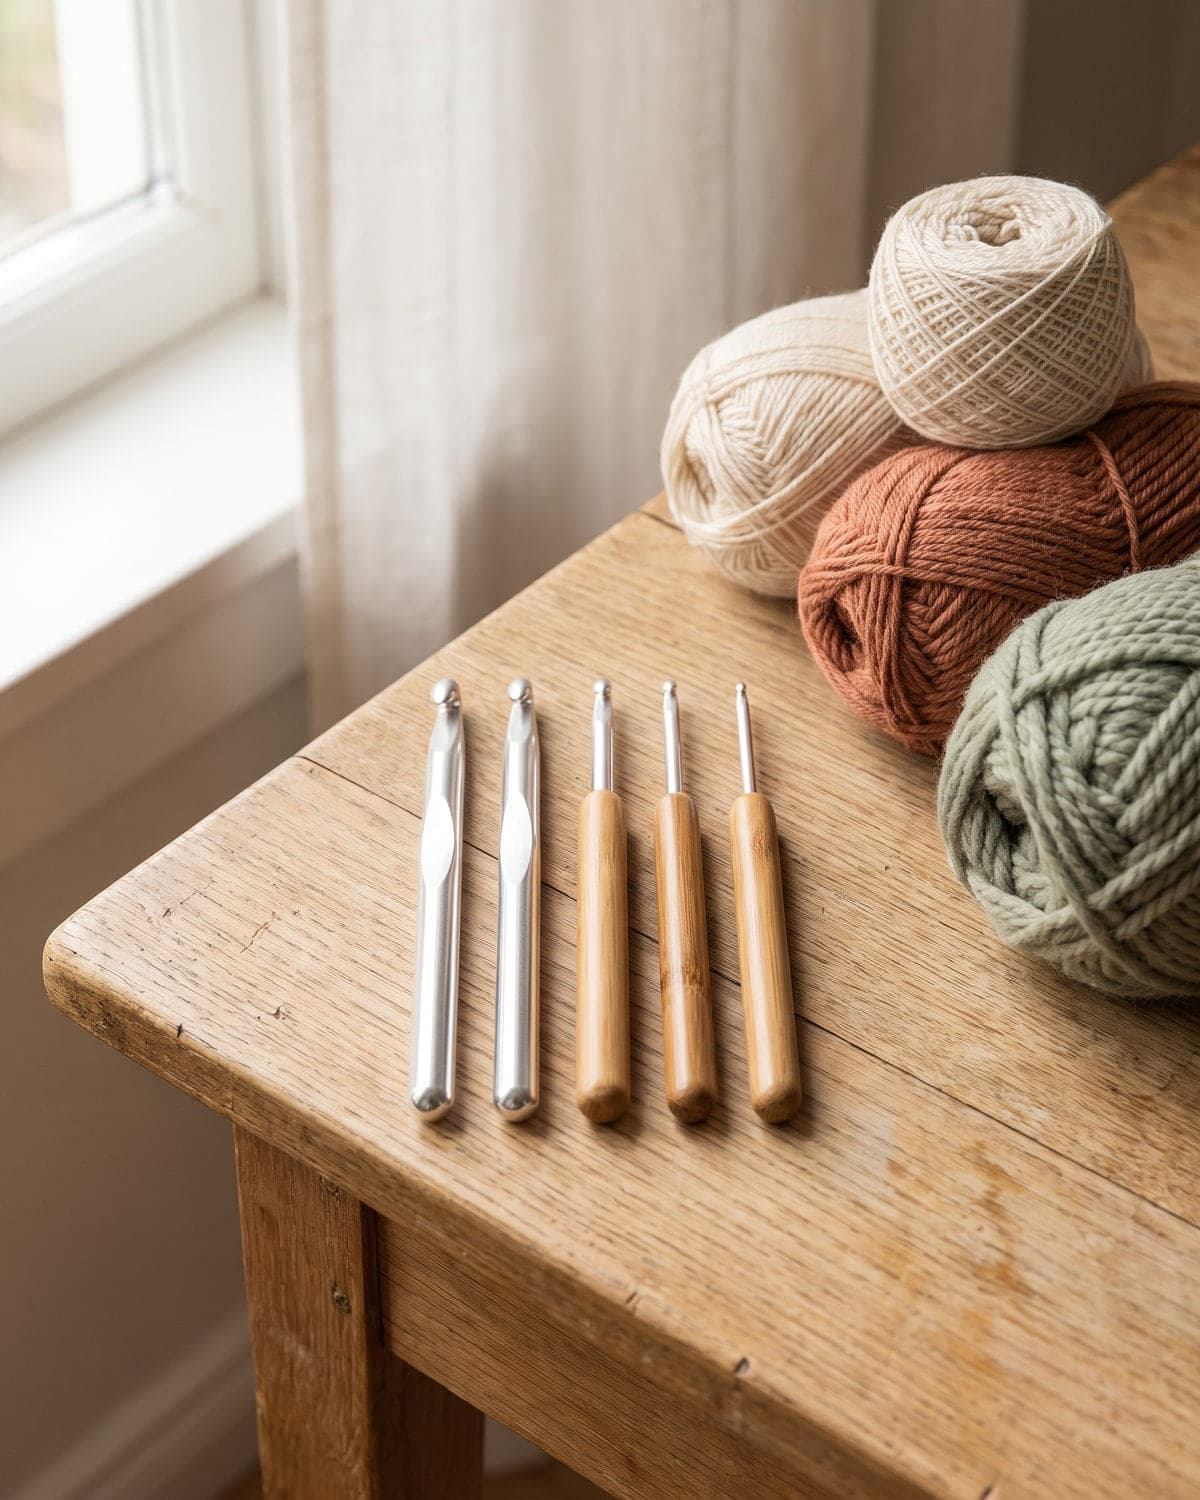 Yarn labels tell you the weight, the recommended hook size and how to wash it. The Craft Yarn Council's standard yarn weight system explains the numbers 0 to 7 that you'll see on most labels. Thicker yarn and a bigger hook make bigger stitches, which are easier to see and faster to work. That's why many people learn on weight 4 or 5 yarn before trying anything fine.
Why cotton or acrylic is best for learning
Acrylic and cotton are inexpensive, washable and smooth. Cotton shows stitches very clearly but has no stretch, so it can feel stiff in your hands. Acrylic and wool blends are springier and more forgiving. Either works. Pick the one that feels nice to you, because you'll be pulling out and redoing the same few metres many times.
How to hold the hook and the yarn
There is no single correct way to hold a crochet hook. Two grips are common:
- Pencil grip: hold the hook like a pencil, between thumb and index finger, with the handle resting on your hand.
- Knife grip: hold the hook like a table knife, with the handle under your palm.
Try both for a few minutes and keep the one that feels relaxed. The hook goes in your dominant hand. Your other hand does two jobs: it holds the work, and it feeds the yarn with steady tension.
A simple way to tension the yarn: let it run over your index finger, under your middle and ring fingers, and over or around your little finger. Raise your index finger slightly so the yarn is held taut in front of the hook. Pinch the work just below the hook with your thumb and middle finger.
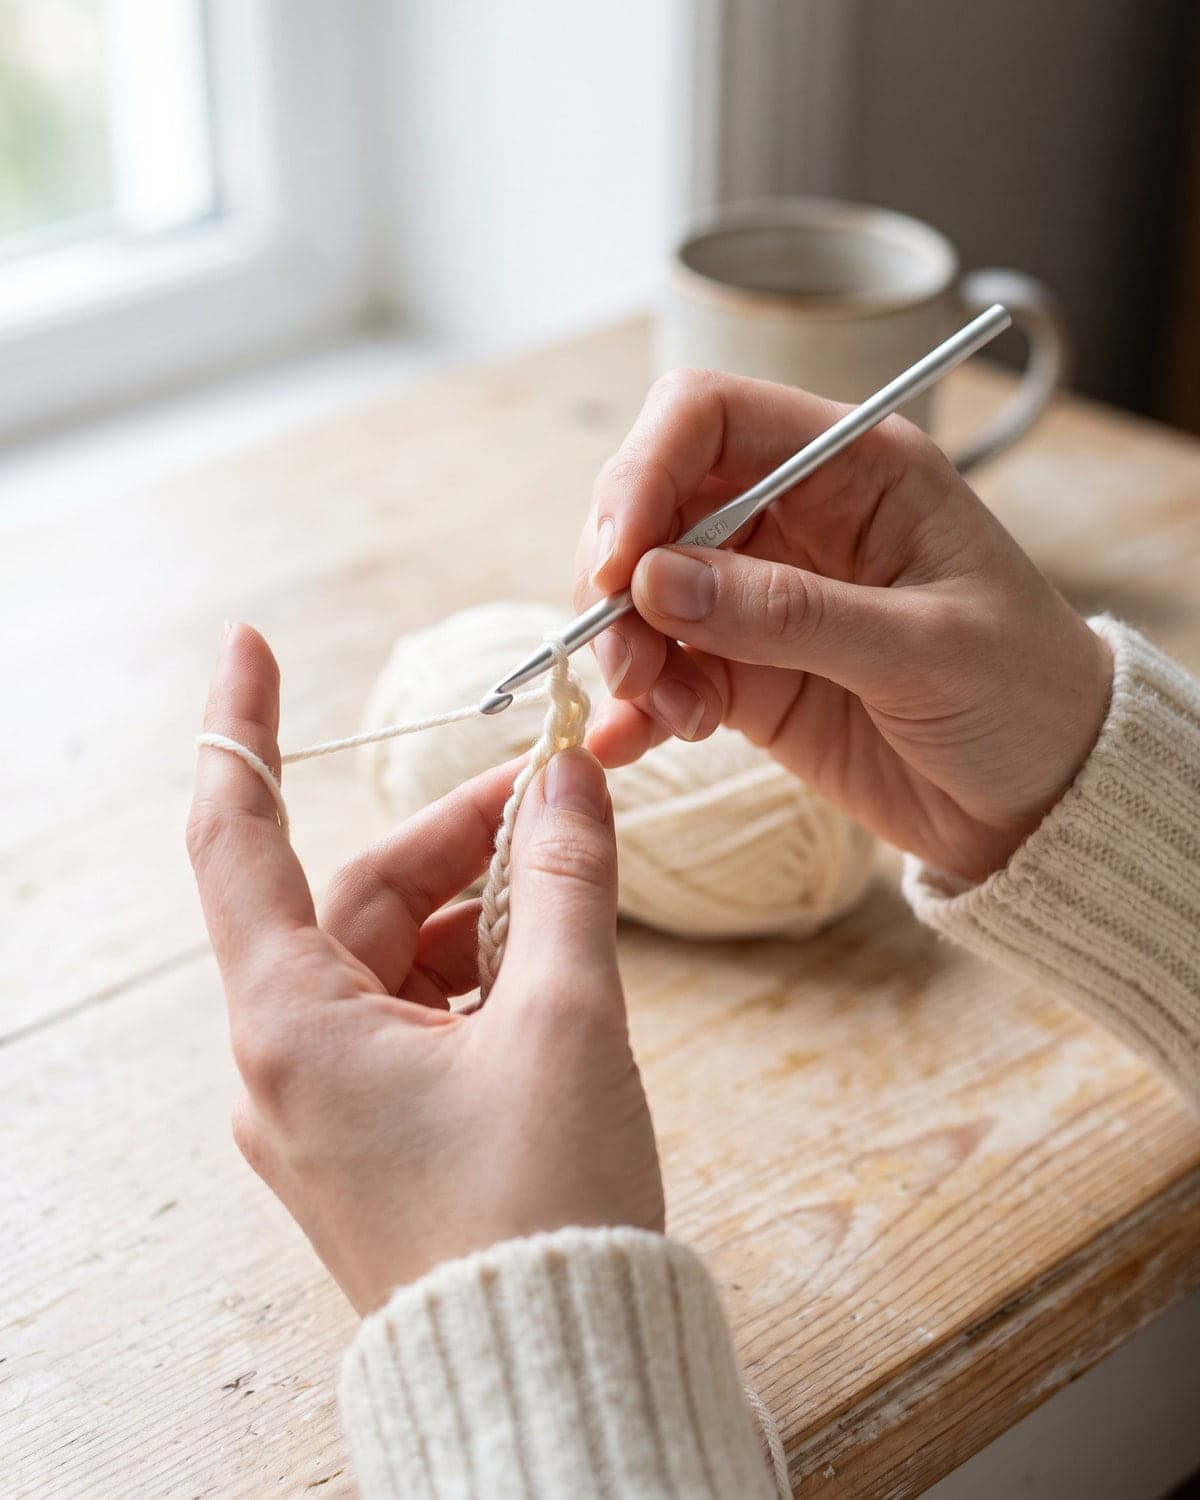 Your hands will feel clumsy at first. That's normal. Tension evens out with practice, not with gripping harder. If your stitches are so tight that the hook won't go in, loosen your hold on the yarn, not on the hook.
Step 1: Make a slip knot
Every piece of crochet starts with a slip knot on the hook.
- Pull out about 15 cm (6 in) of yarn. This is the tail.
- Make a loop, crossing the yarn that leads to the ball over the tail.
- Reach through the loop, pinch the yarn that leads to the ball, and pull it through to make a new loop.
- Put that new loop on your hook and pull both ends gently to snug it up.
The loop should slide along the hook easily. It shouldn't grip the hook, and it shouldn't hang loose. The slip knot never counts as a stitch.
Step 2: Crochet a chain
The chain stitch (abbreviated ch) is the foundation of most projects.
- Hold the slip knot's tail between your thumb and middle finger.
- Bring the yarn over the hook from back to front. This is a yarn over (yo).
- Turn the hook slightly so its throat catches the yarn, and pull the yarn through the loop on your hook.
That's one chain. Repeat steps 2 and 3. As the chain grows, move your pinching fingers up so they're always close to the hook.
How to count chains
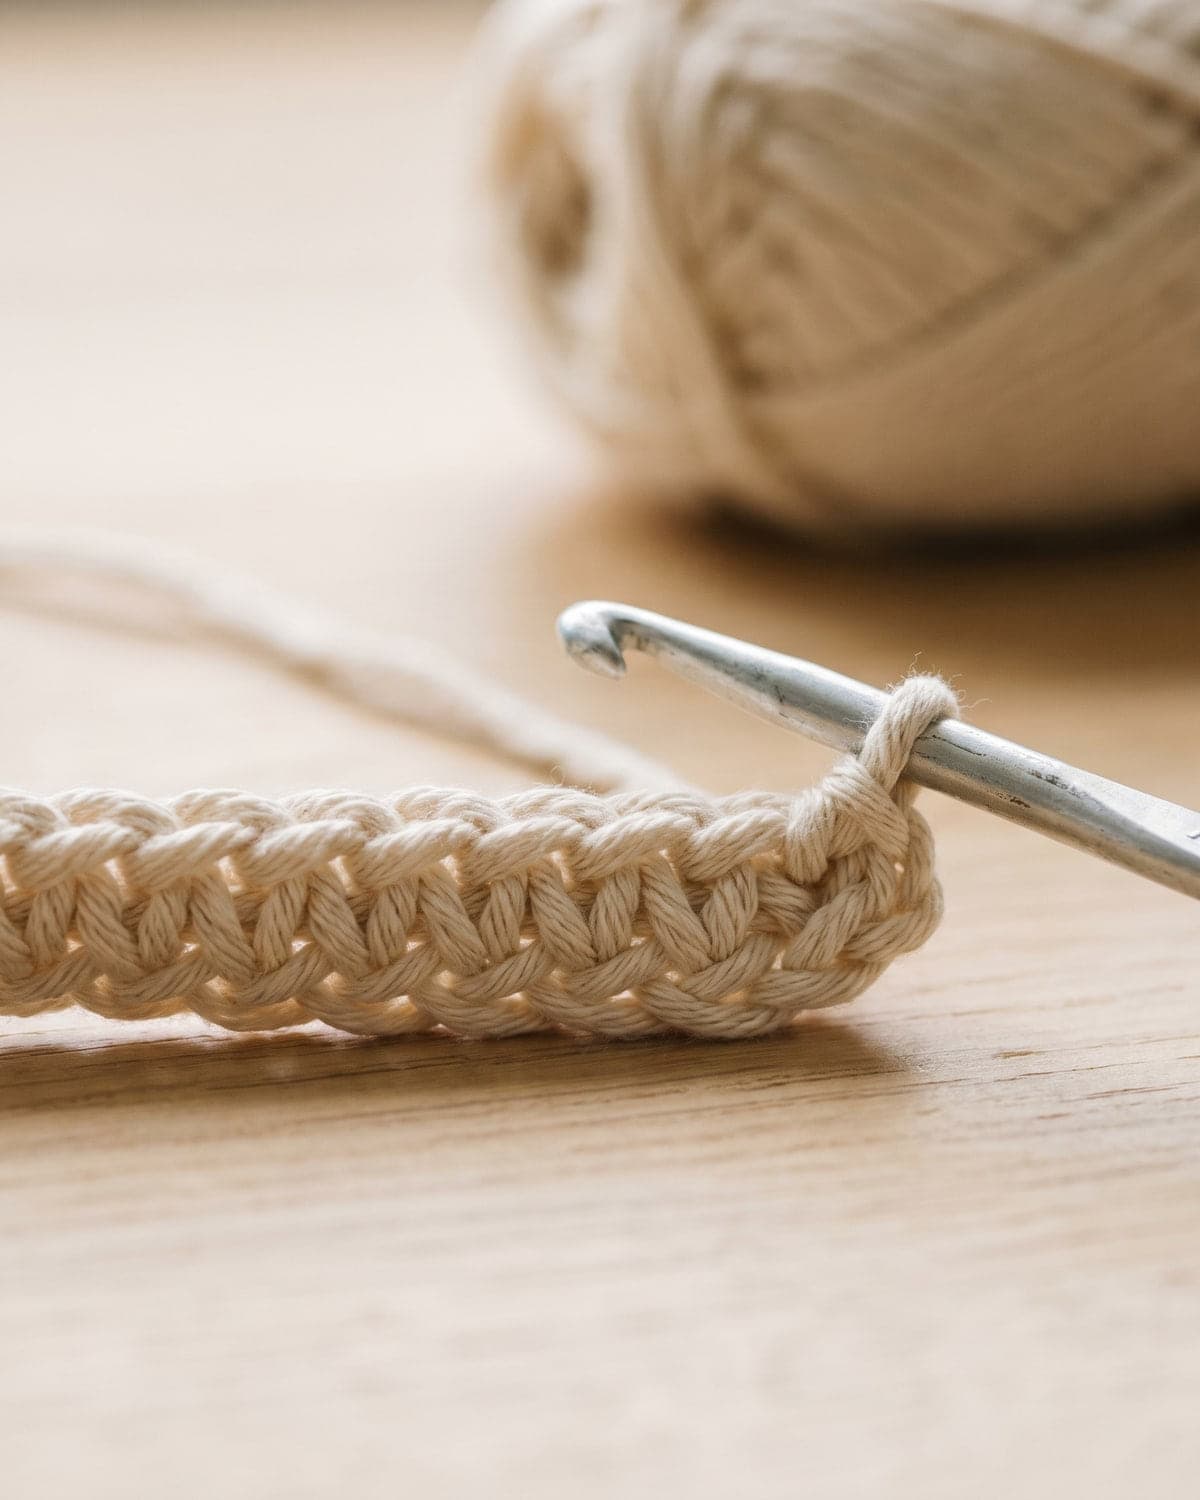
Look at the front of your chain: it's a row of little V shapes. Each V is one chain. Don't count the loop that's on your hook, and don't count the slip knot. If a pattern says "ch 16", you should see 16 Vs.
Aim for chains that are all the same size and loose enough for the hook to go back into. A tight foundation chain is the most common beginner problem. If yours is tight, make the chain with a hook one size larger, then switch back.
Step 3: Single crochet, your first real stitch
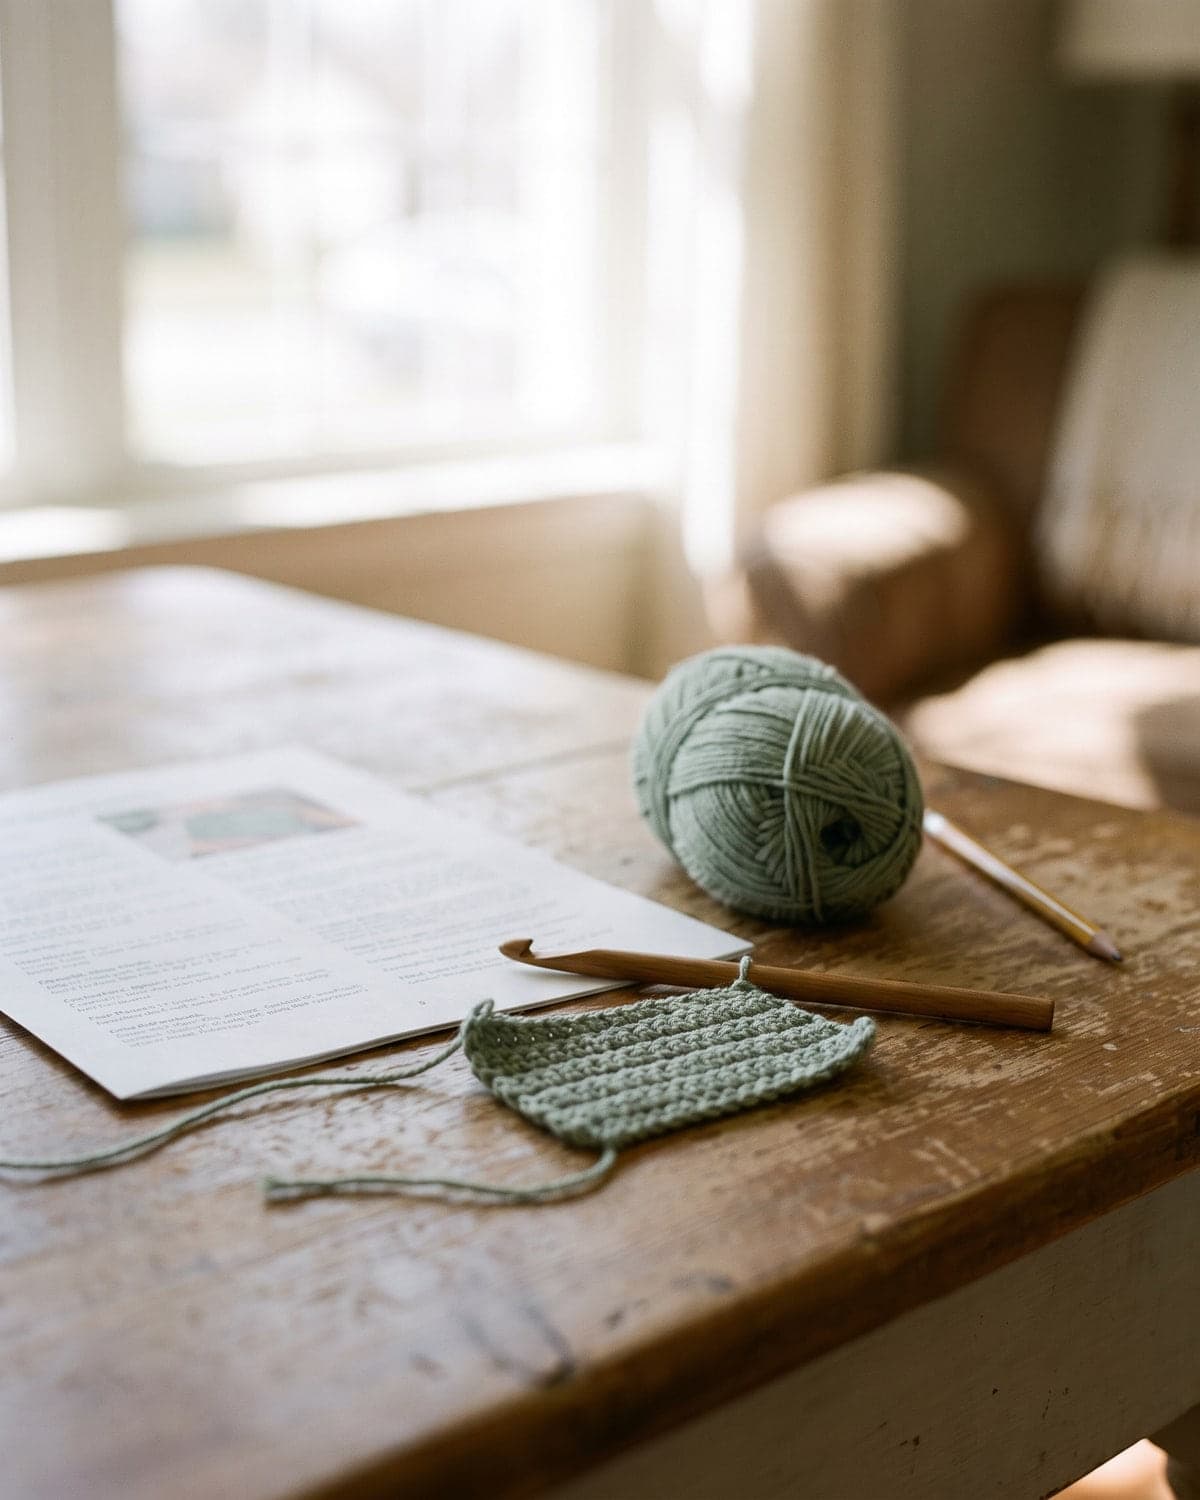
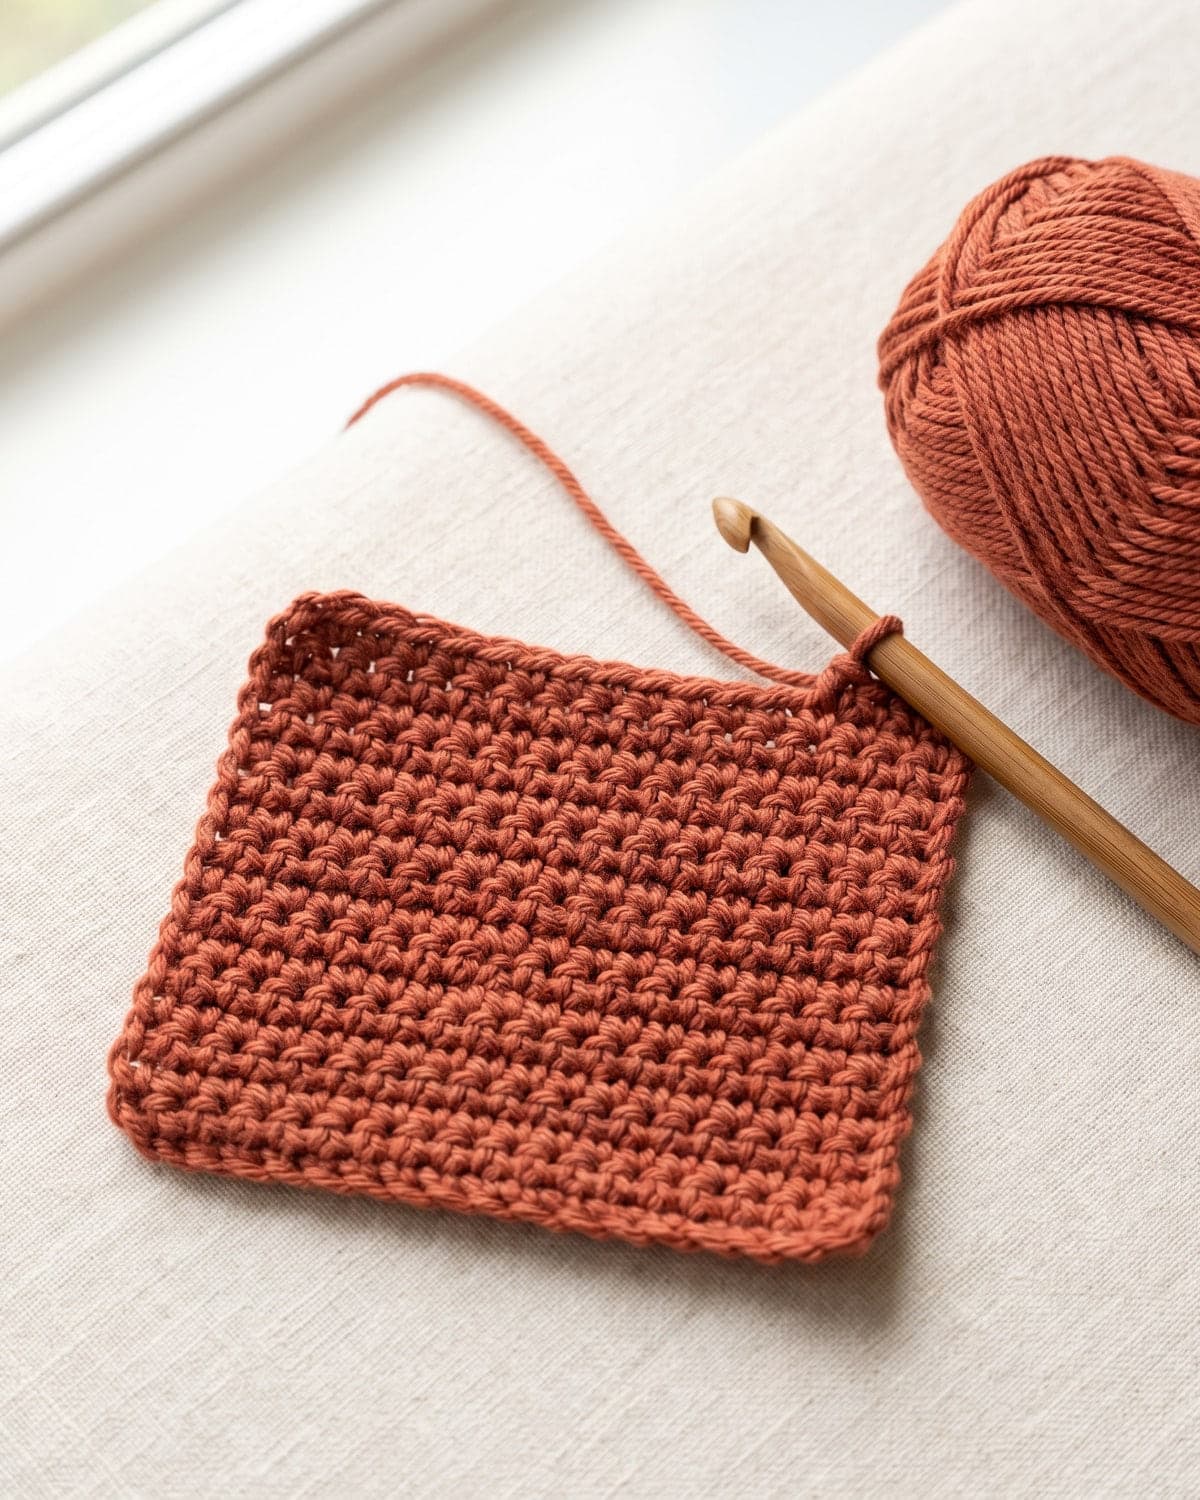
Single crochet (sc; UK double crochet) is short, dense and sturdy. Here's a practice swatch that teaches almost everything you need.
Chain 16.
Row 1:
- Skip the first chain from the hook. Insert your hook into the second chain. Slide it under the top loop of the V (or under both top loops if you prefer; just be consistent).
- Yarn over and pull the yarn through the chain. You now have two loops on your hook.
- Yarn over again and pull through both loops. One single crochet made.
- Make one single crochet in each remaining chain. You should have 15 stitches.
Count them. Each stitch has a V on top, just like the chain did.
 Row 2:
- Chain 1. This is the turning chain. It lifts your yarn to the height of the next row. In single crochet it doesn't count as a stitch.
- Turn your work like the page of a book, so the other side faces you.
- Insert the hook under both loops of the V on the first stitch (the one right at the base of your turning chain). Make a single crochet.
- Make a single crochet in every stitch across, including the very last one. Count: 15 stitches.
Repeat Row 2 until your swatch is roughly square, about 15 to 17 rows.
Keeping your edges straight
If your swatch is getting narrower, you're missing the last stitch of the row. It often hides, tilted to the side. If it's getting wider, you're either working into the turning chain or putting two stitches into one. The fix is the same for both: count every row until your hands learn where the first and last stitches are. A stitch marker clipped into the first stitch of each row makes the last stitch of the next row easy to find.
Step 4: Fasten off and weave in the ends
When your swatch is finished:
- Cut the yarn, leaving a tail of about 15 cm (6 in).
- Yarn over with the tail and pull it all the way through the loop on your hook. Tug to tighten.
- Thread the tail onto your tapestry needle. Weave it through the back of several stitches in one direction, then back the other way for a few stitches.
- Trim the tail close to the fabric. Do the same with the starting tail.
Changing direction when you weave is what keeps ends from working loose in the wash.
How to read a crochet pattern
Patterns are written in shorthand to save space. These are the abbreviations you'll meet first:
| Abbreviation | US term | UK term |
|---|---|---|
| ch | chain | chain |
| sl st | slip stitch | slip stitch |
| sc | single crochet | double crochet (dc) |
| hdc | half double crochet | half treble (htr) |
| dc | double crochet | treble (tr) |
| tr | treble crochet | double treble (dtr) |
| st(s) | stitch(es) | stitch(es) |
| yo | yarn over | yarn over hook (yoh) |
| sk | skip | miss |
A line like Row 2: Ch 1, turn, sc in each st across (15) means: chain one, turn the work, make one single crochet in every stitch, and you should end with 15 stitches. The number in brackets at the end is your stitch count for that row. It's there so you can check yourself.
Asterisks mark a section to repeat: *sc in next st, ch 1; repeat from * across means do the part after the asterisk again and again until the row ends.
The Craft Yarn Council keeps a full list of crochet abbreviations that most published patterns follow.
US or UK terms?
The same stitch has different names on each side of the Atlantic, and one name ("double crochet") means two different stitches. A quick test: if a pattern mentions single crochet, it's written in US terms, because UK terms don't have a stitch called that. Good patterns say which they use at the top. Every pattern and tutorial on this site states it.
Seven beginner mistakes and how to fix them
- Chain too tight. Use a larger hook for the foundation chain only.
- Losing or gaining stitches. Count at the end of every row. Mark the first stitch.
- Twisted foundation chain. Before working Row 1, lay the chain flat and check all the Vs face the same way.
- Splitting the yarn. The hook went through the strand instead of under it. Pull the stitch out and redo it. A smoother yarn or a hook with a rounder tip helps.
- Sore hands. Take breaks, relax your grip, and try a hook with a thicker handle.
- Uneven tension. It improves on its own within your first few swatches. Don't pull the yarn tight after each stitch.
- Starting with a project that's too big. A blanket in single crochet takes many hours. Start with something you can finish in an evening.
Pulling work out has a nickname among crocheters: frogging, because you "rip it, rip it". Everyone does it, at every level.
Your first projects
Once your swatch has straight edges, you already know enough to make useful things. Every project below is just rows or rounds of basic stitches.
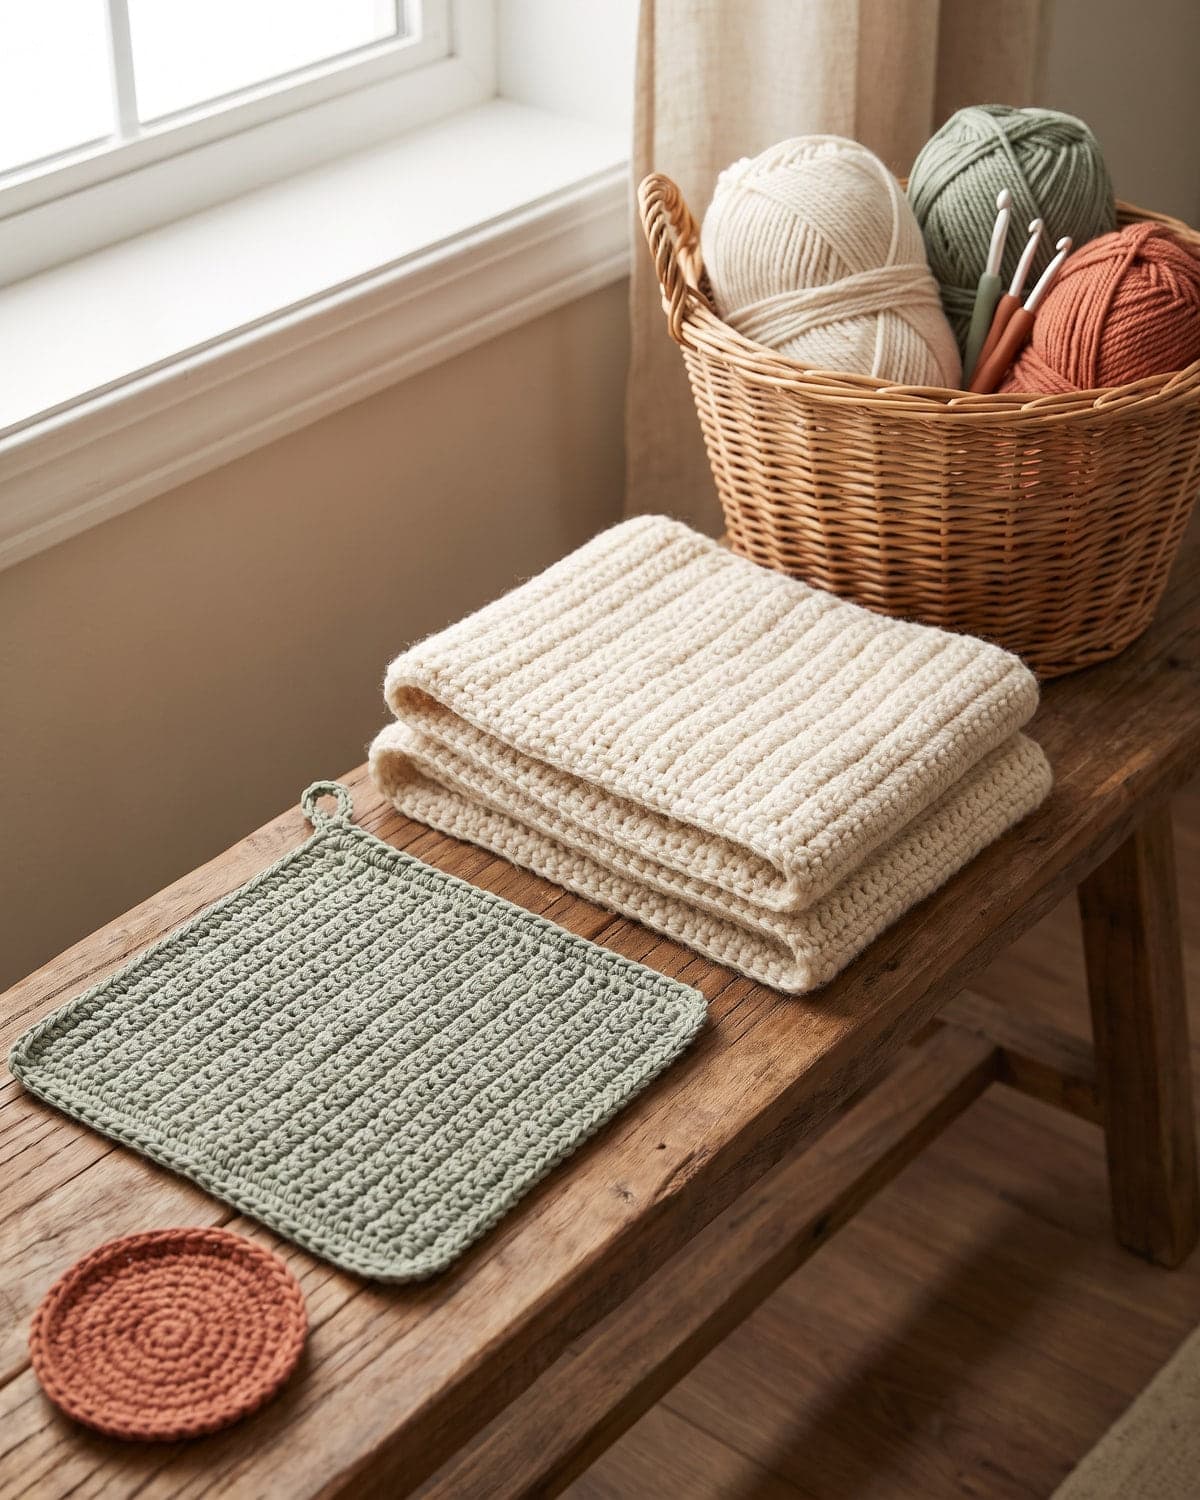
- A dishcloth. Make your practice swatch in cotton yarn, about 20 cm (8 in) square. It doesn't matter if it's wonky. It will still wash dishes.
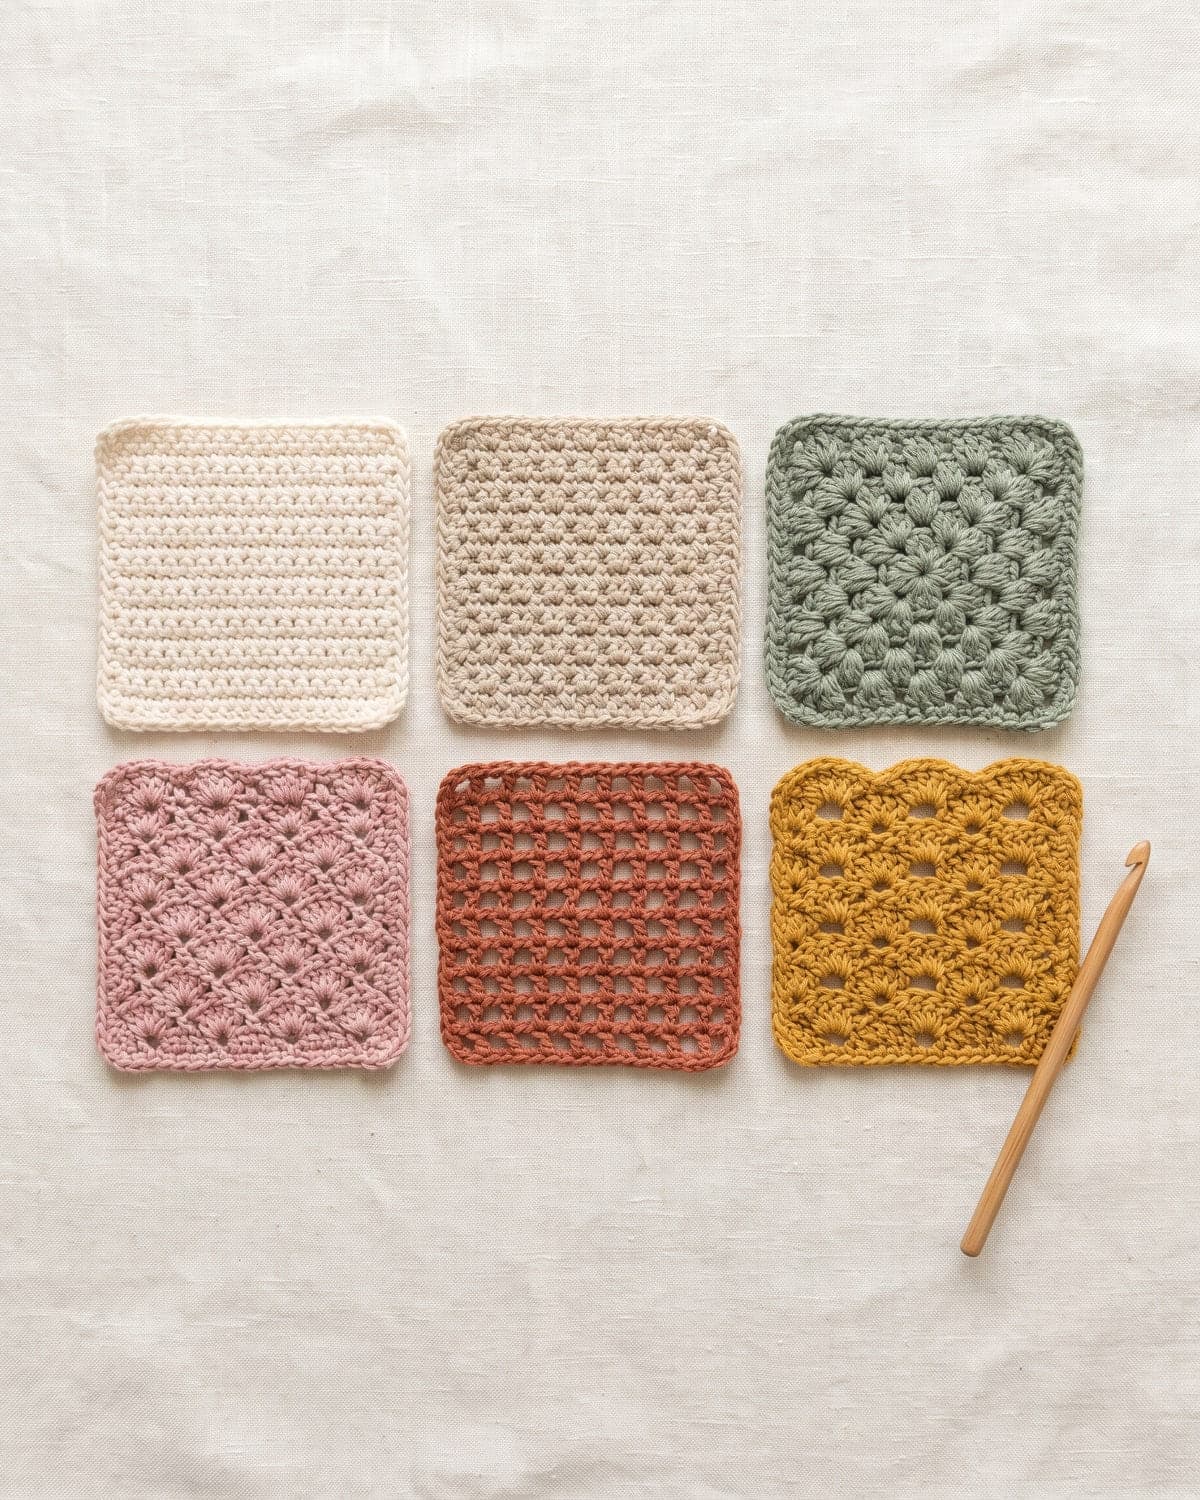
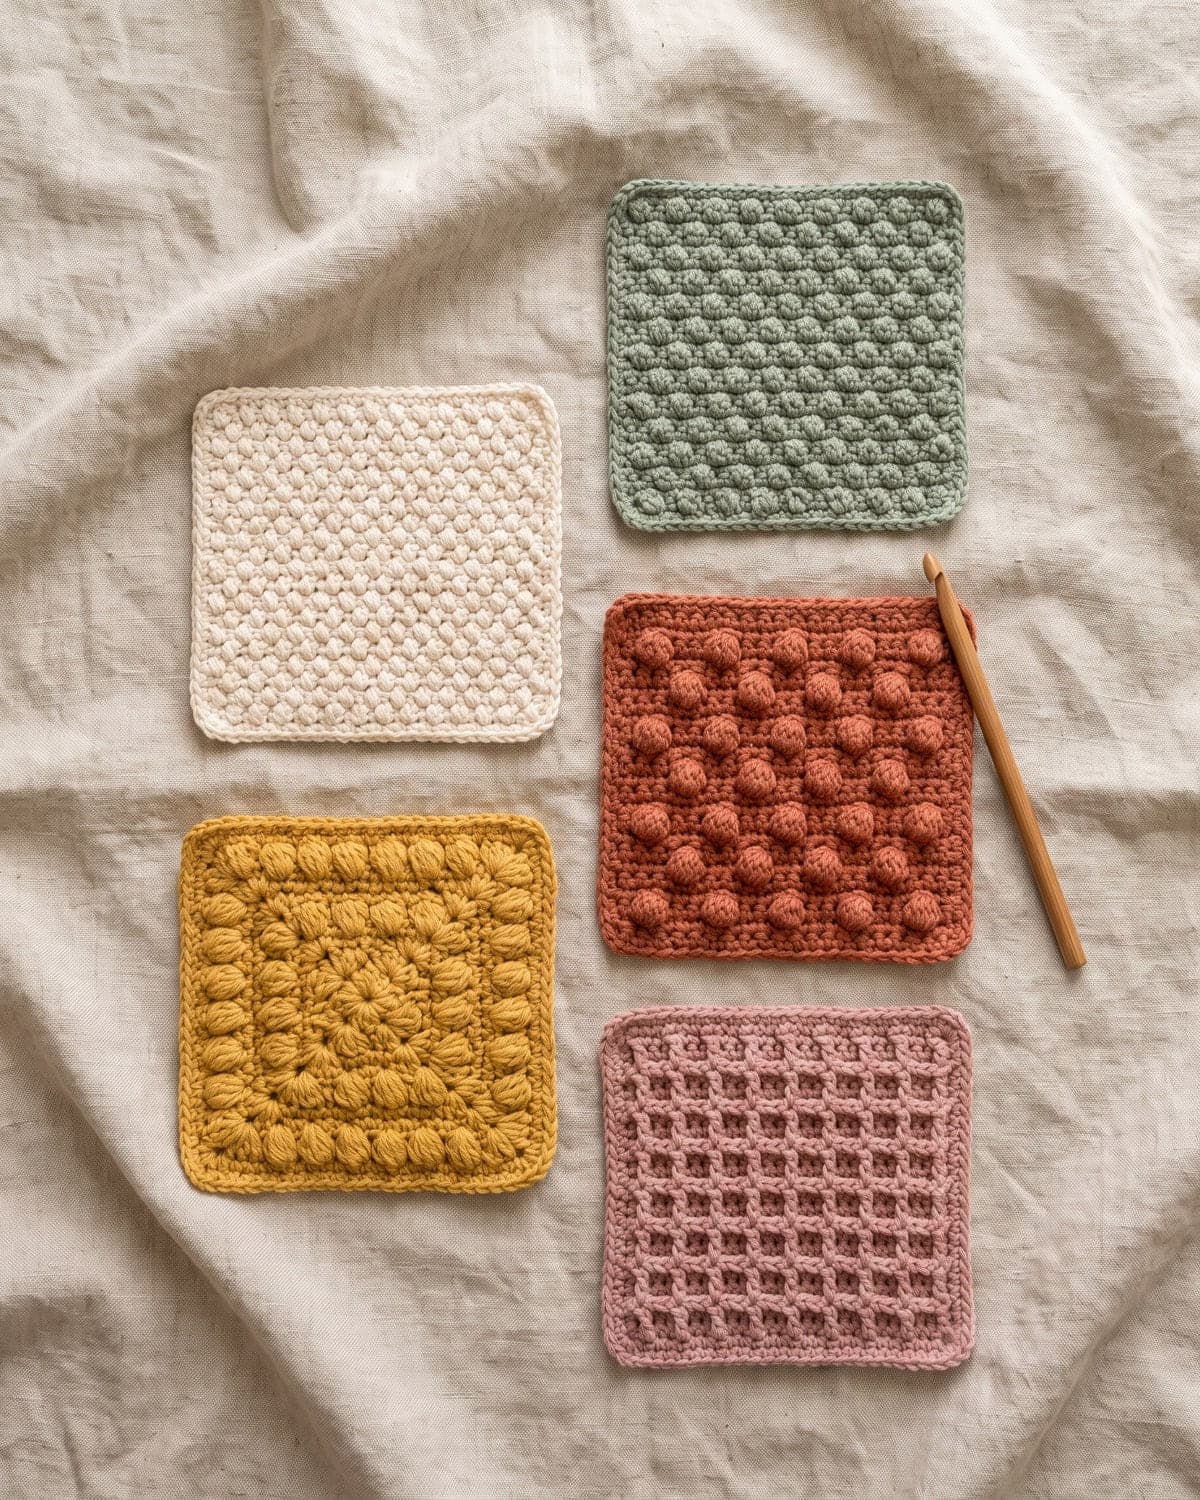
- Coasters. Small, quick, and a gentle way to learn working in the round. Try these easy crochet coasters next.
- A scarf. A long rectangle. Chain until it's as wide as you want, then work rows until it's as long as you want.
- A chunky blanket. Thick yarn and a big hook make a throw grow fast. The chunky crochet blanket for beginners uses one stitch from start to finish.
- Simple flowers. A few rounds each, and good practice for taller stitches. See easy crochet flowers.
When you're comfortable with single crochet, learn the next few stitches in easy crochet stitches for beginners. Half double and double crochet use the same movements with one extra yarn over, and they work up much faster.
How long does it take to learn?
Most people can make a chain and a few rows of single crochet in their first sitting. Straight edges and even tension usually come after a handful of practice swatches. The speed you see in videos comes from repetition, so short, regular sessions help more than one long one.
A few habits make learning easier:
- Practise the same stitch for a whole swatch before moving to the next one.
- Use the same yarn and hook for your first swatches, so the only thing changing is your hands.
- Keep your first swatch. In a month, lay it next to your latest one. The difference is encouraging.
- Watch someone's hands. Written steps and video complement each other. If you're left-handed, look for left-handed demonstrations, or mirror a right-handed one.
Left-handed crochet
Left-handed crocheters hold the hook in the left hand and work each row from left to right, the mirror image of right-handed crochet. Every instruction in this guide still applies. Where a pattern says "right", read "left". Written patterns work as they are; only the direction of travel changes.
Frequently asked questions
Is crochet easier than knitting? Many beginners find it easier to start, because there's only one live loop to look after and mistakes are simple to pull out. Which one feels easier is personal.
What's the easiest thing to crochet first? A small square in single crochet. It teaches the chain, the stitch, turning and counting, and it becomes a dishcloth or coaster.
Which hook size should a beginner use? A 5 mm (US H-8) hook with weight 4 yarn is a comfortable starting point. The yarn label's recommended hook size is always a safe choice.
Why does my work curl? The first few rows of any crochet curl a little, and it relaxes as the piece grows. Strong curling usually means the foundation chain is tighter than the rows above it.
Do I need to make a gauge swatch? For dishcloths, scarves and blankets, no. For anything that has to fit, such as a cardigan or hat, yes. It's the only way to get the size the pattern promises.
Where to go next
Work through your practice swatch until you can keep 15 stitches in every row without thinking about it. Then pick one small project and finish it. A finished object teaches more than ten swatches.
Browse the rest of the beginner tutorials for step-by-step lessons, or go straight to the crochet stitches guides when you're ready for something new.
Save it for later
Pin this to your Pinterest board so it's there when you're ready to stitch.
Keep stitching
Related crochet projects
Beginner tutorials How to Read Crochet Patterns: A Beginner's Guide
12 min read
Crochet stitches Easy Crochet Stitches for Beginners: 6 Basics to Learn First
10 min read
Crochet stitches Textured Crochet Stitches: 5 Easy Patterns for Beginners
11 min read
Clothing Easy Crochet Tote Bag for Beginners: One-Piece Pattern
11 min read