Granny Square Blanket for Beginners: Easy Step-by-Step Pattern
Learn to crochet a classic granny square round by round, then turn it into a blanket: colour changes, how many squares each size needs, two easy joining methods and a simple border.
By AlixaPublished 12 min read
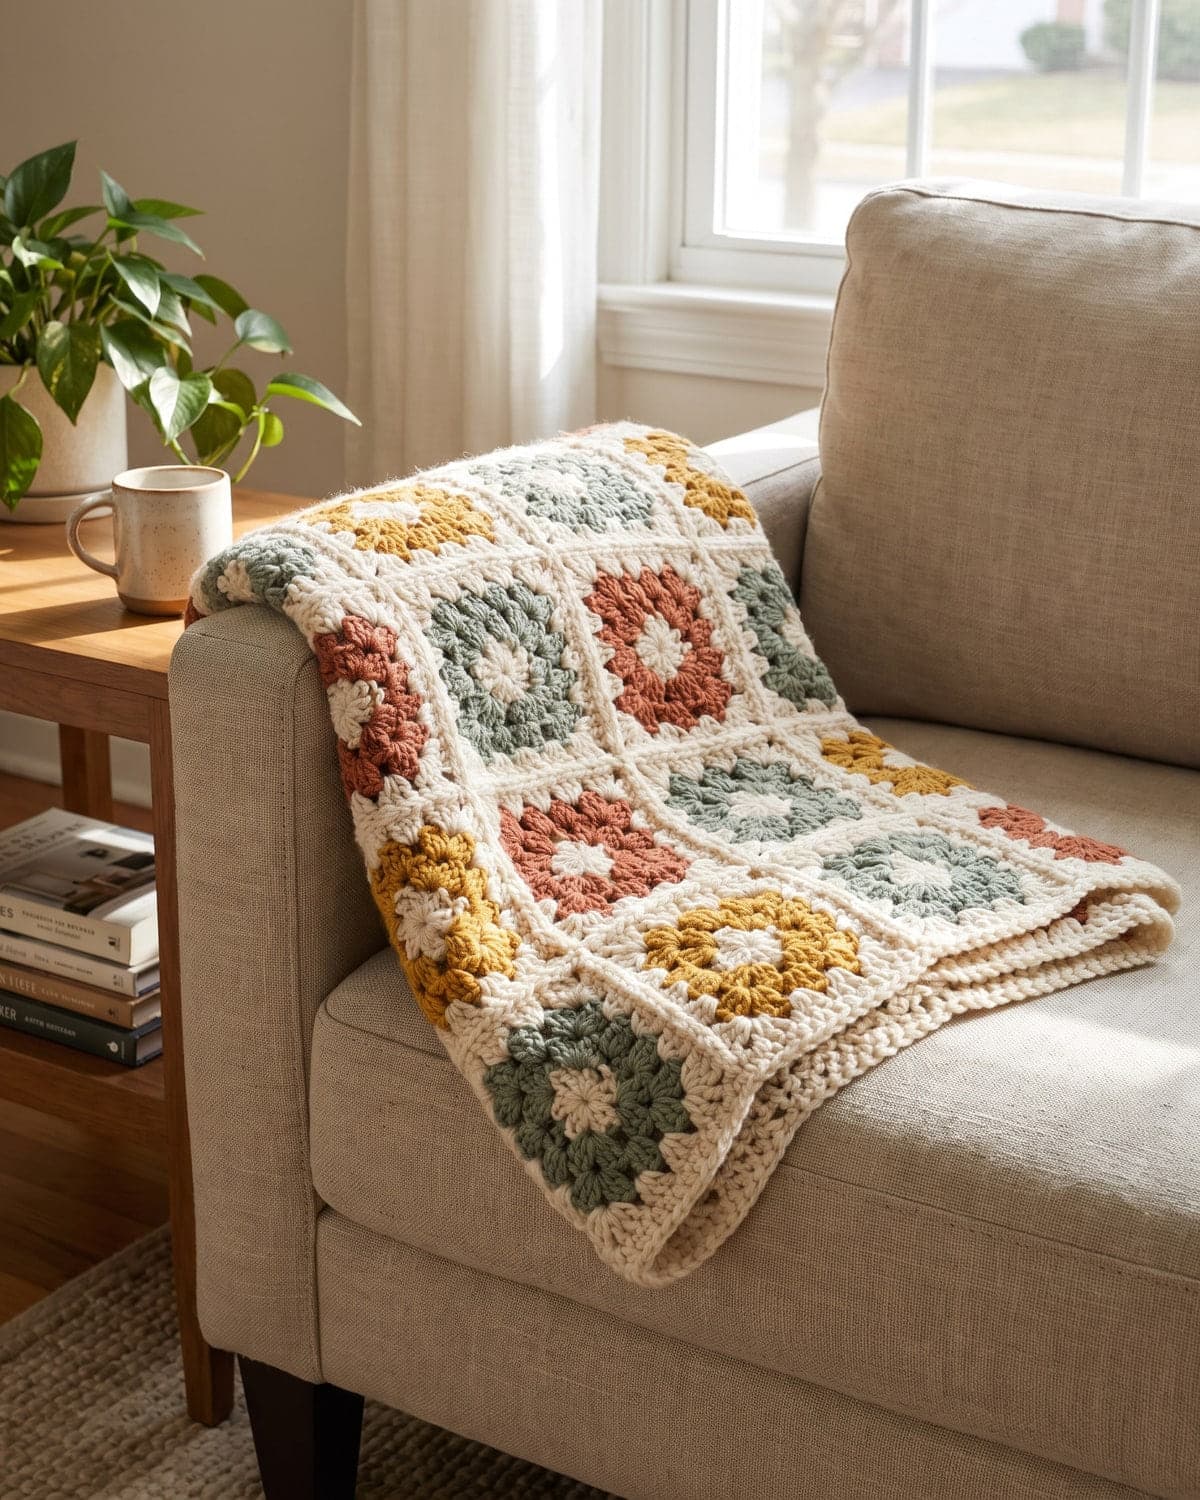
The granny square is the most famous shape in crochet, and a granny square blanket is how generations of people have learned the craft. Each square is small enough to finish in one sitting and portable enough to make on a train. Join enough of them and you have a blanket.
This tutorial covers everything a beginner needs: how to crochet a classic granny square round by round, how to change colours, how many squares you need for each blanket size, two easy ways to join them, and a simple border to finish.
Terms used here: US crochet terms. A US double crochet (dc) is a UK treble (tr).
About this pattern: the classic granny square is a traditional design with no single author. It's written out here in our own words, and the stitch counts are checked for every round. Sizes and yarn amounts are approximate, because they depend on your yarn, hook and tension.
At a glance
| Skill level | Beginner |
| Stitches | Chain, slip stitch, double crochet |
| Yarn | Worsted weight (weight 4) |
| Hook | 5 mm (US H-8) |
| Square size | About 13 cm (5 in) after four rounds |
| Construction | Squares made one by one, then joined |
What you need
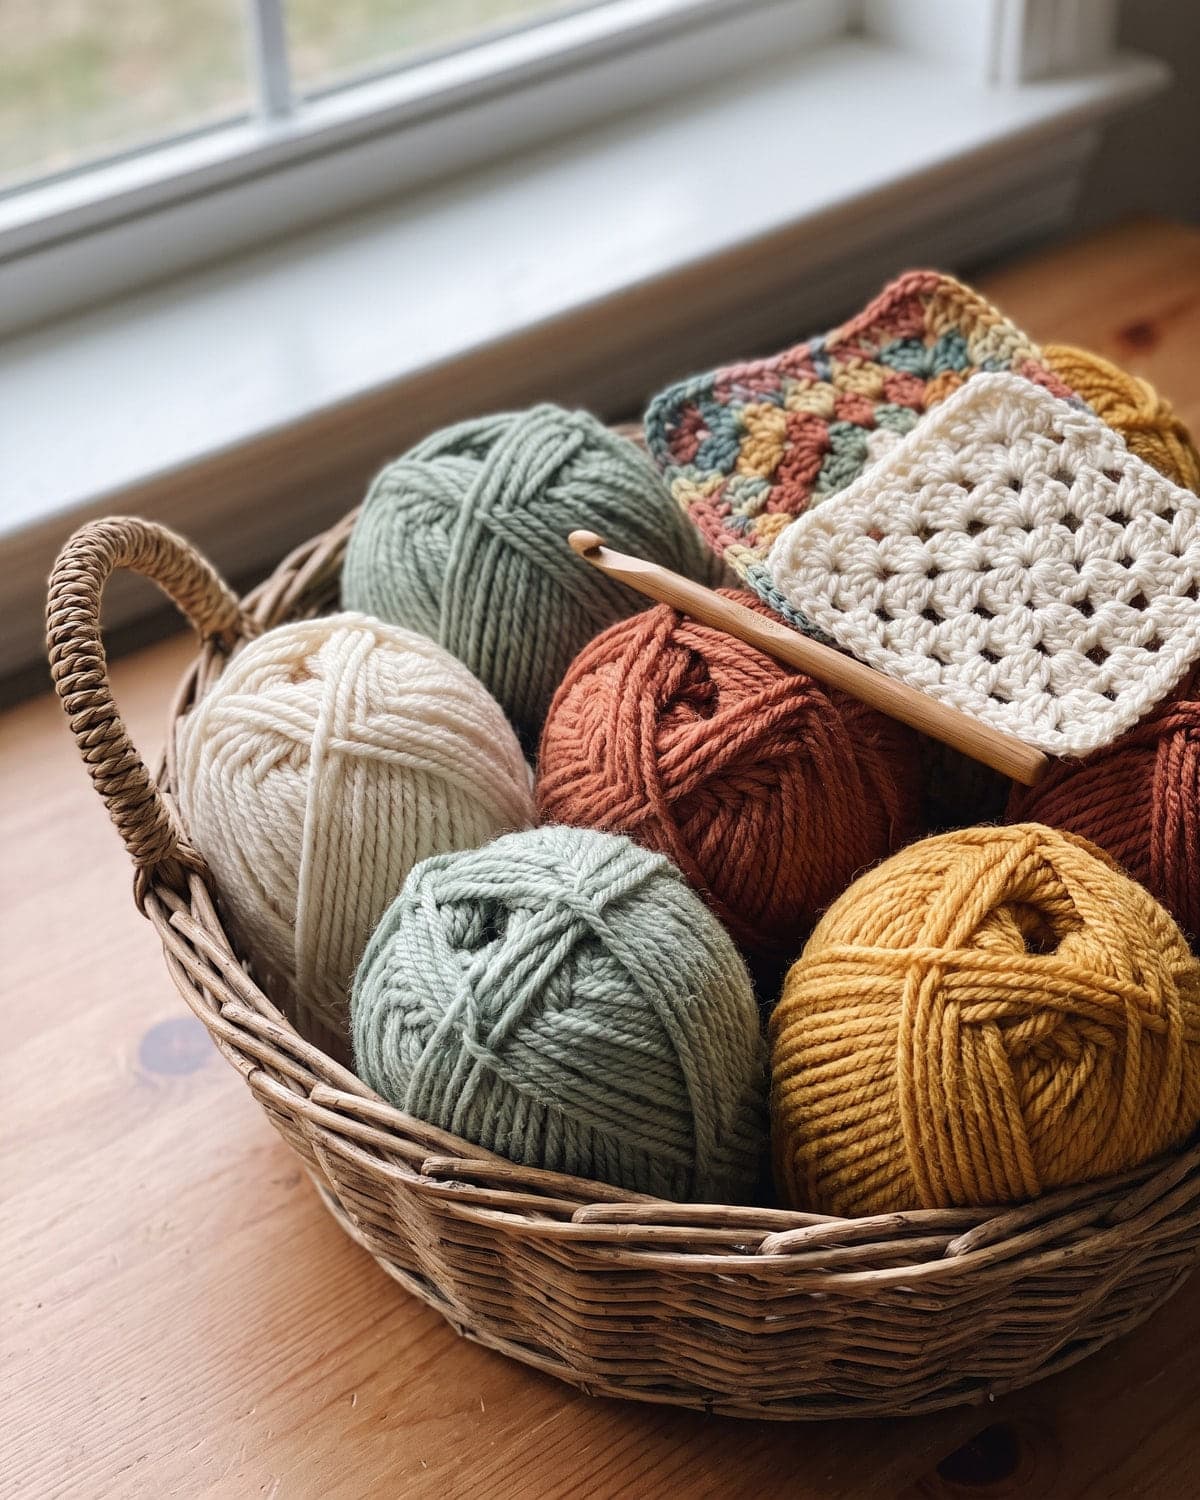
- Worsted-weight yarn in one colour or several. Acrylic is affordable, washable and comes in every colour. Cotton gives crisp stitches and a heavier blanket. Wool is warm and blocks beautifully.
- A 5 mm (US H-8) hook.
- Scissors and a tapestry needle. There are a lot of ends in a granny square blanket, so a needle with a large eye saves time.
- Stitch markers (optional), for marking corners while you learn.
Choosing colours
A granny square blanket can be anything from a calm, single-colour throw to a riot of leftovers. Three approaches that always work:
- One colour throughout. Modern and quick, with no colour changes and very few ends.
- A fixed palette. Choose four or five colours that sit well together, and use the same colour for the last round of every square. That shared final round ties the whole blanket together.
- Scrappy. Use whatever you have for the inner rounds, and one neutral, such as cream, grey or black, for every final round and for joining.
How a granny square works
A classic granny square is made of clusters of three double crochets. Clusters are worked into spaces, not into the tops of stitches, which is one reason it's so beginner-friendly: the spaces are big and easy to find.
- Each corner is two clusters with two chains between them, all worked into the same corner space: (3 dc, ch 2, 3 dc).
- Each side has one cluster in every space, with one chain between clusters.
- Every round adds one more cluster to each side.
If you need a reminder of how to make a double crochet, see easy crochet stitches for beginners.
Classic granny square pattern
Pattern notes
- The chain 3 at the start of each round counts as the first double crochet.
- Join each round with a slip stitch into the top of that chain 3.
- Don't turn. The same side faces you all the time.
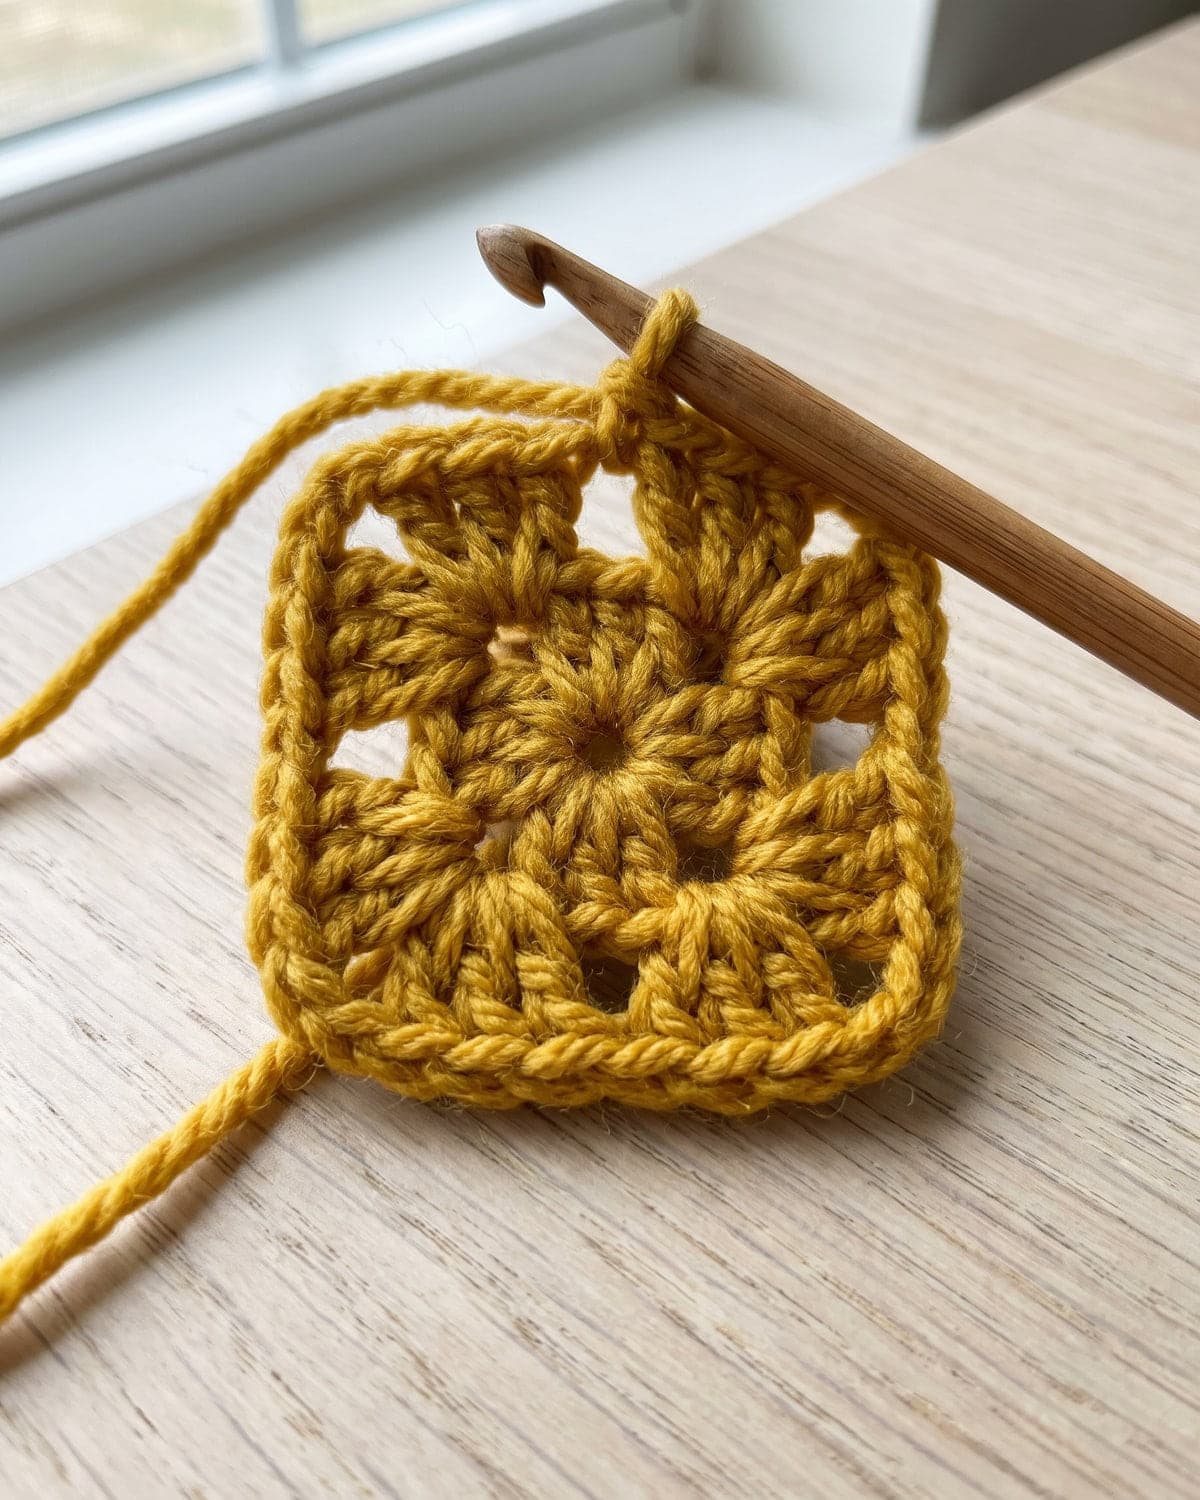
Round 1
Chain 4 and join with a slip stitch into the first chain to make a ring. (Or start with a magic ring.)
Chain 3 (counts as a dc). Work 2 dc into the ring, then chain 2. *Work 3 dc into the ring, chain 2; repeat from * two more times. Join with a slip stitch to the top of the chain 3.
You have 4 clusters and 4 corner spaces (12 dc).
Round 2
Slip stitch across the next 2 dc and into the corner space, so your yarn is in the right place to start.
Chain 3 (counts as a dc). In the same corner space work 2 dc, chain 2, 3 dc. That's your first corner.
*Chain 1. In the next corner space work (3 dc, chain 2, 3 dc); repeat from * two more times. Chain 1 and join to the top of the chain 3.
You have 8 clusters: two in each corner (24 dc).
Round 3
Slip stitch across the next 2 dc and into the corner space.
Chain 3. In the same corner space work 2 dc, chain 2, 3 dc.
*Chain 1. Work 3 dc in the next chain-1 space (a side cluster). Chain 1. In the next corner space work (3 dc, chain 2, 3 dc); repeat from * two more times. Chain 1, work 3 dc in the last chain-1 space, chain 1, and join.
You have 12 clusters: two in each corner and one on each side (36 dc).
Round 4 and beyond
Slip stitch into the corner space, and make a corner as before. Along each side, work 3 dc in every chain-1 space, with chain 1 between clusters. Make a (3 dc, chain 2, 3 dc) corner in each corner space. Join.
Round 4 has 16 clusters (48 dc). Each new round adds four clusters, one per side.
| Round | Clusters | Double crochets |
|---|---|---|
| 1 | 4 | 12 |
| 2 | 8 | 24 |
| 3 | 12 | 36 |
| 4 | 16 | 48 |
| 5 | 20 | 60 |
Fasten off after the last round and weave in the ends.
Changing colour between rounds
- Finish the round and join. Cut the yarn, leaving a 10 cm (4 in) tail, and pull it through the loop to fasten off.
- Make a slip knot on your hook with the new colour.
- Insert the hook into any corner space, yarn over and pull through both the space and the loop on your hook. That joins the new colour with a slip stitch.
- Chain 3 and carry on with the round.
Starting each new colour in a different corner spreads the joins around the square, so no single corner gets bulky.
A time-saver: crochet over your tails as you work the next round. Lay the tail along the top of the previous round and work your clusters around it. You'll still want to weave the last couple of centimetres back with a needle so it's secure.
How big, and how many squares?
In worsted yarn with a 5 mm hook, a four-round square is about 13 cm (5 in) across, and a five-round square about 15 cm (6 in). Yours may differ. Make one, measure it, and work from your own number.
These counts use 13 cm (5 in) squares. The finished blanket will be a little larger once the joins and border are added.
| Blanket | Approximate size | Layout | Squares |
|---|---|---|---|
| Baby | 75 × 90 cm (30 × 35 in) | 6 × 7 | 42 |
| Lap throw | 100 × 130 cm (40 × 50 in) | 8 × 10 | 80 |
| Sofa throw | 130 × 150 cm (50 × 60 in) | 10 × 12 | 120 |
To work out your own: divide the blanket width you want by the width of one square, and do the same for the length. Multiply the two numbers together.
How much yarn?
Yarn use varies a great deal between crocheters, so treat any figure as an estimate. The reliable method is to weigh one finished square on kitchen scales and multiply by the number of squares, then add about 15% for joining and the border. Compare that with the weight on your yarn labels.
If you'd rather make fewer, bigger squares, keep adding rounds. Nine large squares in a 3 × 3 layout make a baby blanket with far fewer ends to weave in.
One giant granny square
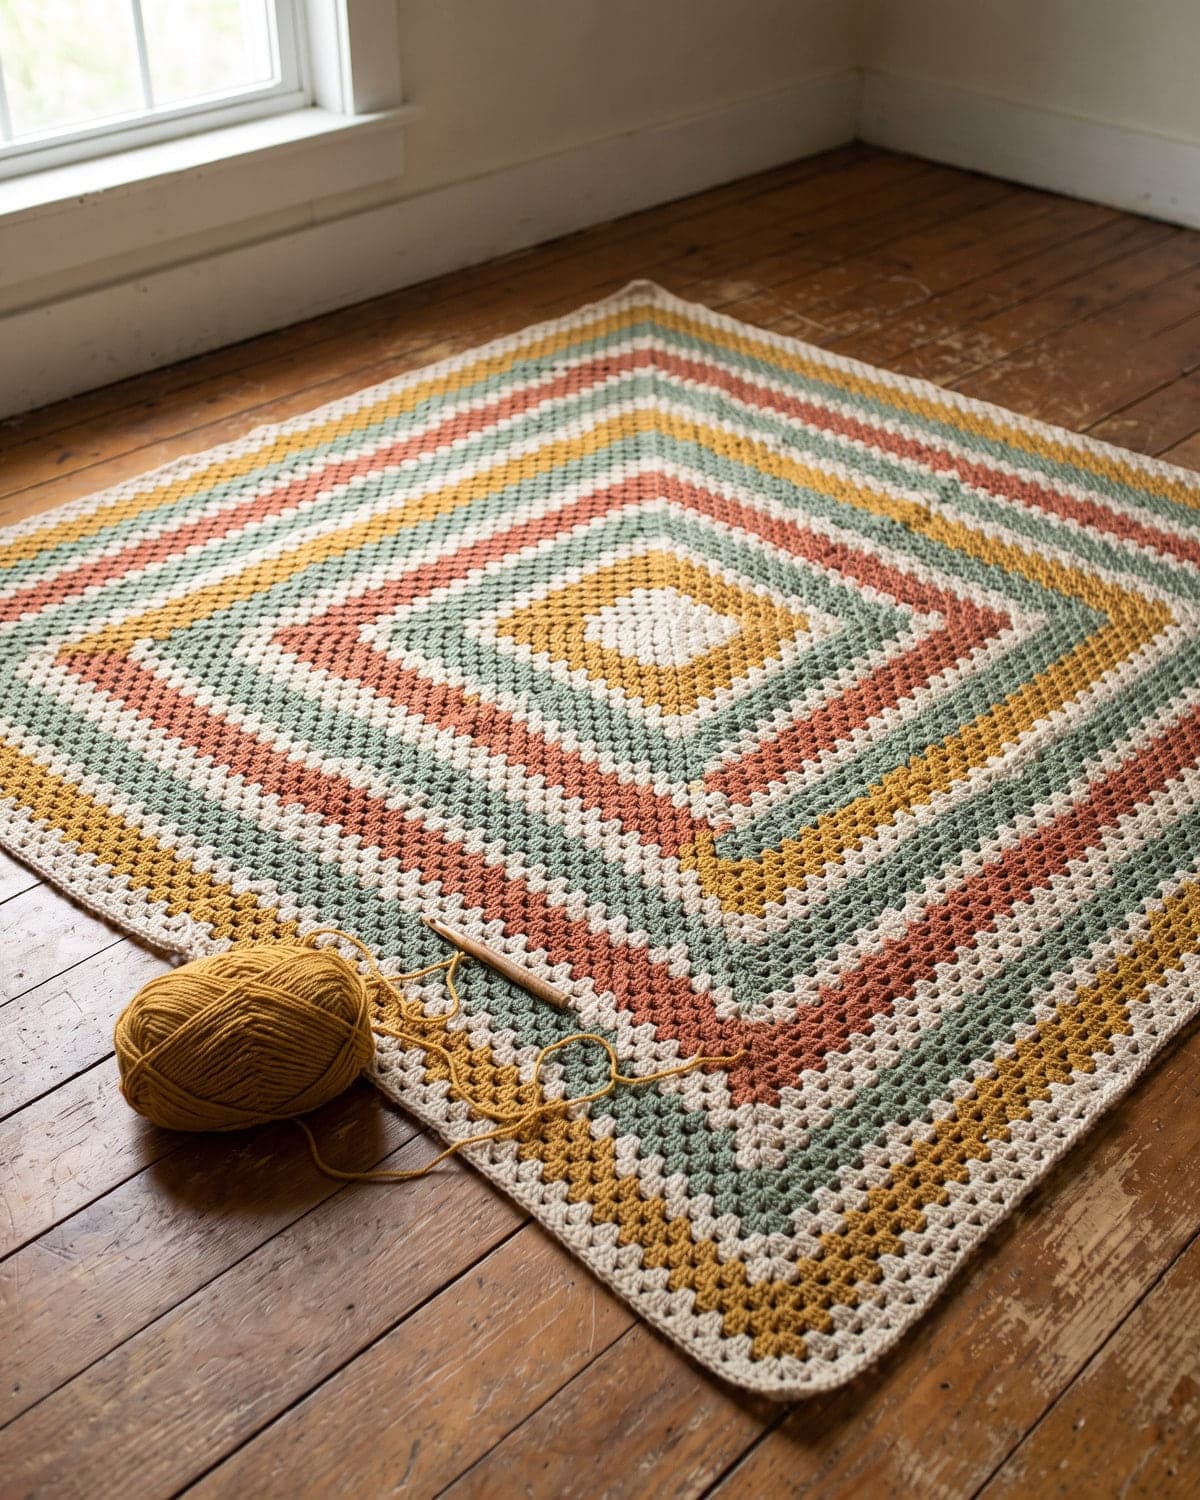
There's a shortcut for anyone who hates joining: don't stop. Keep working rounds on a single square until it's the size of a blanket. The pattern never changes: a corner in every corner space, a cluster in every side space. Change colour whenever you like.
A giant square can start to twist slightly, because every round travels in the same direction. To prevent that, turn your work at the end of each round: join, turn, slip stitch back into the corner space behind you, and work the next round in the opposite direction.
Blocking the squares
Blocking makes every square the same size with sharp corners, and it makes joining much easier.
- Pin each square to a foam mat or folded towel, stretching it gently to the size you want. A stack of squares can share the same four pins.
- Mist with water until damp, or hover a steam iron above the surface. Don't press acrylic with an iron, because it melts.
- Leave to dry completely.
How to join granny squares
Lay the squares out on the floor or a bed first, and move them around until you like the arrangement. Take a photo so you can refer to it. Join the squares into rows, then join the rows together.
Method 1: Whip stitch (flat and nearly invisible)
- Hold two squares with their right sides together.
- Thread a tapestry needle with a length of yarn about three times the width of the seam.
- Starting at the corner chain, pass the needle through the outer loops only of the matching stitches on both squares, the loops that sit furthest apart.
- Bring the needle around and through the next pair of loops in the same direction. Continue to the next corner.
Don't pull tight, or the seam will pucker. Sewing through the outer loops only leaves a neat line on the front.
Method 2: Slip stitch or single crochet join (fast, with a ridge)
- Hold two squares with their wrong sides together for a raised ridge on the front, or right sides together to hide it on the back.
- Insert your hook through both corner spaces, pull up a loop of your joining yarn, and chain 1.
- Work one slip stitch or single crochet through each pair of matching stitches and chain spaces along the edge.
- At the end of the squares, don't cut the yarn. Pick up the next pair of squares and keep going, so one length of yarn joins a whole row.
A single crochet ridge in a contrasting colour is a design feature in its own right.
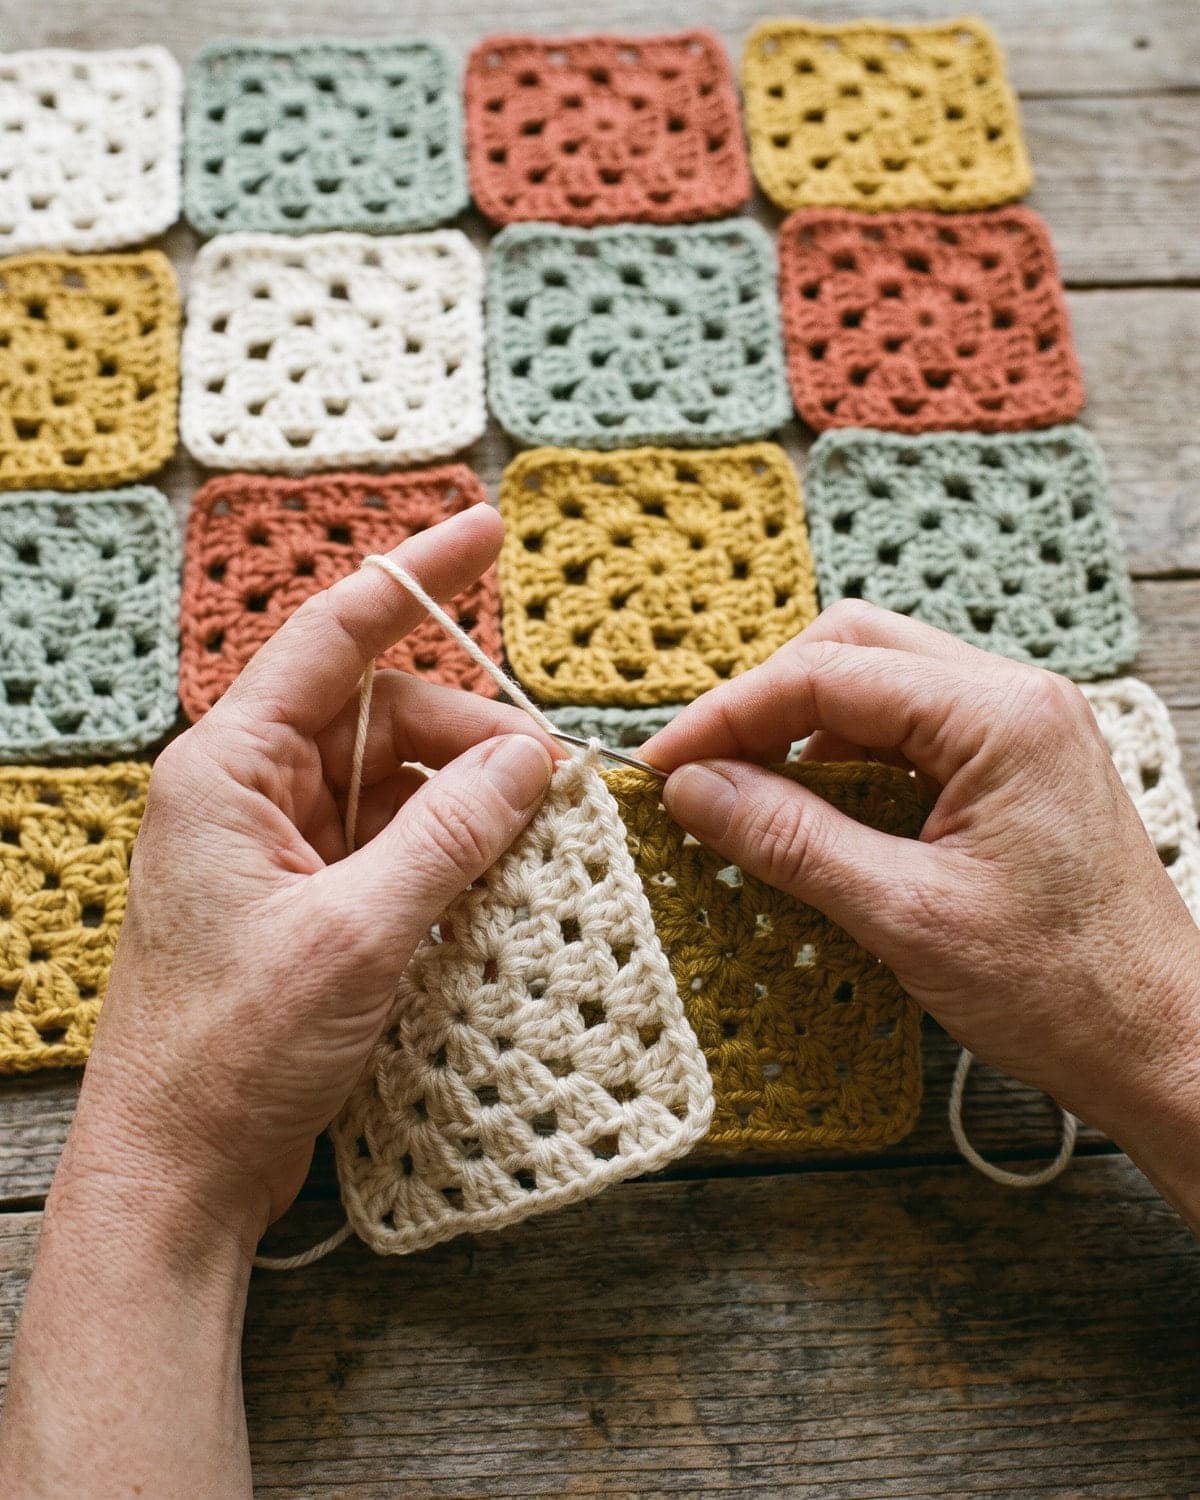 Whichever method you use, work every seam in the same direction, and match stitch for stitch so the squares don't drift out of line.
Adding a border
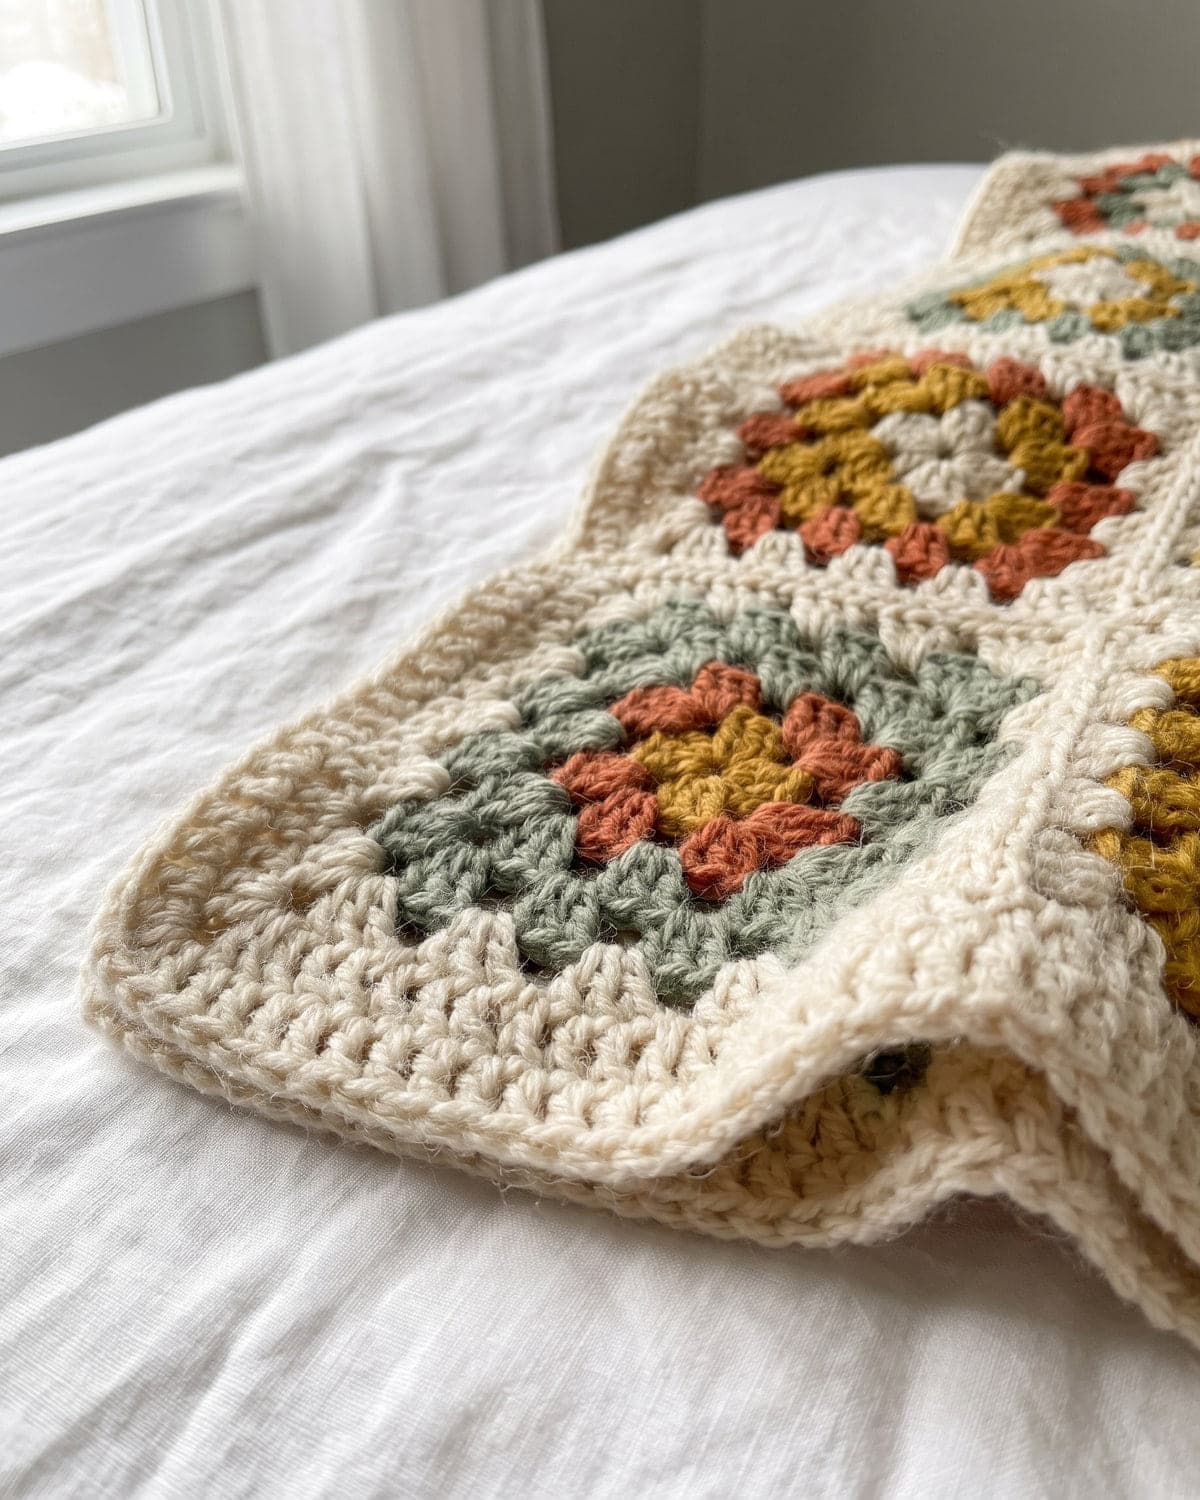
A border frames the squares and hides small differences in size.
Round 1: Join yarn in any corner space of the blanket. Chain 3, and work (2 dc, chain 2, 3 dc) in that corner. Continue the granny pattern around the whole blanket: chain 1, then 3 dc in each chain-1 space. Where two squares meet, work a cluster into each of the two corner spaces at the seam, with chain 1 between them. Make a (3 dc, chain 2, 3 dc) corner at each corner of the blanket. Join.
Round 2 (optional): Work a second granny round, or a round of single crochet: one sc in each double crochet and each chain-1 space, with 3 sc in each corner space.
If the border ruffles, there are too many stitches along the sides. Leave out the chain 1 between the two clusters at each seam. If it pulls in, add a chain.
Dealing with all those ends
A blanket of 80 two-colour squares has more than 300 yarn ends. A few habits keep them under control:
- Weave as you go. Finish the ends of each square before starting the next. It's far less daunting than facing them all at once.
- Crochet over tails wherever you can.
- Weave in two directions. Run the needle through the base of a cluster one way, then back the other way through a neighbouring cluster. Ends woven in a single line work loose in the wash.
- Leave tails long enough. About 10 to 15 cm (4 to 6 in) is easy to thread.
Common problems and fixes
My square is twisting or leaning. A slight swirl is normal in rounds worked in one direction, and blocking fixes it. For a large square, turn after each round.
My square is cupping. There are too few chains for your tension. Chain 2 between side clusters instead of 1, or use a larger hook.
My square is wavy. There are too many chains. Leave out the chain 1 between side clusters, or go down a hook size.
My corners are rounded. Make sure each corner has two clusters with two chains between them, and block the square.
My squares are different sizes. Tension changes from day to day. Block them all to the same measurement, and count the rounds.
I can't find the corner space. It's the gap made by the chain 2. Clip a stitch marker into it as soon as you make it.
The centre has a hole. Start with a magic ring instead of a chain-4 ring, and pull it closed.
Frequently asked questions
Is a granny square blanket good for beginners? Yes. It uses only chains, slip stitches and double crochet, and each square is a small, repeatable win.
How many granny squares do I need for a blanket? It depends on the size of the square and the blanket. With 13 cm (5 in) squares: about 42 for a baby blanket, 80 for a lap throw and 120 for a sofa throw.
What is the best yarn for a granny square blanket? Worsted-weight acrylic is the usual choice: washable, inexpensive and available in many colours. Cotton and wool both work well too.
How long does it take? A single square takes most people well under half an hour once they know the pattern. The whole blanket depends on how many squares you need and how often you pick it up.
What's the easiest way to join granny squares? A slip stitch or single crochet join is fastest. Whip stitch is the flattest.
Why is it called a granny square? The name has been used for this style of square for a long time, and its exact origin isn't certain. Wikipedia's article on the granny square covers its history.
More to make
Once you can make a granny square, you can make far more than blankets: join two for a pot holder, six for a cushion cover, or a dozen for a tote bag.
- Prefer a blanket with no joining at all? Try the chunky crochet blanket for beginners.
- Decorate a finished blanket with easy crochet flowers.
- If the pattern shorthand above was hard to follow, how to read crochet patterns explains brackets, asterisks and stitch counts.
Browse the blankets section for more ideas, or go back to how to crochet for beginners for the basics.
Save it for later
Pin this to your Pinterest board so it's there when you're ready to stitch.
Keep stitching
Related crochet projects
Blankets Chunky Crochet Blanket for Beginners: Easy One-Stitch Pattern
10 min read
Amigurumi Easy Crochet Octopus: Free Amigurumi Pattern for Beginners
10 min read
Clothing Easy Crochet Tote Bag for Beginners: One-Piece Pattern
11 min read
Seasonal Crochet Christmas Ornaments: 4 Easy Patterns for Beginners
12 min read