Crochet Bunny Pattern: Free Easy Amigurumi Rabbit
Crochet a sitting amigurumi bunny with long ears, small arms, round feet and a pompom tail. Every round with its stitch count, step-by-step assembly, floppy-ear and plush versions.
By AlixaPublished 11 min read
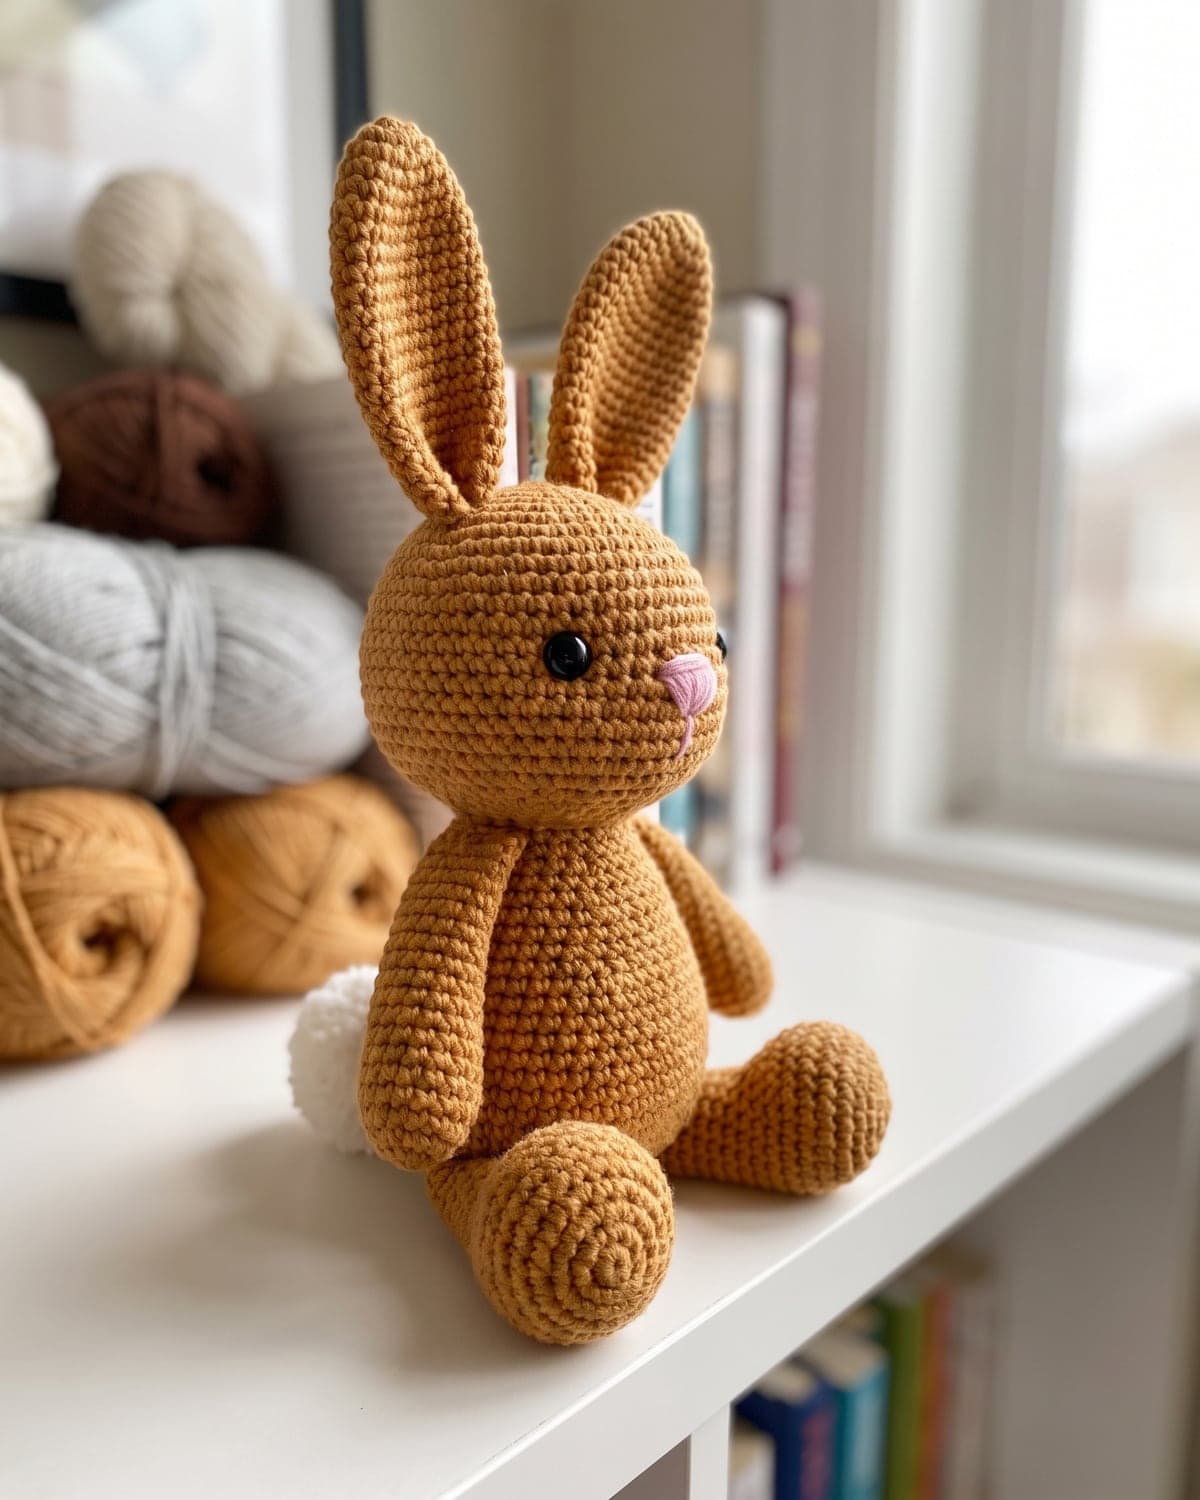
A crochet bunny is the toy everybody wants to make sooner or later. It's the classic Easter gift, a sweet present for a new baby's shelf and a lovely small project at any time of year. This one sits upright, with long ears, small arms, round feet and a fluffy tail. Every piece is a basic amigurumi shape, worked in single crochet.
This pattern gives each round with its stitch count. It explains where everything goes during assembly, which is what really decides how a bunny looks, and it finishes with variations: floppy ears, a bigger bunny, a plush one and a dressed-up one.
Terms used here: US crochet terms. Single crochet (sc) is called double crochet (dc) in UK terms.
About this pattern: it's a simple design written for this guide. Each round's stitch count has been checked so the numbers add up. The finished size is approximate, because it depends on your yarn, hook and how firmly you stuff.
At a glance
| Skill level | Beginner (confident with single crochet in the round) |
| Stitches | Magic ring, single crochet, increase, invisible decrease |
| Yarn | DK cotton (weight 3) in one main colour, plus white and pink |
| Hook | 3.5 mm (US E-4) |
| Finished size | About 16 to 18 cm (6.5 to 7 in) tall, including the ears |
| Construction | Nine pieces worked in a spiral, then sewn together |
What you need
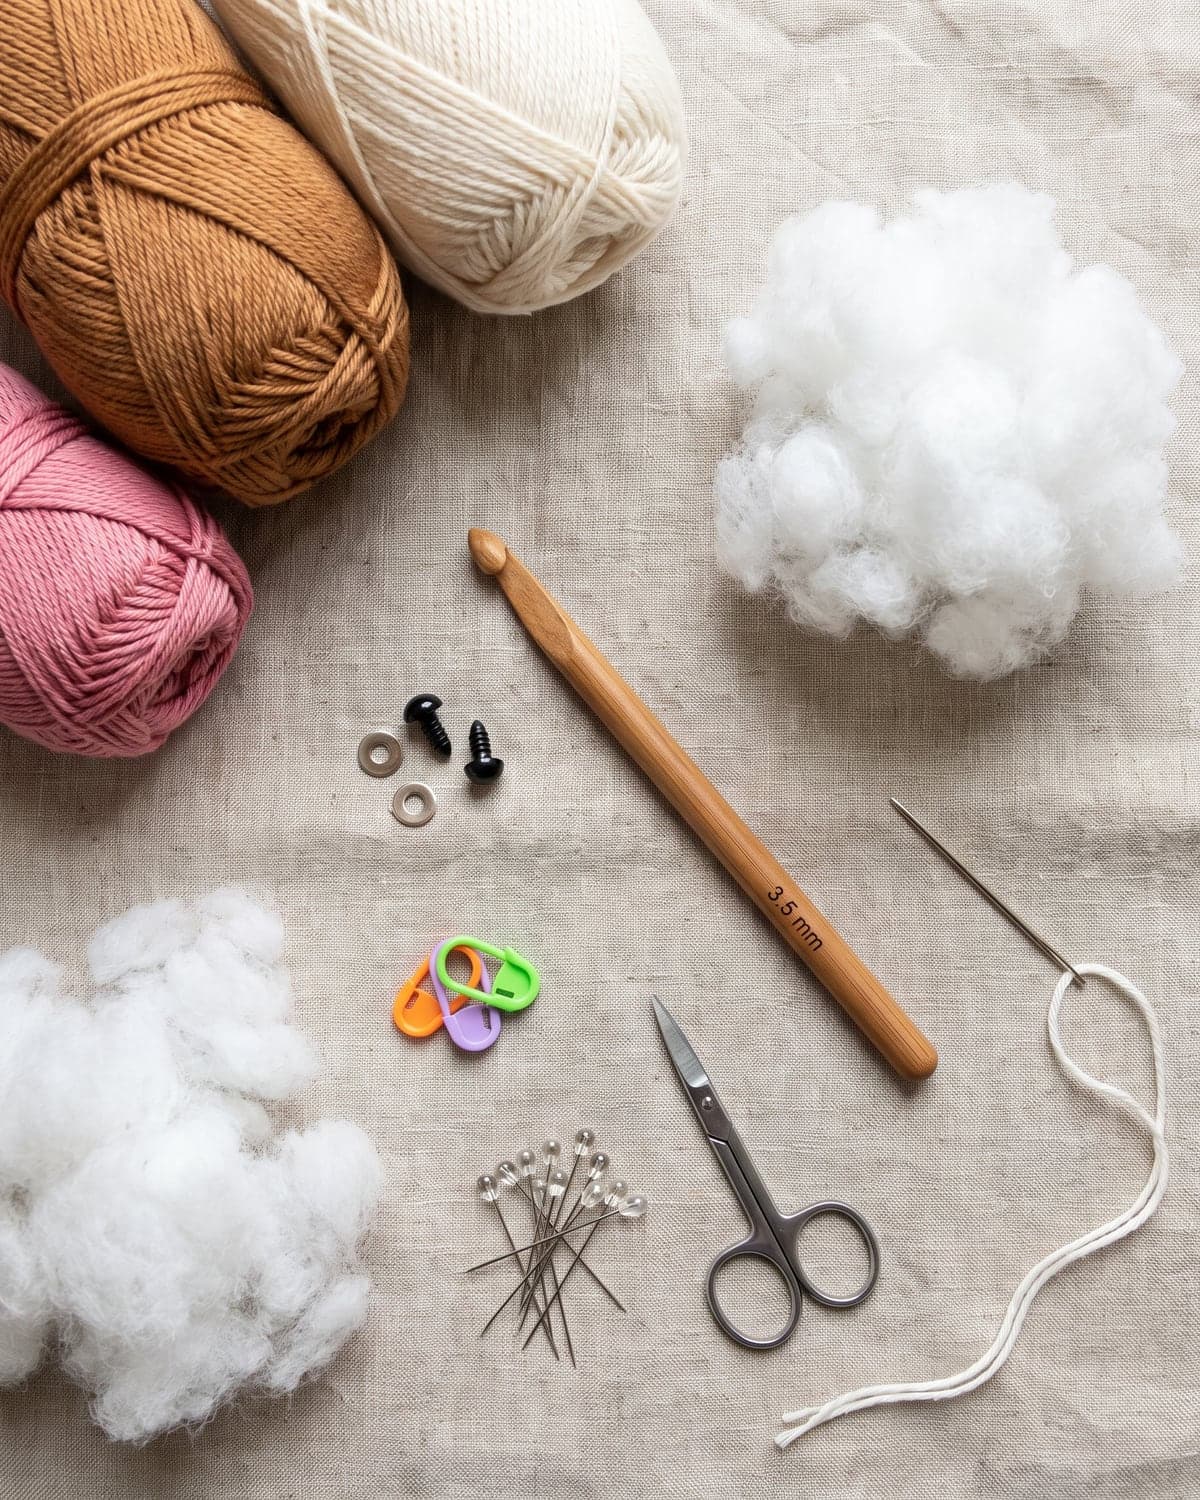
- DK cotton yarn in a main colour, about 70 m (77 yd). The bunny here is caramel brown. You also need a little white for the tail and a short length of pink for the nose. Amounts are estimates.
- A 3.5 mm (US E-4) hook. Smaller than the label suggests, so the fabric is tight.
- Polyester fibrefill stuffing.
- Two 8 mm safety eyes, or black yarn to embroider them.
- A locking stitch marker.
- A tapestry needle, scissors and plenty of pins.
A safety note before you start
Safety eyes are small, hard parts that can come off, and a pompom tail can be pulled apart. For a baby or a child under three, embroider the eyes, crochet the tail and sew every piece on very firmly. The US Consumer Product Safety Commission publishes guidance on small parts in toys for young children. Soft toys also shouldn't be left in a cot with a sleeping baby.
Techniques used
All of these are explained step by step in amigurumi for beginners.
- Magic ring. An adjustable loop that closes the centre of round 1. See how to crochet a magic ring.
- Working in a spiral. Rounds aren't joined. A stitch marker in the first stitch shows where each round begins.
- Increase (inc). Two single crochets in the same stitch.
- Invisible decrease (dec). Insert the hook under the front loops only of the next two stitches. Yarn over and pull through both front loops. Yarn over and pull through both loops on the hook.
Reading the pattern
R5: (3 sc, inc) × 6 (30) means: single crochet in each of the next three stitches, then increase in the next stitch. Do that six times. The round ends with 30 stitches. If the shorthand is unfamiliar, how to read crochet patterns explains it.
Bunny pattern
Use the main colour for everything except the tail. Work every piece in a continuous spiral.
Head
- R1: 6 sc in a magic ring (6)
- R2: inc in each stitch around (12)
- R3: (sc, inc) × 6 (18)
- R4: (2 sc, inc) × 6 (24)
- R5: (3 sc, inc) × 6 (30)
- R6: (4 sc, inc) × 6 (36)
- R7 to R12: sc in each stitch around, for 6 rounds (36)
Eyes: fit the safety eyes now, between rounds 9 and 10, about seven stitches apart. Push the posts through and look at the face before you commit. Once a washer clicks on, it doesn't come off. Press each washer on firmly from the inside.
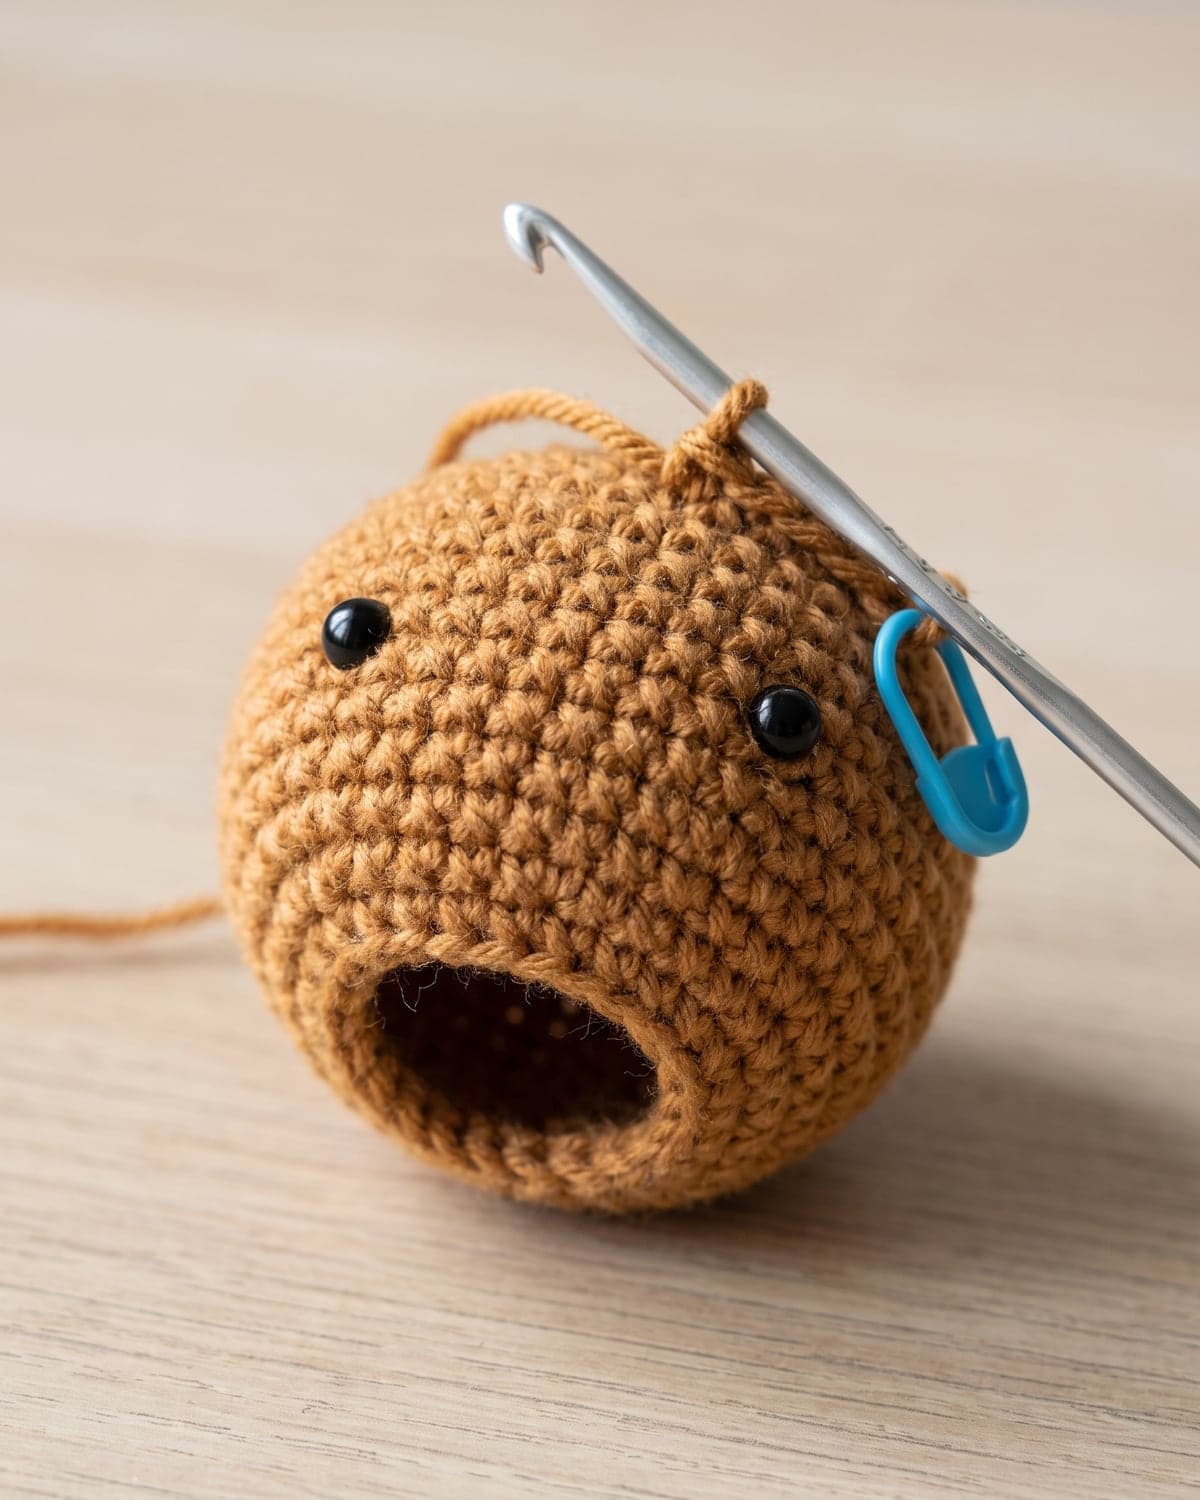
- R13: (4 sc, dec) × 6 (30)
- R14: (3 sc, dec) × 6 (24)
- R15: (2 sc, dec) × 6 (18)
Stuff the head firmly. Add the stuffing in small tufts and push it out to the cheeks, so the head is round.
- R16: (sc, dec) × 6 (12)
Slip stitch into the next stitch and fasten off, leaving a tail of about 30 cm (12 in). Leave the 12-stitch opening as it is. Top up the stuffing.
Body
The body starts at the bottom and narrows towards the neck.
- R1: 6 sc in a magic ring (6)
- R2: inc in each stitch around (12)
- R3: (sc, inc) × 6 (18)
- R4: (2 sc, inc) × 6 (24)
- R5: (3 sc, inc) × 6 (30)
- R6 to R9: sc in each stitch around, for 4 rounds (30)
- R10: (3 sc, dec) × 6 (24)
- R11 and R12: sc in each stitch around, for 2 rounds (24)
- R13: (2 sc, dec) × 6 (18)
- R14 and R15: sc in each stitch around, for 2 rounds (18)
Stuff the body firmly, especially at the base, so the bunny sits steadily.
- R16: (sc, dec) × 6 (12)
Slip stitch into the next stitch and fasten off. Weave in this end. Add a last bit of stuffing through the neck opening.
Ears (make 2)
- R1: 6 sc in a magic ring (6)
- R2: (sc, inc) × 3 (9)
- R3: (2 sc, inc) × 3 (12)
- R4 to R10: sc in each stitch around, for 7 rounds (12)
- R11: (2 sc, dec) × 3 (9)
- R12: sc in each stitch around (9)
Slip stitch and fasten off, leaving a 25 cm (10 in) tail. Don't stuff the ears. Press them flat.
Arms (make 2)
- R1: 6 sc in a magic ring (6)
- R2: (sc, inc) × 3 (9)
- R3 to R8: sc in each stitch around, for 6 rounds (9)
Slip stitch and fasten off, leaving a 20 cm (8 in) tail. Push a small pinch of stuffing into the hand end only. Leave the top of the arm empty, so it lies flat against the body.
Feet (make 2)
- R1: 6 sc in a magic ring (6)
- R2: inc in each stitch around (12)
- R3 and R4: sc in each stitch around, for 2 rounds (12)
- R5: (sc, dec) × 4 (8)
Slip stitch and fasten off, leaving a 20 cm (8 in) tail. Stuff lightly.
Tail
For a fluffy tail, wind white yarn about 40 times around two fingers. Tie it very tightly around the middle with a separate strand, cut the loops and trim the pompom into a small ball. Use the tying strand to sew it on.
For a crocheted tail, which is the safer choice for small children, use white:
- R1: 6 sc in a magic ring (6)
- R2: inc in each stitch around (12)
- R3: sc in each stitch around (12)
- R4: dec × 6 (6)
Stuff lightly before the last round. Fasten off with a 20 cm (8 in) tail.
Assembly
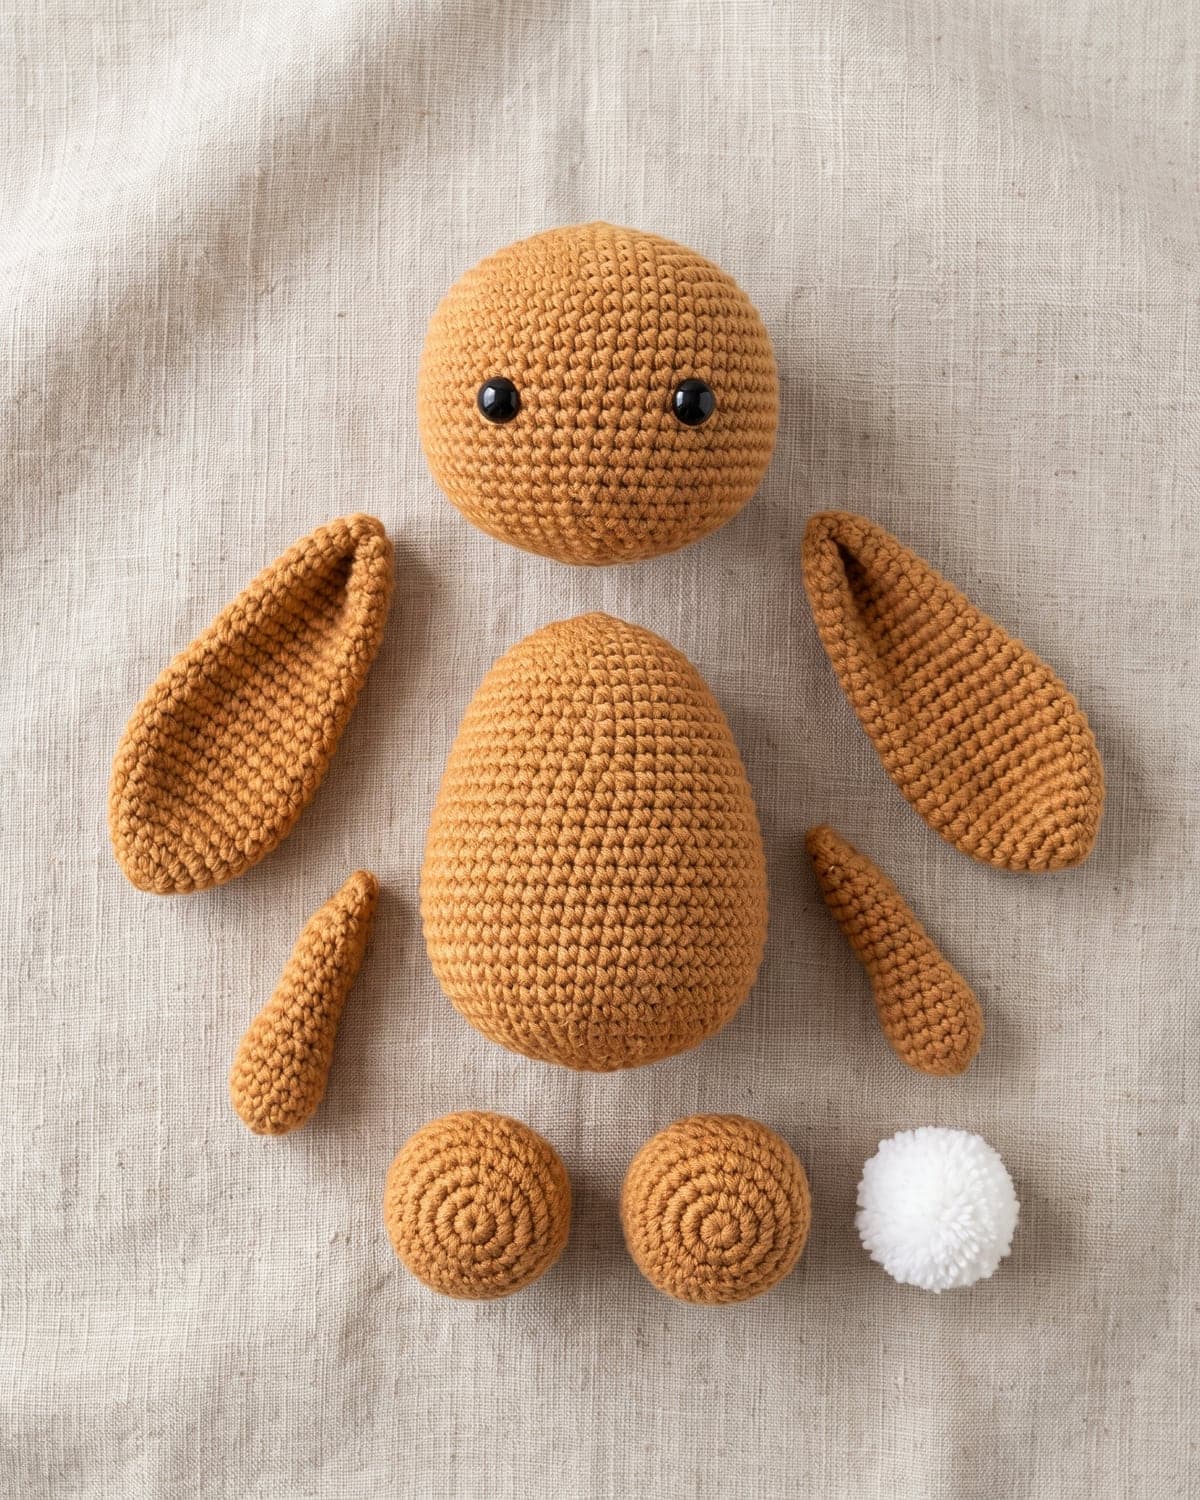
Lay out all nine pieces and pin everything before you sew anything.
- Join the head and body. Both openings have 12 stitches. Hold the head on top of the body with the face to the front. With the head's long tail, sew the two openings together stitch for stitch, going through both loops of each. Before you close the last few stitches, push in more stuffing so the neck is firm and the head doesn't wobble. Knot the yarn and hide the end inside.
- Pin the ears. Fold the open end of each ear in half, so it pinches into a slight cup. Pin the ears to the top of the head on round 3 or 4, about four stitches apart, with the cupped side facing forward.
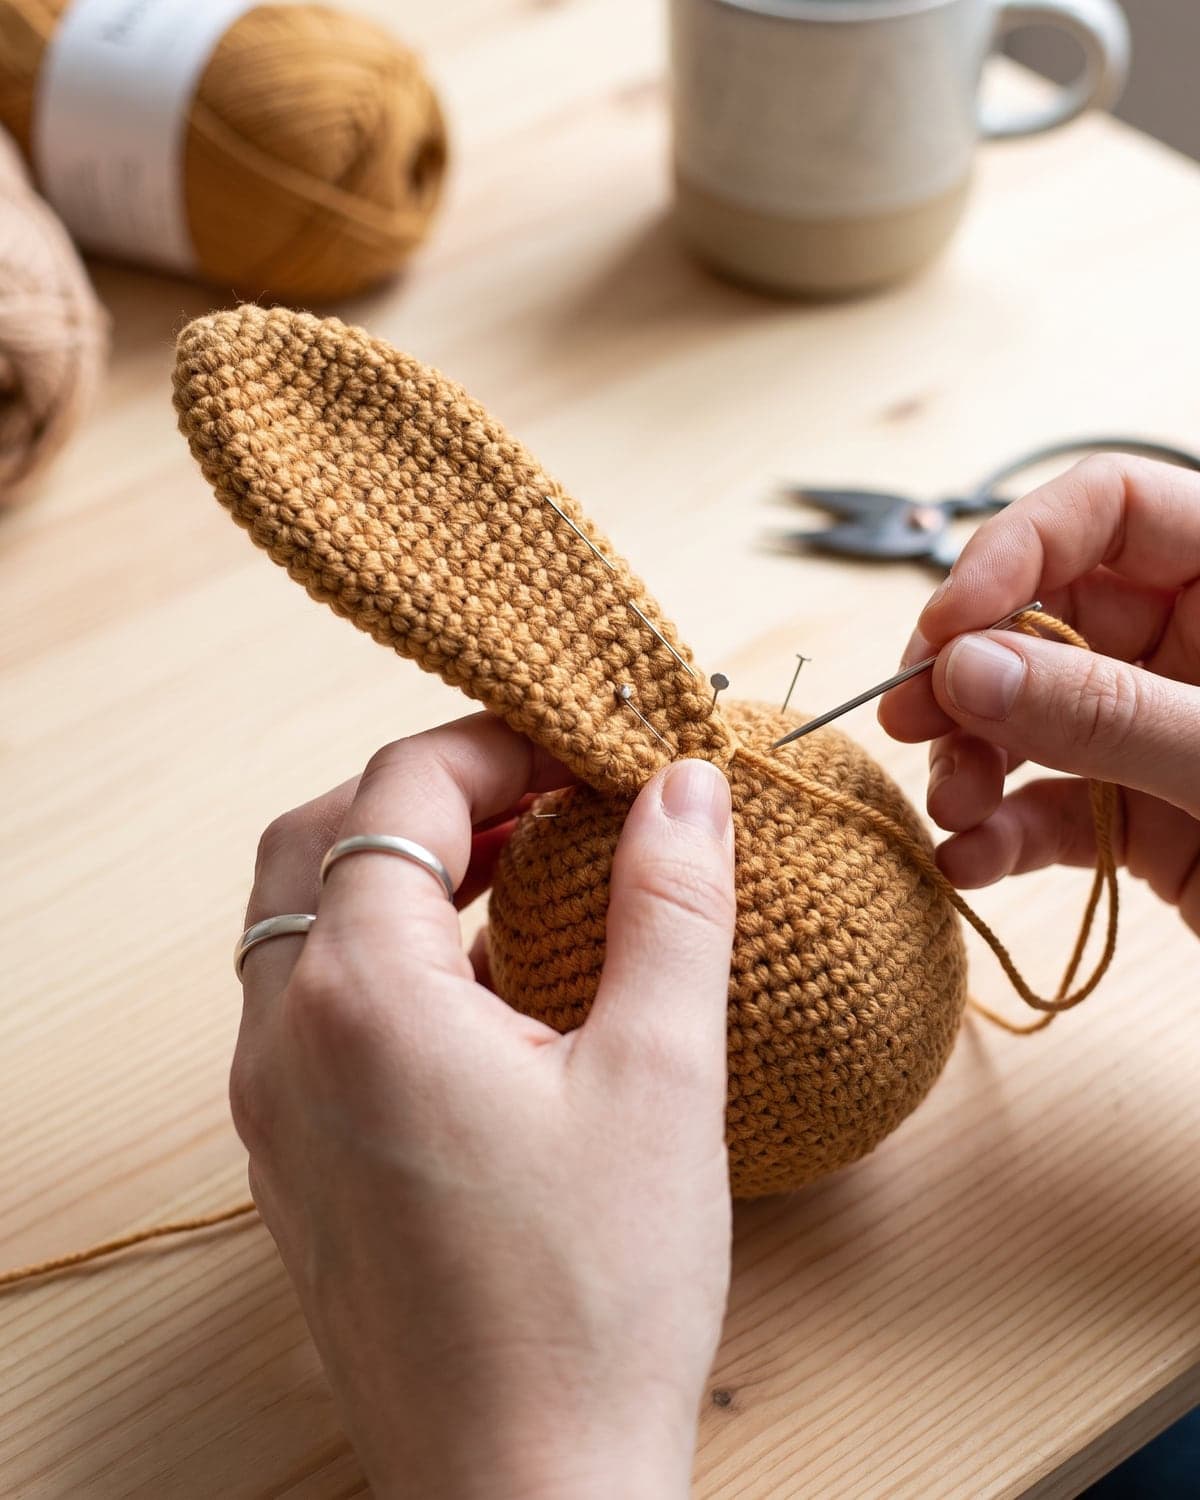 3. Sew the ears. Whip stitch around the base of each ear, front and back. Stitching both sides is what makes ears stand up.
4. Sew the arms. Flatten the top of each arm. Sew one to each side of the body at round 14, just below the neck, angled slightly forward.
5. Sew the feet. Pin the open end of each foot to the front of the body at rounds 3 to 5, about three stitches apart, so they stick out forwards. Sew around each one.
6. Sew the tail to the centre back at round 4.
7. Embroider the nose. With pink yarn, make three or four small horizontal stitches between the eyes, one round below them. Add a short vertical stitch below the nose and two short slanting stitches for the mouth, like a small Y.
8. Add cheeks if you like: two tiny pink stitches under the outer corner of each eye.
3. Sew the ears. Whip stitch around the base of each ear, front and back. Stitching both sides is what makes ears stand up.
4. Sew the arms. Flatten the top of each arm. Sew one to each side of the body at round 14, just below the neck, angled slightly forward.
5. Sew the feet. Pin the open end of each foot to the front of the body at rounds 3 to 5, about three stitches apart, so they stick out forwards. Sew around each one.
6. Sew the tail to the centre back at round 4.
7. Embroider the nose. With pink yarn, make three or four small horizontal stitches between the eyes, one round below them. Add a short vertical stitch below the nose and two short slanting stitches for the mouth, like a small Y.
8. Add cheeks if you like: two tiny pink stitches under the outer corner of each eye.
Hide every yarn end by running it through the stuffing and trimming it close.
Stand the bunny up. It should sit on its base, propped by its feet at the front and its tail at the back.
Variations
Floppy ears
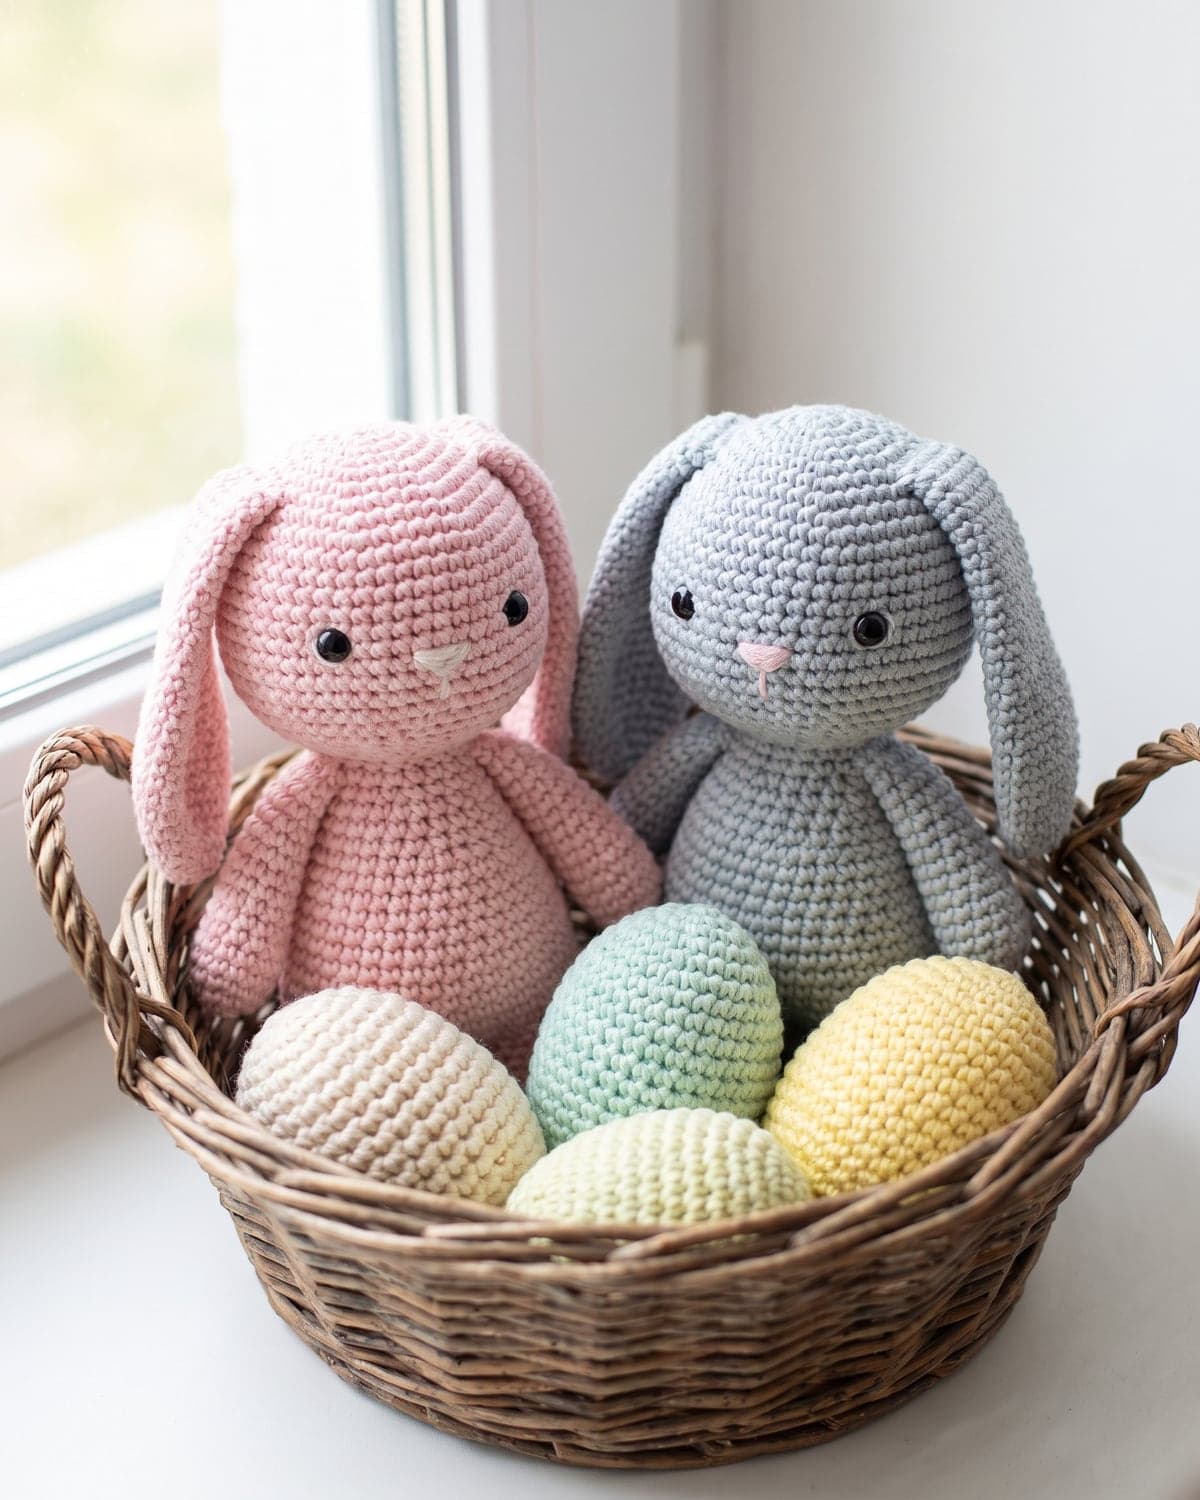
Sew the ears to the sides of the head at round 5, not the top, and let them hang down. For lop ears with more swing, add five more plain rounds to each ear.
A bigger bunny
Use worsted yarn with a 4.5 mm hook, or chenille yarn with a 5 or 6 mm hook, and follow the pattern exactly. Thicker yarn makes everything bigger without changing a number. A chenille bunny comes out roughly 28 to 30 cm tall and very soft. The stitches are hard to see in plush yarn, so use your stitch marker and count out loud.
A tiny bunny
Use fine cotton thread and a 2 mm hook for a pocket-sized bunny or a keyring.
White tummy and inner ears
Crochet a small white circle for the tummy: 6 sc in a magic ring, inc × 6 (12), (sc, inc) × 6 (18). Slip stitch, fasten off and sew it flat to the front of the body. For the ears, crochet two small flat ovals in pink and stitch them to the fronts.
Dress it up
- A scarf: chain 40, work one row of half double crochet, and tie it on.
- A bow: chain 10, work 2 rows of single crochet, pinch the centre and wrap it with yarn. Sew it at the neck or by one ear.
- A flower: add a small bloom from easy crochet flowers beside an ear.
- A carrot: in orange, work 6 sc in a magic ring, (sc, inc) × 3 (9), 3 plain rounds, (sc, dec) × 3 (6), 2 plain rounds, then close. Add three green chain loops at the top.
Choosing colours
- Natural: caramel, oat, grey, cream or chocolate brown.
- Easter pastels: pink, lilac, mint, pale yellow or baby blue.
- White bunny: classic, with pink inner ears. White shows every mark, so wash your hands before you work.
- Two-tone: main colour with white feet, tail and tummy.
Light and medium colours show your stitches most clearly while you're learning.
Tips for a neat finish
- Keep your stitches tight. If stuffing shows through, go down a hook size.
- Count every round. Each increase round adds six stitches, and each decrease round removes six.
- Use the invisible decrease. The surface stays smooth.
- Stuff the neck well. A wobbly head is the most common problem with sitting toys.
- Pin, look, then sew. Take a photo of the pinned bunny. Uneven ears show up in a photo straight away.
- Set the eyes low and wide. Eyes on the lower half of the head look much cuter than eyes placed high.
- Keep the face small. A tiny nose close to the eyes reads as sweet. A large one changes the whole expression.
Common problems and fixes
The head wobbles. The neck is under-stuffed. Unpick a few stitches and add more. For a large bunny, a wooden craft stick or a roll of felt in the neck helps.
The ears flop. Stitch all the way around the base, front and back. For upright ears in soft yarn, slide a pipe cleaner with folded ends inside each ear. Use this only for decorations, never for a child's toy.
The ears are uneven. Count the stitches from the centre top of the head to each ear. They should match.
The bunny tips forward. Add more stuffing at the back of the base, or move the tail lower so it works as a prop.
The bunny tips backward. Sew the feet a little lower and further forward.
The head is pointed. The magic ring wasn't pulled tight, or round 2 is short of stitches. Check for 12.
There are gaps between the stitches. The hook is too large for the yarn.
Frequently asked questions
Is a crochet bunny easy for beginners? Yes, if you can single crochet in the round. There are more pieces to sew than on a ball-shaped toy, but each one is simple.
How long does it take to crochet a bunny? About five to six hours, including sewing. Most people spread it over two or three evenings.
How much yarn do I need? Roughly 70 metres of DK yarn in the main colour, plus scraps of white and pink.
What's the best yarn for a crochet bunny? Smooth cotton or acrylic for a first one. Chenille makes the softest bunny, once you're confident counting stitches.
Is it safe for babies? With embroidered eyes, a crocheted tail and very secure sewing, it's suitable as a supervised toy. Follow the safety note above.
Can I wash it? Hand wash in cool water with mild soap, press out the water in a towel, reshape and dry flat.
Can I sell bunnies made from this pattern? Yes. You're welcome to sell what you make.
What to make next
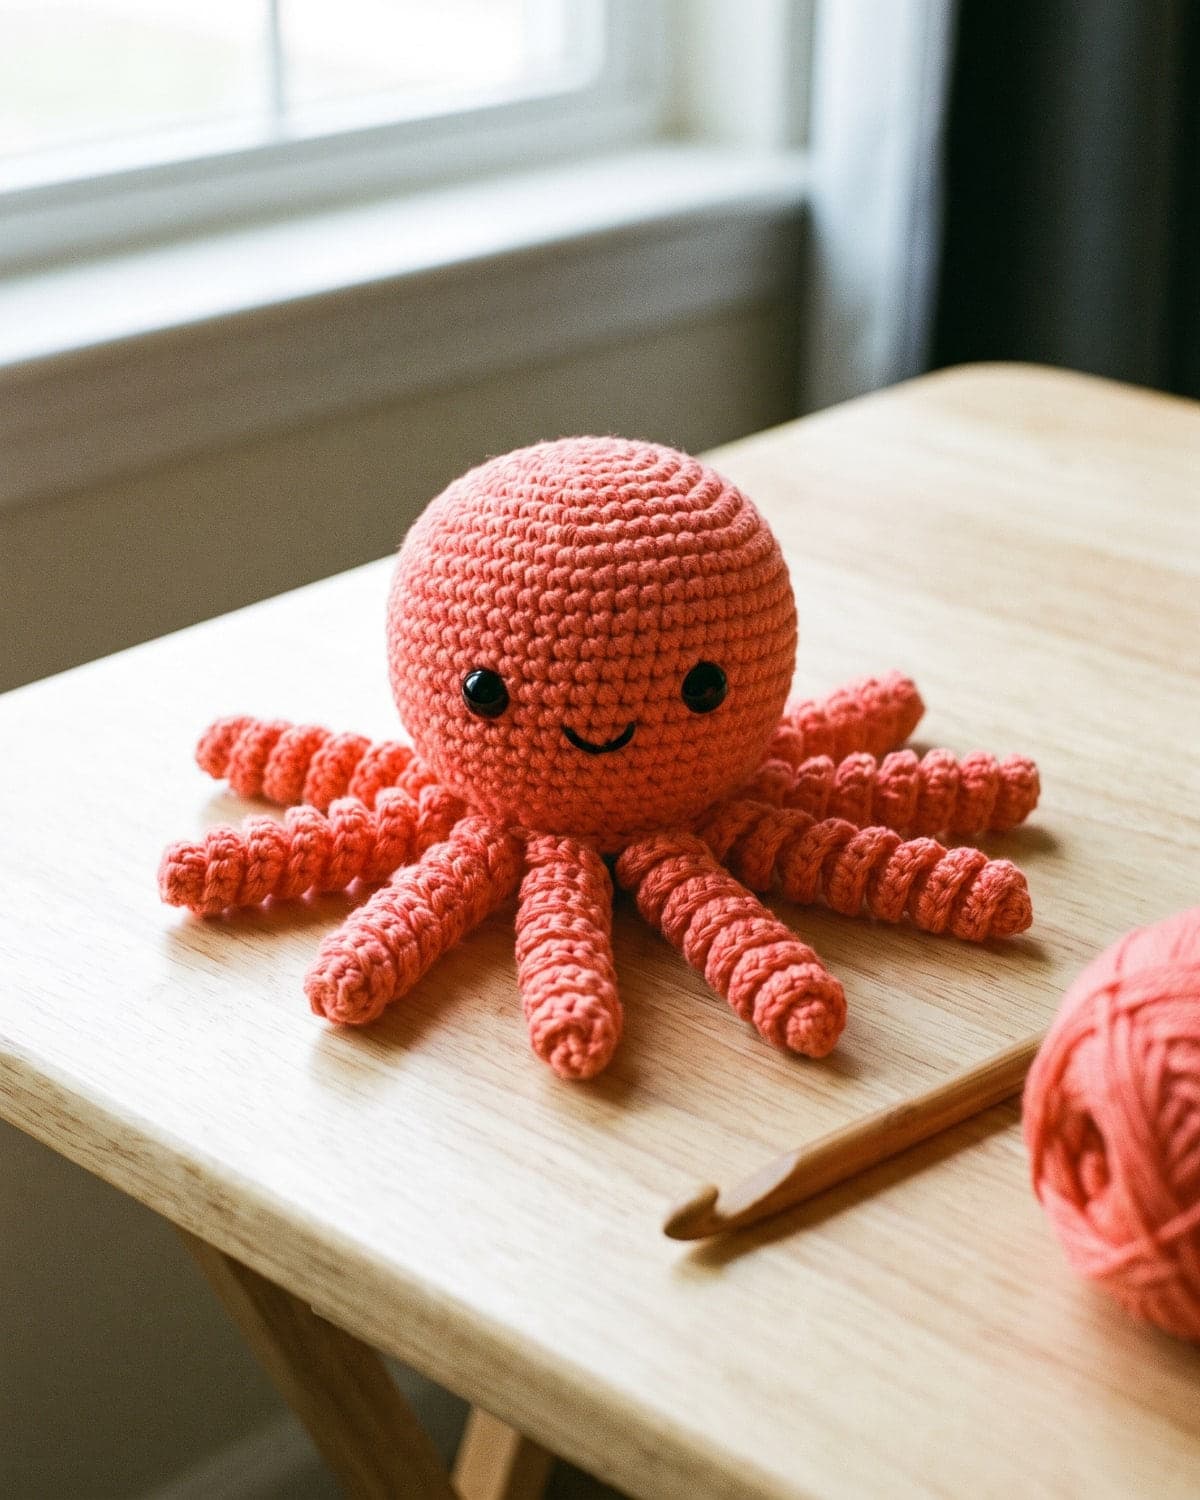
- For a quick toy with very little sewing, make the easy crochet octopus.
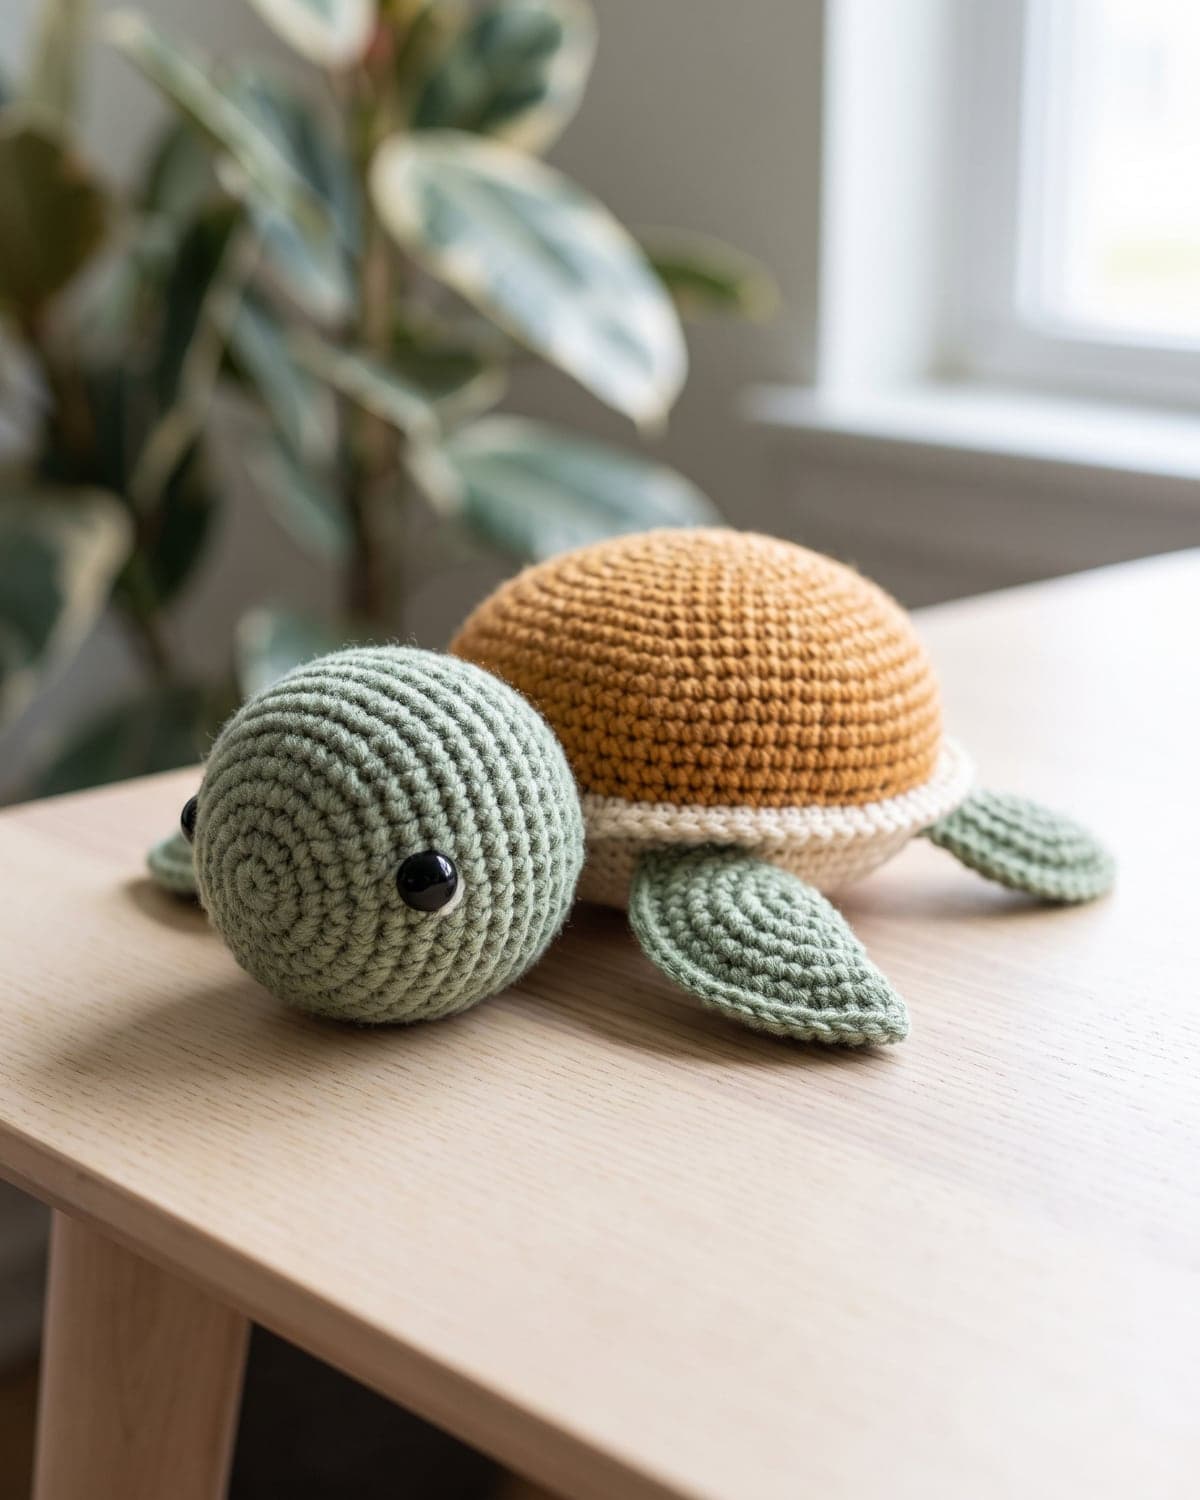
- For a shell, flippers and a clever join, try the crochet turtle pattern.
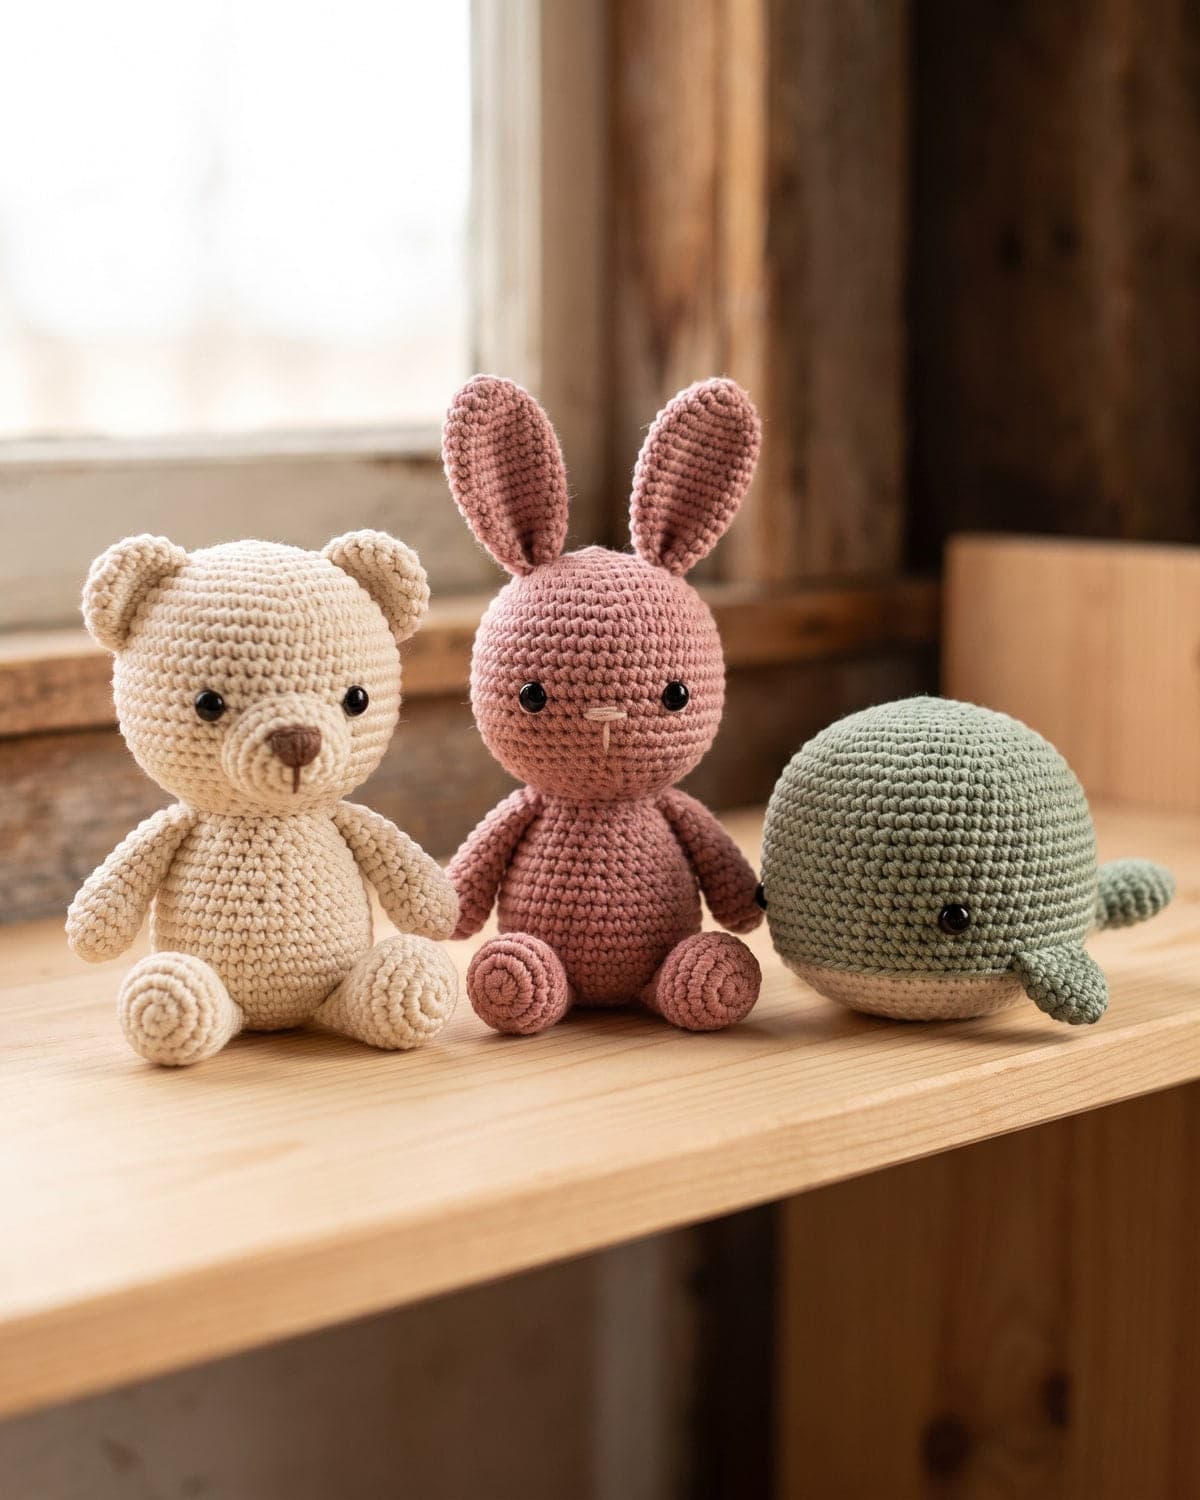
- For the basics and a first bear, see amigurumi for beginners.
- For Easter and spring, pair the bunny with a few easy crochet flowers.
More toys are in the amigurumi section. The history of the craft is covered in Wikipedia's article on amigurumi.
Save it for later
Pin this to your Pinterest board so it's there when you're ready to stitch.
Keep stitching
Related crochet projects
Amigurumi Crochet Turtle Pattern: Free and Easy Amigurumi for Beginners
11 min read
Amigurumi Amigurumi for Beginners: How to Crochet Your First Animal
10 min read
Amigurumi Easy Crochet Octopus: Free Amigurumi Pattern for Beginners
10 min read
Clothing Easy Crochet Scarf for Beginners: One Stitch, Free Pattern
10 min read