Easy Crochet Scarf for Beginners: One Stitch, Free Pattern
A first crochet scarf in chunky yarn and one stitch. Learn the pattern, how to keep the edges straight, how to join a new skein and add fringe, with eight easy variations.
By AlixaPublished 10 min read
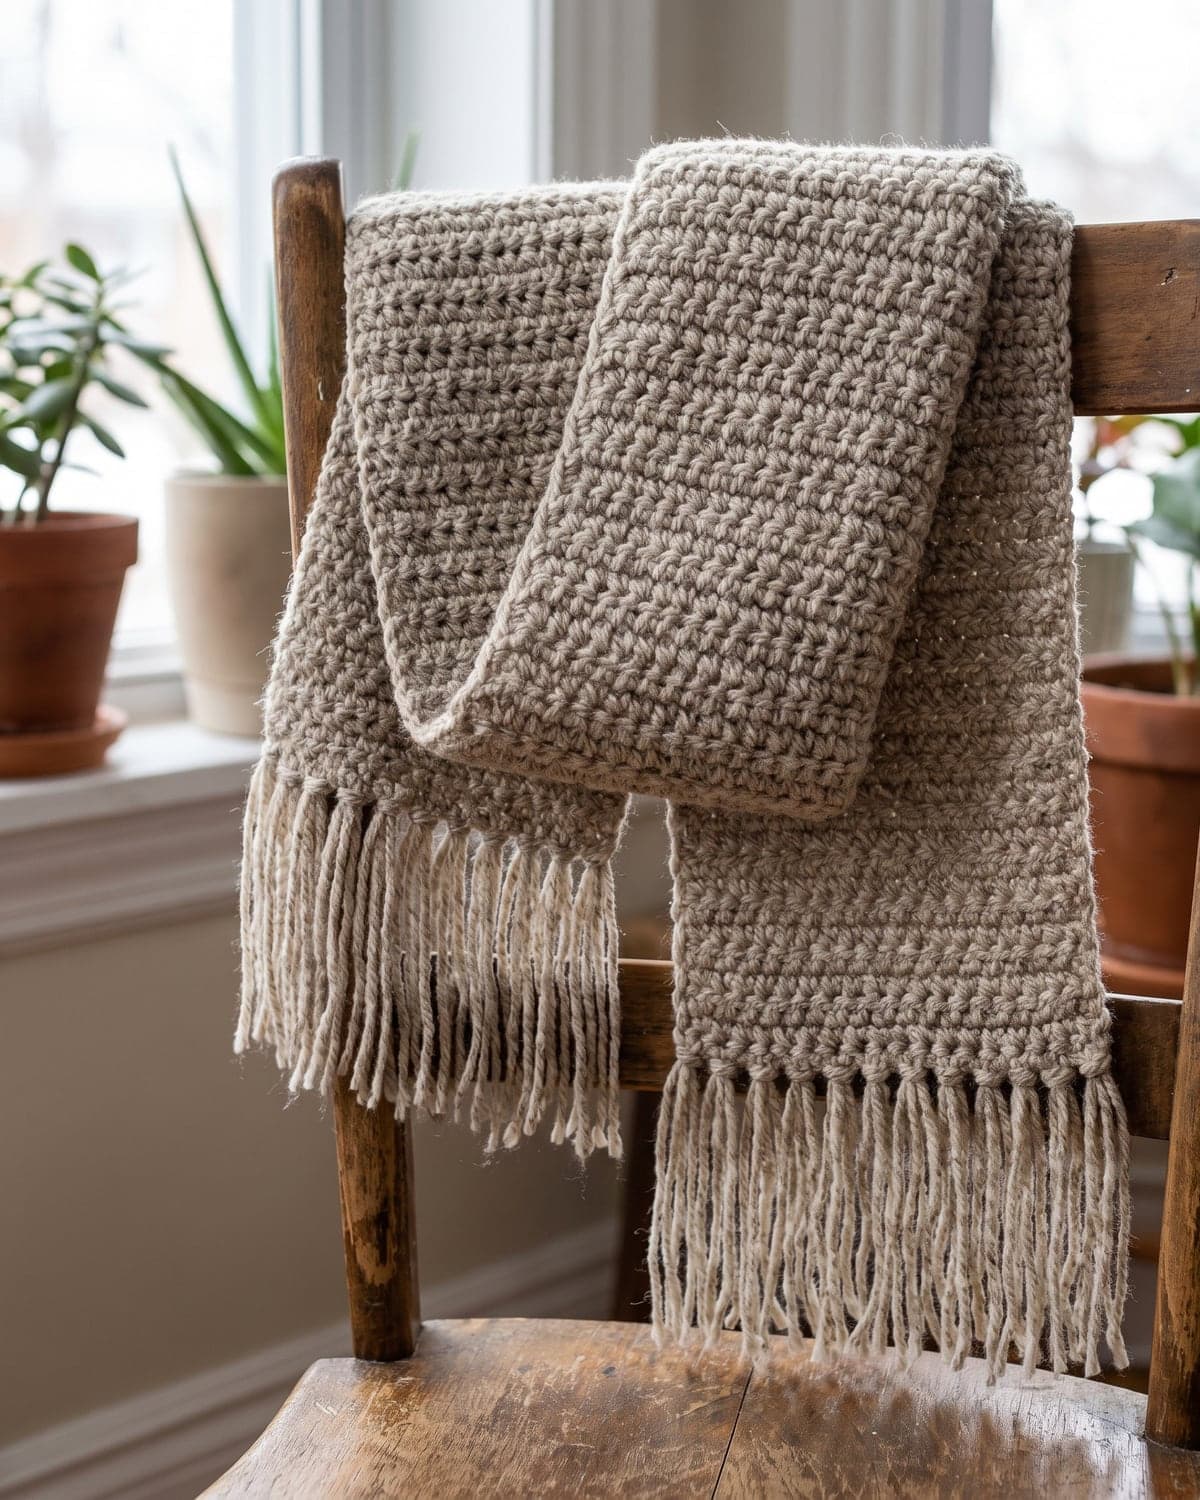
A scarf is the traditional first crochet project, and for good reason. It's a long rectangle. There's no shaping, no sewing and no fitting. You learn one stitch, repeat it until the scarf is long enough, and finish with something warm that you'll really wear.
This scarf uses chunky yarn and a large hook, so it grows quickly, and one stitch, the half double crochet. The guide covers the pattern, how to keep the edges straight, which is the one thing every beginner struggles with, how to join a new ball, how to add fringe, and eight ways to vary it.
Terms used here: US crochet terms. Half double crochet (hdc) is called half treble crochet (htr) in UK terms.
About this pattern: it's a simple design written for this guide. The stitch counts have been checked. Sizes and yarn amounts are estimates, because they depend on your yarn and tension.
At a glance
| Skill level | Complete beginner |
| Stitches | Chain, half double crochet |
| Yarn | Chunky / bulky (weight 5), about 250 m (275 yd) |
| Hook | 8 mm (US L-11) |
| Finished size | About 18 cm wide × 170 cm long (7 × 67 in), plus fringe |
| Construction | Worked flat in rows |
| Time | Four to six hours |
What you need
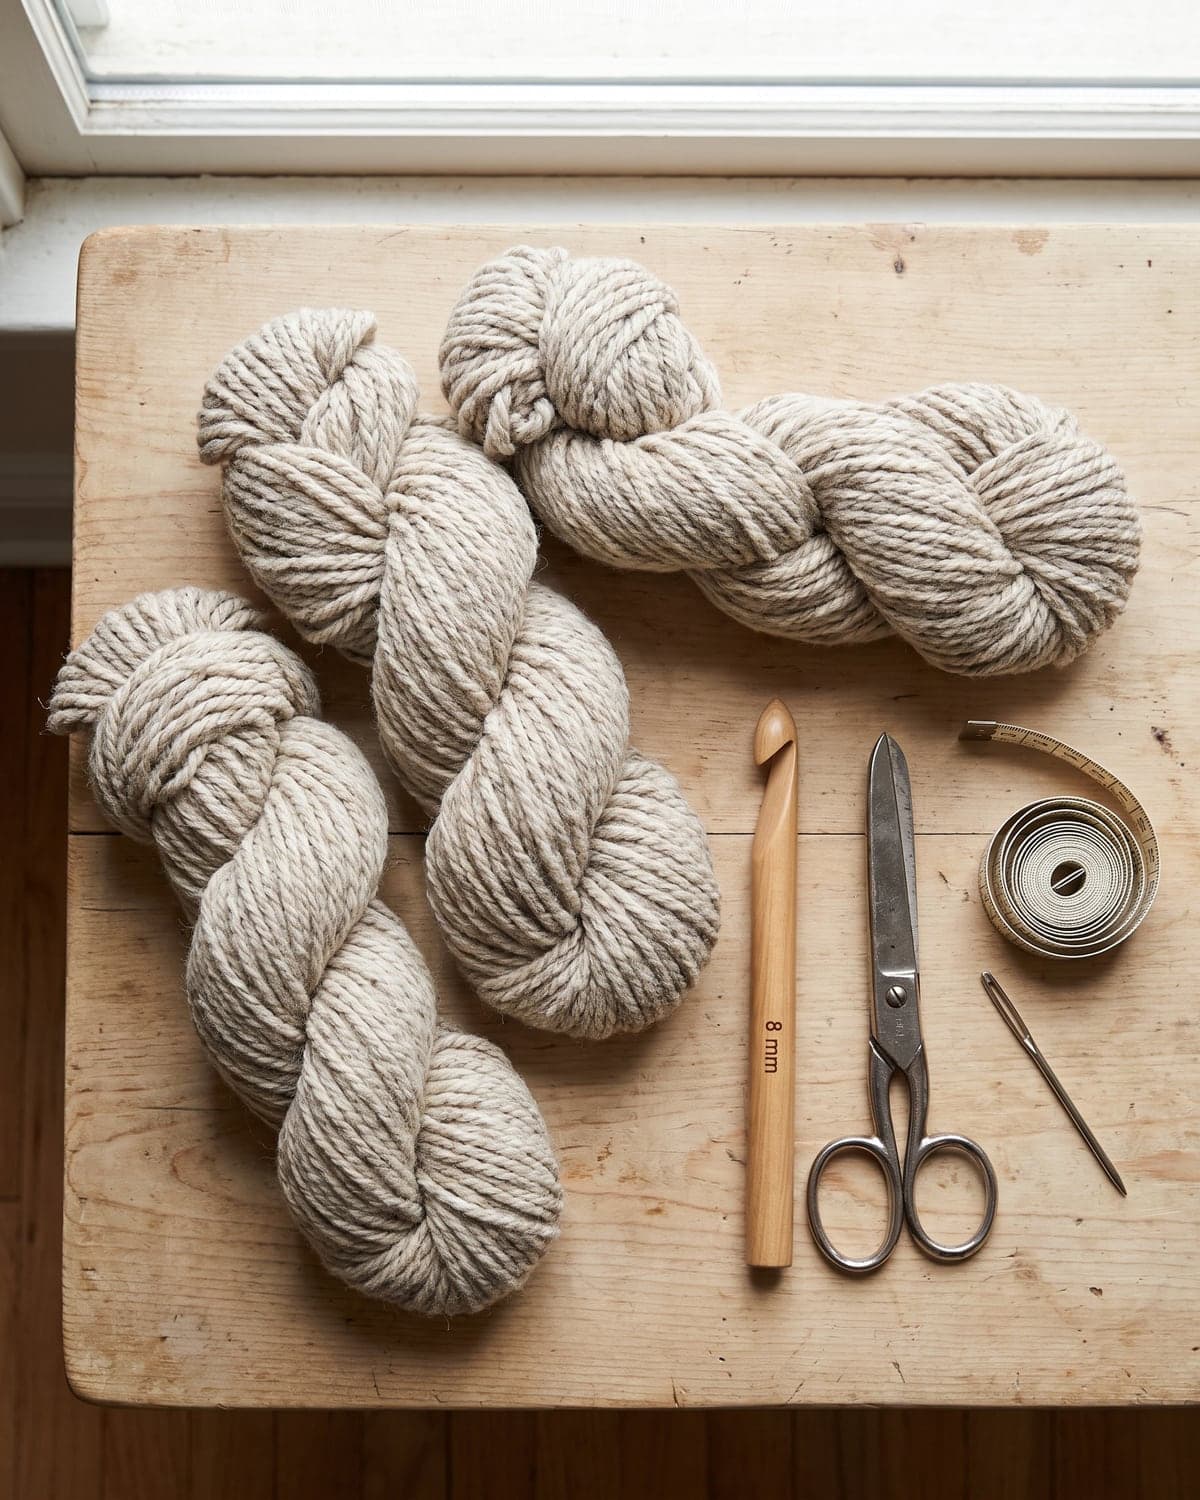
- Chunky yarn (weight 5). About 250 m (275 yd). That's often three 100 g skeins, but check the length on the label, not the weight. Allow about 15 m more for fringe.
- An 8 mm (US L-11) hook.
- Scissors.
- A large blunt tapestry needle for weaving in ends.
- A tape measure.
- Two locking stitch markers. These are the secret to straight edges.
Choosing yarn for a scarf
A scarf sits against your neck, so softness comes first.
- Wool blends are warm and springy. Look for "merino" or "soft" on the label if ordinary wool makes you itch.
- Acrylic is soft, washable and inexpensive. It's a very good choice for a first scarf.
- Avoid fluffy, bouclé and very dark yarns to begin with. You need to see your stitches.
Hold the ball against your neck for a few seconds in the shop. If it prickles there, it will prickle as a scarf.
The Craft Yarn Council's yarn weight system explains the numbers on yarn labels.
Why half double crochet?
Half double crochet is the best scarf stitch for beginners. It's taller than single crochet, so the scarf grows faster. It's denser than double crochet, so there are no gaps for the wind. And the fabric is soft and bends easily.
How to make a half double crochet:
- Yarn over.
- Insert the hook into the stitch.
- Yarn over and pull up a loop. You have three loops on the hook.
- Yarn over and pull through all three loops.
If you've never held a hook before, start with how to crochet for beginners. It covers the slip knot, the chain and how to hold the yarn.
Gauge
About 9 stitches and 7 rows measure 10 cm (4 in).
Gauge doesn't matter much for a scarf. If yours is a little wider or narrower, it's still a scarf. It does affect how much yarn you use, so if your stitches are loose, buy an extra skein.
Scarf pattern
Foundation
Make a slip knot and chain 17. Keep the chains loose and even. If your chain is tight, the first end of the scarf will be narrower than the rest. Using a 9 mm hook for the chain alone solves that.
Row 1
Half double crochet in the 2nd chain from the hook, and in each chain across. (16 stitches)
Count them. Sixteen is your number for the whole scarf.
Row 2
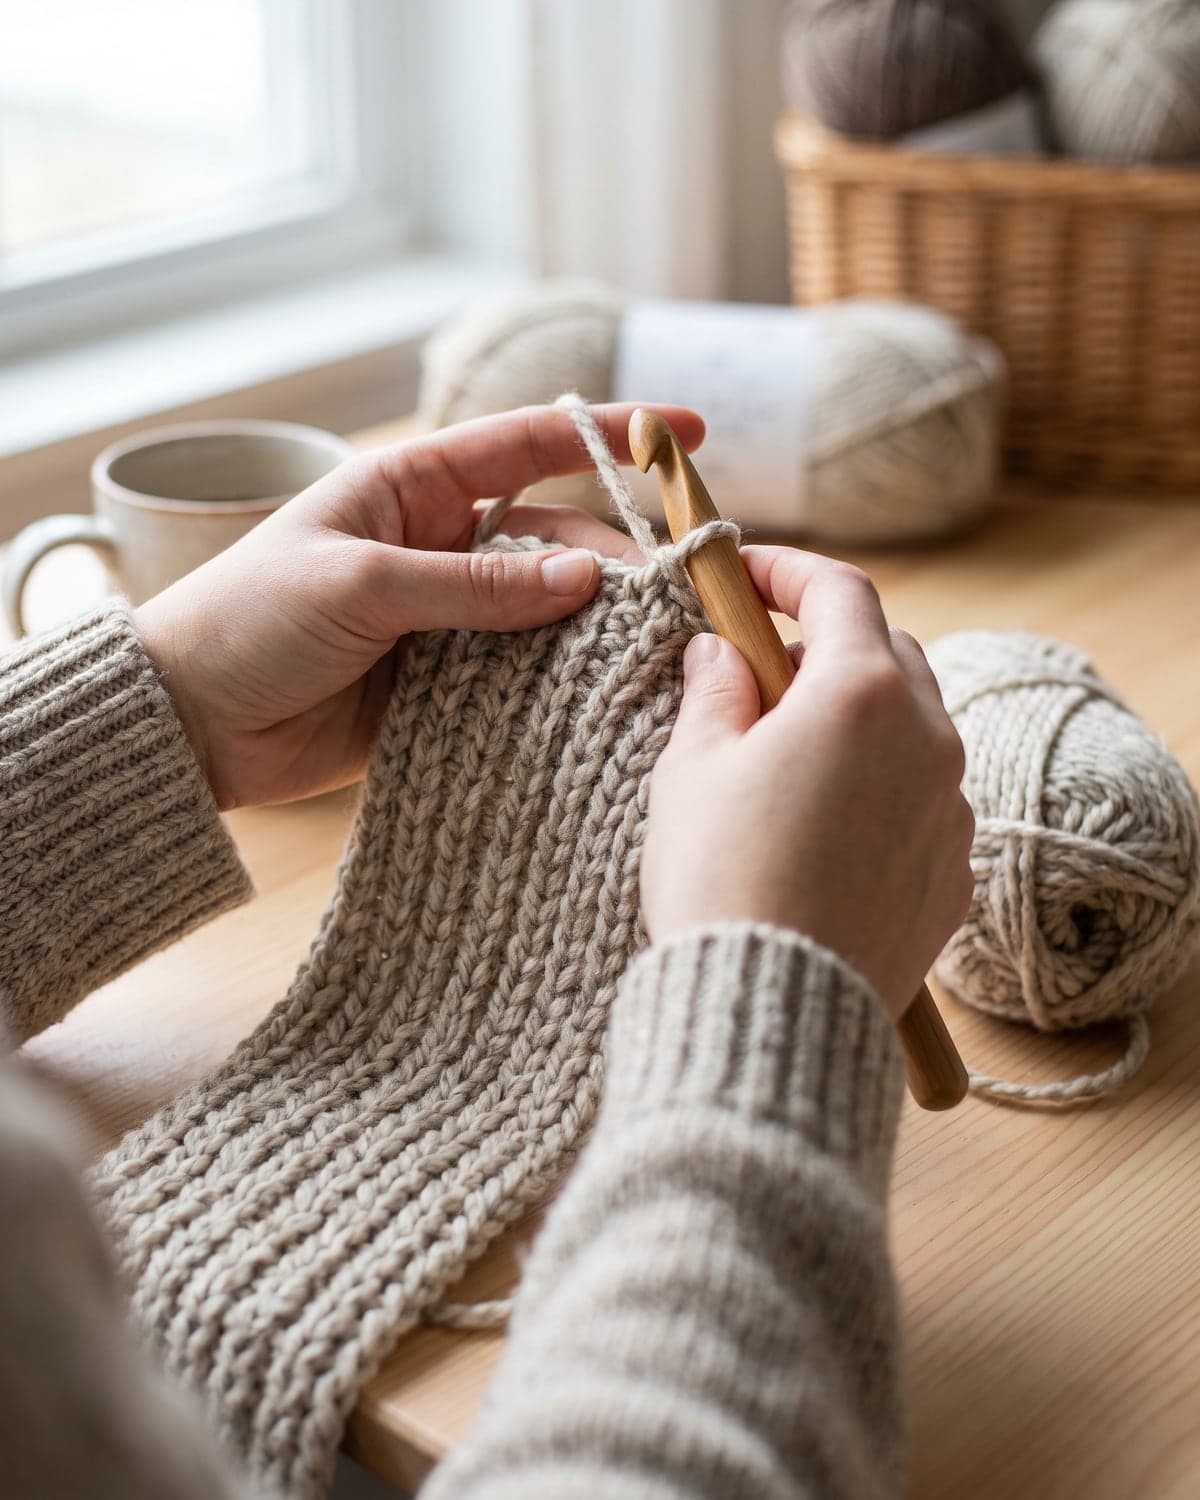
Chain 1 and turn. The chain doesn't count as a stitch. Half double crochet in the very first stitch, and in each stitch across. (16 stitches)
Repeat
Repeat row 2 until the scarf measures about 170 cm (67 in), or until you've nearly finished your yarn. That will be around 120 rows.
A good rule for length: a scarf should be about as long as its wearer is tall. That's enough to wrap once around the neck with both ends hanging.
Fastening off
After your last stitch, cut the yarn with a 15 cm (6 in) tail. Yarn over, pull the tail all the way through the loop on the hook, and tug it tight.
How to keep the edges straight
This is the part that matters most. Nearly every beginner's first scarf gets narrower or wider as it grows. It happens for one reason: the first or the last stitch of the row is missed or doubled.
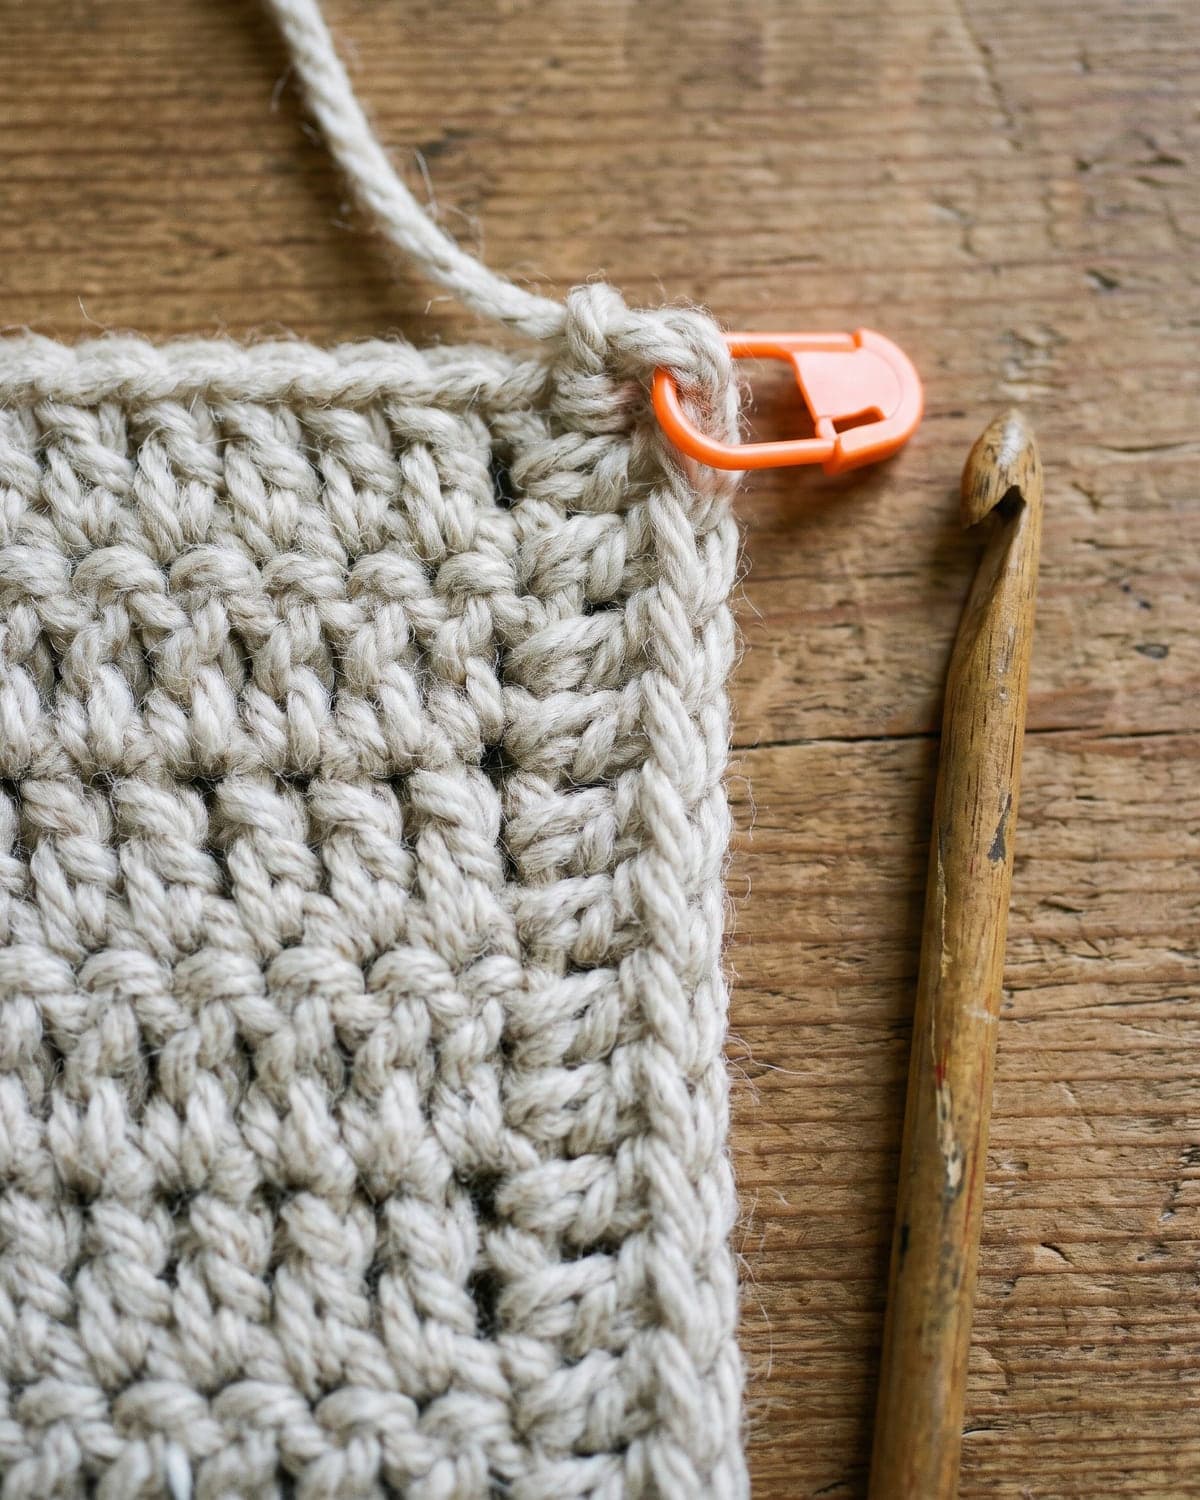 Use two stitch markers.
- When you make the first stitch of a row, clip a marker into the top of it.
- Work across the row. Your last stitch goes into the stitch that holds the marker from the row before. Take that marker out, make the stitch, and you're at the edge.
- Chain 1, turn, make the first stitch and clip the marker into it.
With a marker at each edge, you always know where the row begins and ends.
Three rules to remember:
- The turning chain is not a stitch. Don't work into it at the end of a row.
- The first stitch goes into the very first stitch, right at the base of the turning chain.
- Count to 16 at the end of every row until you can see the edge clearly without counting.
If your count is ever wrong, look at the row you've just made. It's much quicker to pull out one row than to carry on and hope.
Joining a new skein
You'll need to join new yarn twice in this scarf.
At the end of a row (the neatest way): work the last half double crochet until three loops are on the hook. Drop the old yarn. Pull the new yarn through all three loops. Chain 1, turn and carry on.
In the middle of a row: do exactly the same thing, part-way across. Lay both tails along the top of the row and work the next few stitches over them.
Leave tails of 15 cm (6 in). Don't knot the yarns together. A knot makes a hard lump, and it can still work undone.
Weaving in the ends
Thread each tail onto your tapestry needle. Run it through the middle of the stitches along a row for about 6 cm, then turn and go back through three or four stitches in the other direction. Trim close to the fabric.
In chunky yarn, split the tail into two thinner strands if it's too bulky, and weave each one in separately.
How to add fringe
Fringe hides the first and last rows and gives the scarf a finished look.
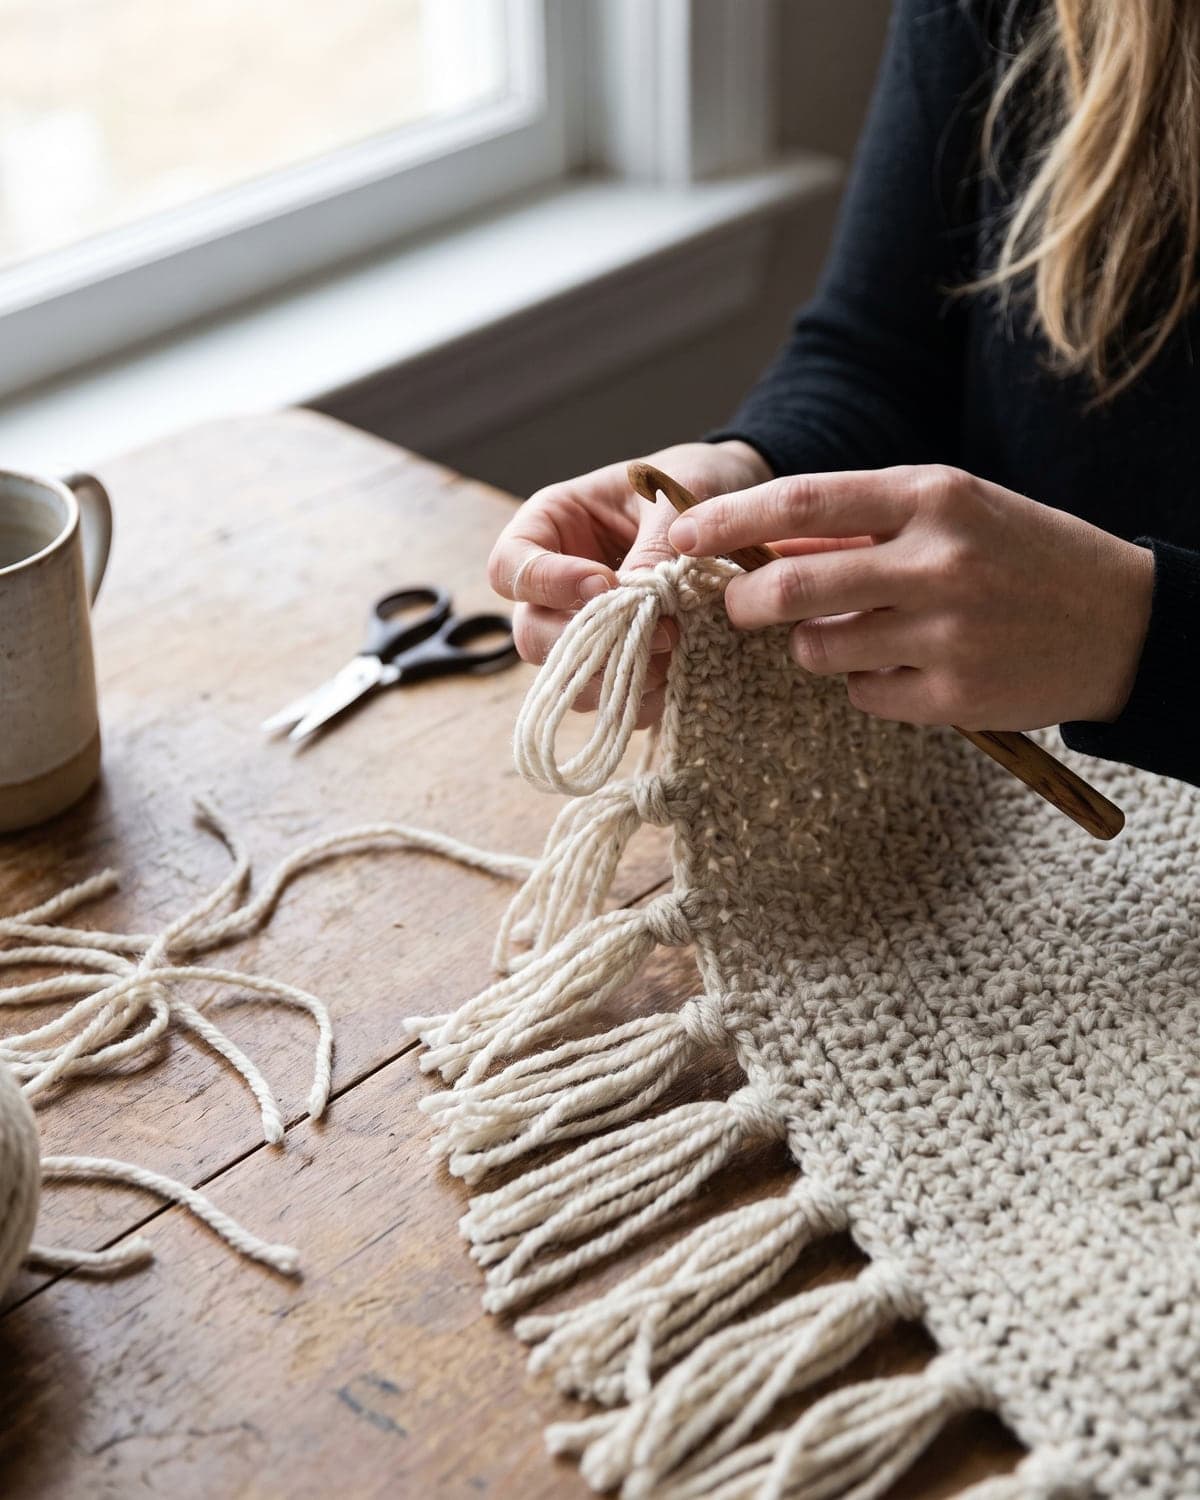
- Cut the strands. Wrap yarn around a book or a piece of card about 15 cm (6 in) tall, then cut along one edge. You'll get strands of about 30 cm (12 in). You need 48 strands: three for each of eight tassels at each end.
- Fold three strands in half together.
- Insert your hook through the edge of the scarf from back to front, in the first stitch.
- Catch the folded middle of the strands and pull it through to make a loop.
- Pull the cut ends through the loop and tighten.
- Repeat in every second stitch across. Sixteen stitches give eight tassels.
- Trim the ends level with sharp scissors. Lay the scarf on a table and cut along the edge of a book for a straight line.
If you're short of yarn, skip the fringe. A plain end looks clean and modern.
Eight ways to change your scarf
1. A different width
Chain any number. One fewer than the chain is your stitch count.
| Scarf | Width | Chain (chunky yarn, 8 mm hook) |
|---|---|---|
| Child's | 13 cm (5 in) | 13 |
| Classic | 18 cm (7 in) | 17 |
| Wide | 25 cm (10 in) | 23 |
| Wrap or blanket scarf | 40 cm (16 in) | 37 |
A child's scarf should be about 110 to 130 cm long. Wider scarves need more yarn in proportion.
2. Worsted weight yarn
Use a 5.5 mm (US I-9) hook and chain 25 for a scarf about 18 cm wide. It takes longer, and the fabric is lighter and less bulky. You'll need roughly 300 m.
3. Ribbed scarf
From row 2, work every stitch in the back loop only. The fabric becomes stretchy, with deep ridges on both sides. The same technique makes the easy crochet beanie, so you can make a matching set.
4. Stripes
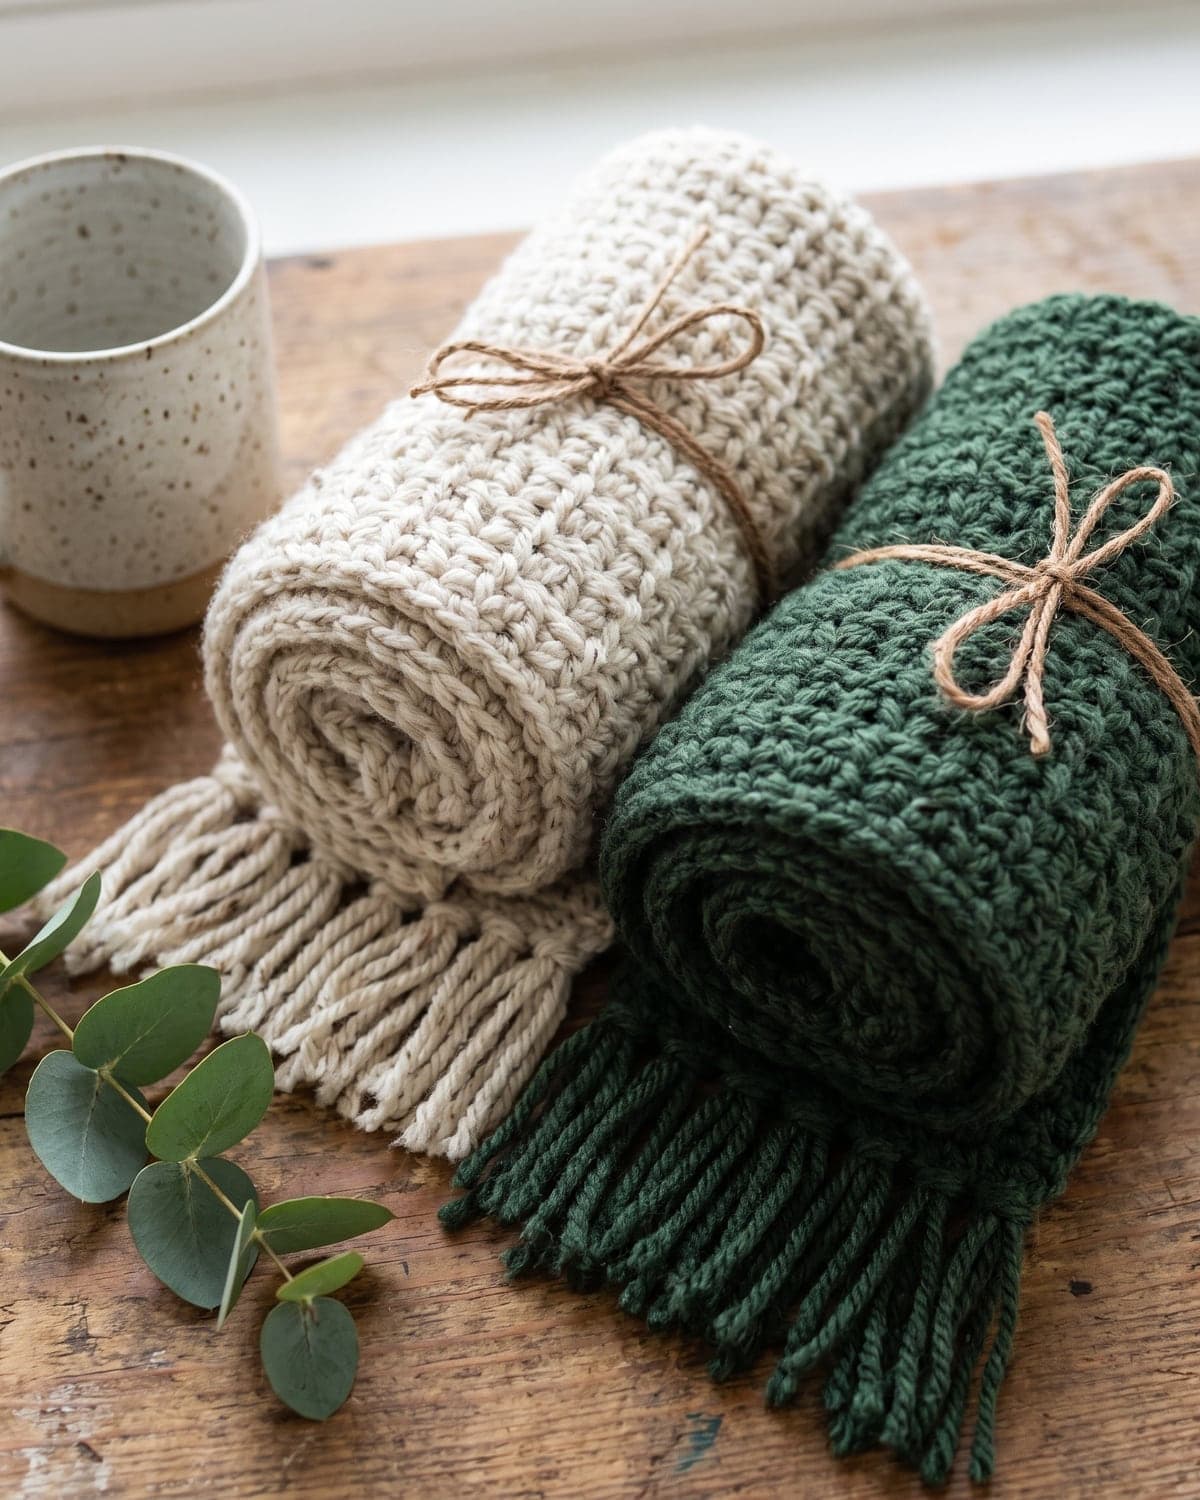
Change colour every two, four or ten rows. Change on the last stitch of a row, as described above. Even numbers of rows keep all the colour changes on one edge.
5. Infinity scarf
Skip the fringe. Work until the scarf is about 150 cm long, give it a half twist if you like, and sew the two short ends together with a whip stitch.
6. Colour-block scarf
Work one third in each of three colours. It's simple and striking, and there are only four extra ends.
7. Pocket scarf
Make the scarf 190 cm long. Fold 18 cm up at each end and sew the sides to make two hand-warmer pockets.
8. A different stitch
Once you're comfortable, try the same rectangle in moss stitch for a flat, woven look, or in one of these textured crochet stitches.
Blocking and care
A chunky half double crochet scarf doesn't need blocking. If the edges are a little wavy, lay the scarf flat, spray it lightly with water, smooth it into shape with your hands and let it dry.
To wash it, follow the yarn label. Most acrylics can go in the machine on a gentle cycle. Wool and wool blends are safest washed by hand in cool water and dried flat, away from heat. Don't hang a wet scarf up. Its own weight will stretch it.
Common problems and fixes
My scarf is getting narrower. You're missing the last stitch of the row. It's small and it leans to one side. Use the stitch markers.
My scarf is getting wider. You're working a stitch into the turning chain, or two stitches into the first stitch.
The first end is narrower than the rest. The foundation chain was too tight. Next time, chain with a larger hook. For now, fringe hides it.
The scarf is stiff. Your stitches are tight, or the hook is too small. Go up to a 9 mm hook. A scarf should drape.
The edges are bumpy. The turning chains are uneven. Make one chain each time, and keep it the same size as your other loops.
The scarf curls along its length. That's usually tight tension in the first rows. It settles as the scarf gets longer. A light spray and flat drying will fix what's left.
I've run out of yarn. Buy another skein, with the same dye-lot number if you can. If the colours don't quite match, work a deliberate stripe at each end.
My hands ache. Chunky yarn and a big hook are heavier work. Take breaks, loosen your grip and stretch your fingers.
Frequently asked questions
How many chains do I need for a scarf? For this scarf in chunky yarn, 17. In worsted yarn, about 25. In super bulky yarn, about 12.
How long should a scarf be? About the height of the person who'll wear it. That's around 150 to 180 cm for an adult and 110 to 130 cm for a child.
How much yarn do I need for a scarf? About 250 metres of chunky yarn for this size, and a little more with fringe.
How long does it take to crochet a scarf? Four to six hours for a beginner in chunky yarn. Most people finish in a week of evenings.
What's the easiest stitch for a scarf? Half double crochet. It's quick, soft and dense. Single crochet is a little simpler, but slower and stiffer.
Why is my scarf curving? The stitch count is changing from row to row. Count your stitches, and mark the first and last stitch.
Can I sell scarves made from this pattern? Yes. You're welcome to sell what you make.
What to make next
You've now made a full project from start to finish. Here's where to go from there.
- Add a hat: the easy crochet beanie is another simple rectangle.
- Go bigger: the chunky crochet blanket for beginners uses this same stitch.
- Make a garment: the easy crochet cardigan for beginners is built from rectangles too.
- Learn more stitches: easy crochet stitches for beginners.
There are more wearable projects in the clothing section.
Save it for later
Pin this to your Pinterest board so it's there when you're ready to stitch.
Keep stitching
Related crochet projects
Clothing Easy Crochet Beanie for Beginners: Free Pattern in 4 Sizes
11 min read
Blankets Easy Crochet Baby Blanket for Beginners: Free V-Stitch Pattern
11 min read
Flowers Crochet Sunflower Pattern: Easy Free Tutorial in 3 Simple Parts
11 min read
Flowers Crochet Rose Pattern: Easy Rolled Rose with Stem and Leaves
10 min read