How to Crochet a Granny Square: Easy Step-by-Step for Beginners
Learn how to crochet a classic granny square step by step: the starting ring, every round with its cluster count, changing colours, blocking, and three ways to join squares.
By AlixaPublished 12 min read
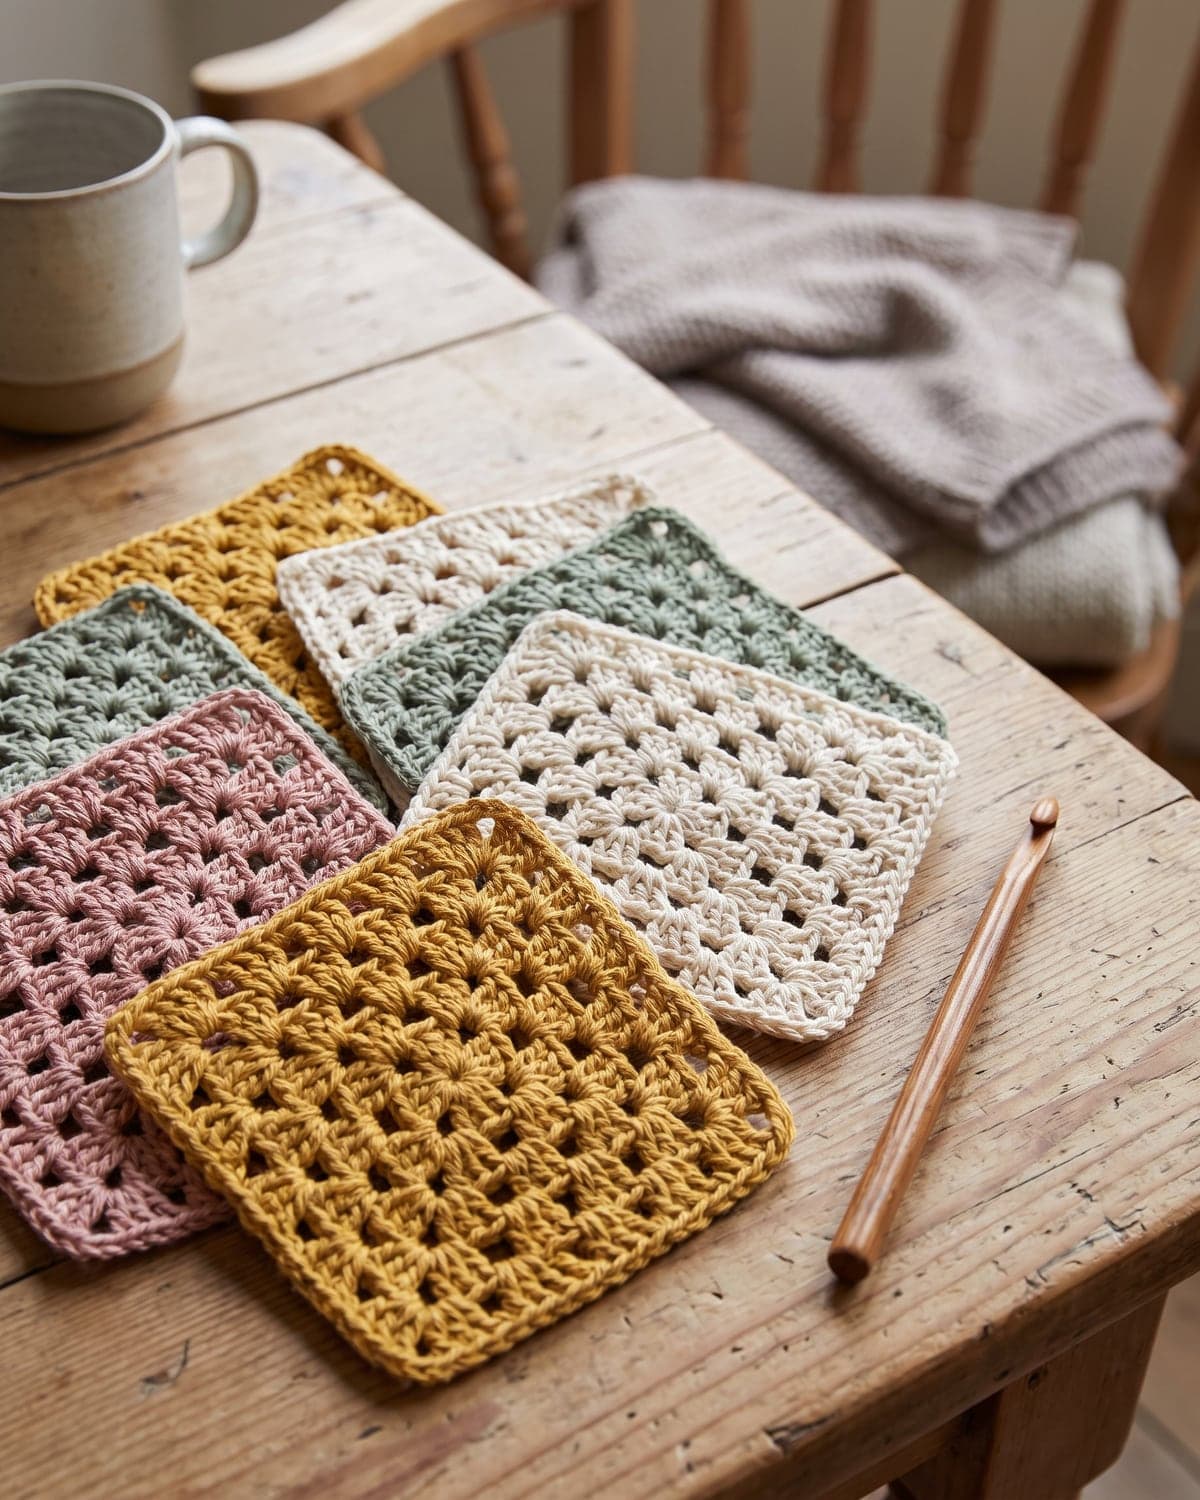
The granny square is the most famous shape in crochet, and it's one of the best things a beginner can learn. It uses two stitches, the chain and the double crochet. It grows from the centre in rounds, so there's no long foundation chain to wrestle with. And once you can make one, you can make a blanket, a bag, a cardigan or a cushion by making more of them.
This guide takes you through a classic granny square one round at a time. You'll learn how to start, how to turn the corners, how to change colour, how to keep the square flat and how to join squares together.
Terms used here: US crochet terms. Double crochet (dc) is called treble crochet (tr) in UK terms.
About this pattern: this is the traditional granny square, written out for this guide. The cluster count for every round has been checked. The finished size is approximate, because it depends on your yarn, your hook and how tightly you crochet.
At a glance
| Skill level | Beginner |
| Stitches | Chain, slip stitch, double crochet |
| Yarn | Worsted weight (weight 4) cotton or acrylic |
| Hook | 5 mm (US H-8) |
| Finished size | About 10 to 11 cm (4 to 4.5 in) after four rounds |
| Construction | Worked in joined rounds from the centre, right side always up |
| Time | 15 to 20 minutes a square once you know the pattern |
What you need
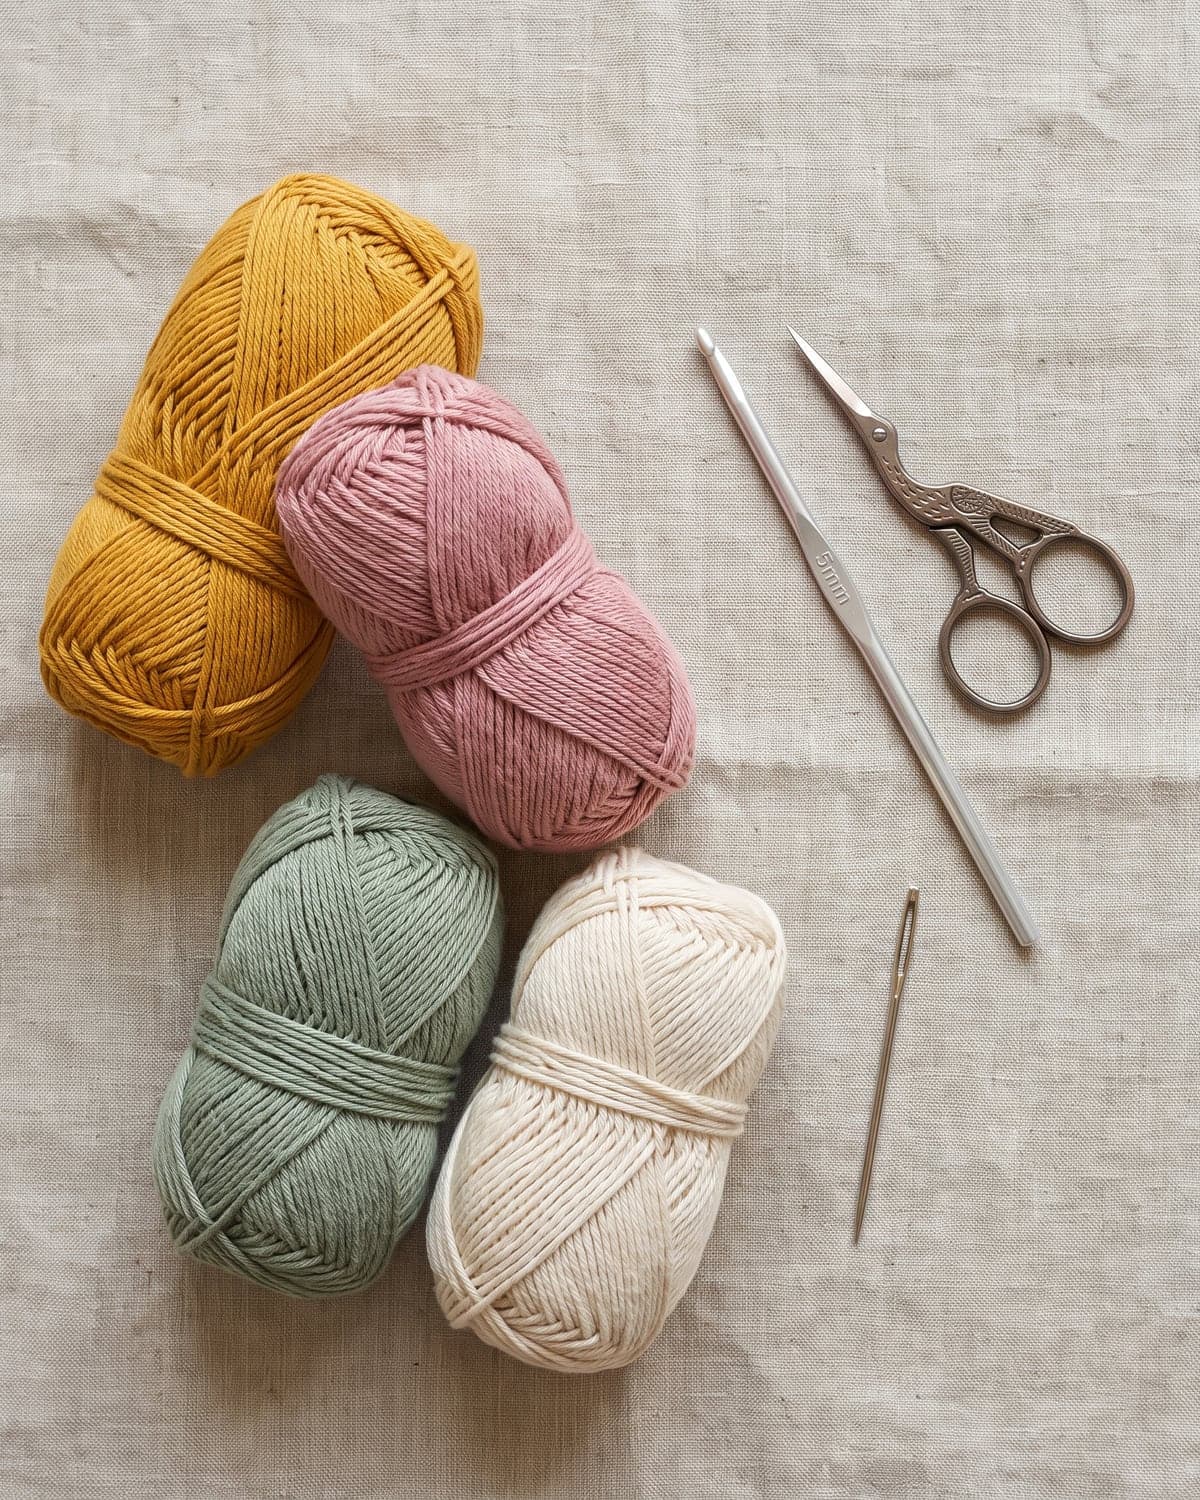
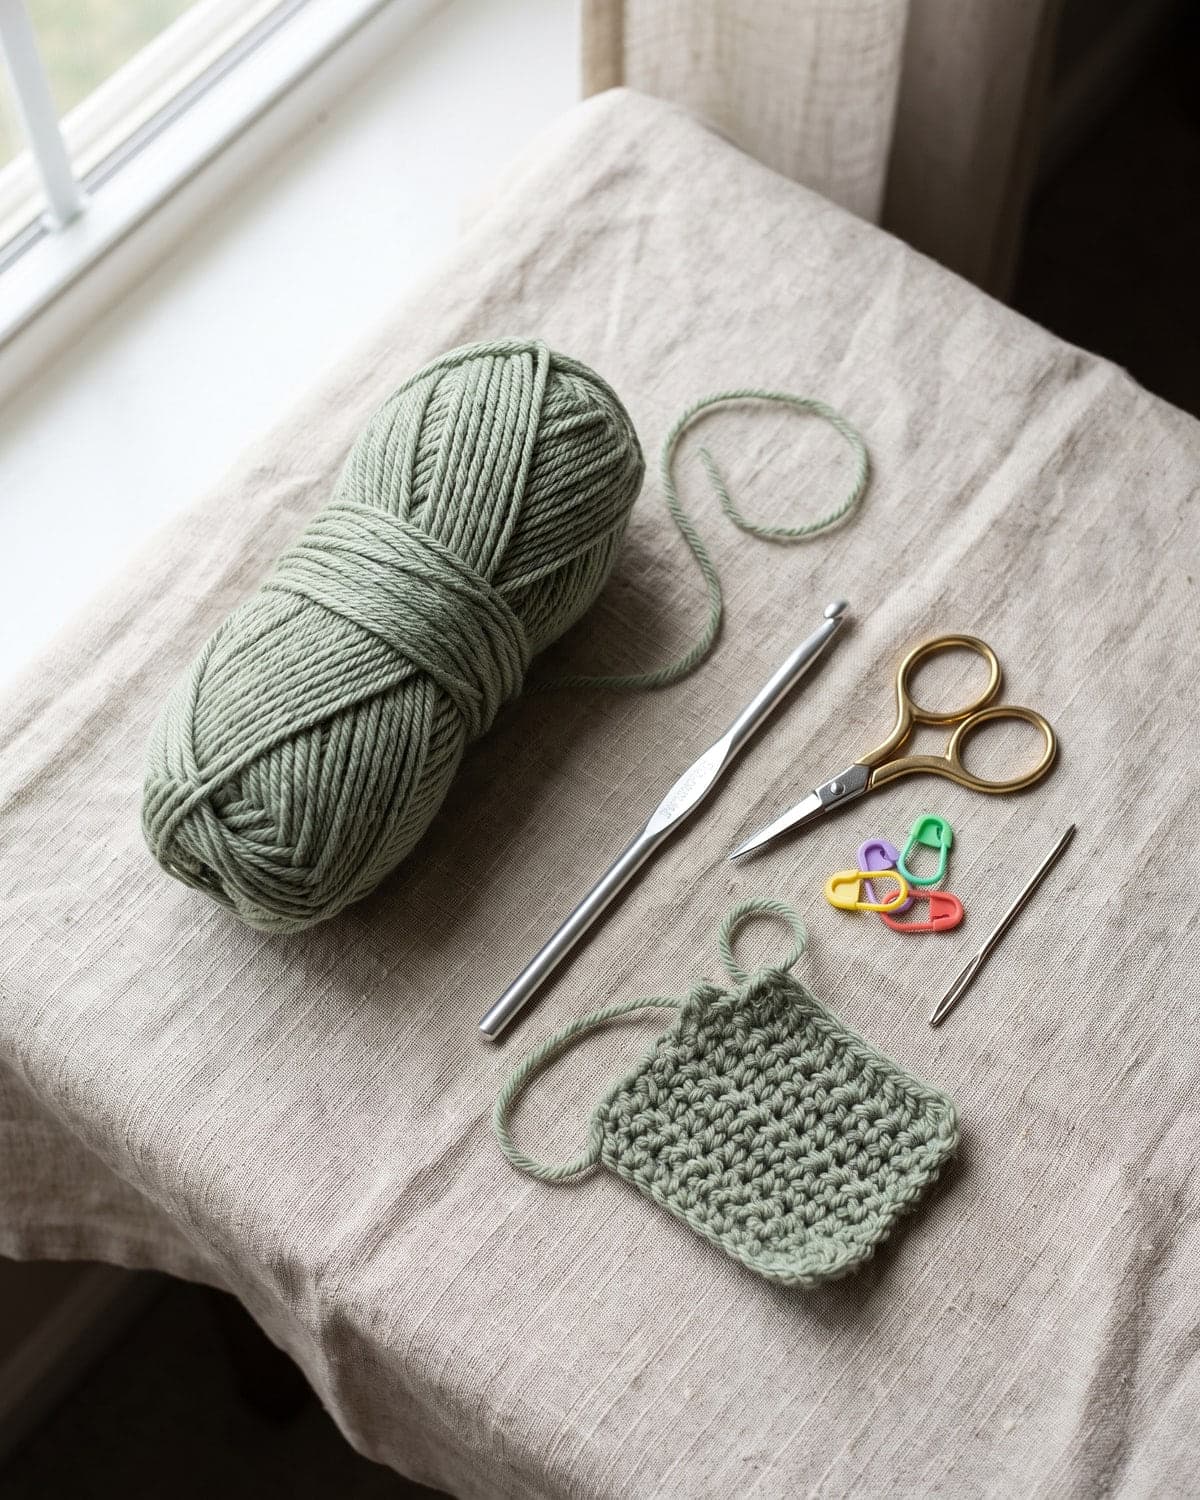
- Yarn. Smooth worsted weight cotton or acrylic in a light or medium colour. Use one colour for your first square, then try up to four. Scraps are fine: a four-round square uses roughly 12 to 15 metres (13 to 16 yards) of worsted yarn.
- A 5 mm (US H-8) crochet hook. Check the yarn label, and see the Craft Yarn Council's hook size chart if your hook only shows a letter.
- Scissors.
- A blunt tapestry needle for weaving in the ends.
- Blocking pins and a foam mat or towel, if you plan to join squares.
Avoid fluffy, dark or very textured yarn for the first few squares. You need to see the spaces between the clusters, because that's where the hook goes.
How a granny square works
It helps to understand the idea before you pick up the hook. A granny square is made of clusters. A cluster is three double crochet stitches worked into the same space. Between clusters you make chains:
- Two chains at each corner. The corner space holds two clusters in the next round, which is what turns a circle into a square.
- One chain along each side. The side space holds one cluster in the next round.
Every round follows the same two rules:
- In each corner space, work 3 dc, chain 2, 3 dc.
- In each side space, work 3 dc.
That's the whole pattern. Each round has four more clusters than the one before, so the square grows evenly on all four sides.
| Round | Clusters in the round | Side clusters between corners |
|---|---|---|
| 1 | 4 | 0 |
| 2 | 8 | 0 |
| 3 | 12 | 1 |
| 4 | 16 | 2 |
| 5 | 20 | 3 |
| 6 | 24 | 4 |
You never work into the top of a stitch after round 1. You always work into a space, which is why granny squares are so quick.
Granny square pattern, step by step
If double crochet is new to you, practise a few rows first with easy crochet stitches for beginners.
The starting ring
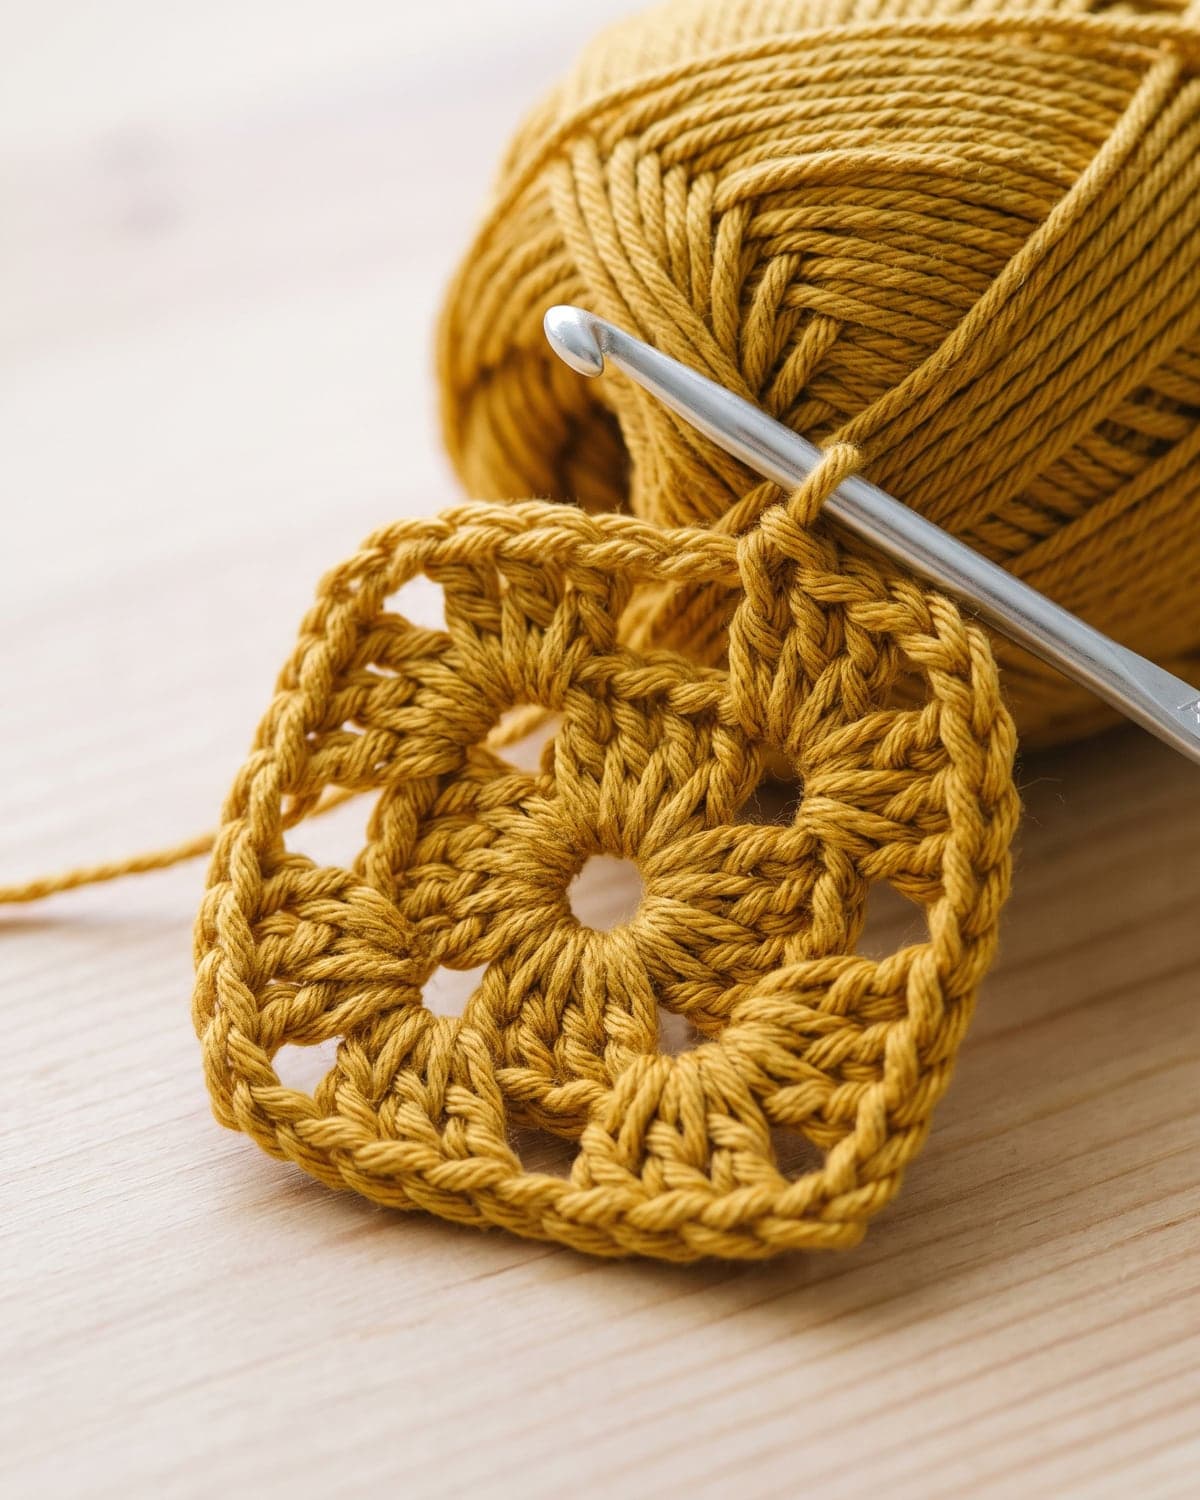
Make a slip knot and chain 4. Insert the hook into the first chain you made and slip stitch to join the chains into a small ring.
You can also begin with an adjustable ring, which closes the centre completely. The method is in how to crochet a magic ring.
Round 1
- Chain 3. This counts as the first double crochet, here and at the start of every round.
- Work 2 dc into the centre of the ring. You now have your first cluster.
- Chain 2. This is the first corner.
- Work 3 dc into the ring, chain 2. Repeat this twice more.
- Slip stitch into the top chain of the starting chain 3 to close the round.
You should have 4 clusters and 4 chain-2 corners. The piece already looks like a small square with rounded sides.
Round 2
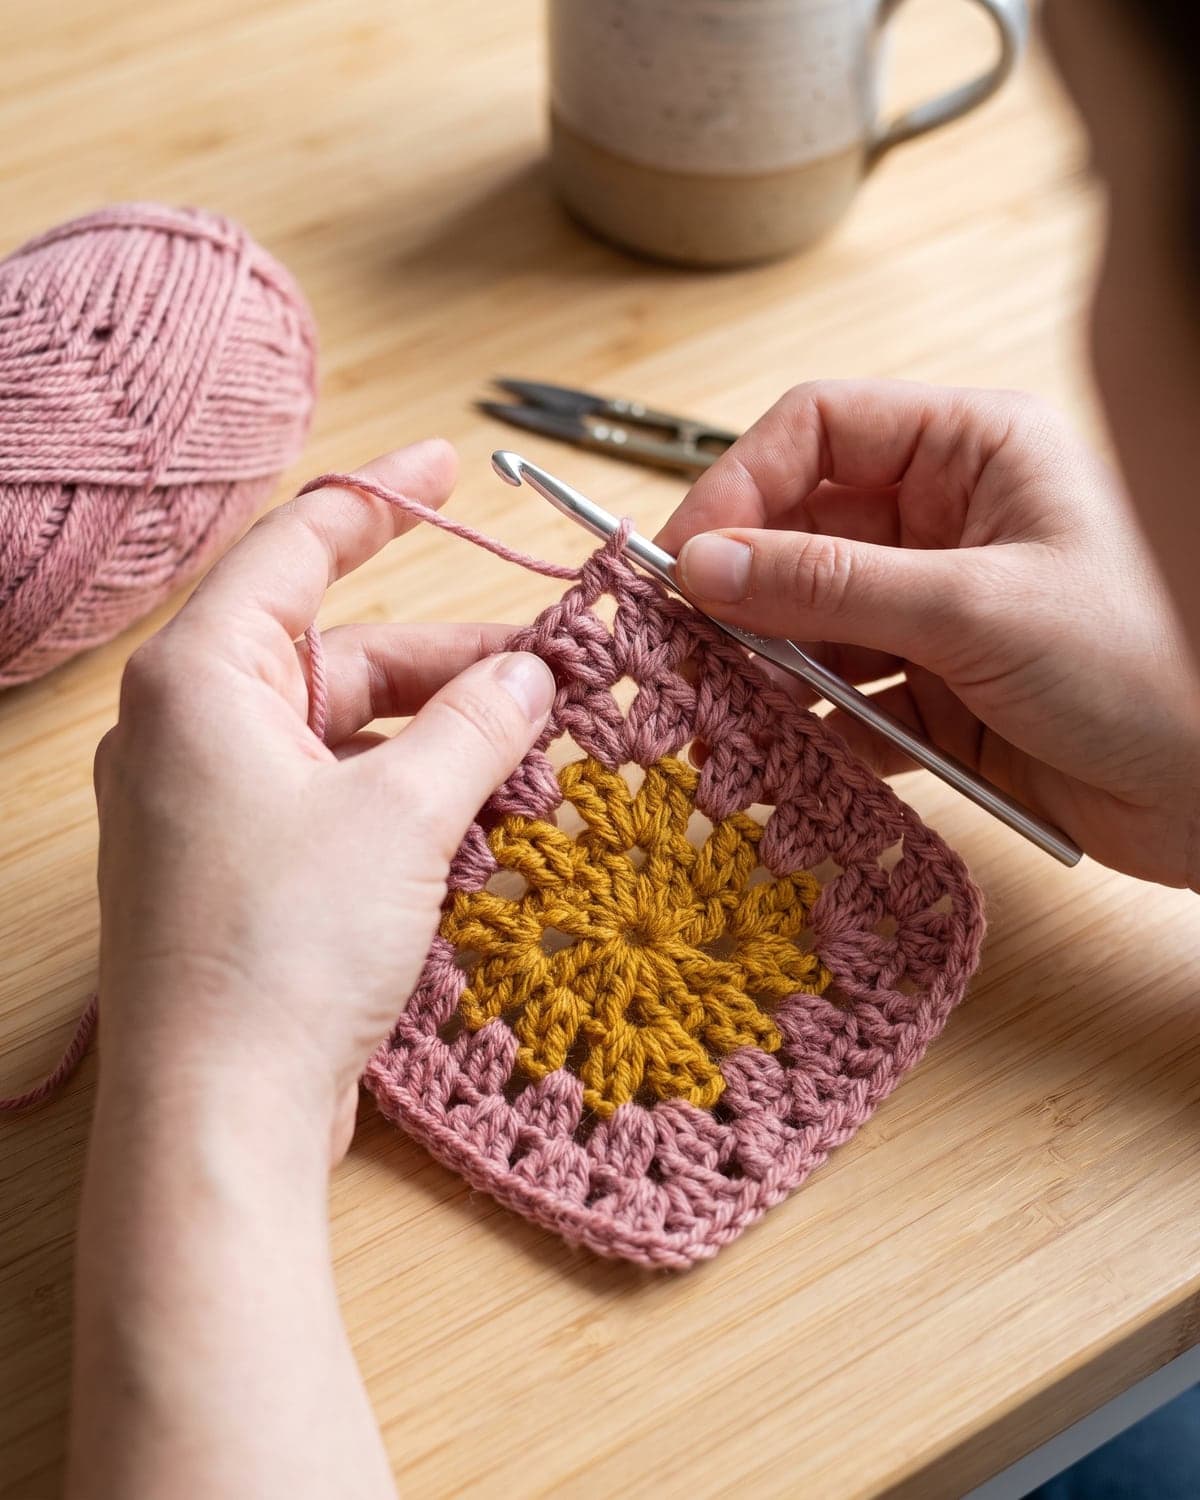
The round ended in the middle of a side, but the next round has to start in a corner. Slip stitch into each of the next 2 dc, then slip stitch into the corner space. This moves you along without adding height.
- Chain 3, work 2 dc in the same corner space, chain 2, work 3 dc in the same corner space. First corner made.
- Chain 1.
- In the next corner space work 3 dc, chain 2, 3 dc. Chain 1. Repeat for the remaining two corners.
- Slip stitch into the top of the starting chain 3.
You should have 8 clusters: two in every corner, with a chain-1 space between corners.
Round 3
Slip stitch across the next 2 dc and into the corner space, as before.
- Chain 3, 2 dc, chain 2, 3 dc in the corner space. Chain 1.
- Work 3 dc in the next chain-1 space (a side space). Chain 1.
- In the next corner work 3 dc, chain 2, 3 dc. Chain 1. Work 3 dc in the side space. Chain 1. Repeat around.
- Slip stitch into the top of the starting chain 3.
You should have 12 clusters: two in each corner and one on each side.
Round 4
Slip stitch to the corner space again.
- Chain 3, 2 dc, chain 2, 3 dc in the corner space. Chain 1.
- Work 3 dc, chain 1 in each of the two side spaces.
- Repeat for the other three sides: a full corner, chain 1, then 3 dc and chain 1 in each side space.
- Slip stitch into the top of the starting chain 3.
You should have 16 clusters: two in each corner and two on each side.
Making it bigger
Keep going in exactly the same way. Each new round has one more side cluster between the corners. A granny square can be a 10 cm coaster or a whole blanket made as one giant square. The granny square blanket for beginners uses this same pattern at both scales.
Fastening off
After the last slip stitch, cut the yarn, leaving a tail of about 15 cm (6 in). Pull the tail through the loop on your hook and tighten. Thread the tail onto a tapestry needle and weave it through the base of several clusters, then back in the other direction for a few stitches. Changing direction is what stops an end from working loose.
How to change colour
Granny squares are famous for their colours, and changing colour each round is easy.
- Finish the round and fasten off the old colour.
- Make a slip knot in the new colour and put it on your hook.
- Insert the hook into any corner space, yarn over and pull through both the space and the slip knot. The yarn is joined.
- Chain 3 and carry on with the round as written. Because you're already in a corner, you don't need the slip stitches along the side.
Starting each colour in a different corner spreads the joins around the square, so no single corner gets bulky.
Crochet over the tails as you go. Lay the tail of the old colour and the tail of the new one along the top of the previous round and work your first few clusters around them. It saves a lot of sewing later. Still weave the last few centimetres in with a needle, in the opposite direction.
Colour ideas
- Classic: three bright rounds and a final round in cream, black or white. Using the same final colour on every square ties a mixed blanket together.
- Solid: one colour throughout, for a modern, calm look.
- Sunburst: a yellow centre, a white second round and a colour outside, like a daisy.
- Scrappy: a different leftover for every round. Keep to one yarn weight so the squares match in size.
Keeping the square flat and square
A good granny square lies flat, has four sharp corners and doesn't twist.
Twisting. Because you always work in the same direction, the stitches lean slightly and a large square can spiral. The fix is to turn the square over at the end of each round and work the next round the other way. For small squares of four or five rounds, most people don't bother.
Rippling edges. If the sides wave, there are too many chains. Leave out the chain 1 between side clusters. Many modern patterns do this as standard, and it gives a denser square.
Cupping. If the square curls up like a bowl, the corners are too tight. Check that every corner has 2 chains, or use 3.
Gaps at the join. The slip stitch at the end of the round goes into the top chain of the starting chain 3, the third chain you made. Missing it and joining into a lower chain leaves a hole.
Blocking
Blocking makes every square the same size, which matters when you join them.
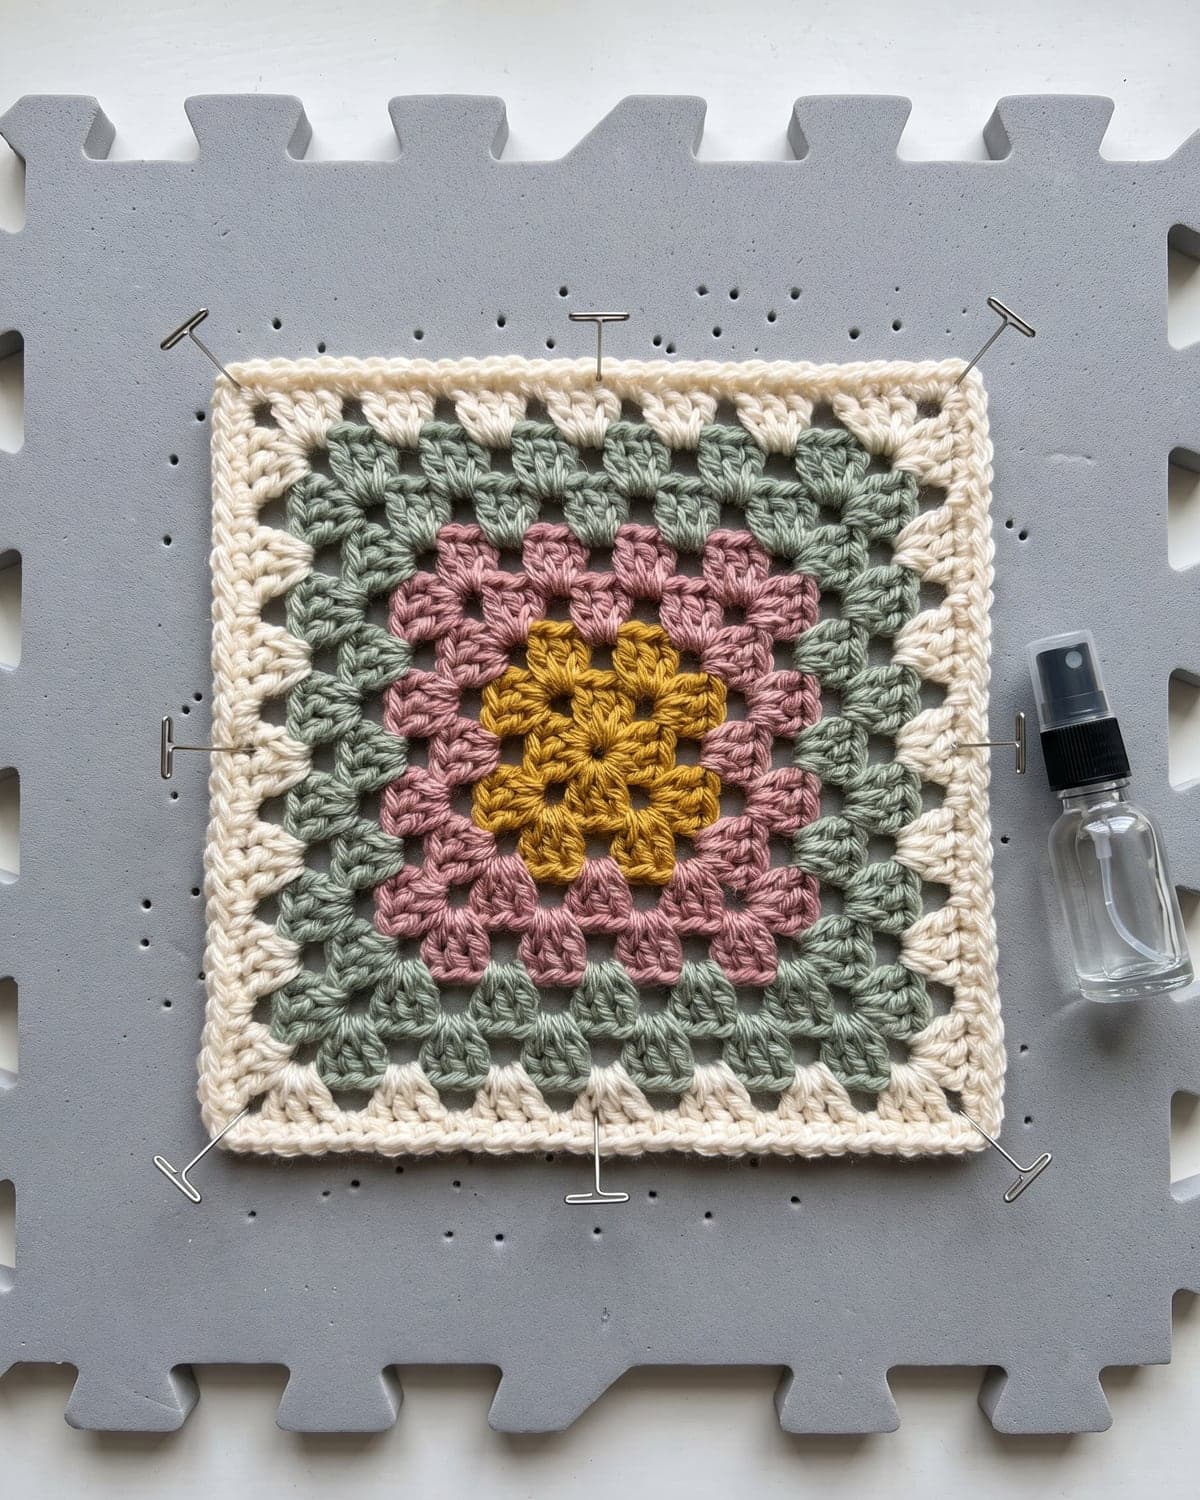
- Pin the square to a foam mat or folded towel, right side up. Start with the four corners, then pin the middle of each side.
- Measure it. Decide on a size and pin every square to that measurement.
- Spray it with water until it's damp through. For acrylic, hold a steam iron a few centimetres above the square. Never press the iron onto acrylic.
- Leave it to dry completely before unpinning.
Wool and cotton hold a block very well. Acrylic needs steam to set.
How to join granny squares
Arrange your squares on a table or floor first and take a photo of the layout you like. Then join them into rows, and join the rows together.
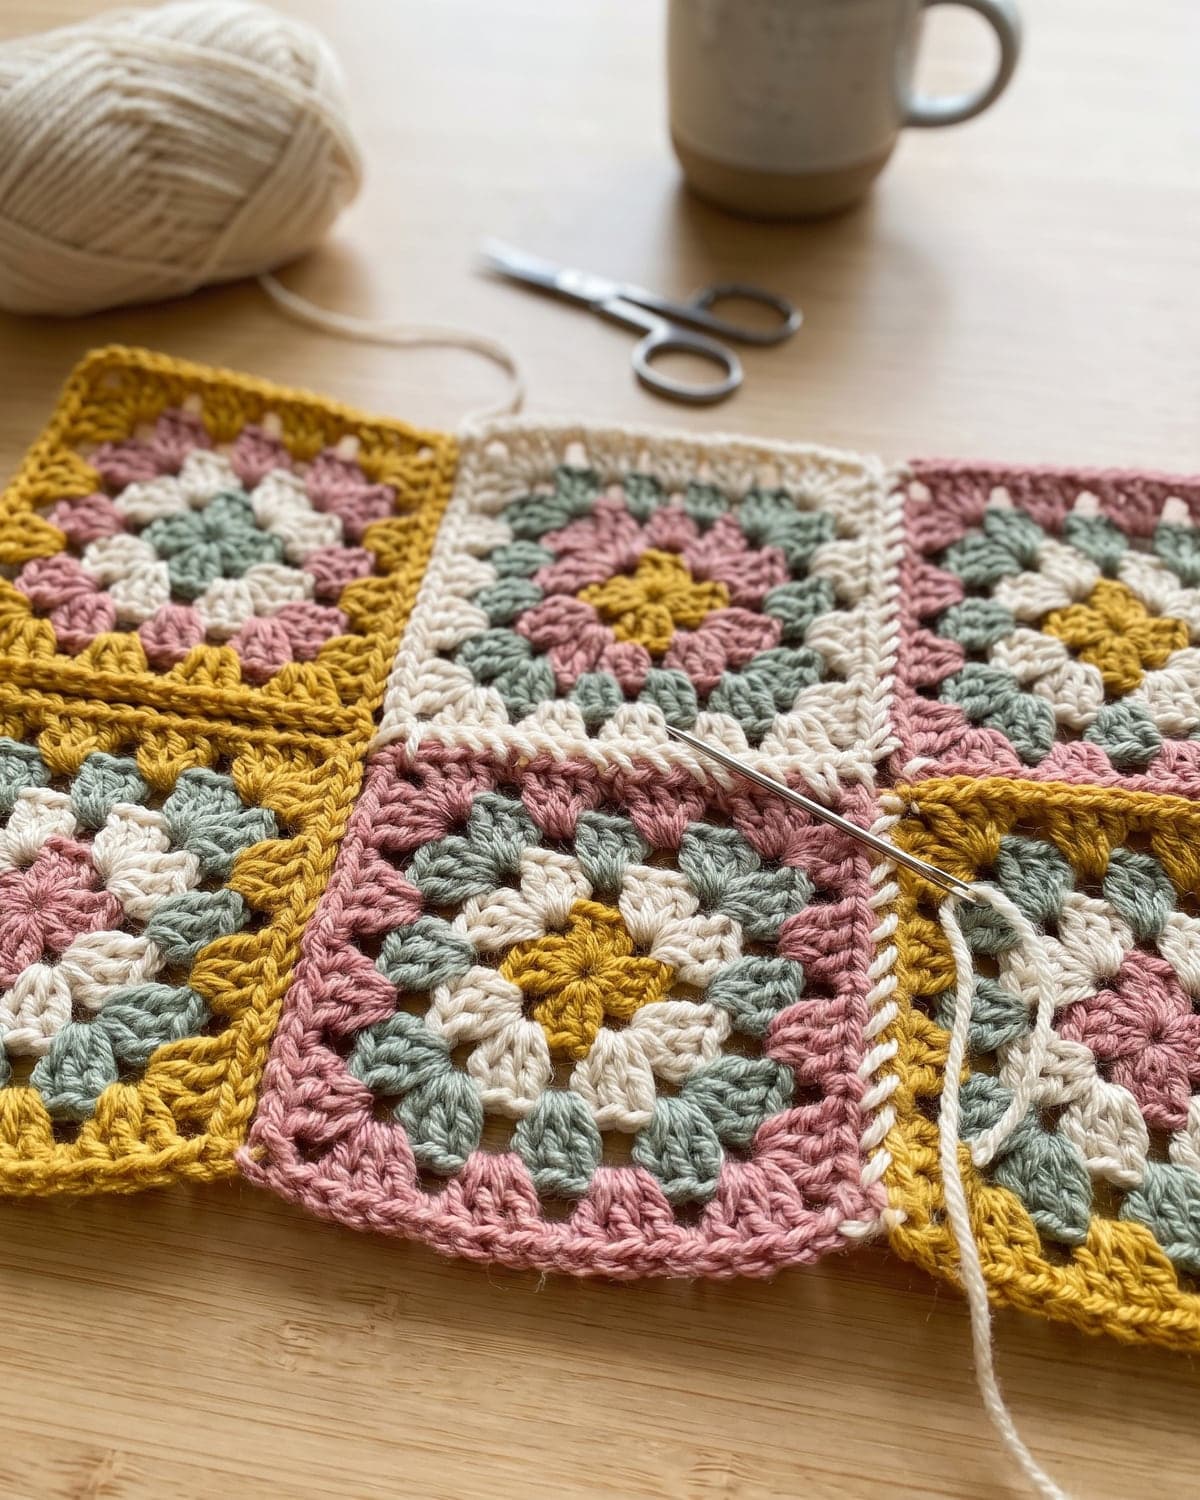
Whip stitch (flat and almost invisible)
Hold two squares with right sides together. Thread a tapestry needle with a length of yarn about three times the width of the square. Starting in the corner space, sew through the outer loops only of both edges, bringing the needle through from the same side every time. Work stitch for stitch along the edge, including the chains. Don't pull tightly, or the seam will pucker.
Slip stitch join (strong, with a ridge)
Hold two squares with right sides together. Insert the hook through both corner spaces, pull up a loop of joining yarn and slip stitch along the edge, through both loops of both squares. The ridge sits on the wrong side. If you hold the squares with wrong sides together, the ridge becomes a decorative line on the front.
Single crochet join (a raised frame)
This is worked like the slip stitch join, with single crochet. With wrong sides together and a contrasting colour, it makes a neat raised grid around every square.
Join as you go
On the final round of each new square, you replace the corner chains and side chains with slip stitches into the matching spaces of a finished square. There's no sewing at all. It's worth learning once you're comfortable with the basic square.
Other ways to start
- Magic ring. The centre closes completely, with no hole. Good for sunburst and flower-centred squares.
- Chain 4 and join. The classic start used above. Reliable, with a small centre hole.
- Chain 5 or 6 and join. A larger ring that's easier for beginners to work into, with a bigger hole.
Common problems and fixes
My square is a circle. The corners are missing their chain 2, or you worked only one cluster in a corner space.
I have five corners. At the start of a round, the chain 3 and first two dc were worked in a side space and not a corner. Slip stitch all the way into the corner space before you chain 3.
One side has more clusters than the others. A side space was skipped or used twice. Count the clusters on each side at the end of every round.
The starting chain looks thinner than a real stitch. That's normal. Keep the chains a little loose. Once the square is joined to others, it's very hard to spot.
My squares are different sizes. Tension changes from day to day, and different yarns behave differently even at the same weight. Block every square to one measurement.
The centre hole is too big. Start with a magic ring, or use the yarn tail to sew around the centre and pull it closed.
Frequently asked questions
Is a granny square good for beginners? Yes. It needs only chains, slip stitches and double crochet, and you work into large spaces that are easy to find.
How many chains do you start a granny square with? Four, joined into a ring with a slip stitch. A magic ring is the alternative.
How big is a granny square? As big as you like. In worsted yarn with a 5 mm hook, four rounds measure roughly 10 to 11 cm (4 to 4.5 in), and each extra round adds about 2.5 cm (1 in).
How many granny squares do I need for a blanket? Divide the blanket's width and length by the size of one square. A 100 × 130 cm throw made from 10 cm squares needs 10 × 13, so 130 squares. Bigger squares mean far fewer of them.
Why is my granny square twisting? Working every round in the same direction makes the stitches lean. Turn the square over after each round.
Do I chain 1 between clusters or not? Both are correct. With the chain, the square is lacier and a little bigger. Without it, the fabric is denser and less likely to ripple.
What's the difference between US and UK granny square patterns? Only the name of the stitch. The US double crochet is the UK treble. The Craft Yarn Council lists standard crochet abbreviations.
What to make with granny squares
One square is a coaster. From there:
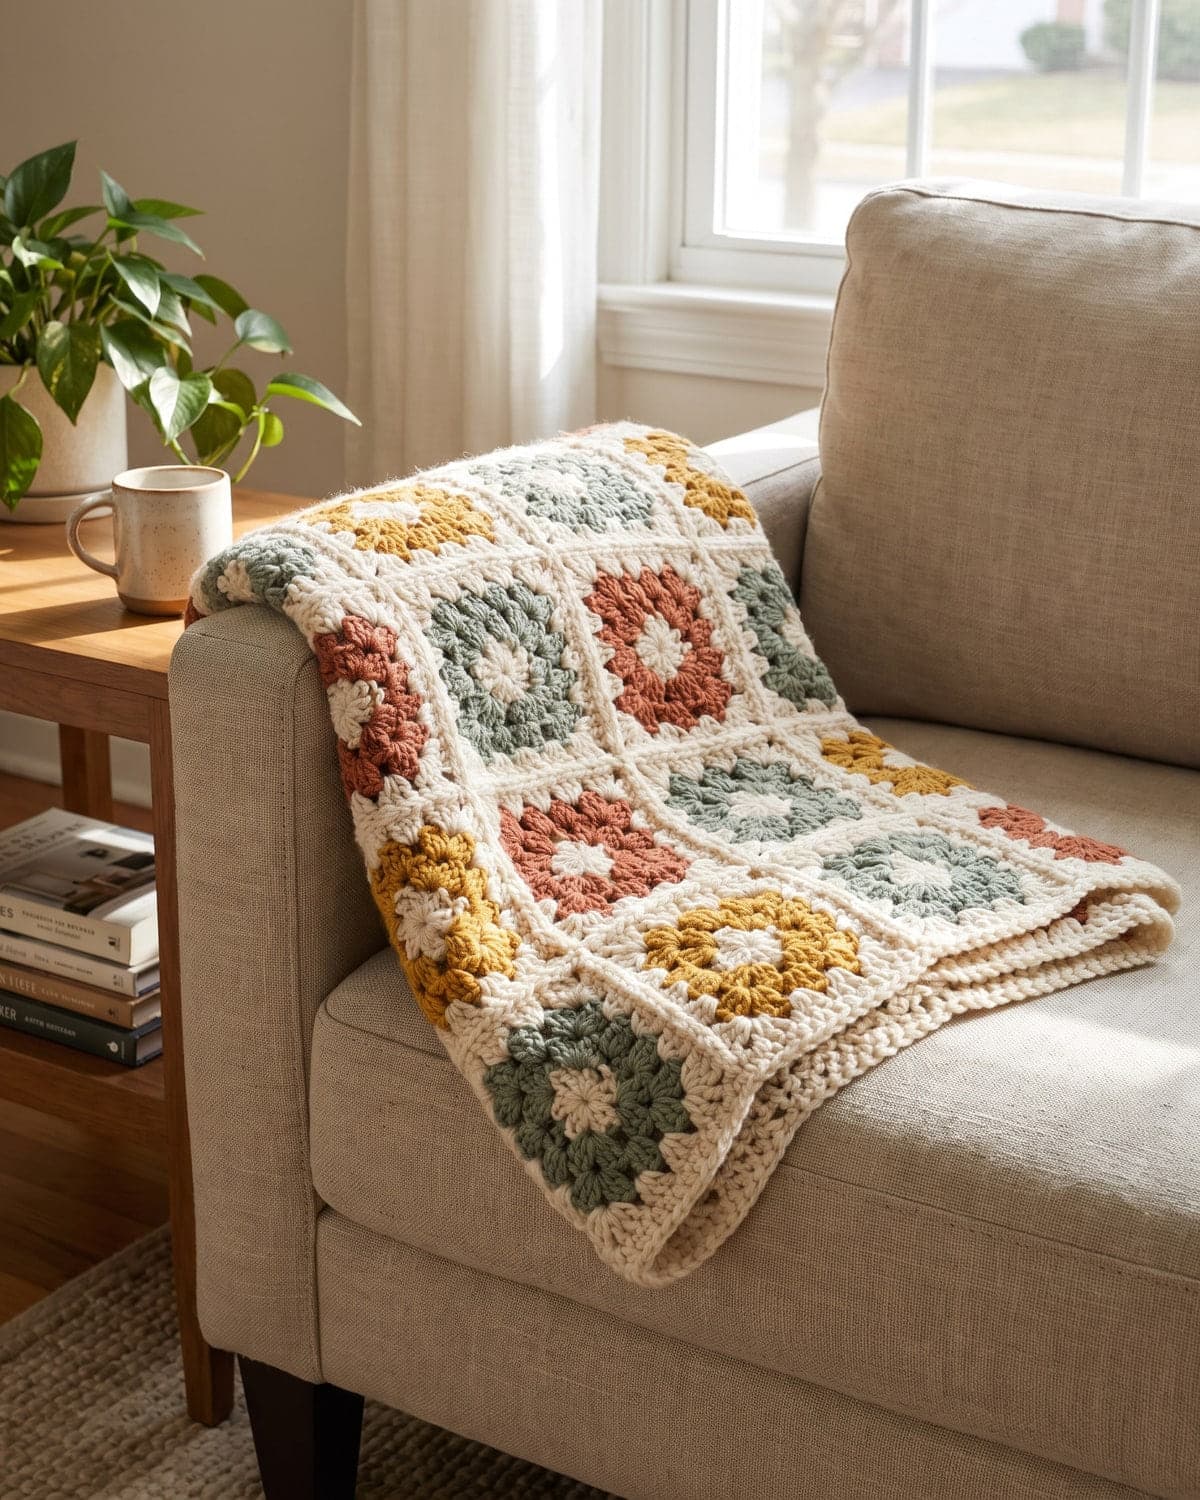
- A blanket. The granny square blanket for beginners covers sizes, yarn amounts, layouts and borders.
- A bag. Thirteen squares, joined in a set layout, fold into a classic granny square bag. For a simpler first bag, try the easy crochet tote bag.
- A cushion. Nine squares for the front, with a plain fabric back or an easy crochet pillow cover behind them.
- A scarf. One row of squares joined end to end.
If abbreviations such as (3 dc, ch 2, 3 dc) in corner sp still look like code, how to read crochet patterns explains them. You'll find more first projects in beginner tutorials, and the long history of the motif is covered in Wikipedia's article on the granny square.
Save it for later
Pin this to your Pinterest board so it's there when you're ready to stitch.
Keep stitching
Related crochet projects
Blankets Granny Square Blanket for Beginners: Easy Step-by-Step Pattern
12 min read
Blankets Easy Ripple Crochet Blanket: Free Chevron Pattern for Beginners
10 min read
Flowers Crochet Sunflower Pattern: Easy Free Tutorial in 3 Simple Parts
11 min read
Beginner tutorials How to Crochet for Beginners: A Step-by-Step Guide
11 min read