How to Crochet a Magic Ring: The Easy Way (No More Holes)
Learn the crochet magic ring step by step, with a double-ring method, two easy alternatives, how many stitches to start with and how to secure the tail so the centre never opens.
By AlixaPublished 10 min read
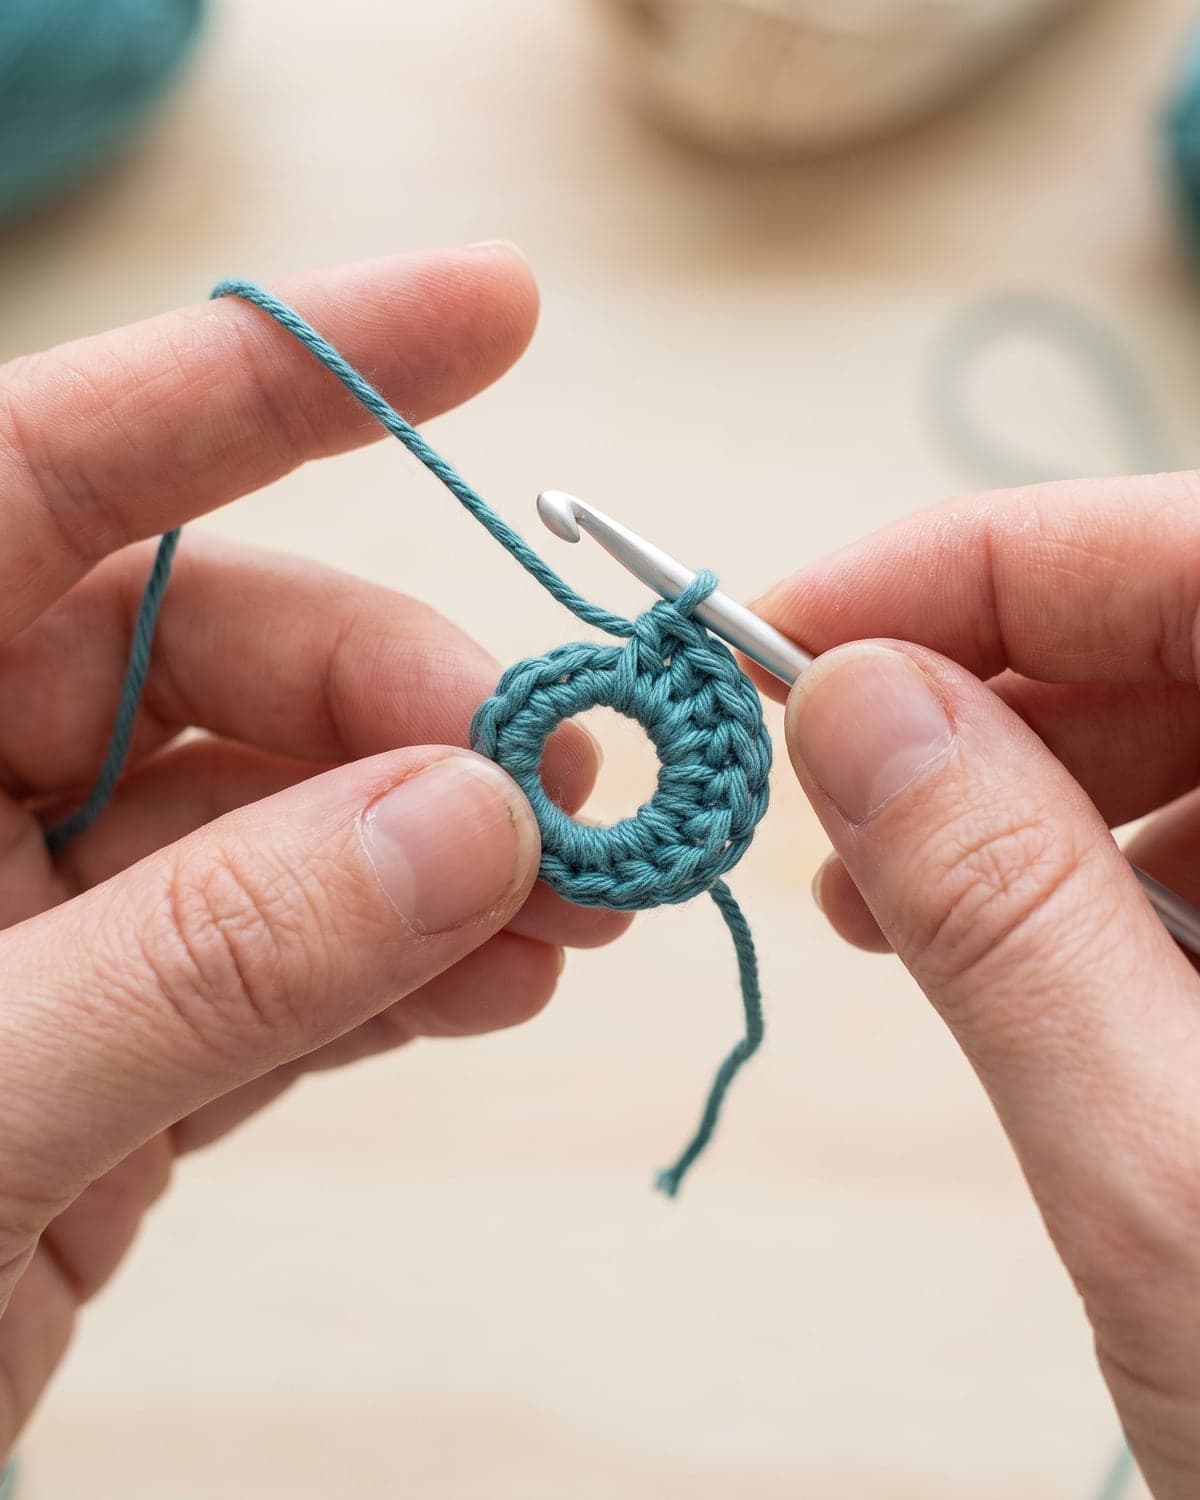
The magic ring is the neatest way to start anything worked in the round. It's a loop of yarn that you crochet into and then pull closed, so the centre of your circle has no hole at all. Amigurumi, hats worked from the top, coasters, flowers and granny squares all start better with one.
It also has a reputation for being fiddly. It isn't hard, but the first few attempts feel awkward because you're holding a loop, a tail and a hook at once. This guide breaks it into small steps, shows two alternatives for the days it won't cooperate, and explains how to stop the ring from coming undone later.
Terms used here: US crochet terms. Single crochet (sc) is called double crochet (dc) in UK terms.
Other names: magic circle, adjustable ring, magic loop. They're all the same technique.
At a glance
| Skill level | Beginner (you should know chain and single crochet) |
| Used for | Amigurumi, hats, coasters, flowers, any circle or ball |
| Best yarn to learn with | Smooth, light-coloured cotton or acrylic, DK or worsted |
| Hook | The size on the yarn label, or one size smaller for toys |
| Time to learn | About ten minutes of practice |
What you need
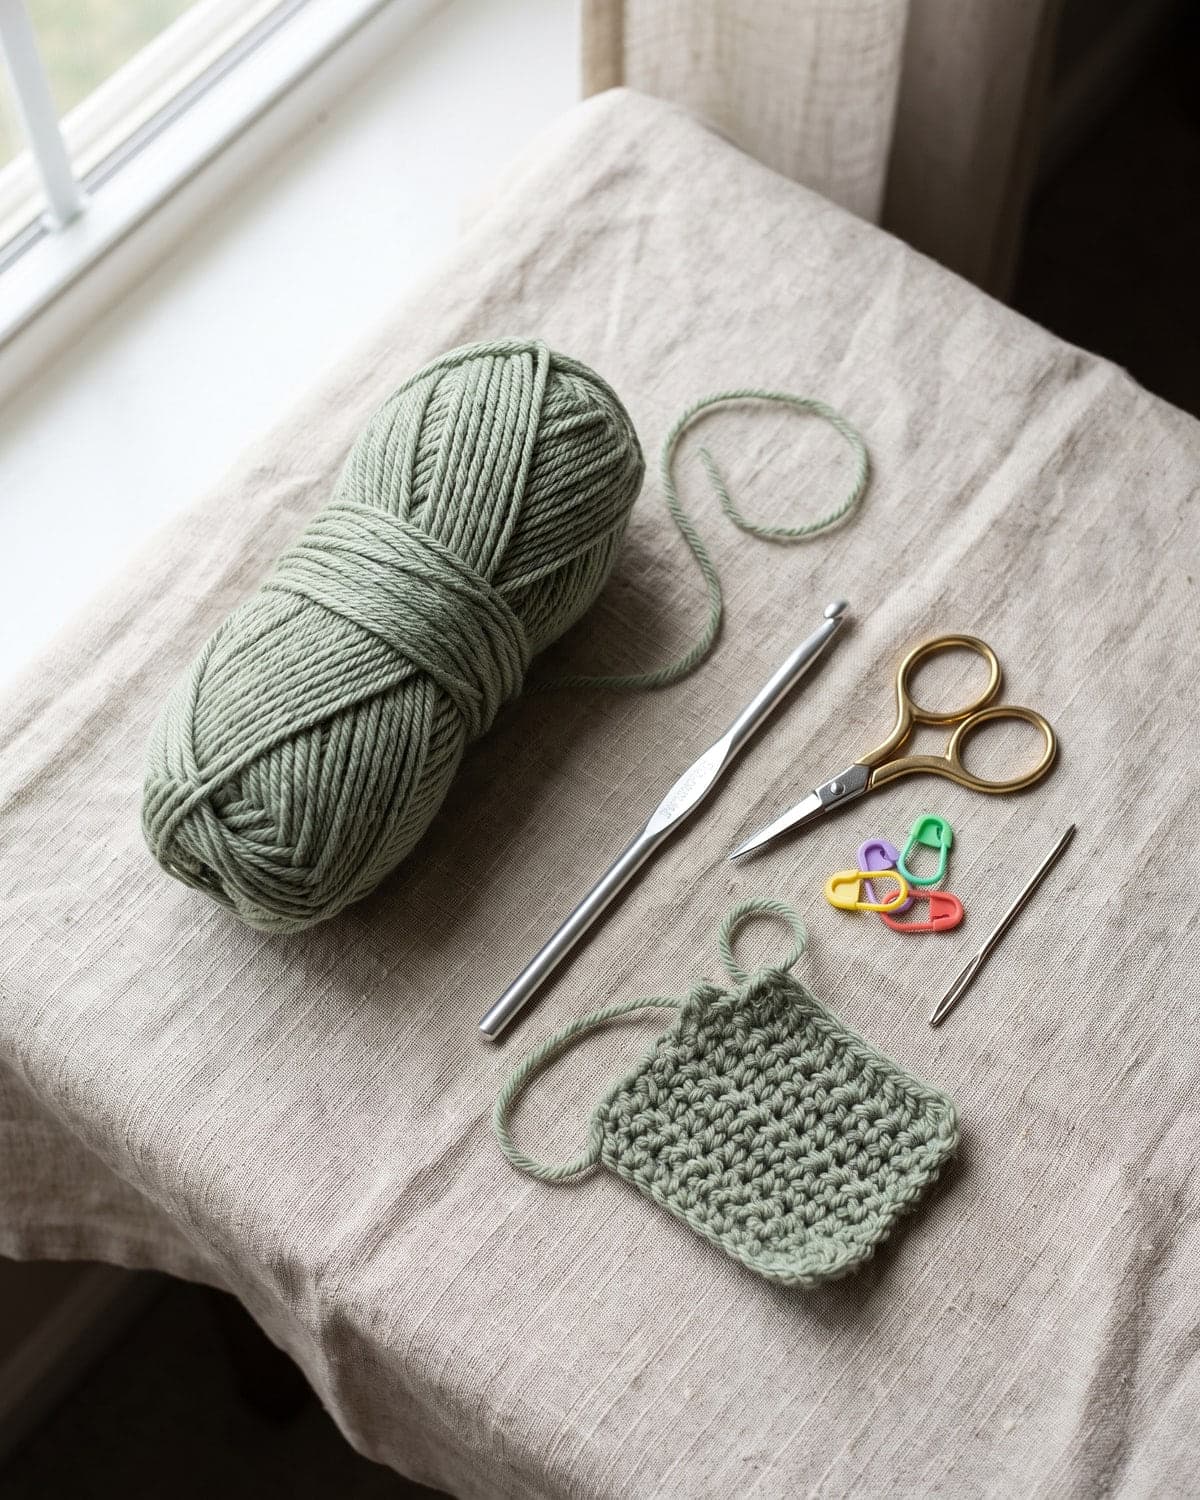
- Smooth yarn in a light colour. Cotton is ideal, because it doesn't split and the strands are easy to tell apart. Avoid fluffy, velvet or very dark yarn until the movement is familiar.
- A crochet hook to match. For DK cotton, a 3.5 mm (US E-4) hook works well.
- A locking stitch marker.
- A tapestry needle for securing the tail.
Why use a magic ring?
There are three ways to start a round, and it's useful to know what each one gives you.
| Method | Centre | Best for |
|---|---|---|
| Magic ring | Closes completely | Amigurumi, hats, anything stuffed |
| Chain 2, work into the first chain | Very small hole | A quick substitute, slippery yarn |
| Chain 4 or more, join into a ring | Visible hole | Granny squares, lace, decorative centres |
In a stuffed toy, a hole at the top of the head lets the stuffing show and slowly widens. The magic ring pulls tight like a drawstring, and it's the standard start in almost every amigurumi pattern.
How to make a magic ring, step by step
These steps are for right-handed crocheters. A note for left-handers follows.
Step 1: Make the loop
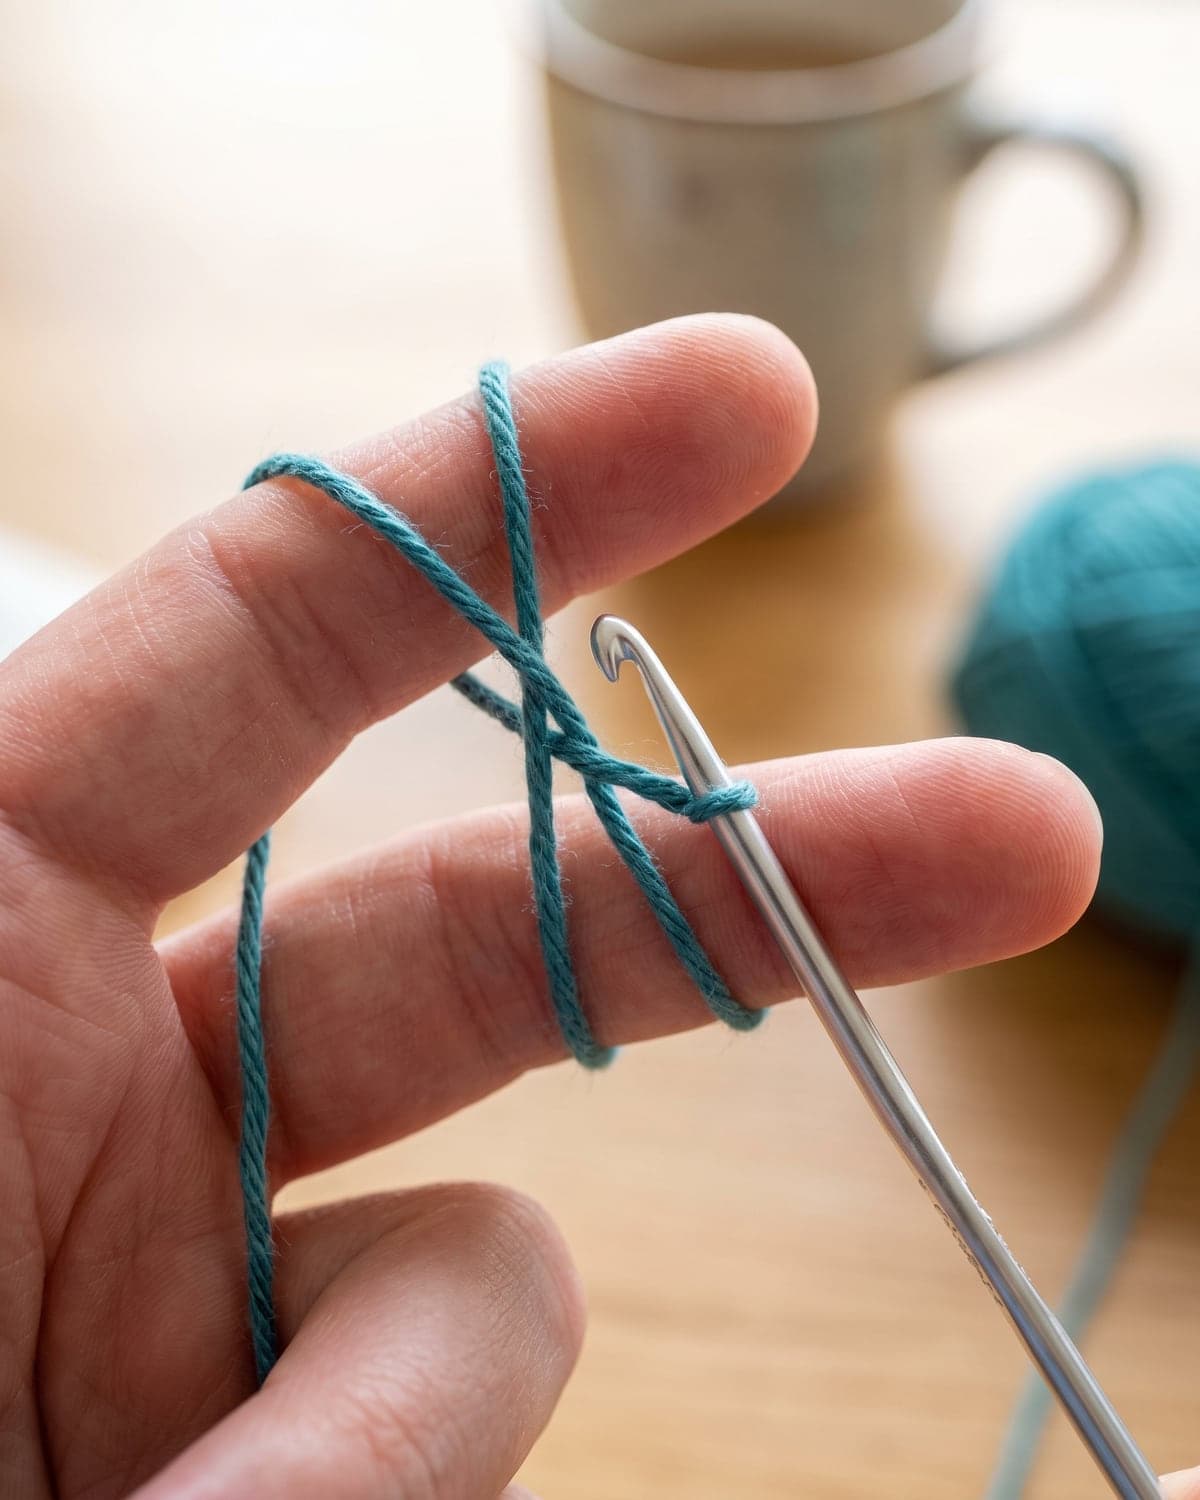
Hold your left hand palm up. Lay the yarn tail across your palm so the end hangs down below your little finger, with about 12 cm (5 in) of tail. Take the working yarn (the strand that goes to the ball) up behind your index and middle fingers, bring it over the top, and cross it over the tail in front of your fingers. You've made an X on your fingers.
Hold the crossing point with your thumb. Let the working yarn run over your index finger as you normally hold it.
Step 2: Pull up a loop
Turn your hand so you're looking at the back of your fingers, where two strands run side by side. Slide the hook under the first strand, catch the second strand, and pull it back under the first. Twist the hook upwards as it comes through. You have one loop on the hook.
Step 3: Lock it with a chain
Yarn over with the working yarn and pull through the loop on the hook. This chain 1 holds the ring together. It does not count as a stitch.
You can now slide the ring off your fingers. Pinch it where the chain sits, so it stays open as a circle about the size of a coin.
Step 4: Work the stitches into the ring
Look at the ring. It's made of two strands: the loop itself and the yarn tail lying alongside it. Every stitch must go around both strands.
For a single crochet: insert the hook into the centre of the ring, under both strands. Yarn over and pull up a loop (two loops on the hook). Yarn over and pull through both loops.
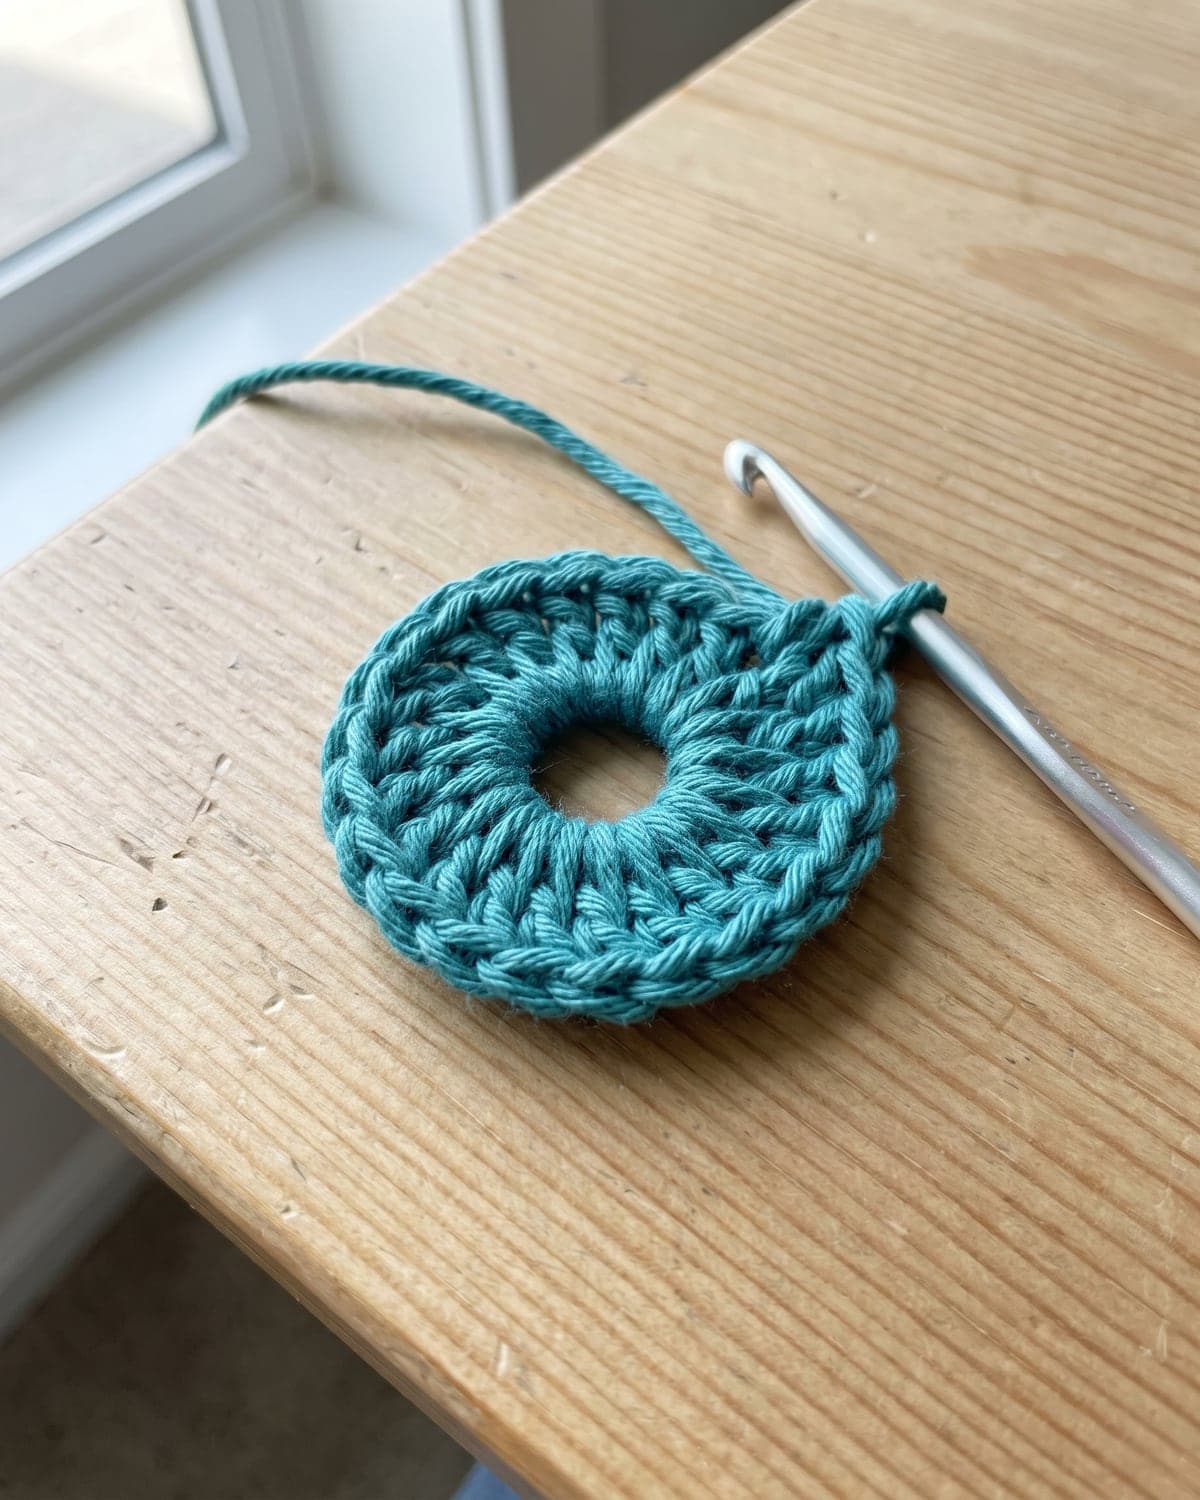
Repeat until you have the number of stitches your pattern asks for. Six is the most common. If the ring feels crowded, push the stitches along it towards the start to make room.
Step 5: Pull it closed
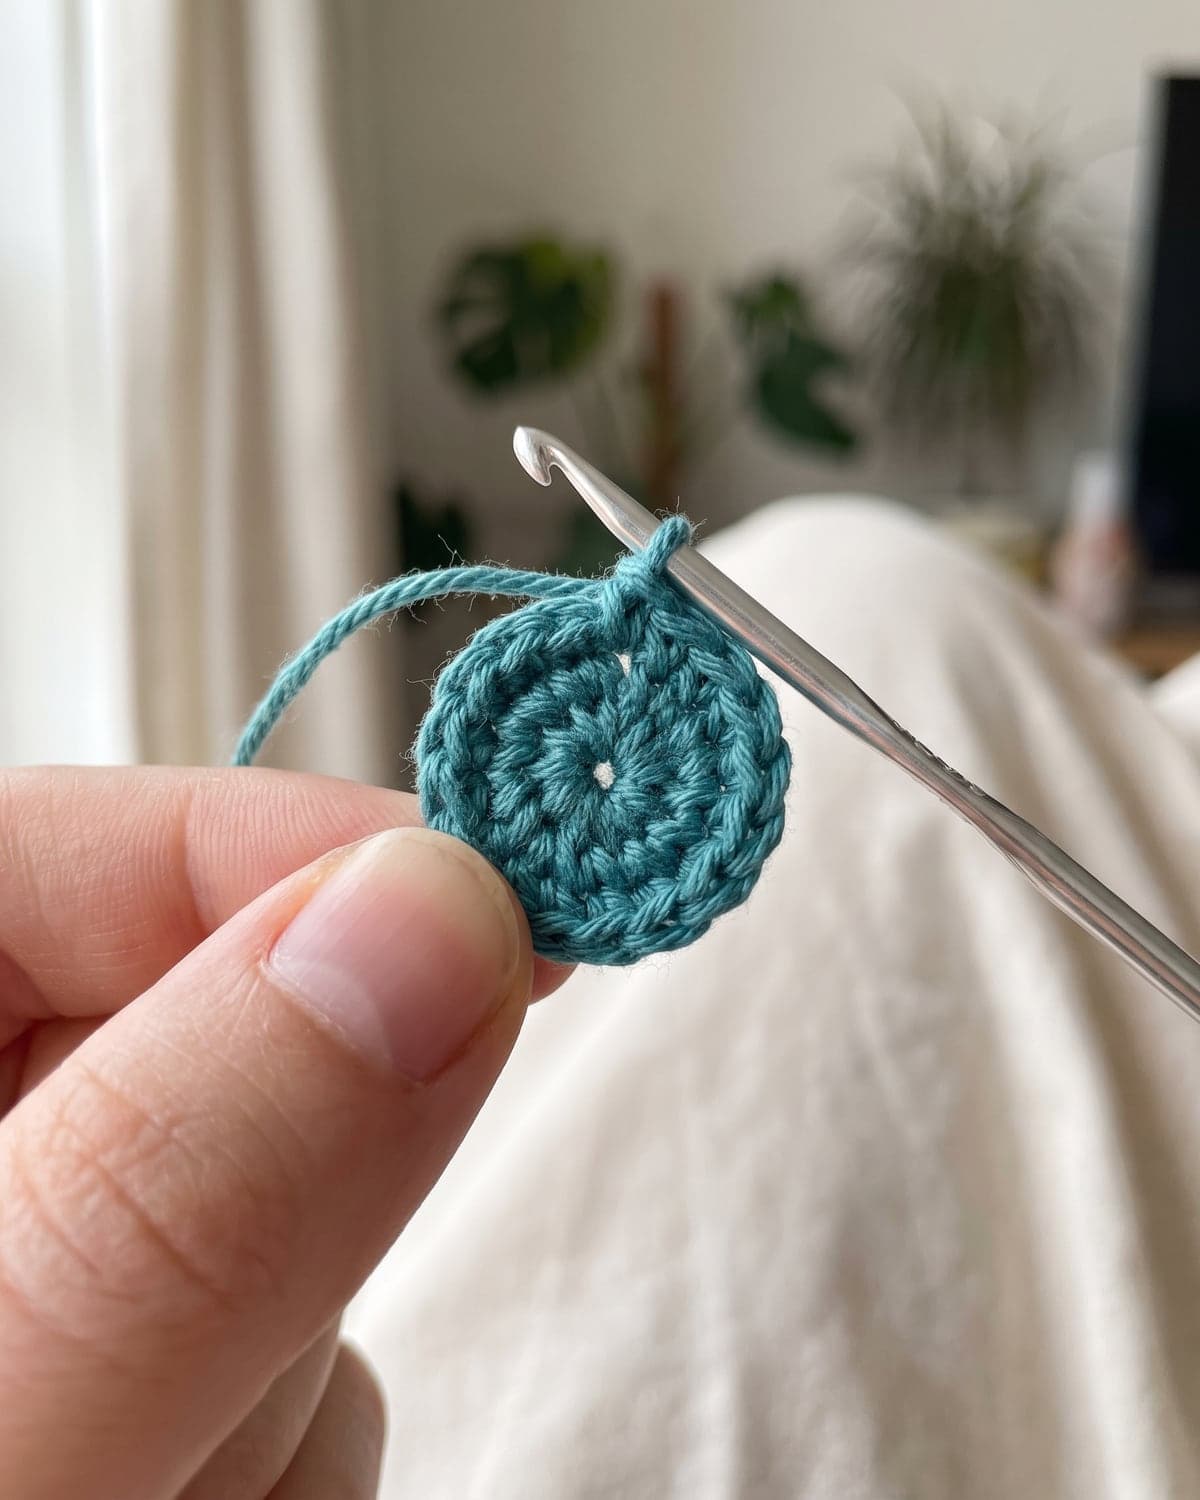
Hold the stitches in one hand and pull the yarn tail firmly with the other. The ring closes, and the six stitches draw into a tight little circle with no hole in the middle.
If it doesn't close, the stitches were worked around only one strand. See the troubleshooting section below.
Step 6: Start the next round
Your pattern will tell you to do one of two things:
- Work in a spiral. Don't join. Put a stitch marker in the first stitch of round 1 and work straight into it to begin round 2. This is the usual method for amigurumi.
- Join the round. Slip stitch into the first stitch, chain 1, and begin round 2. This is the usual method for flat circles and hats in taller stitches.
The first stitch of round 1 is the one furthest from your hook, next to the tail. It's often tight. Put your marker in it as soon as you've made it and you won't have to hunt for it.
If you're left-handed
Mirror everything. Wrap the yarn around the fingers of your right hand, hold the hook in your left, and work the stitches in the opposite direction around the ring. The steps and the stitch counts are identical.
How many stitches go into the ring?
The number depends on the height of the stitch. Taller stitches need more of them to lie flat.
| Stitch | Chain before the first stitch | Stitches in the ring |
|---|---|---|
| Single crochet (sc) | 1 (doesn't count) | 6 |
| Half double crochet (hdc) | 2 (doesn't count) | 8 |
| Double crochet (dc) | 3 (counts as the first dc) | 12 |
Always follow your pattern if it says something different. Some designers start with 5, 7 or 8 single crochets to get a particular shape.
The second method: around your finger twice
Some people find a double wrap easier to hold. Wrap the yarn twice around your index finger, away from you, with the tail at the front. Slide the hook under both wraps, catch the working yarn and pull up a loop. Chain 1. Slide the wraps off your finger and work your stitches into the double loop.
This makes a double magic ring. To close it, pull the tail gently to see which of the two loops moves. Pull that loop until the other one disappears, then pull the tail to close the loop that's left. The centre is held by two strands, so it's much more secure. It's a good choice for cotton and other smooth yarns that like to slip.
Two alternatives that always work
Chain 2
Chain 2. Work all your stitches into the second chain from the hook, which is the first chain you made. The chain stretches to fit six single crochets. Pull the tail to snug it up.
The centre isn't quite as tight as a magic ring, but it's very close, and it can't come undone. Many experienced toy makers use this start all the time.
Chain 4 and join
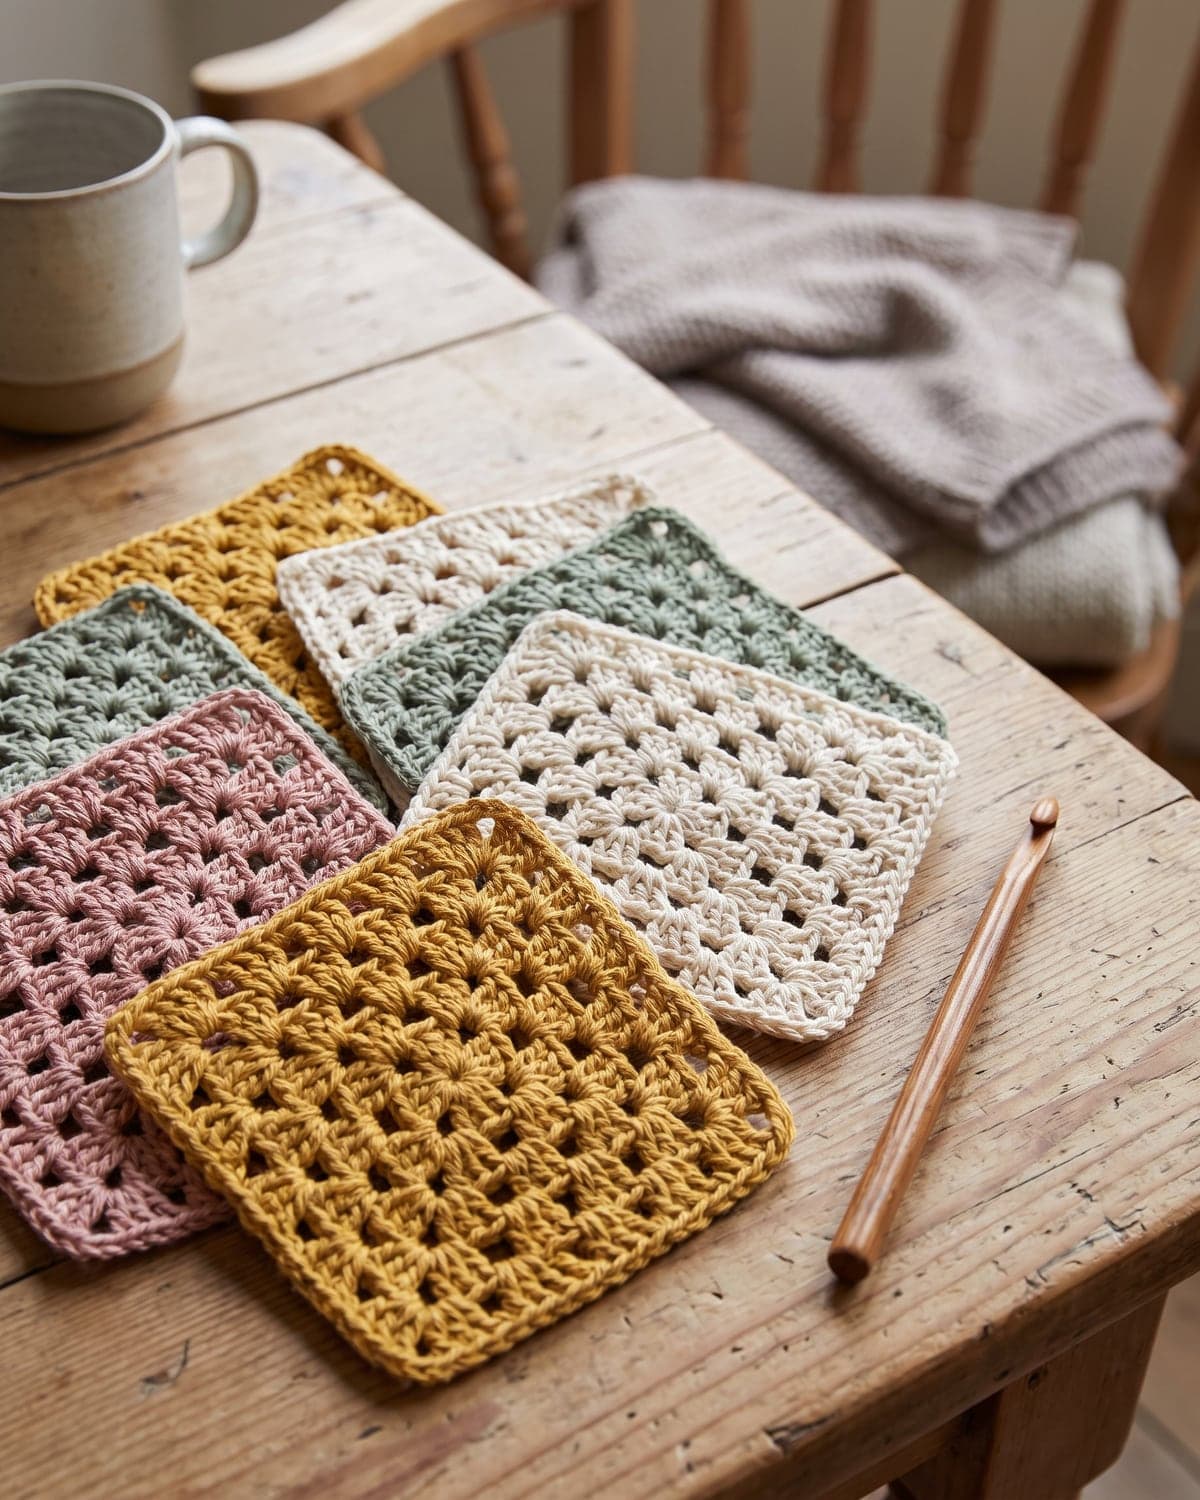
Chain 4 and slip stitch into the first chain to make a ring. Work your stitches into the centre of the ring, not into the individual chains. There will be a small hole. This is the traditional start for a granny square, where the hole is part of the look. The full method is in how to crochet a granny square.
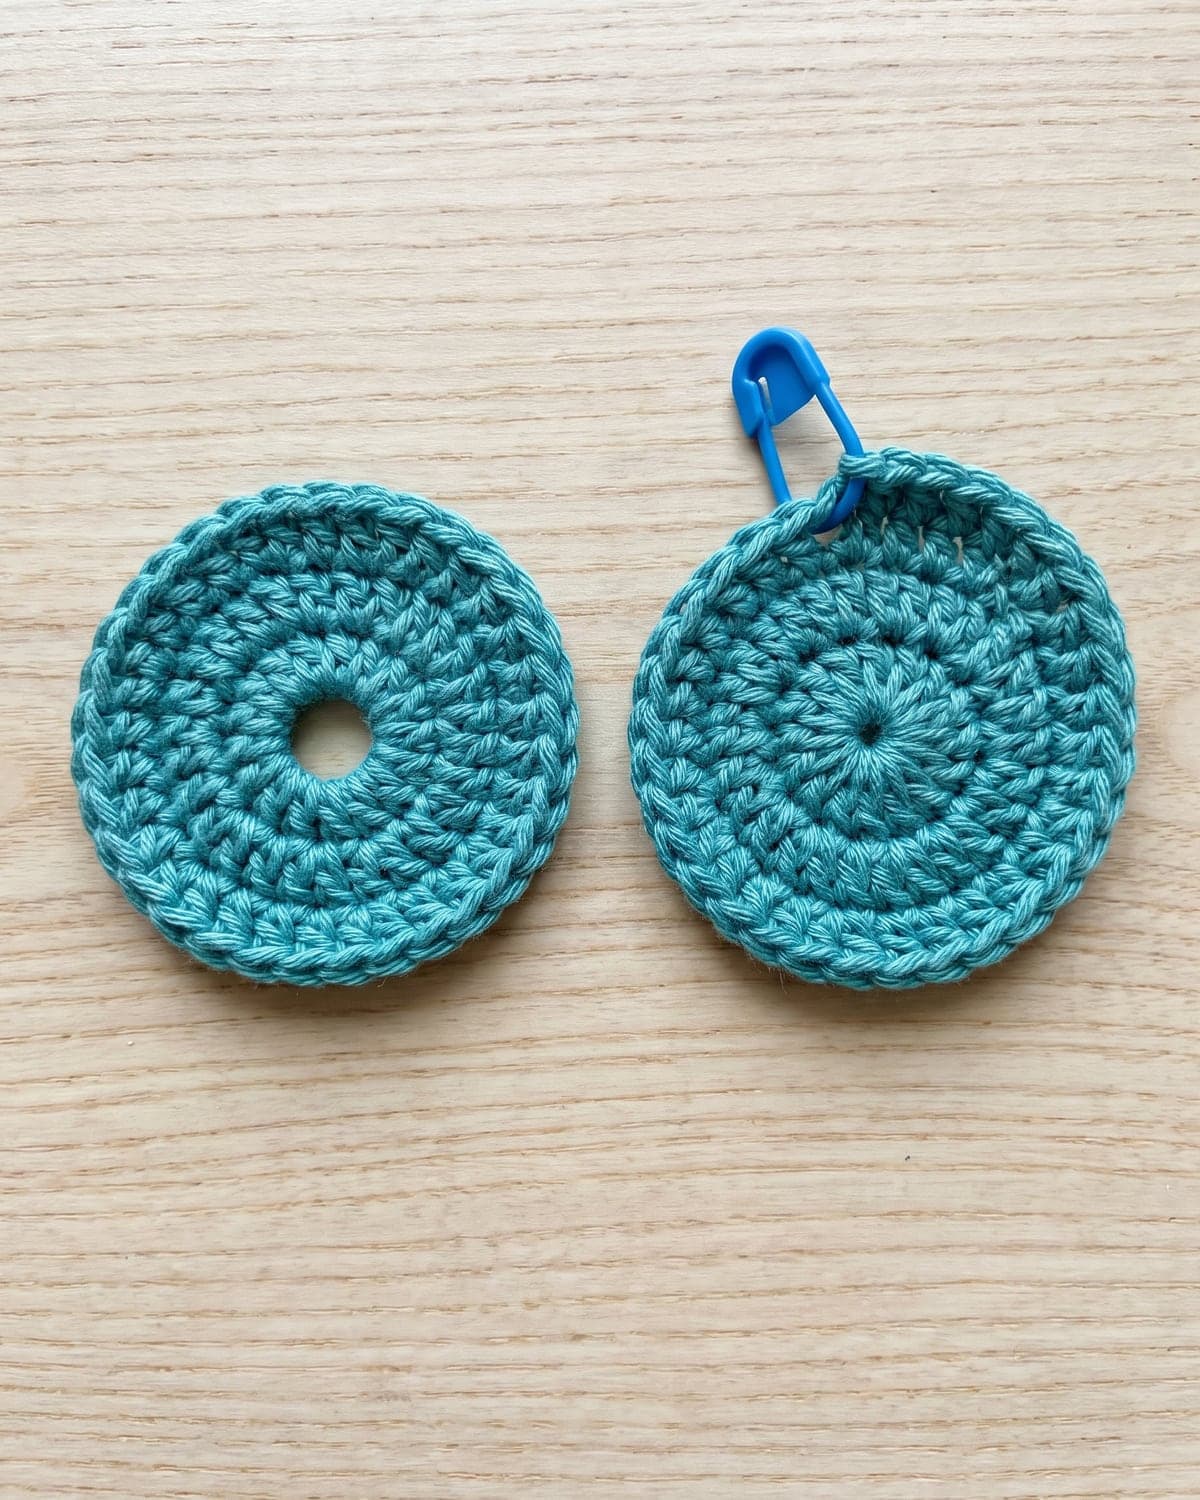
How to secure the tail so it never opens
A magic ring is held shut only by friction, so the tail needs to be fastened properly. Do this before you stuff a toy, while you can still reach the inside.
- Pull the tail tight once more.
- Thread it onto a tapestry needle.
- On the wrong side, sew through the base of the round 1 stitches, going around the circle in the same direction the ring closes.
- Turn and sew back the other way through three or four stitches.
- Trim the tail, leaving a centimetre or so.
For a toy that will be played with, tie a small knot around a strand on the inside before trimming. It will be hidden by the stuffing.
Don't simply crochet over the tail and cut it short. Cotton and other smooth fibres will work loose with handling, and a hole can open weeks later.
Practice: a flat circle
The best way to learn the ring is to make ten of them, and a flat circle gives each one a purpose. Use DK cotton and a 3.5 mm hook, and work in a spiral with a stitch marker.
- R1: 6 sc in a magic ring (6)
- R2: 2 sc in each stitch around (12)
- R3: (sc in the next stitch, 2 sc in the next stitch) × 6 (18)
- R4: (sc in each of the next 2 stitches, 2 sc in the next stitch) × 6 (24)
- R5: (sc in each of the next 3 stitches, 2 sc in the next stitch) × 6 (30)
Slip stitch into the next stitch and fasten off. Each round adds six stitches. If your circle lies flat, the ring and the increases are right.
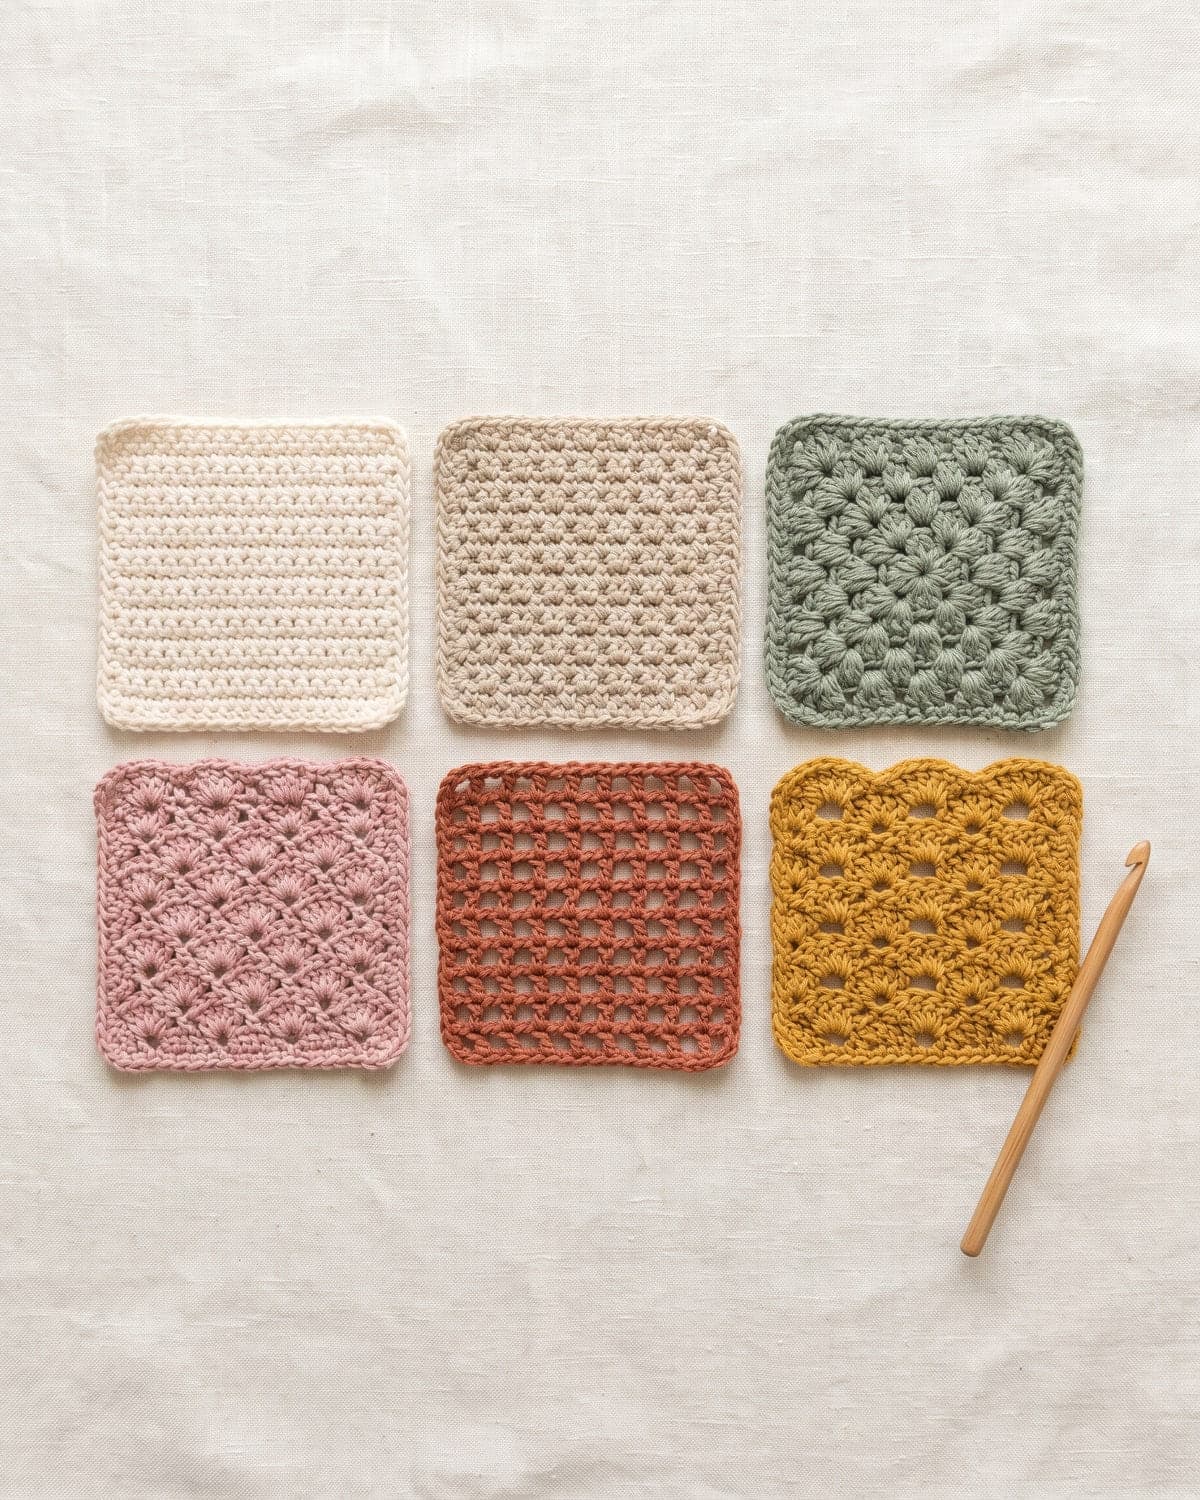
Keep going for two or three more rounds and you have a coaster. The easy crochet coasters add a border and a square version.
What starts with a magic ring
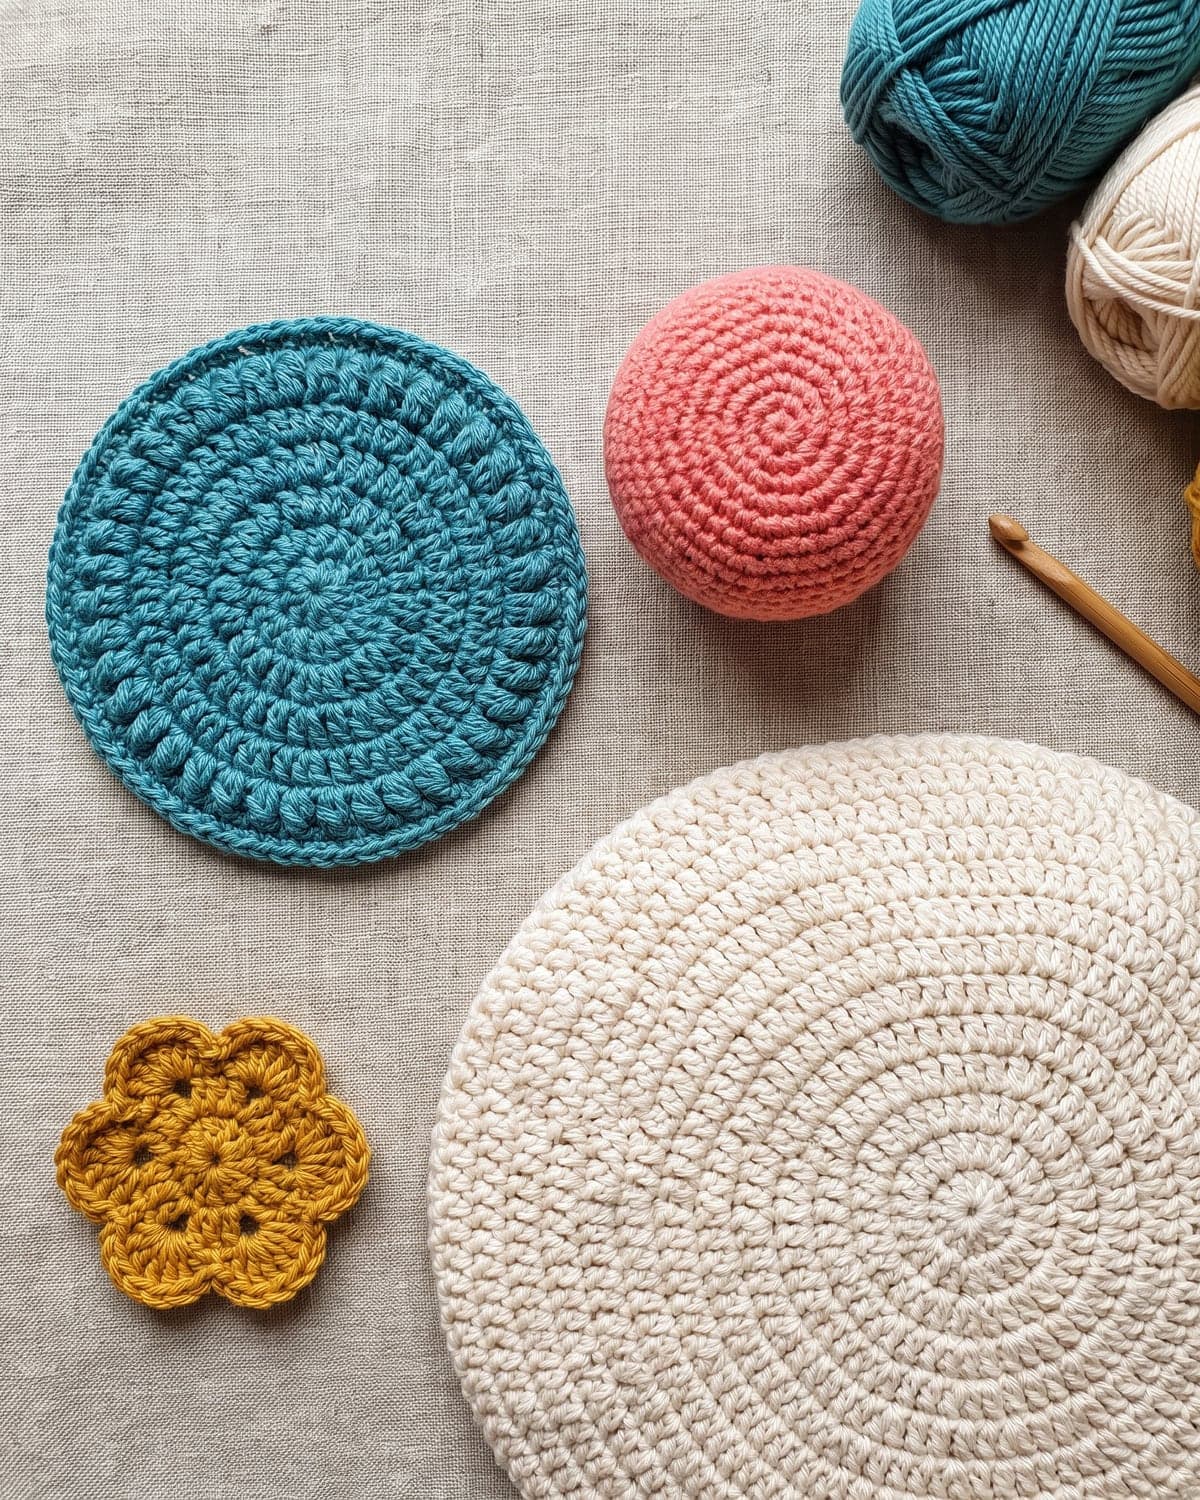
- Amigurumi. Every ball, head, body, arm and ear. Start with amigurumi for beginners, then try the crochet turtle or the crochet bunny.
- Flowers. The centre of a daisy or a sunflower. See the crochet sunflower pattern.
- Baskets and bowls. The flat base of an easy crochet basket.
- Hats worked from the crown down.
- Seasonal decorations, such as easy crochet pumpkins.
Common problems and fixes
The ring won't close. The stitches went around the loop but not the tail. Both strands have to be inside every stitch. Undo it and start again, holding the tail along the loop with your thumb.
The ring closes, then loosens. The tail hasn't been secured. Sew it in as described above. For slippery yarn, use the double magic ring.
The loop falls apart as soon as I let go. The chain 1 is missing. It's the stitch that locks the loop.
I can't fit six stitches in. Make the starting loop bigger. A loop the size of a large coin is easier to work into than a tiny one, and it closes just the same.
My stitches twist around the ring. That's fine. Straighten them with your fingers before you pull the tail.
I can't find the first stitch. Mark it as soon as it's made. It sits right next to the tail, and it's usually the tightest stitch in the round.
There's a small bump in the centre. The chain 1 has been pushed to the front. Poke it through to the wrong side with the end of your hook.
The yarn splits or snaps when I pull. Some loosely spun and some very soft yarns can't take the strain. Pull gently in stages, or use the chain 2 start.
Frequently asked questions
Is a magic ring the same as a magic circle? Yes. Magic ring, magic circle, magic loop and adjustable ring are four names for one technique.
What can I use instead of a magic ring? Chain 2 and work all the stitches into the second chain from the hook. The result is nearly identical.
How many stitches do I put in a magic ring? Follow the pattern. The usual numbers are 6 single crochets, 8 half double crochets or 12 double crochets.
Why does my magic ring keep coming undone? The tail was trimmed without being sewn in, or the yarn is very smooth. Weave the tail around the ring in one direction and back in the other.
Does the chain 1 count as a stitch? No, not with single crochet. With double crochet, the chain 3 usually does count. Your pattern will say.
Can I make a magic ring with chunky or velvet yarn? You can, but chenille and velvet yarns sometimes break when pulled. Use the chain 2 start with those.
Do I need a magic ring for granny squares? No. A chain ring is traditional. A magic ring just gives a closed centre.
Where to go next
Now that the start is sorted, the rest of working in the round is counting.
- Learn how increases and decreases shape a ball in amigurumi for beginners.
- Make a quick first toy with the easy crochet octopus.
- If pattern shorthand such as
(2 sc, inc) × 6 (24)is new, read how to read crochet patterns. - New to crochet altogether? Start with how to crochet for beginners.
There are more lessons in beginner tutorials. For standard stitch names and abbreviations, the Craft Yarn Council keeps a full list of crochet abbreviations, and its yarn weight system explains what DK and worsted mean.
Save it for later
Pin this to your Pinterest board so it's there when you're ready to stitch.
Keep stitching
Related crochet projects
Beginner tutorials How to Crochet a Granny Square: Easy Step-by-Step for Beginners
12 min read
Beginner tutorials How to Crochet for Beginners: A Step-by-Step Guide
11 min read
Beginner tutorials How to Read Crochet Patterns: A Beginner's Guide
12 min read
Crochet stitches Easy Crochet Stitches for Beginners: 6 Basics to Learn First
10 min read