Crochet Christmas Ornaments: 4 Easy Patterns for Beginners
Four easy crochet Christmas ornaments for beginners: a five-point star, a flat Christmas tree, a mini wreath and a candy cane, with decorating ideas and a simple way to stiffen them.
By AlixaPublished 12 min read
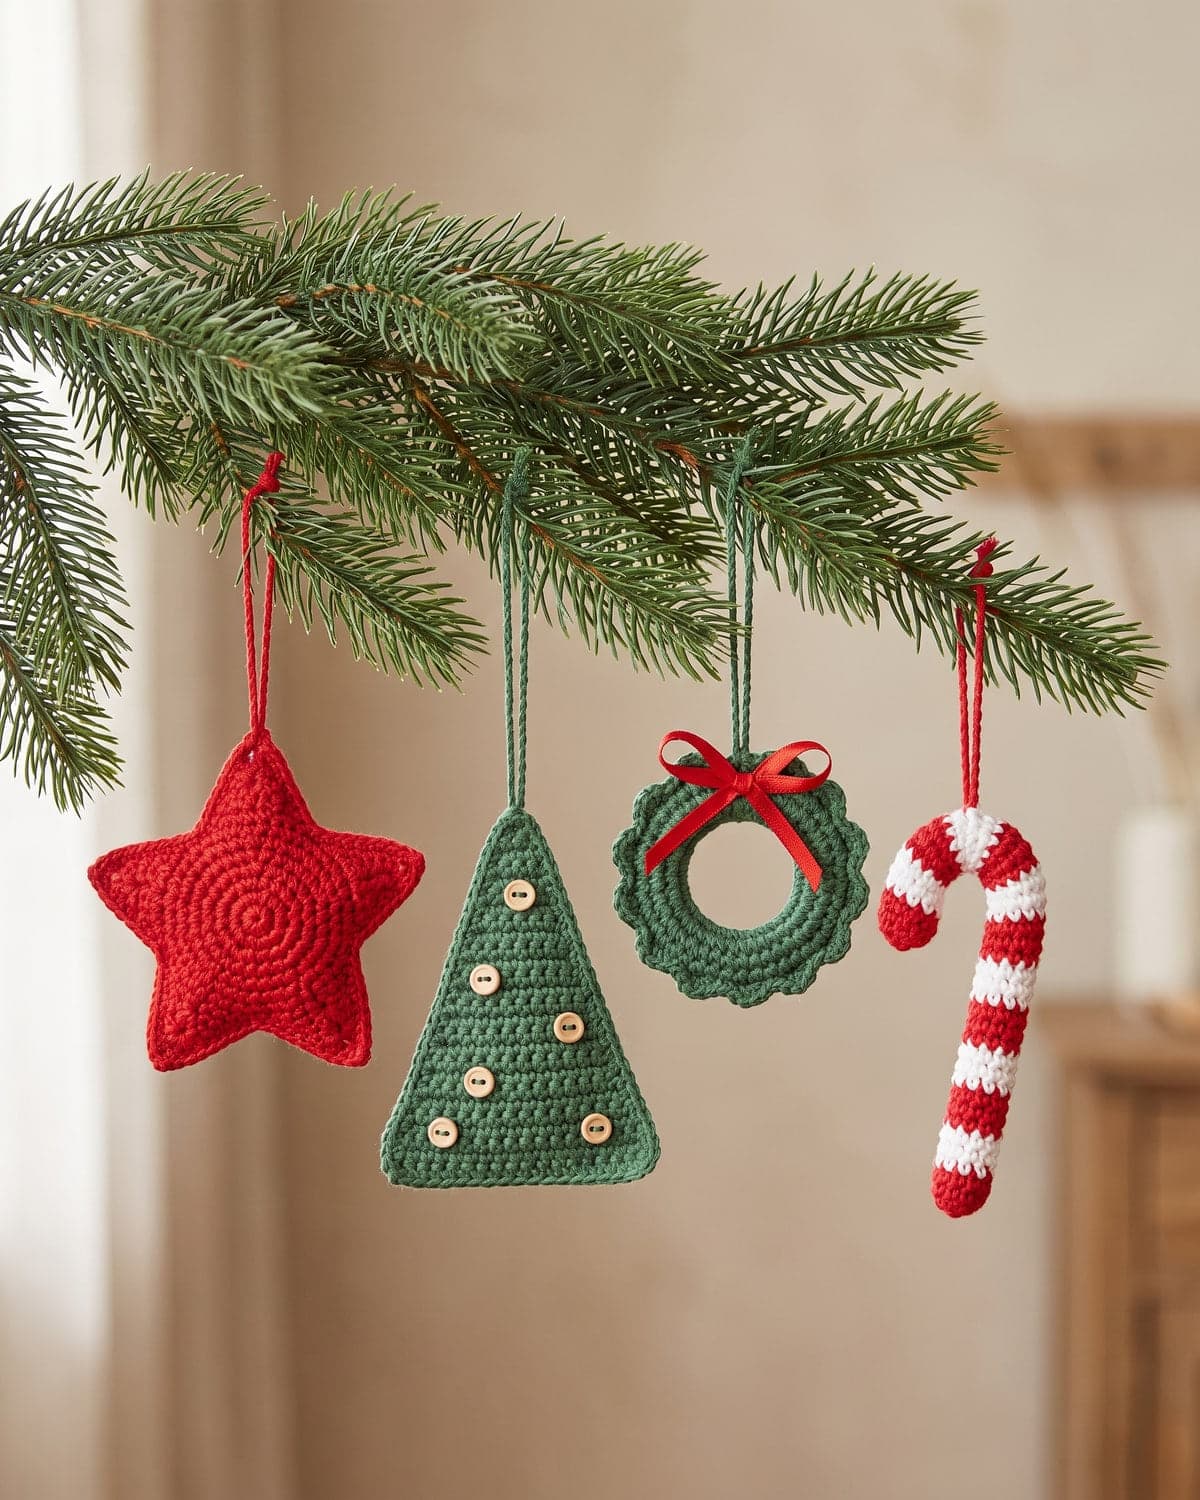
Crochet Christmas ornaments are small, quick and endlessly giftable. Each one uses a few metres of yarn and takes less time than a film, so you can fill a tree, decorate presents and make teacher gifts from a single ball of red, white and green.
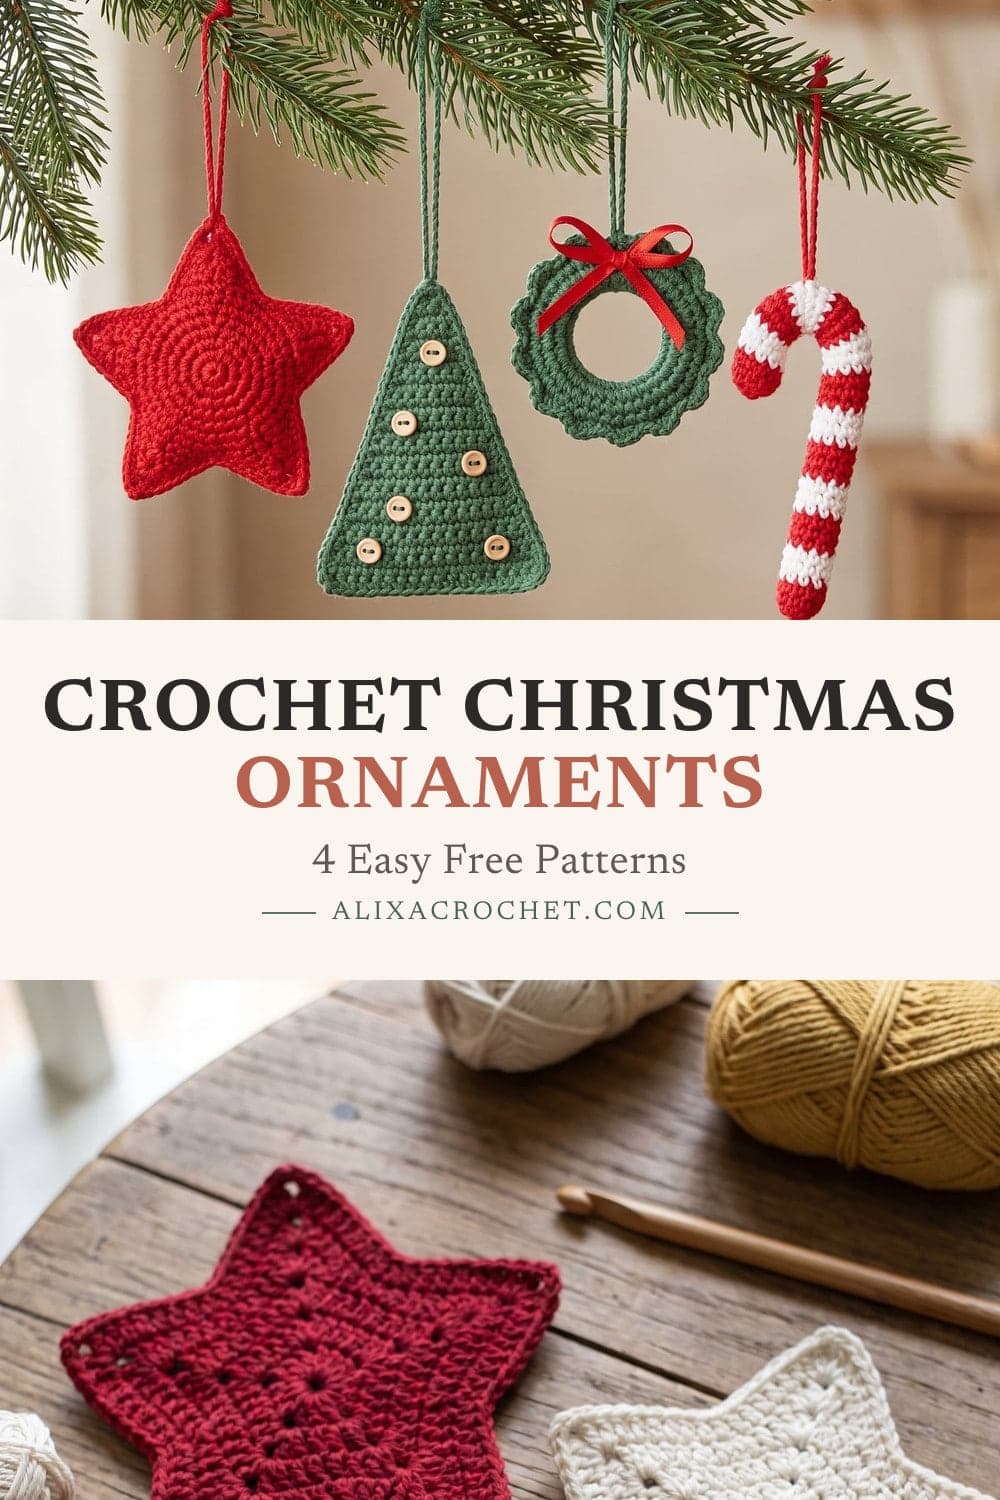
This tutorial has four easy patterns: a five-point star, a flat Christmas tree, a mini wreath and a candy cane. They use only basic stitches, and each has ideas for decorating and hanging. At the end you'll find a simple way to stiffen ornaments so they keep their shape year after year.
Terms used here: US crochet terms. In UK terms, single crochet (sc) is double crochet, half double (hdc) is half treble, double crochet (dc) is treble, and treble (tr) is double treble.
About these patterns: they are simple, traditional shapes written out in our own words. The stitch counts have been checked so that every row and round adds up. Sizes are approximate, because they depend on your yarn and hook.
What you need
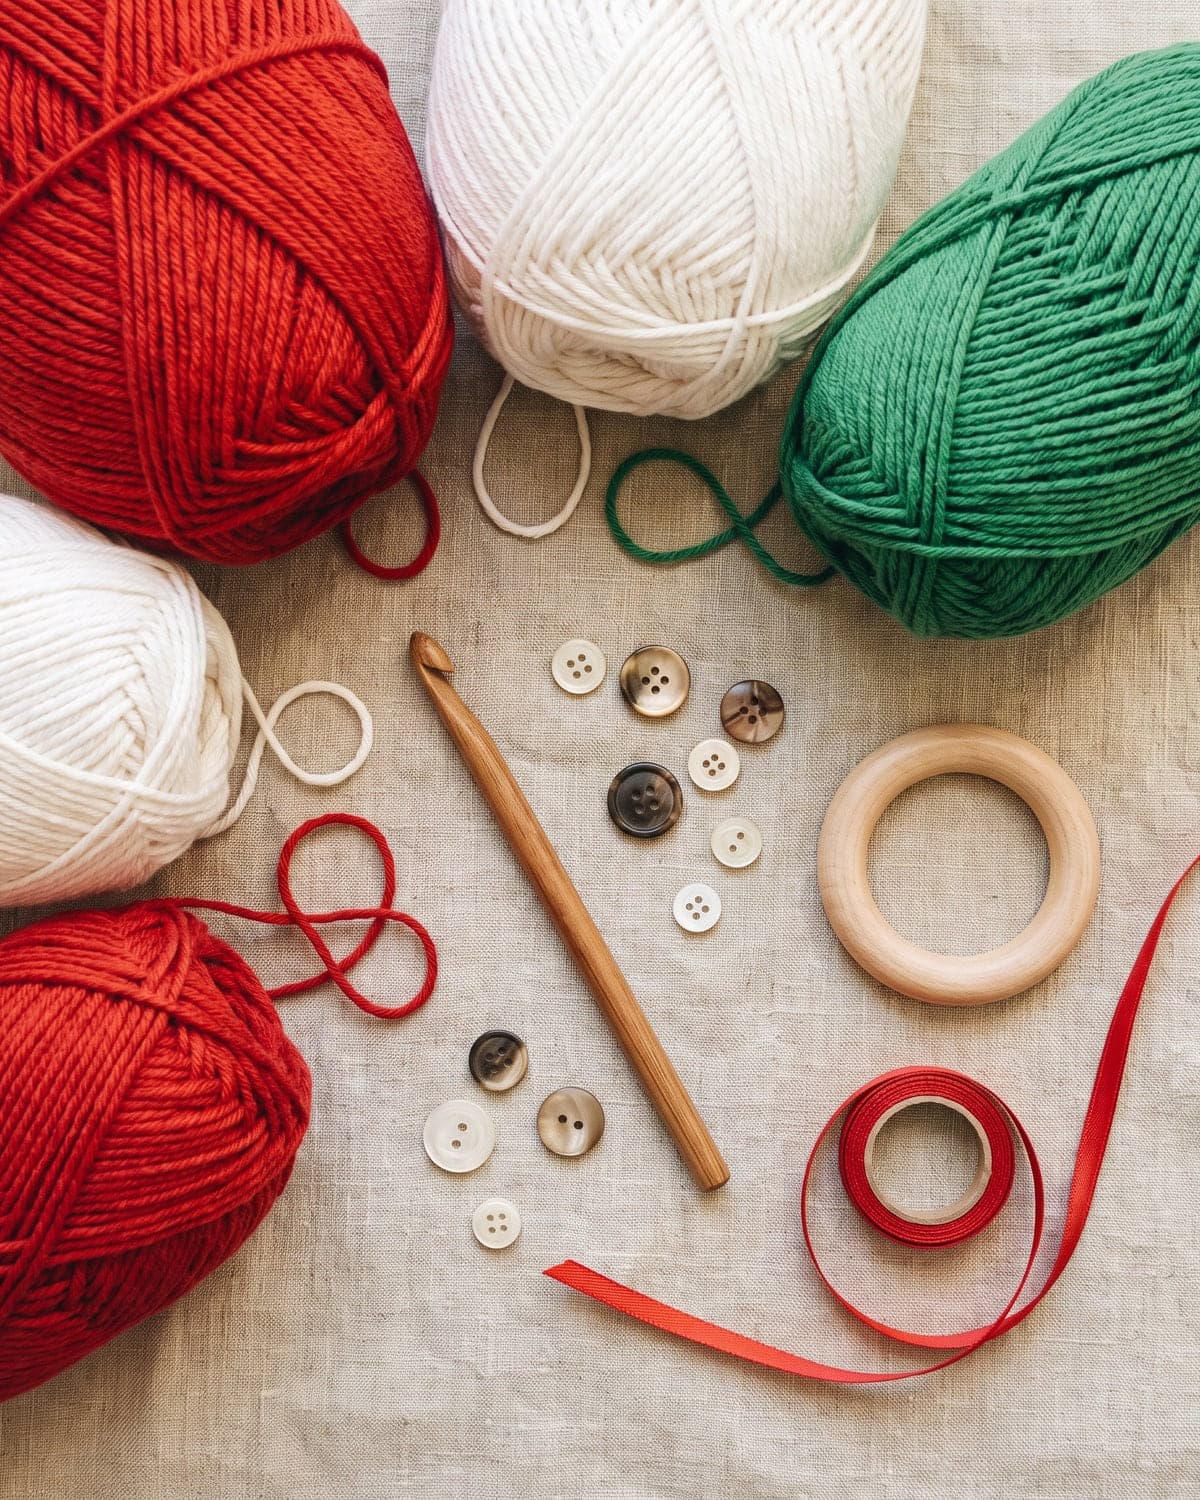
- Cotton yarn in DK or worsted weight (weight 3 or 4). Cotton gives crisp points and stiffens well. Classic colours are red, white, green and gold, but soft neutrals such as cream, sage and terracotta look beautiful on a natural tree.
- A hook one size smaller than the label suggests: about 3 mm (US D-3) for DK, 3.5 to 4 mm (US E-4 to G-6) for worsted. Firm stitches hold their shape.
- A tapestry needle and scissors.
- For hanging: thin ribbon, baker's twine, or the yarn itself.
- Optional: small buttons, beads or sequins for decoration; a 5 cm (2 in) wooden or metal ring for the wreath; a pipe cleaner for the candy cane; and fabric stiffener or white craft glue.
Safety: small ornaments, beads and buttons are choking hazards. Hang them out of reach of babies, young children and pets, and leave off the beads if little hands can reach the tree.
Stitches you'll use
All four ornaments use the chain, slip stitch, single crochet, half double crochet and double crochet. The star also uses the treble crochet. Each one is explained in easy crochet stitches for beginners. If abbreviations such as "sc2tog" are new, how to read crochet patterns will help.
Two extra techniques come up:
- Magic ring: an adjustable starting loop that closes the centre of a round completely. You can replace it with: chain 4, join with a slip stitch to make a ring.
- Single crochet two together (sc2tog): a decrease. Insert the hook into the next stitch and pull up a loop. Insert it into the stitch after that and pull up another loop. Yarn over and pull through all three loops on the hook.
Pattern 1: Five-point star
The star is two rounds: a small centre circle, then five points, each made on a short chain. In worsted cotton it measures roughly 9 cm (3.5 in) from tip to tip.
Round 1: Make a magic ring. Chain 1, then work 10 sc into the ring. Pull the ring closed and join with a slip stitch to the first sc. (10 stitches)
Round 2 (points): *Chain 6. Working back down the chain: sc in the 2nd chain from the hook, hdc in the next chain, dc in the next chain, tr in each of the next 2 chains. Skip 1 stitch of the centre, and slip stitch in the next stitch; repeat from * 4 more times.
You'll have five points. Each point uses two stitches of the centre, the one you skip and the one you slip stitch into, so five points use all ten. The last slip stitch lands in the stitch where the round began.
Fasten off and weave in the ends. Pinch each tip to sharpen it.
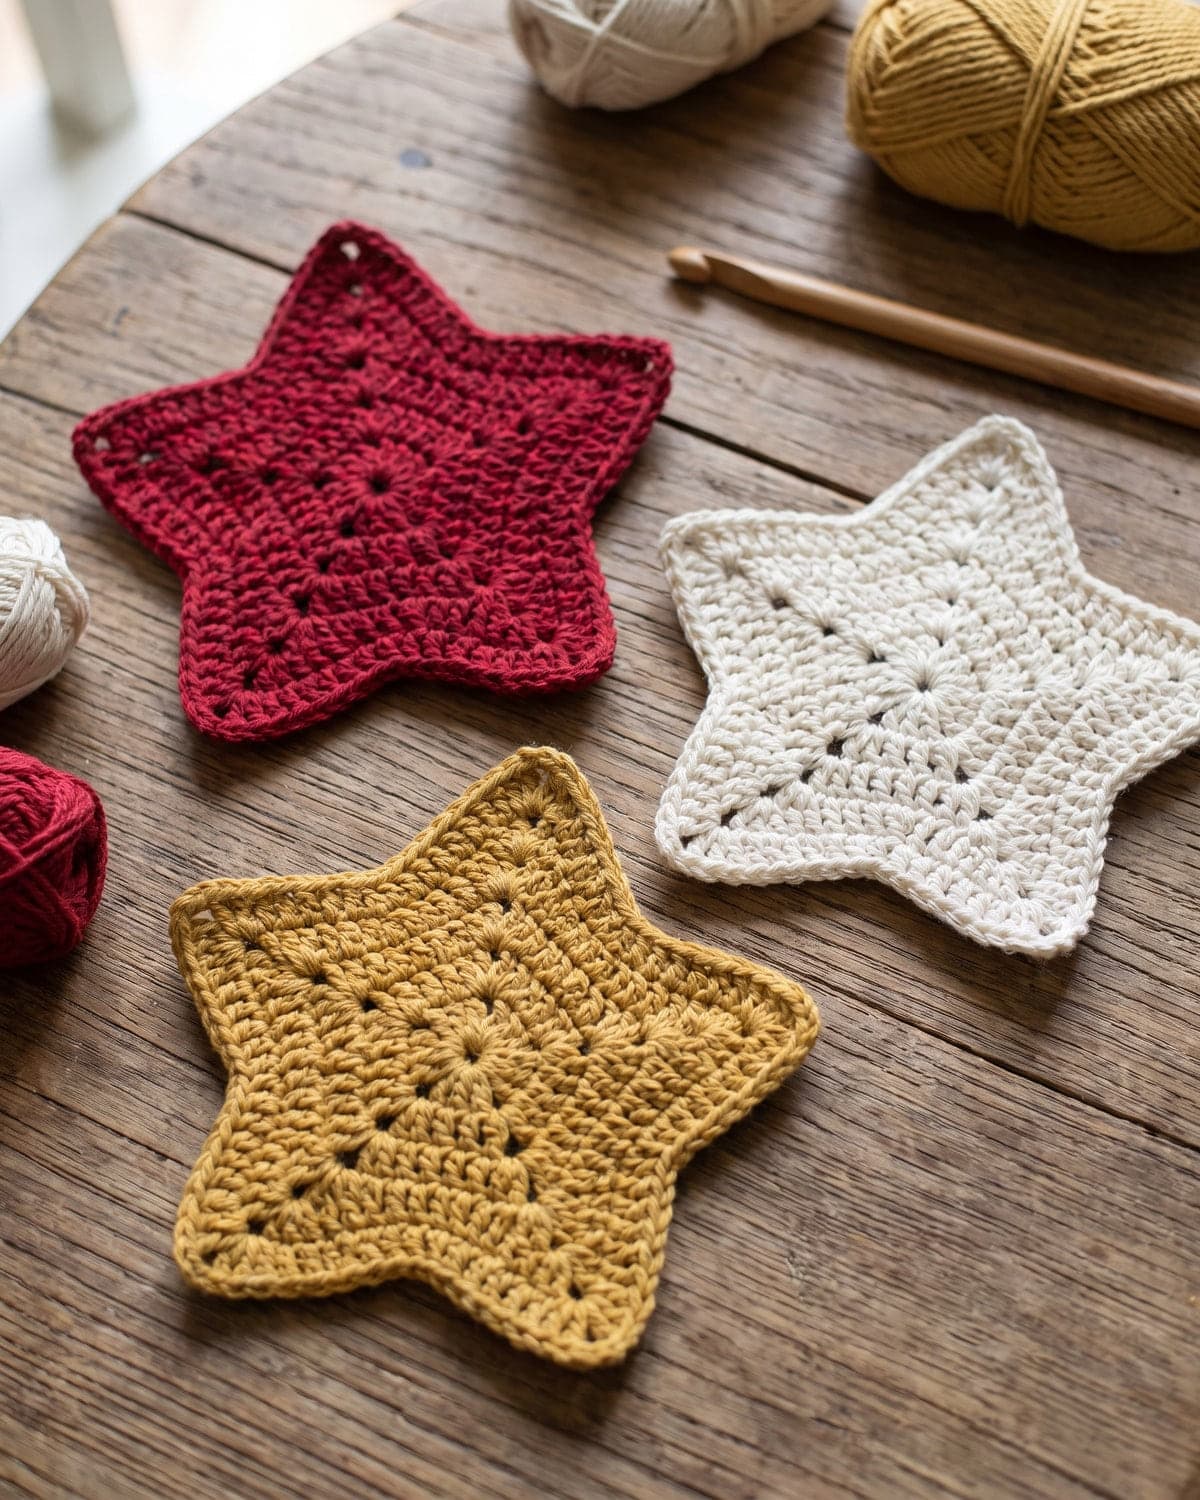 For a puffy, two-sided star, make two stars. Hold them with wrong sides together and join them with a round of single crochet around the edges, working 3 sc into each tip. Before closing the last point, push in a little stuffing.
For a smaller star, chain 5 for each point and leave out one of the trebles.
Pattern 2: Flat Christmas tree
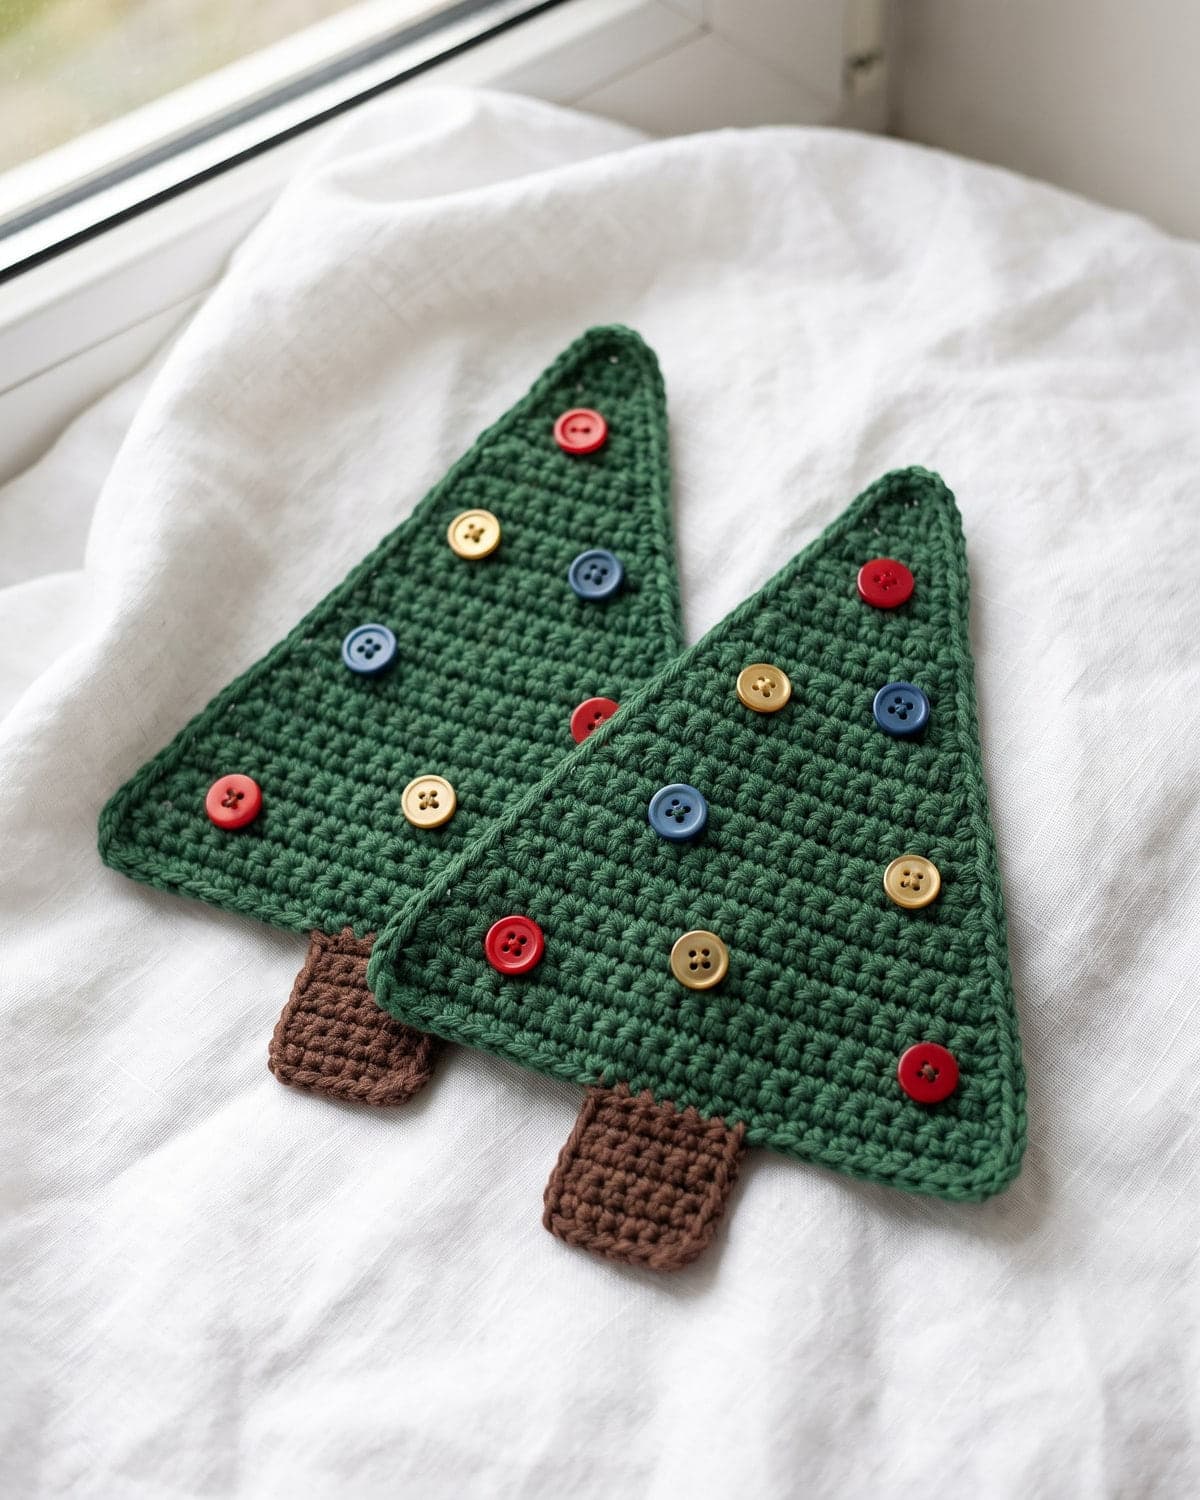
This tree is a triangle worked in rows from the wide base to the tip, with a small trunk added at the bottom. It's the easiest of the four.
Tree (green):
- Chain 12.
- Row 1: sc in the 2nd chain from the hook and in each chain across (11)
- Row 2: chain 1, turn. Sc in each stitch across (11)
- Row 3: chain 1, turn. Sc2tog, sc in the next 7 stitches, sc2tog (9)
- Row 4: chain 1, turn. Sc in each stitch across (9)
- Row 5: chain 1, turn. Sc2tog, sc in the next 5 stitches, sc2tog (7)
- Row 6: chain 1, turn. Sc in each stitch across (7)
- Row 7: chain 1, turn. Sc2tog, sc in the next 3 stitches, sc2tog (5)
- Row 8: chain 1, turn. Sc in each stitch across (5)
- Row 9: chain 1, turn. Sc2tog, sc in the next stitch, sc2tog (3)
- Row 10: chain 1, turn. Sc in each stitch across (3)
- Row 11: chain 1, turn. Work the 3 stitches together: pull up a loop in each of the 3 stitches, yarn over and pull through all four loops on the hook (1)
Don't fasten off. Chain 12 and slip stitch back into the tip to make a hanging loop. Then fasten off.
Optional edging: for a neater outline, join green yarn at a bottom corner and work a round of single crochet around the whole triangle, with 3 sc in each bottom corner and at the tip.
Trunk (brown): Join brown yarn to the foundation chain at the bottom of the tree, in the 5th stitch from one edge. Chain 1, and sc in that stitch and in the next 2 stitches (3). Chain 1, turn, and sc in each stitch across (3). Work one more row the same way. Fasten off.
To decorate: sew on small buttons, beads or French knots as baubles. Stitch a zigzag of gold yarn across the tree for a garland. Sew a tiny star button to the top.
Pattern 3: Mini wreath
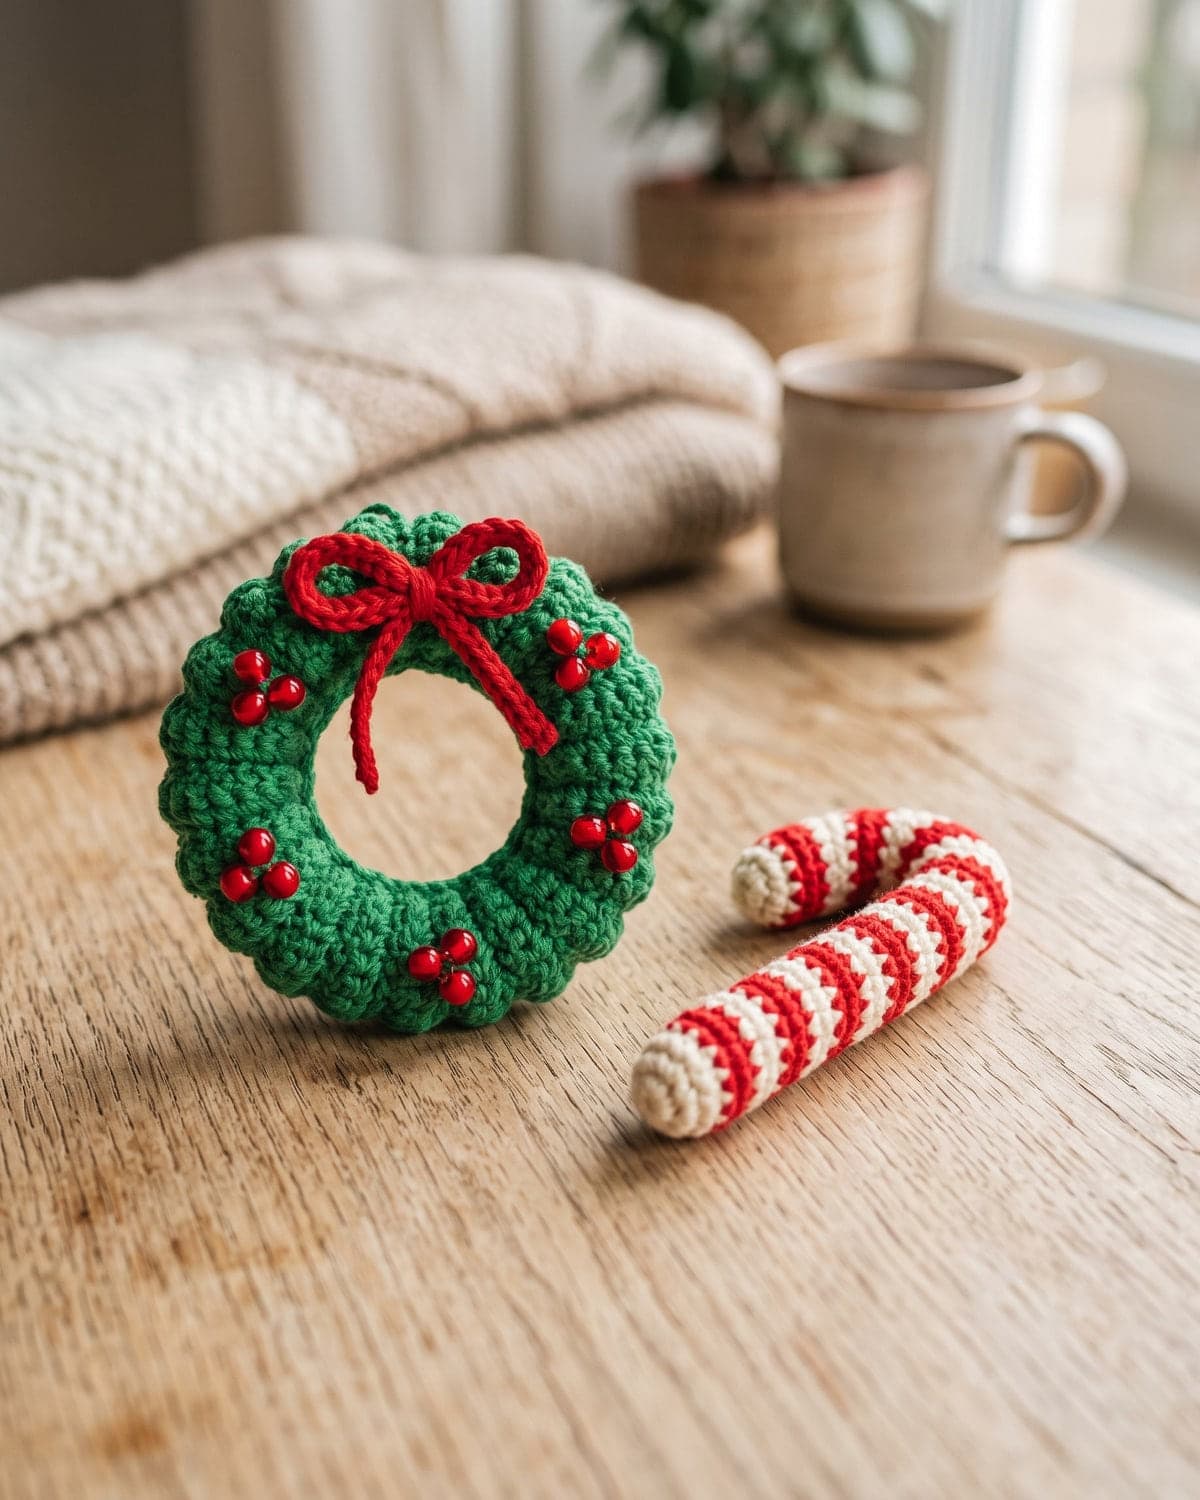
The wreath is a ring covered in stitches, with a bow. There are two ways to make it.
Over a ring (firmest)
Use a wooden curtain ring, a metal craft ring or a plastic bangle about 5 cm (2 in) across.
- Make a slip knot on your hook with green yarn.
- Insert the hook through the centre of the ring, yarn over and pull up a loop, with the ring caught inside the stitch. Yarn over above the ring and pull through both loops. That's one single crochet around the ring.
- Keep working single crochets around the ring, pushing them close together, until it's completely covered. You'll need roughly 35 to 45 stitches, depending on your ring and yarn.
- Join with a slip stitch to the first stitch. Chain 12 and slip stitch into the same place for a hanging loop. Fasten off.
Without a ring
- Chain 18 and join with a slip stitch to the first chain to form a circle. Don't twist it.
- Round 1: chain 1, and work 36 sc into the centre of the circle, going over the whole chain, not into individual chains. Push the stitches together as you go. Join with a slip stitch to the first sc. (36)
- Round 2: *chain 3, skip 1 stitch, slip stitch in the next stitch; repeat from * around. This makes 18 little loops that look like foliage.
Fasten off. Add a hanging loop of chain 12 at the top.
Bow (red): Chain 14 and fasten off, leaving tails. Tie the chain into a small bow and sew it to the bottom of the wreath. Or simply tie a bow of narrow red ribbon around the wreath.
To decorate: sew three red beads or French knots in a cluster for holly berries.
Pattern 4: Candy cane
A candy cane is a striped tube bent into a hook. This version is a flat strip that rolls itself, so there's no working in tiny rounds.
With white yarn, chain 26.
- Row 1 (white): sc in the 2nd chain from the hook and in each chain across (25)
- Row 2 (red): change to red. Chain 1, turn. Sc in each stitch across (25)
- Row 3 (white): change to white. Chain 1, turn. Sc in each stitch across (25)
- Row 4 (red): change to red. Chain 1, turn. Sc in each stitch across (25)
Fasten off, leaving a long white tail.
To change colour neatly: work the last stitch of the row until two loops remain on the hook, then yarn over with the new colour and pull through. Carry the unused colour loosely up the side. It will be hidden inside the roll.
To assemble: roll the strip lengthwise into a tube, so the stripes run along it. For a firm cane that holds its curve, lay a pipe cleaner cut to length inside before you roll. Sew the long edges together with the white tail using a whip stitch. Twisting the tube slightly as you sew makes the stripes spiral like a real candy cane. Bend the top third over into a hook.
Check that no wire ends poke out. Fold each end of the pipe cleaner back on itself before you enclose it.
For a quicker version, use twisted cord: cut one long strand each of red and white yarn, knot them together at one end, twist tightly until the cord kinks, fold it in half and let it twist back on itself. Knot the ends, and you have a striped cord to shape into a cane.
How to stiffen crochet ornaments
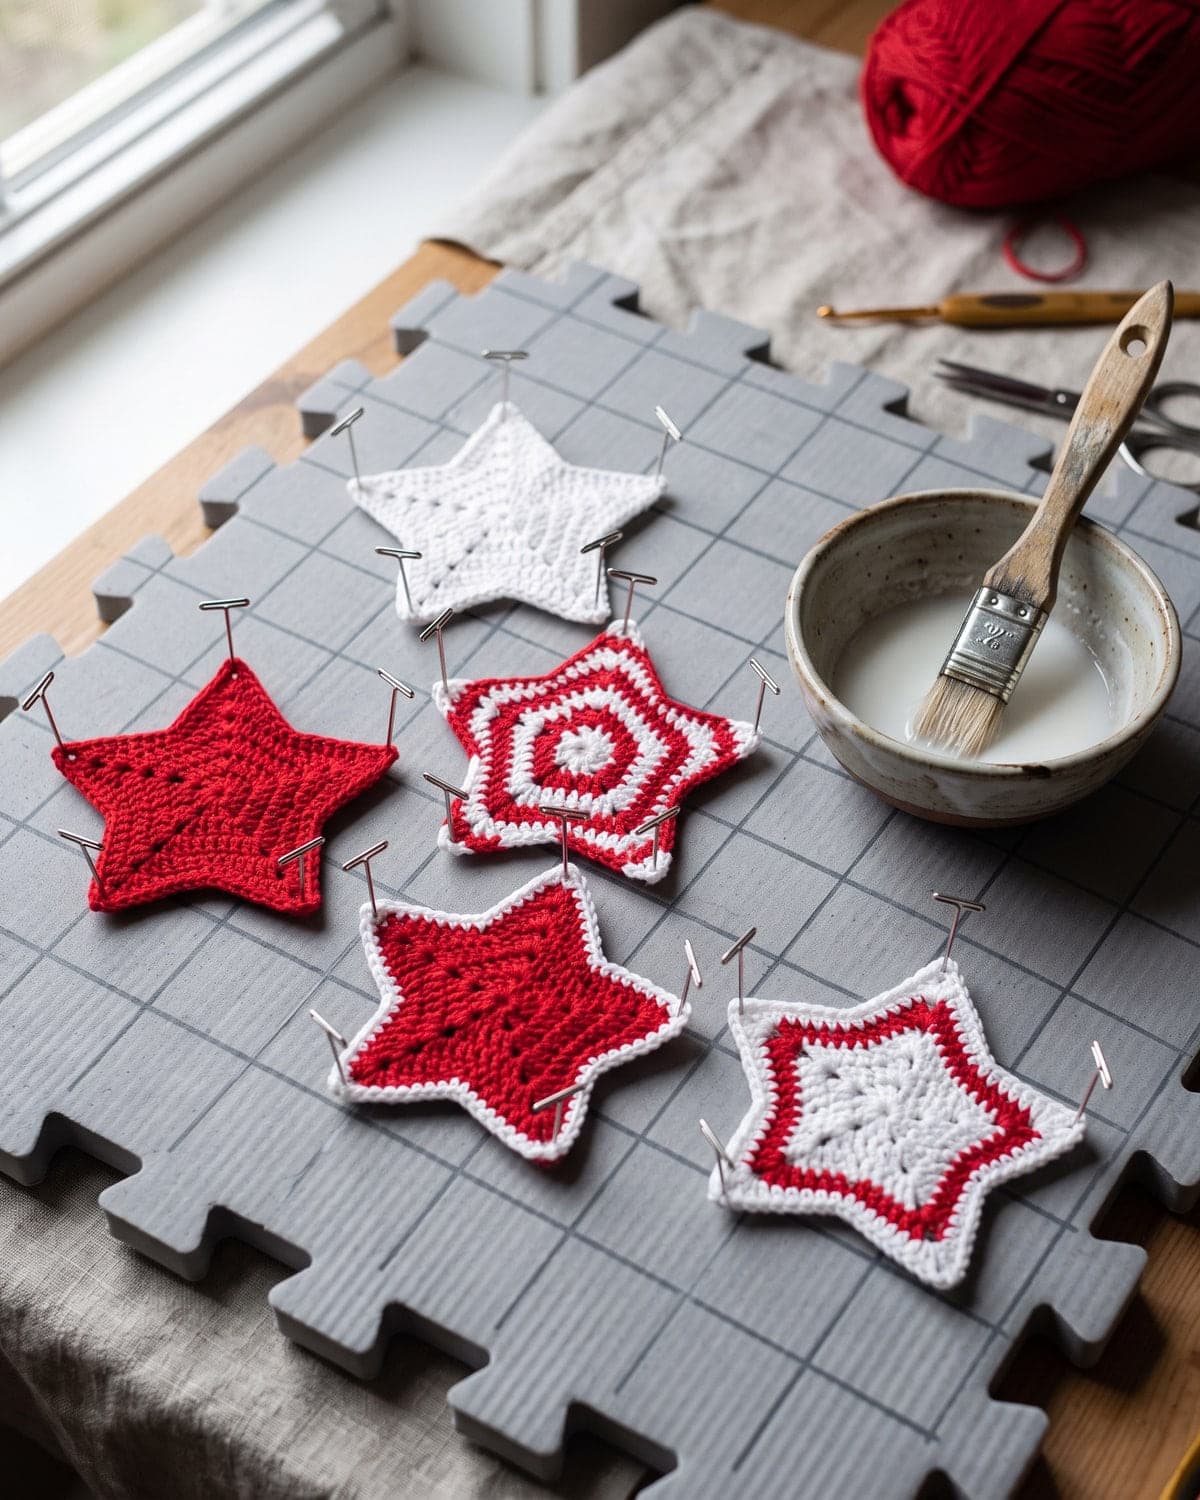
Flat ornaments such as the star and tree hang better when they're stiffened.
- Mix the stiffener. Use a commercial fabric stiffener, or mix white craft glue (PVA) with an equal amount of water.
- Soak the ornament and squeeze out the excess. It should be damp all the way through but not dripping.
- Pin it to shape on a foam mat or thick cardboard covered with baking paper or cling film. Use rust-proof pins. Pin each star tip and each corner of the tree.
- Leave to dry completely, usually overnight. Turn it over once it's dry enough to handle.
- Unpin. The ornament will be firm and flat.
For a softer finish, spray starch and a pressing cloth also work on cotton. Don't stiffen pieces that have buttons or wire inside until you've checked the stiffener won't mark them.
Ways to use crochet ornaments
- On the tree. Mix all four shapes in two or three colours for a coordinated look.
- Gift toppers. Tie one to the ribbon of a wrapped present. It's a small extra gift.
- A garland. Chain a long cord and attach an ornament every 15 cm (6 in). Stars and trees alternate nicely.
- Advent calendar. Make 24 small ornaments and add one to the tree each day.
- Table settings. A star on each napkin, with a name tag.
- Cards. Glue a flat tree or star to the front of a blank card.
- Stocking fillers and teacher gifts. A set of three ornaments in a small bag.
- Craft fair stock. They're quick to make and easy to sell in sets.
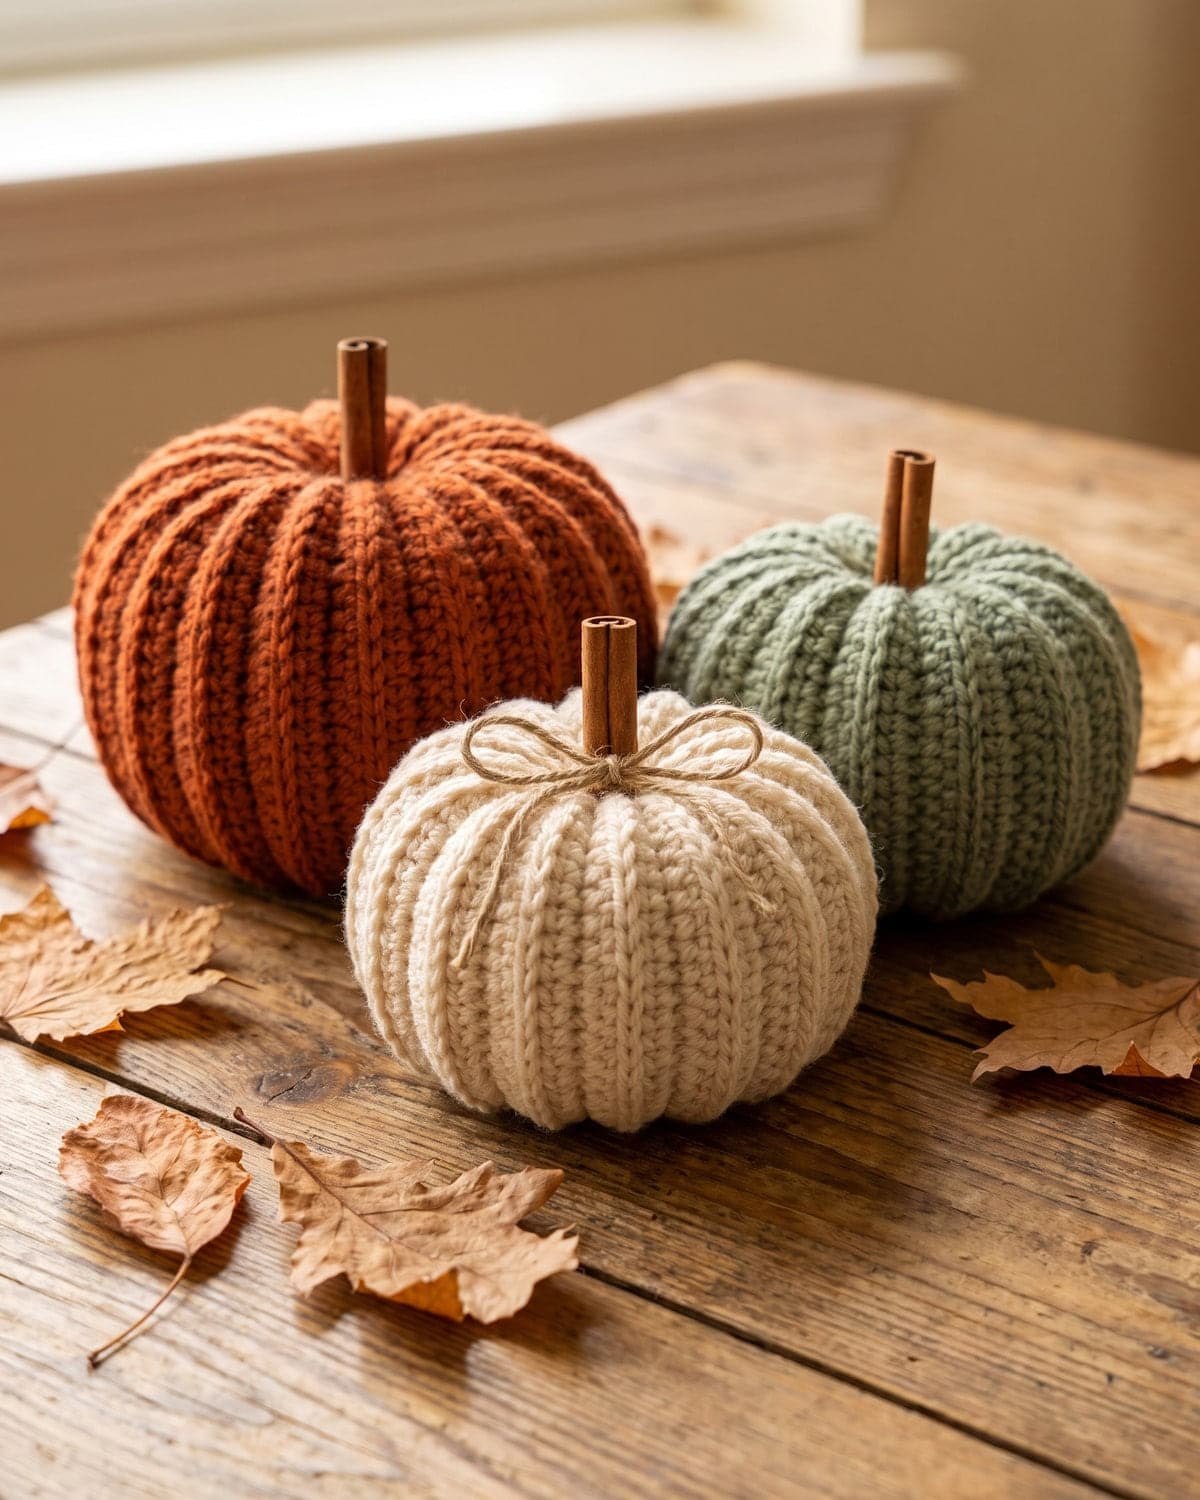
For a rustic autumn-to-winter display, pair them with easy crochet pumpkins in cream and sage.
Choosing colours
- Traditional: red, green, white and gold.
- Scandinavian: red and white only, with natural wood.
- Farmhouse: cream, oatmeal and sage green, with jute twine loops.
- Frosty: white, pale blue and silver.
- Bright: hot pink, turquoise and lime for a modern tree.
Metallic and sparkly yarns are tempting at Christmas, but they're often slippery and splitty. A plain cotton held together with a fine metallic thread is much easier to work with and gives the same shimmer.
Common problems and fixes
My star has four or six points. The centre round didn't have ten stitches, or a stitch wasn't skipped between points. Count ten before you start round 2.
The star points curl. That's normal straight off the hook. Blocking or stiffening flattens them.
The centre of the star has a hole. Pull the magic ring tail tight, then weave it around the ring in the opposite direction before trimming.
The tree's edges are uneven. Decreases at the edges can look stepped. The optional round of single crochet smooths them.
The tree leans to one side. A decrease was missed on one edge. Each decrease row should have one at the start and one at the end.
The wreath isn't covered. Push the stitches together along the ring and add more.
The wreath twists. The chain was twisted before joining, or the stitches aren't packed tightly enough. Stiffening helps.
The candy cane won't hold its hook. Add a pipe cleaner, or stiffen it and let it dry in shape.
My ornaments are floppy. Use a smaller hook, switch to cotton, and stiffen them.
Storing ornaments
Lay stiffened ornaments flat between sheets of tissue paper in a shallow box. Keep them somewhere dry. If they soften over the years, dampen them and pin them out again, or apply a fresh coat of stiffener.
Frequently asked questions
What are the easiest crochet Christmas ornaments for beginners? The flat tree and the star. Each is a handful of rows or two rounds in basic stitches.
What yarn is best for crochet ornaments? Cotton, in DK or worsted weight. It gives clean edges and takes stiffener well.
How do I make crochet ornaments stiff? Soak them in fabric stiffener or a half-and-half mix of white glue and water, pin them to shape and let them dry.
How long does one ornament take? The star and tree are quick enough to make several in an evening. The candy cane takes a little longer because of the sewing.
How much yarn do I need? Only a few metres each. One ball of each colour makes a whole tree's worth.
Can I sell ornaments made from these patterns? Yes. They're basic shapes, and you're welcome to sell what you make.
More seasonal makes
Small ornaments are a good way to try a new stitch or use up scraps, and they turn into gifts almost by accident.
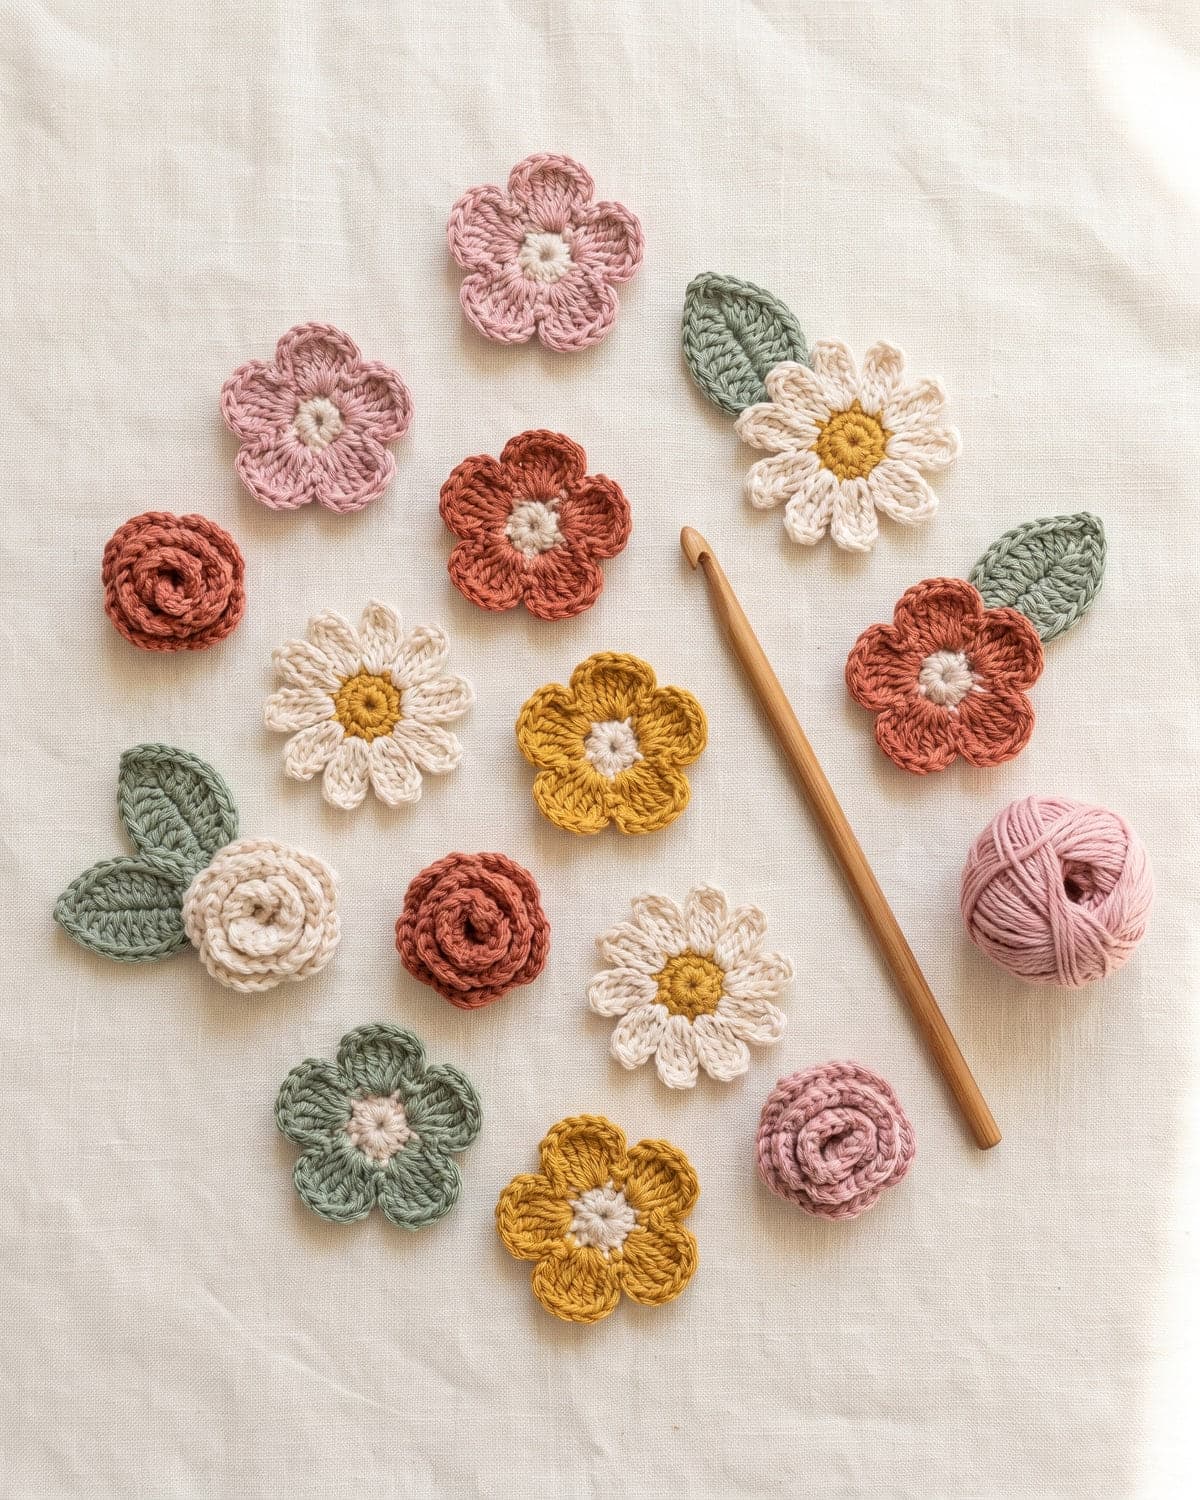
- Add a few easy crochet flowers in red and white for poinsettia-style decorations.
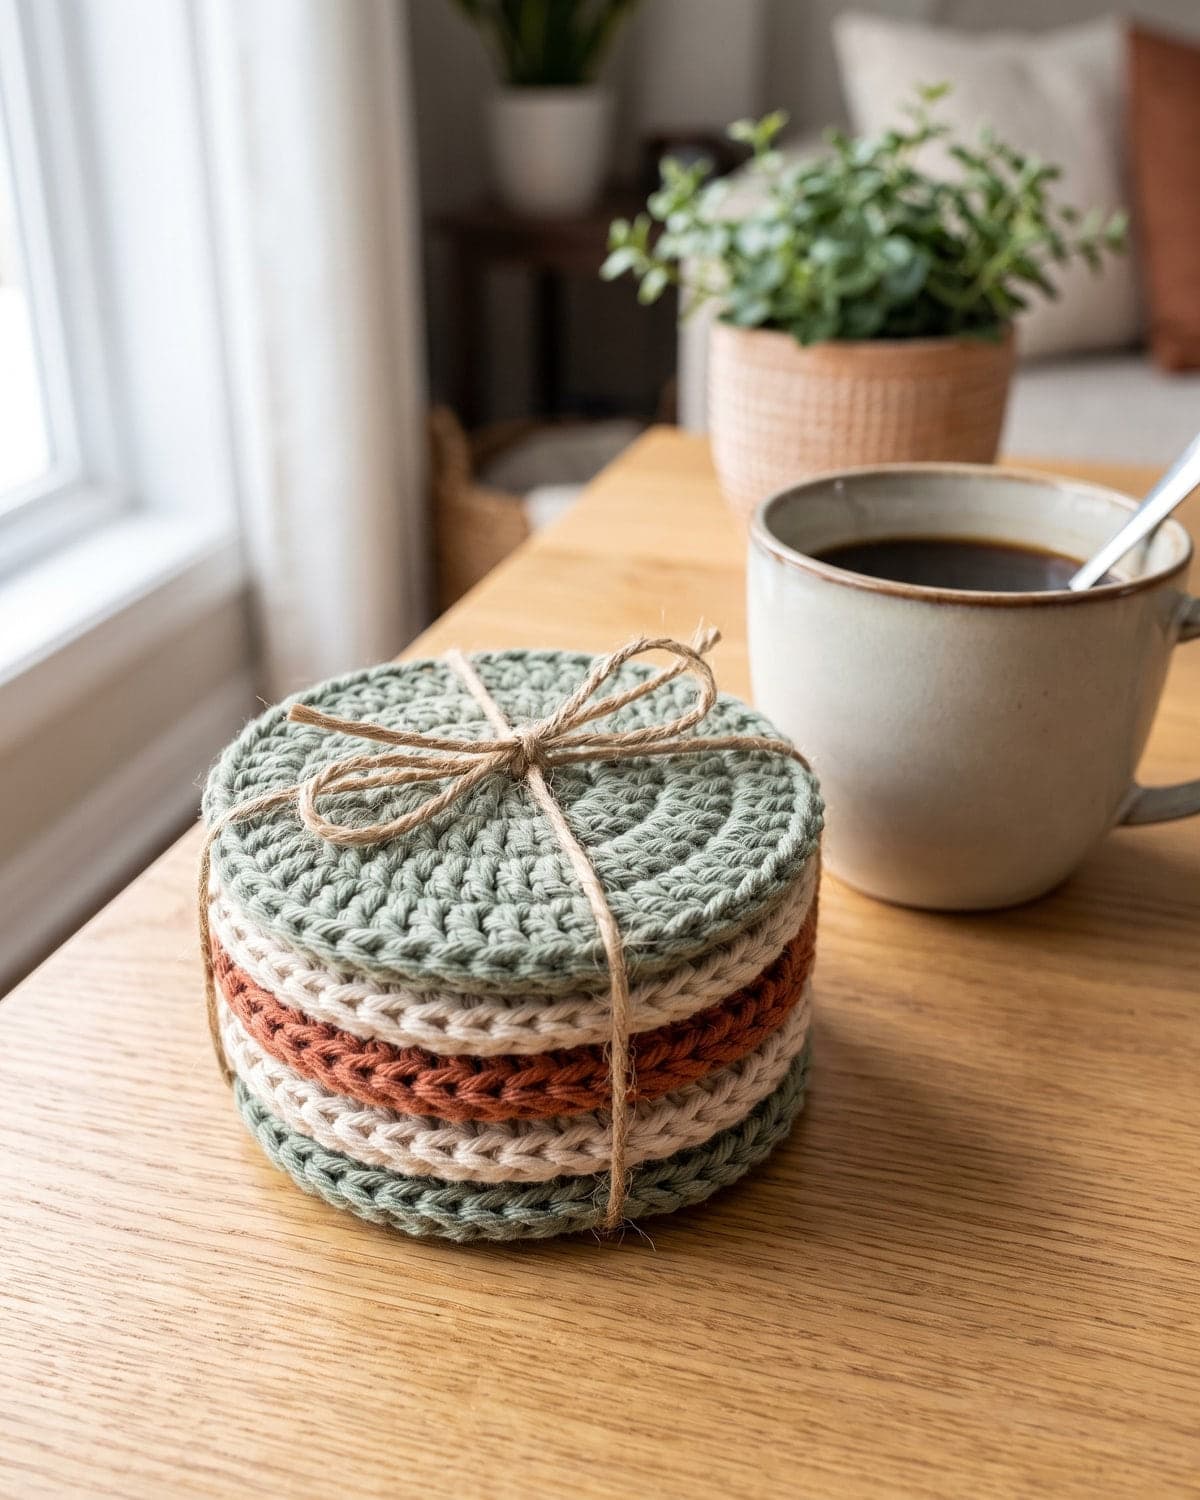
- Make a set of easy crochet coasters in Christmas colours for the table.
- Fill a handmade crochet basket with ornaments for a gift.
Find more ideas for every holiday in the seasonal section. The Craft Yarn Council's list of crochet abbreviations is a handy reference for any pattern you try next.
Save it for later
Pin this to your Pinterest board so it's there when you're ready to stitch.
Keep stitching
Related crochet projects
Flowers Easy Crochet Flowers: 4 Simple Patterns for Beginners
11 min read
Home decor Easy Crochet Coasters: Round and Square Patterns for Beginners
10 min read
Seasonal Easy Crochet Pumpkins: Beginner Pattern in Three Sizes
10 min read
Amigurumi Easy Crochet Octopus: Free Amigurumi Pattern for Beginners
10 min read