Easy Crochet Pumpkins: Beginner Pattern in Three Sizes
Make easy crochet pumpkins from a flat ribbed rectangle, with no shaping. Three sizes, stem ideas from cinnamon sticks to crocheted stems, and ways to display them for fall.
By AlixaPublished 10 min read
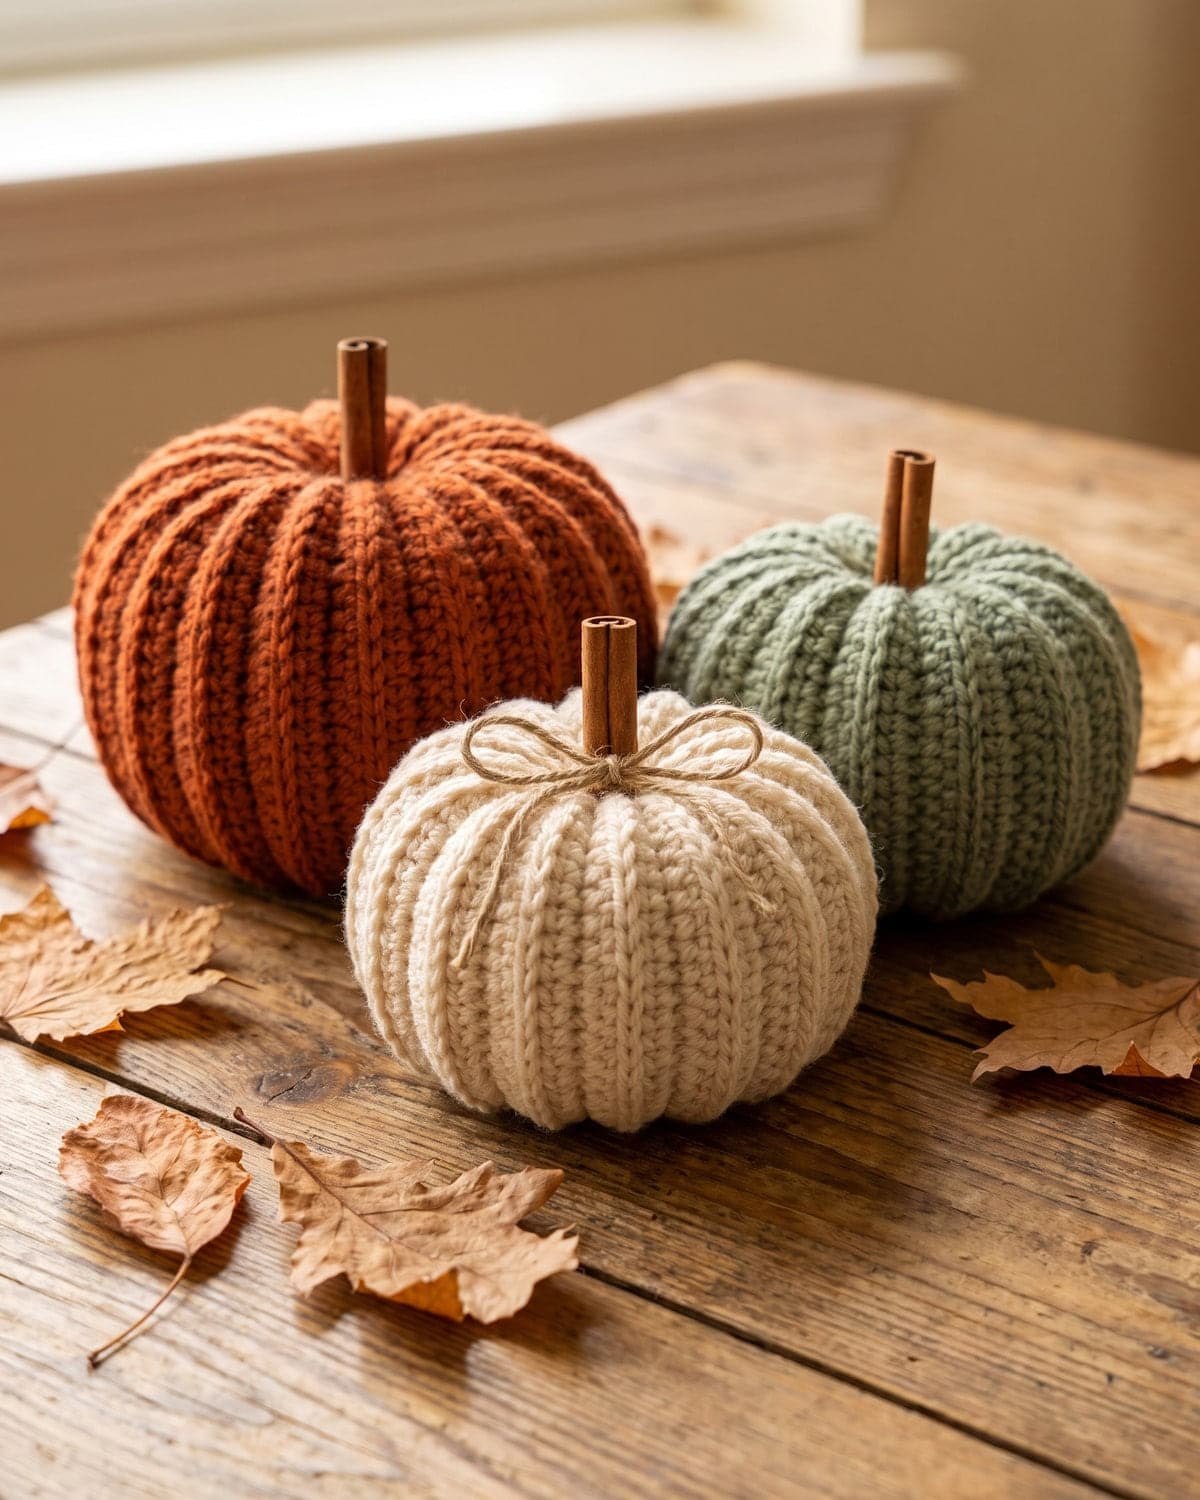
Crochet pumpkins are one of the easiest things you can make for autumn. There's no working in the round, no increasing and no shaping. Each pumpkin starts as a flat ribbed rectangle that you seam into a tube, gather at both ends and stuff. The ridges form on their own.
Make one in an evening, or a whole pile in different sizes and colours for a mantel, a table centrepiece or a Halloween display that lasts through to Thanksgiving.
Terms used here: US crochet terms. Half double crochet (hdc) is half treble (htr) in UK terms, and single crochet (sc) is double crochet (dc).
About this pattern: the rectangle method is a traditional, widely used construction, written out here in our own words. Stitch counts are checked so they add up. Finished sizes are approximate, because they change with your yarn, your tension and how firmly you stuff.
At a glance
| Skill level | Beginner |
| Stitch | Half double crochet in the back loop only |
| Yarn | Worsted weight (weight 4) |
| Hook | 5 mm (US H-8) |
| Sizes | Small, medium and large |
| Construction | Flat rectangle, seamed and gathered |
What you need
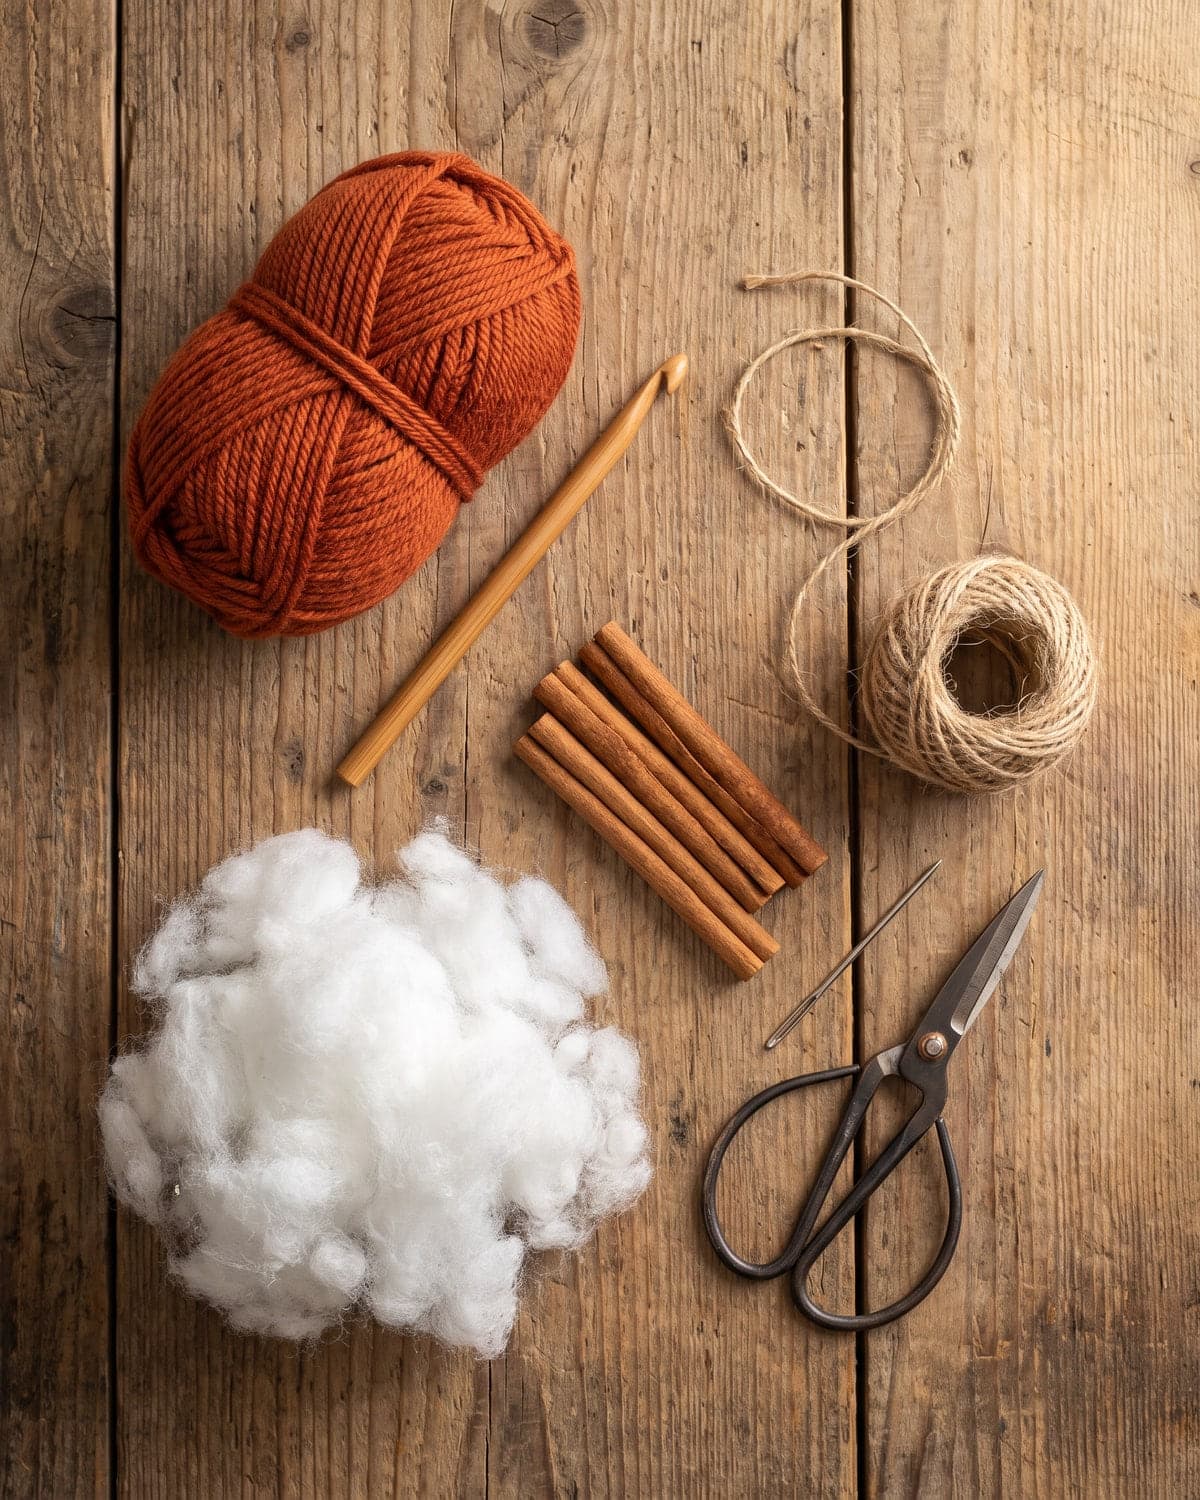
- Worsted-weight yarn in a pumpkin colour. A medium pumpkin uses well under one 100 g ball.
- A 5 mm (US H-8) hook.
- Polyester fibrefill stuffing.
- A tapestry needle with an eye large enough for your yarn.
- Scissors.
- For the stem: a cinnamon stick, a short twig, a wine cork, or a little brown or green yarn to crochet one.
- Optional: jute twine or raffia for a bow, and a hot glue gun or craft glue.
Choosing yarn and colours
Any smooth worsted yarn works. Acrylic is inexpensive and holds its shape. Cotton gives very defined ribs. Wool blends look soft and rustic. Velvet or chenille yarn makes plush pumpkins, but its stitches are hard to see, so save it for your second one.
Orange is the classic, but pumpkins come in many colours, and so can yours:
- Traditional: burnt orange, rust, deep red.
- Farmhouse neutrals: cream, oatmeal, soft grey.
- Heirloom: sage green, dusty blue, mustard.
- Halloween: black, purple, or orange with a black stem.
A group in three related shades looks more natural than a row of identical ones.
The one stitch you need
The whole pumpkin is half double crochet, worked into the back loop only.
Half double crochet: yarn over, insert the hook, yarn over and pull up a loop (three loops on the hook), yarn over and pull through all three.
Back loop only: the top of every stitch is a V with two strands. Normally the hook goes under both. For this pattern, slide it under only the strand furthest from you. The unused front strand stays visible as a line across the fabric, and those lines become the pumpkin's ribs.
If either of these is new, the stitch guide for beginners has step-by-step instructions.
Crochet pumpkin pattern (medium)
Pattern notes
- The chain 2 at the start of each row does not count as a stitch.
- Leave a long starting tail, about 40 cm (16 in). You'll use it for gathering.
Foundation: Chain 21.
Row 1: Hdc in the 3rd chain from the hook and in each chain across. (19 stitches)
Row 2: Chain 2 and turn. Hdc in the back loop only of each stitch across. (19 stitches)
Rows 3 to 30: Repeat Row 2.
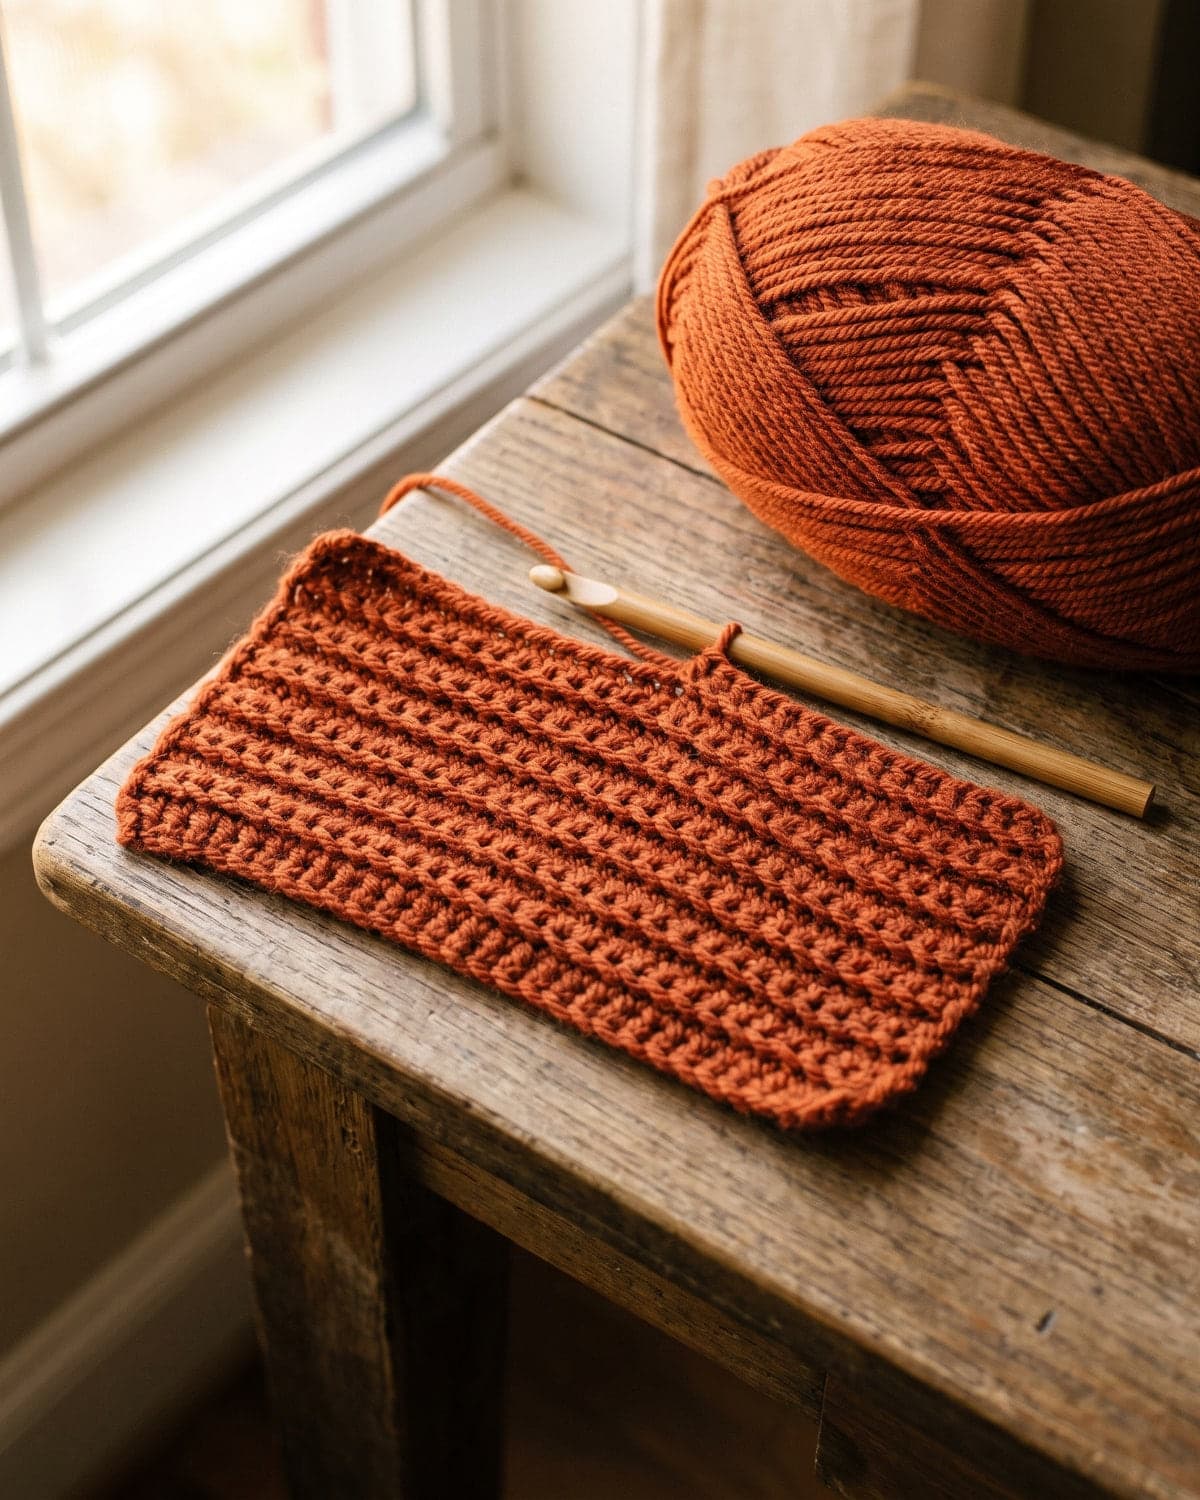 You're aiming for a rectangle that is about twice as long as it is tall when you stretch it gently along its length. With worsted yarn that's roughly 15 cm tall by 30 cm long (6 by 12 in), but the proportion matters more than the measurements. Add or remove rows in pairs until yours looks right. An even number of rows puts both yarn tails at the same edge, which is tidier.
Don't fasten off yet.
Sizes
| Size | Foundation chain | Stitches per row | Approximate rows |
|---|---|---|---|
| Small | 15 | 13 | 20 |
| Medium | 21 | 19 | 30 |
| Large | 27 | 25 | 40 |
For any other size, chain as many as you like for the height, plus 2, and work rows until the rectangle is twice as long as it is tall.
Assembly, step by step
1. Seam the rectangle into a tube
Fold the rectangle in half so the first row and the last row meet. Join them with slip stitches: insert the hook through a stitch of the last row and the matching loop of the foundation chain, yarn over and pull through everything. Work across all 19 stitches.
You now have a tube with the ribs running from one open end to the other. Fasten off, leaving a tail of about 40 cm (16 in). Turn the tube so the seam is on the inside, if you like the look better. Either side works.
2. Gather the bottom
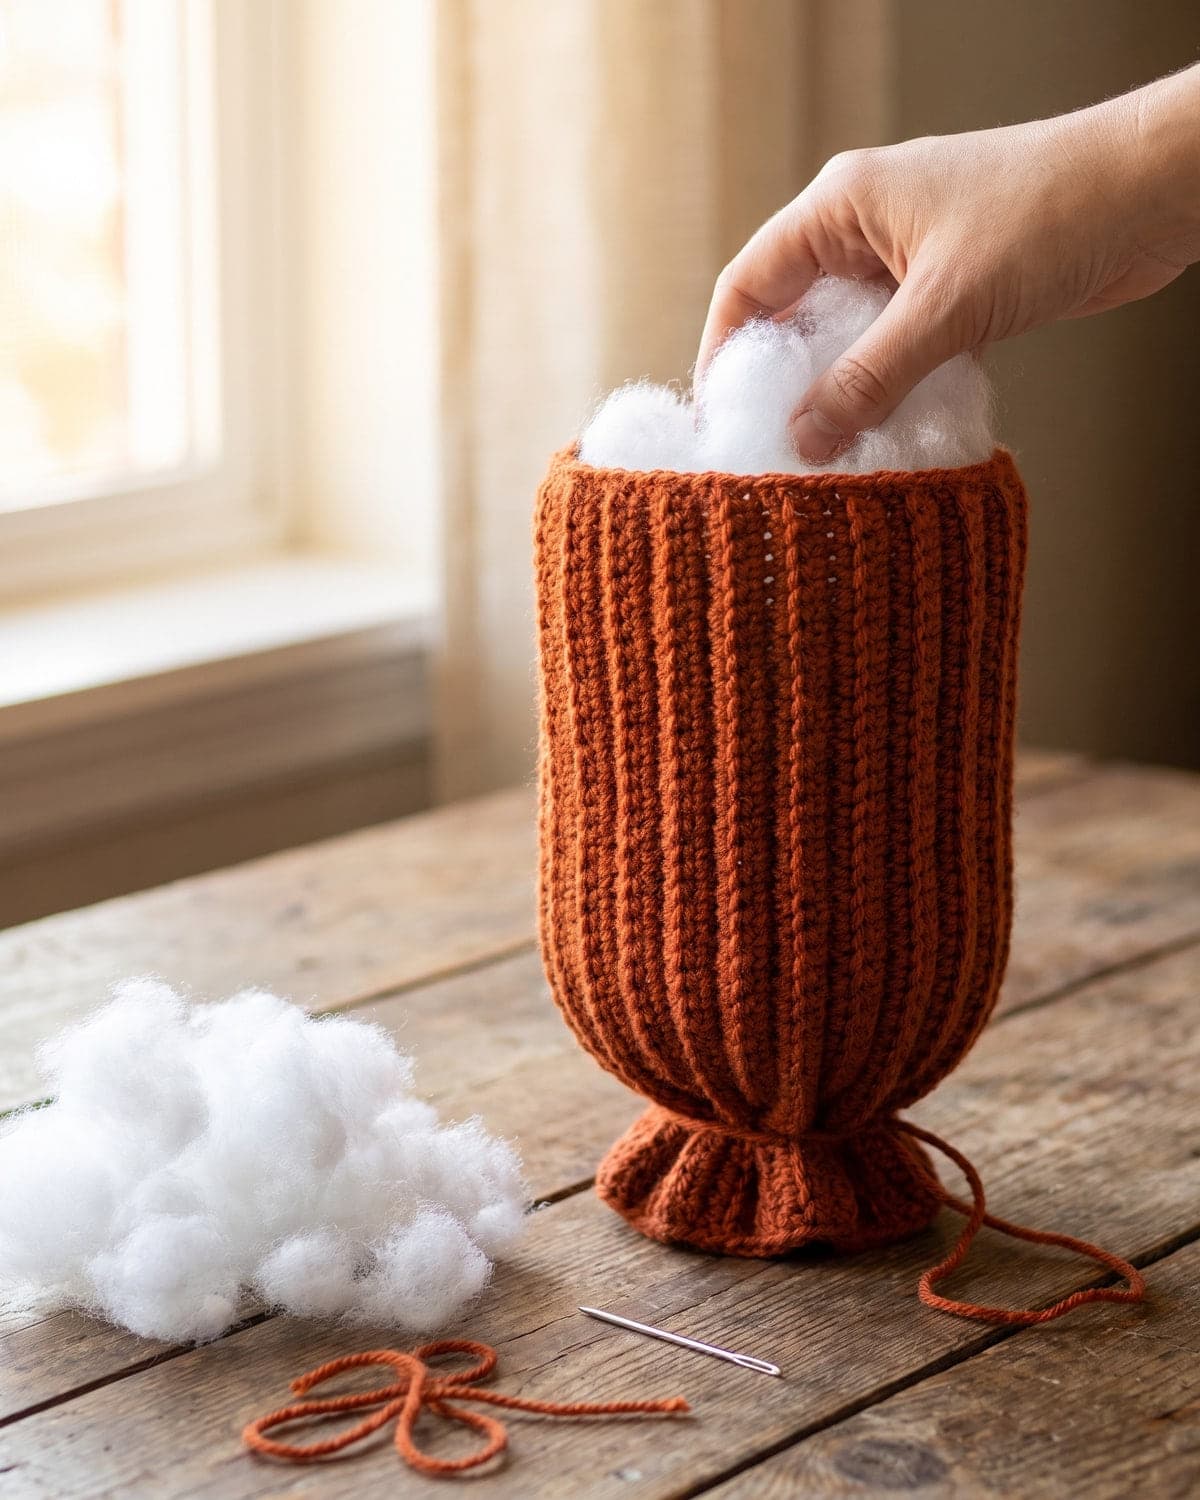
Thread the long starting tail onto your tapestry needle. Weave it in and out through the ends of the rows, all the way around one open edge, taking a stitch about every row. Pull the tail firmly so the opening closes into a tight pucker. Stitch back and forth across the closed hole a few times and knot securely.
3. Stuff the pumpkin
Fill the tube with fibrefill. Add it in small handfuls and push it out to the sides, so the pumpkin is plump and wider than it is tall. Stuff more firmly than feels necessary. A soft pumpkin sags, and the ribs don't show.
4. Gather the top
Thread the other long tail and gather the top edge in the same way. Before pulling it fully closed, add a last bit of stuffing. Pull tight, stitch across the hole and knot. Don't cut the yarn yet.
5. Shape it (optional, but worth it)
To pull the centre down and give a real pumpkin shape, push the needle straight down through the middle of the pumpkin, from the top to the bottom. Catch a stitch at the base, then come back up through the middle to the top. Pull gently until both ends dimple inwards. Knot at the top.
For deeper segments, use a long length of yarn. Bring it up through the centre, take it down the outside of the pumpkin along one of the grooves between ribs, and push the needle up through the centre again. Pull snug. Repeat five or six times, spacing the wraps evenly around the pumpkin. Knot and hide the end inside.
Adding a stem
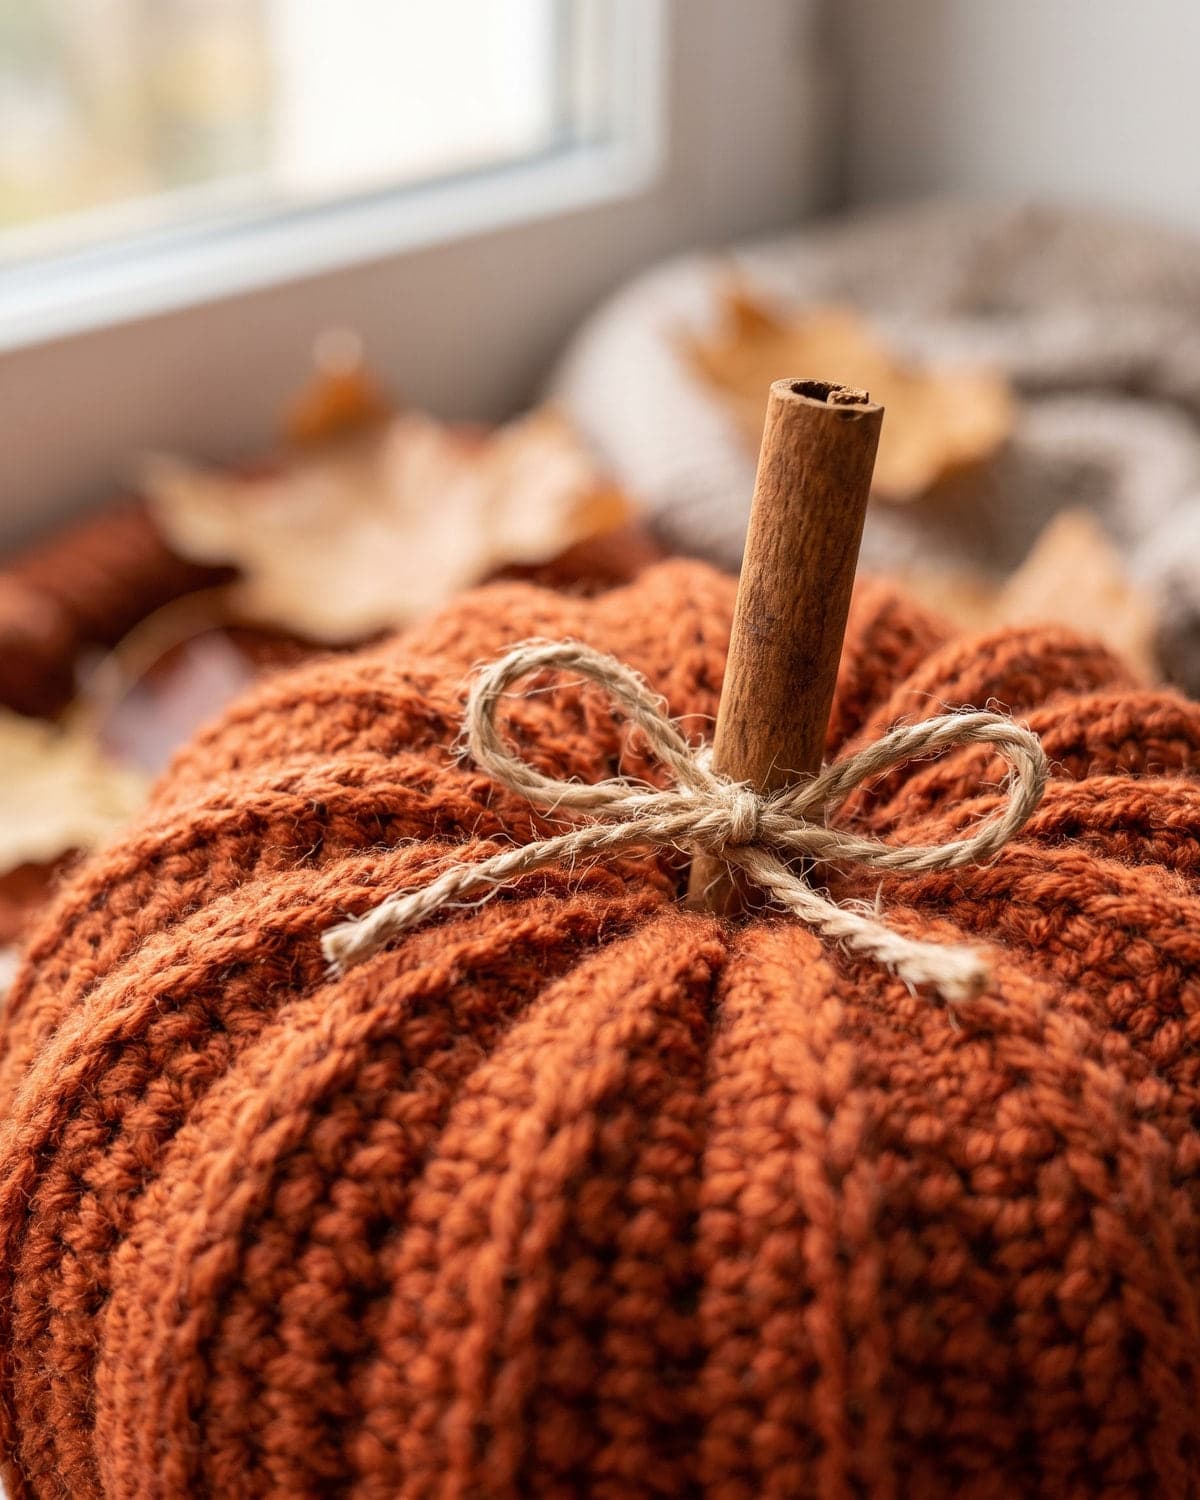
- Cinnamon stick. Push the end into the dimple at the top with a dab of hot glue. It looks rustic and smells of autumn. Break long sticks to about 5 cm (2 in).
- Twig or cork. Glue it in the same way. A short piece of a real pumpkin's dried stem is the most convincing of all.
- Crocheted stem. With brown or green yarn, chain 7. Sc in the 2nd chain from the hook and in each chain across (6 stitches). Chain 1, turn, and sc in each stitch across for three more rows. Fasten off with a long tail. Roll the strip so its long edges meet, stitch them together to make a small tube, and sew one end into the dimple.
- Curly tendril. With green yarn, chain 15. Work 2 sc in the 2nd chain from the hook and 2 sc in each chain across. The strip twists into a spiral. Sew it beside the stem.
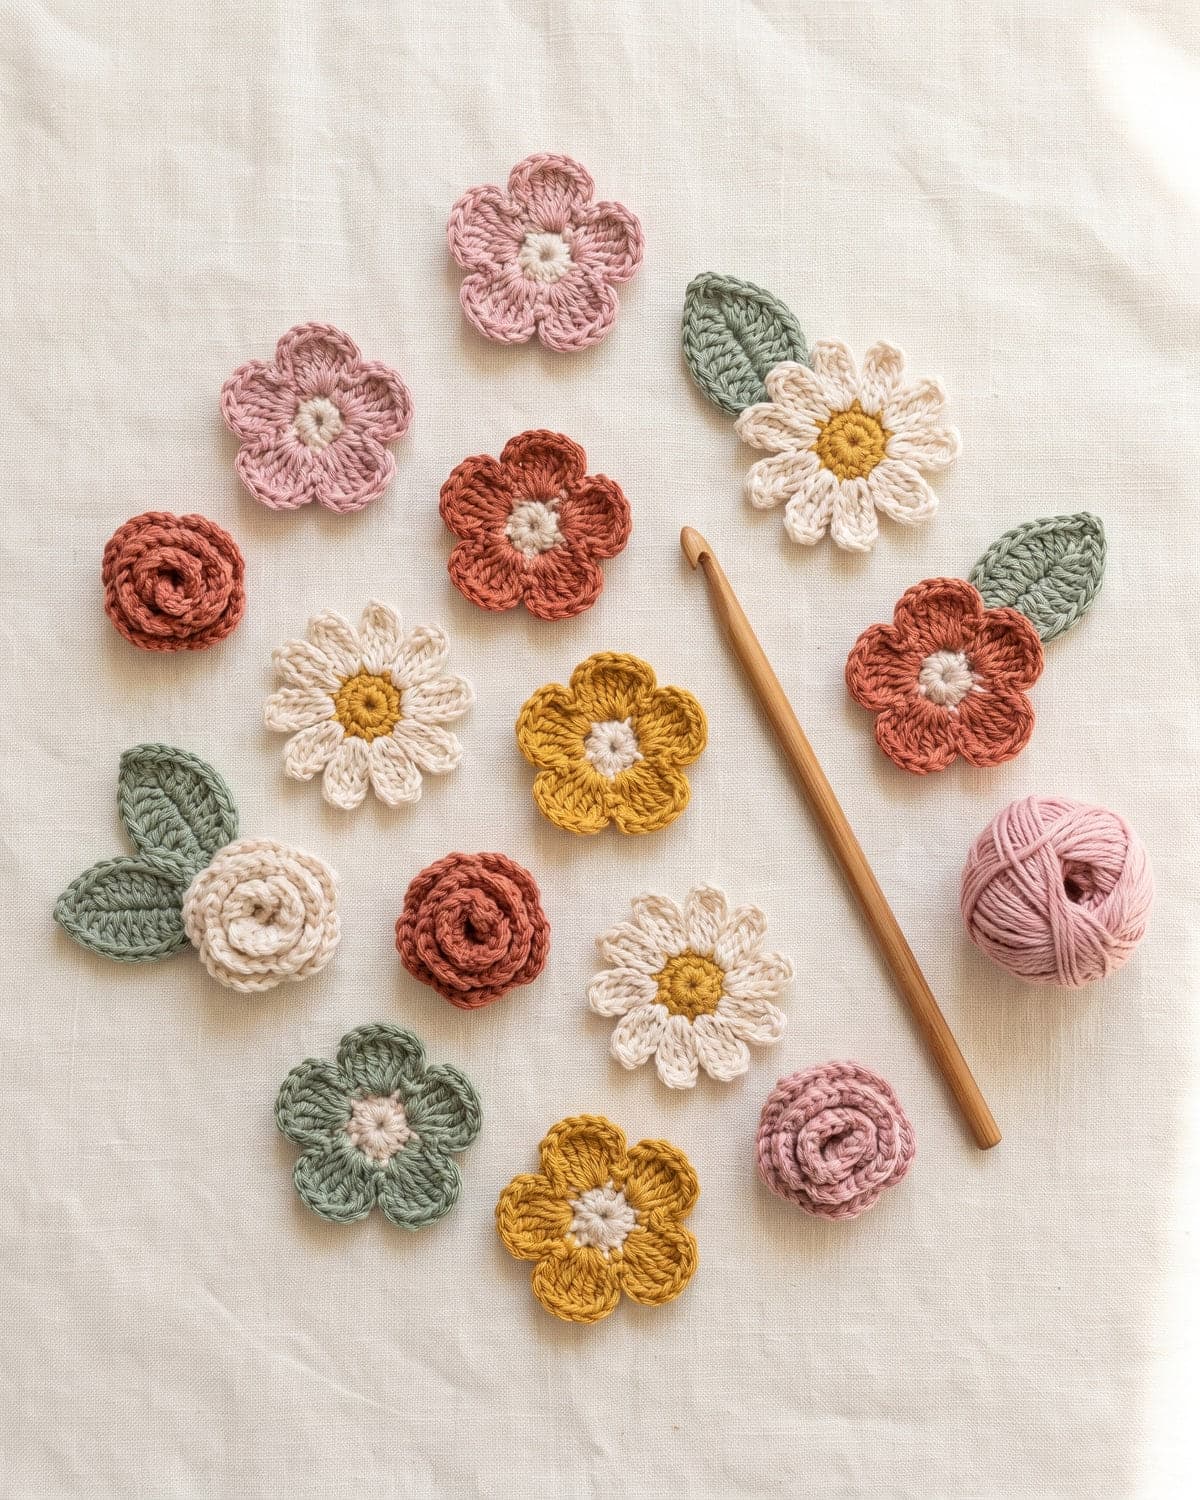
- Leaf. A small crochet leaf sewn at the base of the stem finishes it off. There's a simple leaf pattern in easy crochet flowers.
Tie a bow of jute twine or raffia around the stem for the finishing touch.
A safety note: cinnamon sticks, twigs, corks and glued parts can come off, so these pumpkins are decorations, not toys. If one is meant for a young child, use a crocheted stem, sew everything on firmly and leave off the twine.
Tips for a better pumpkin
- Keep the count at 19. If the rectangle's edges wander, the top and bottom of the pumpkin will be uneven. Count every few rows.
- Find the last stitch. In back-loop rows the last stitch of the row is easy to miss. A stitch marker in the first stitch of each row helps.
- Don't work into the turning chain. It isn't a stitch in this pattern.
- Gather through every row. Skipping rows leaves a hole in the middle that the stuffing shows through.
- Stuff wide, not tall. Squash the pumpkin down gently between your palms after stuffing to round it out.
- Match your seam. If the seam shows, turn it to the back when you display the pumpkin.
Common problems and fixes
The pumpkin is tall and narrow. The rectangle was too short for its height. Work more rows next time, or squash this one down and pull the centre in with the shaping stitch.
The pumpkin is flat like a cushion. The rectangle was too long. Use fewer rows, or stuff it more firmly so it fills out.
There's a hole at the top or bottom. The gathering stitches were too far apart. Run the yarn around the edge a second time, catching the rows you missed, and pull again.
The seam shows as a ridge. Slip stitch seams are slightly raised. Turn the tube inside out before gathering so the seam sits inside, or sew the edges with a flat whip stitch instead.
The stuffing shows through. Your tension is loose for this yarn. Go down to a 4.5 mm hook, or use stuffing in a colour close to the yarn.
The stem falls off. Glue needs something to grip. Push the stem well down into the dimple, and add a few stitches of yarn around its base if it still wobbles.
Variations
- Tall pumpkin. Chain more stitches but work fewer rows, so the rectangle is closer to square.
- Squat pumpkin. Chain fewer stitches and work more rows.
- Chunky pumpkin. Use bulky yarn and a 6.5 mm hook with the same stitch counts for a bigger, softer pumpkin.
- Striped pumpkin. Change colour every two rows. The stripes run up and down, like the markings on some squash.
- White pumpkin with freckles. Use cream yarn held together with a strand of fine brown thread.
- Single crochet version. Work the rows in single crochet, back loop only, for finer, tighter ribs. You'll need more rows for the same length.
- Pumpkin garland. Make five or six small pumpkins without stems and thread them onto a length of twine.
Ways to display crochet pumpkins
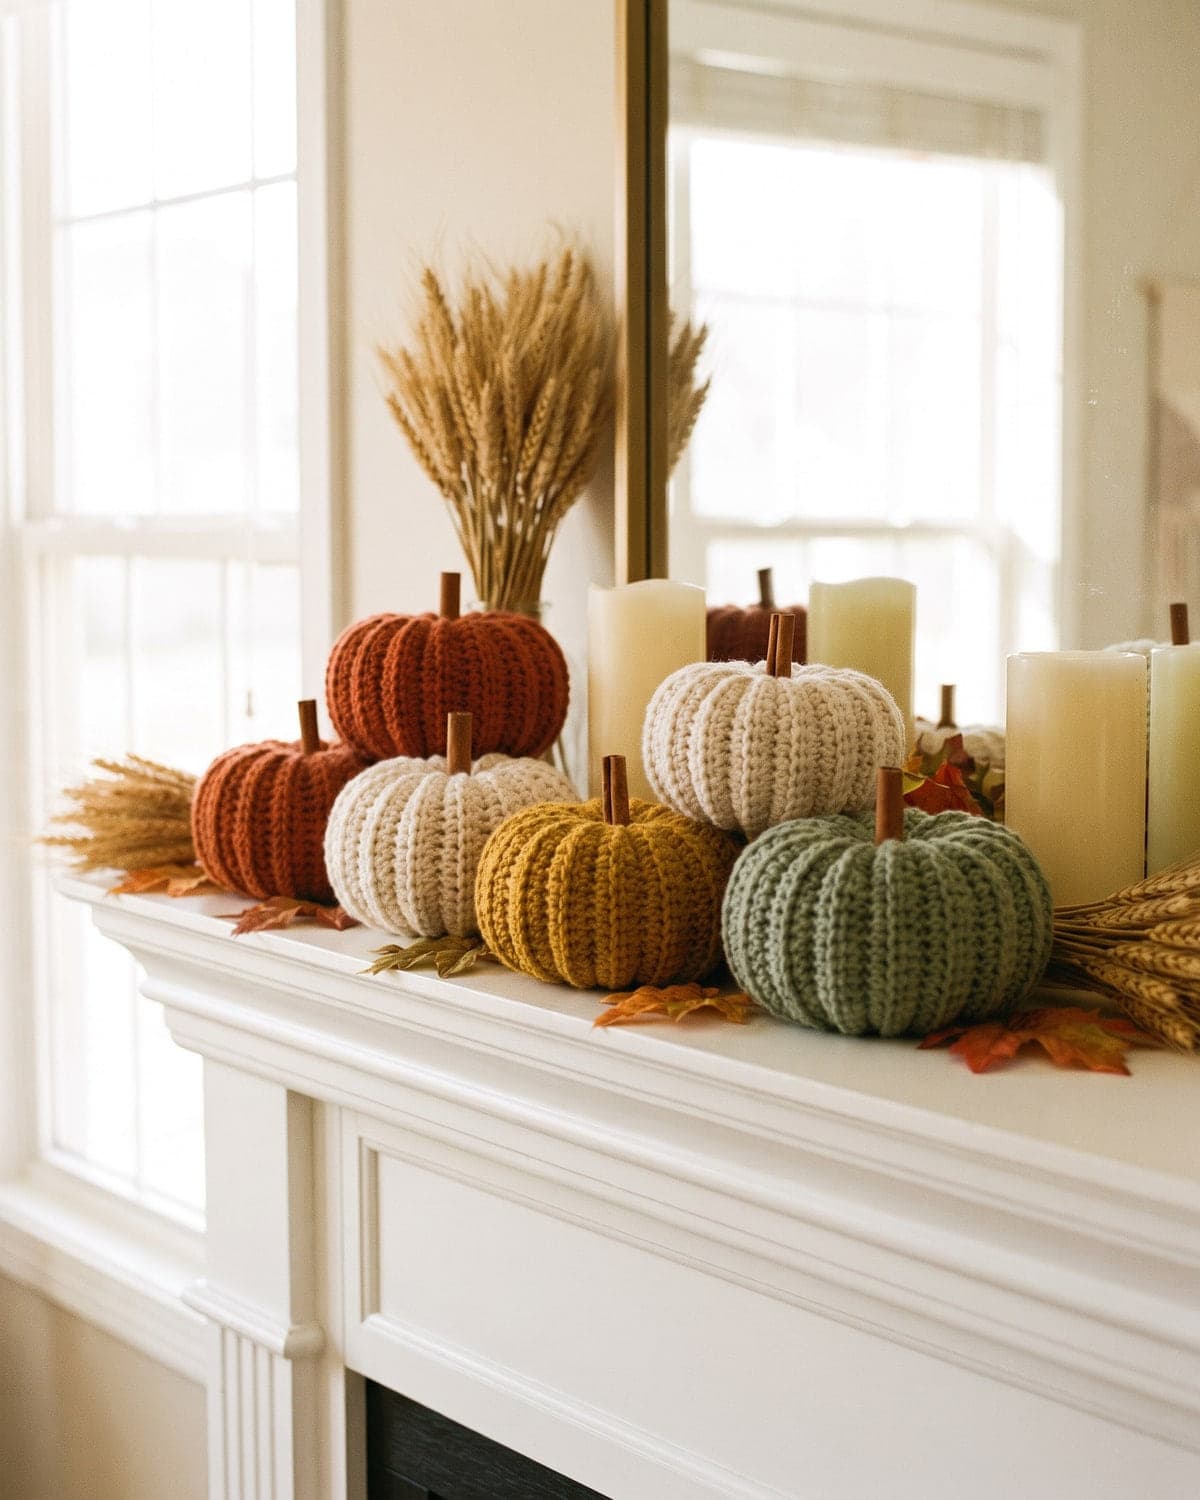
- On a mantel or shelf, in a group of three or five in mixed sizes, with candles and dried leaves or wheat.
- As a table centrepiece, down the middle of the table on a runner.
- In a bowl or basket by the front door.
- As place settings, with a small pumpkin and a name tag tied to the stem for each guest.
- As gifts for a host or teacher. They're light, unbreakable and easy to post.
- For Halloween, in black, purple and orange. Then swap in cream and rust for the rest of the season.
Store them in a box with a lid once the season ends. They don't spoil, and they'll be ready next year.
Frequently asked questions
Are crochet pumpkins good for beginners? Yes. This method needs only a chain and one stitch worked in rows. There's no shaping.
How long does a pumpkin take? A small or medium pumpkin is an evening's project for most people, including assembly.
How much yarn do I need? A medium pumpkin uses well under 100 g of worsted yarn. Leftovers from other projects are often enough for a small one.
Why doesn't my pumpkin have deep ridges? Check that you're working into the back loop only, and stuff it more firmly. The yarn wraps in the shaping step also deepen the segments.
Can I make it without stuffing? You can fill it with yarn scraps, fabric offcuts or the filling from an old pillow. The shape will be a little lumpier.
What can I use instead of a cinnamon stick? A twig, a cork, a wooden bead, a rolled strip of felt or a crocheted stem.
Can I wash them? A pumpkin with a crocheted stem can be hand washed gently and air dried. Remove glued stems first, or just spot clean.
More autumn and holiday makes
When you have a row of pumpkins on the shelf, the same ribbed rectangle is ready for other things: seamed into a tube and left ungathered, it makes a simple mug cosy or a headband. Find more ideas for every time of year in the seasonal section.
For a matching table, add a set of easy crochet coasters in autumn colours. If this was your first project and you'd like the basics explained from the start, see how to crochet for beginners.
Save it for later
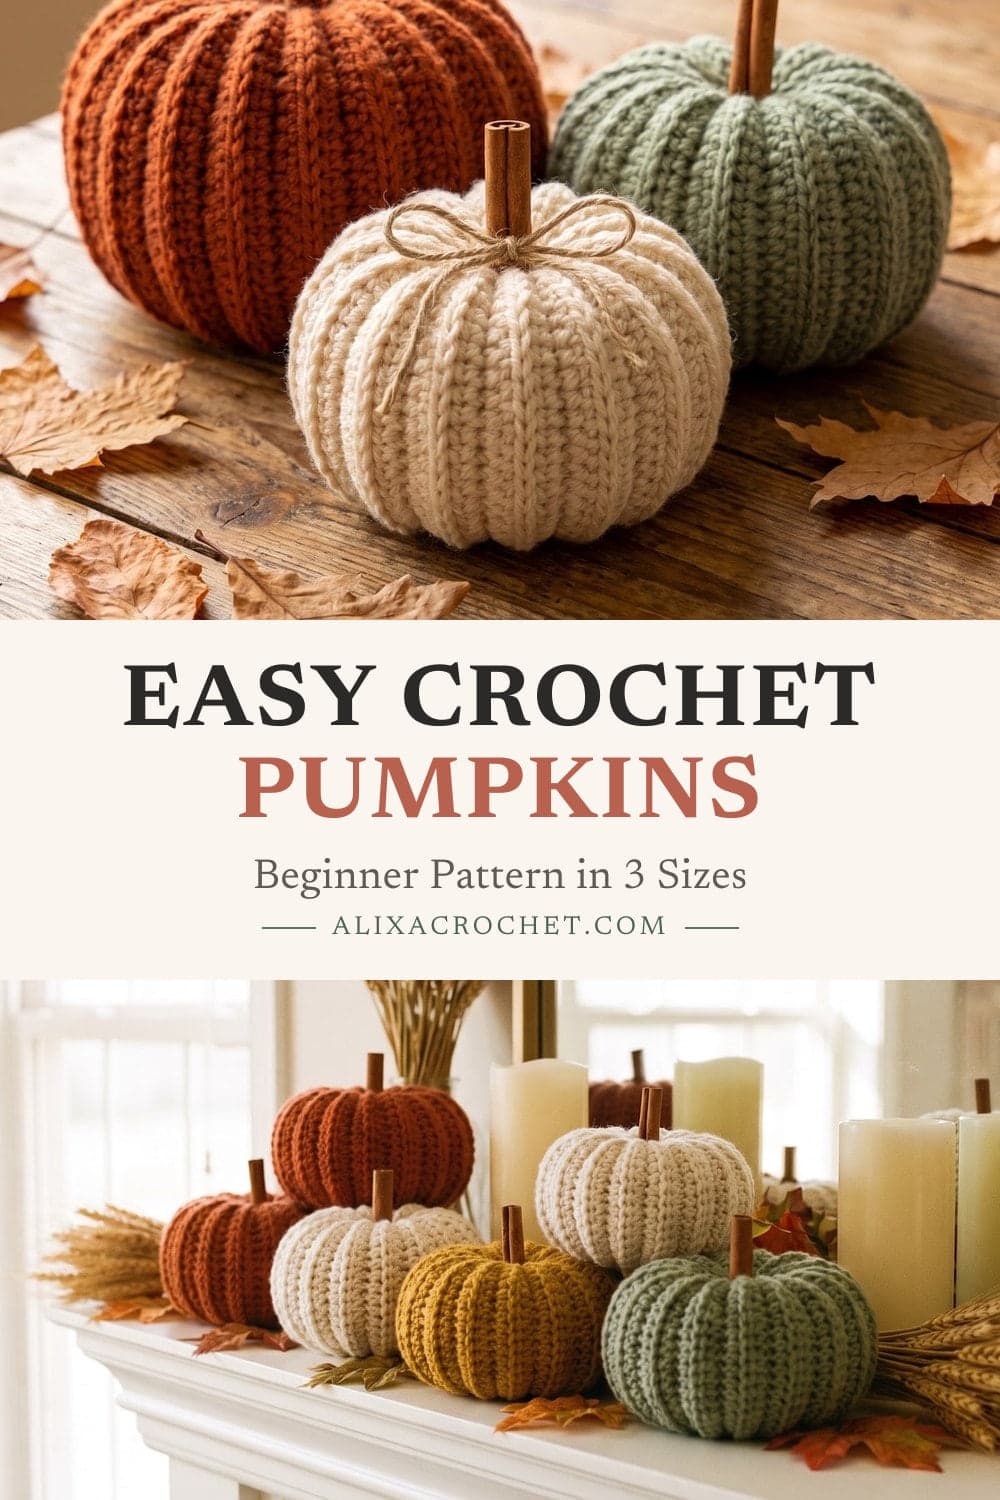
Pin this to your Pinterest board so it's there when you're ready to stitch.
Keep stitching
Related crochet projects
Seasonal Crochet Christmas Ornaments: 4 Easy Patterns for Beginners
12 min read
Flowers Easy Crochet Flowers: 4 Simple Patterns for Beginners
11 min read
Home decor Easy Crochet Coasters: Round and Square Patterns for Beginners
10 min read
Amigurumi Easy Crochet Octopus: Free Amigurumi Pattern for Beginners
10 min read