Crochet Plant Hanger: Easy Free Pattern for Any Pot
Crochet a plant hanger in an afternoon: a solid base that cups the pot, an open mesh and four strong cords gathered at a wooden ring. A free beginner pattern with sizes for small, medium and large pots.
By AlixaPublished 9 min read
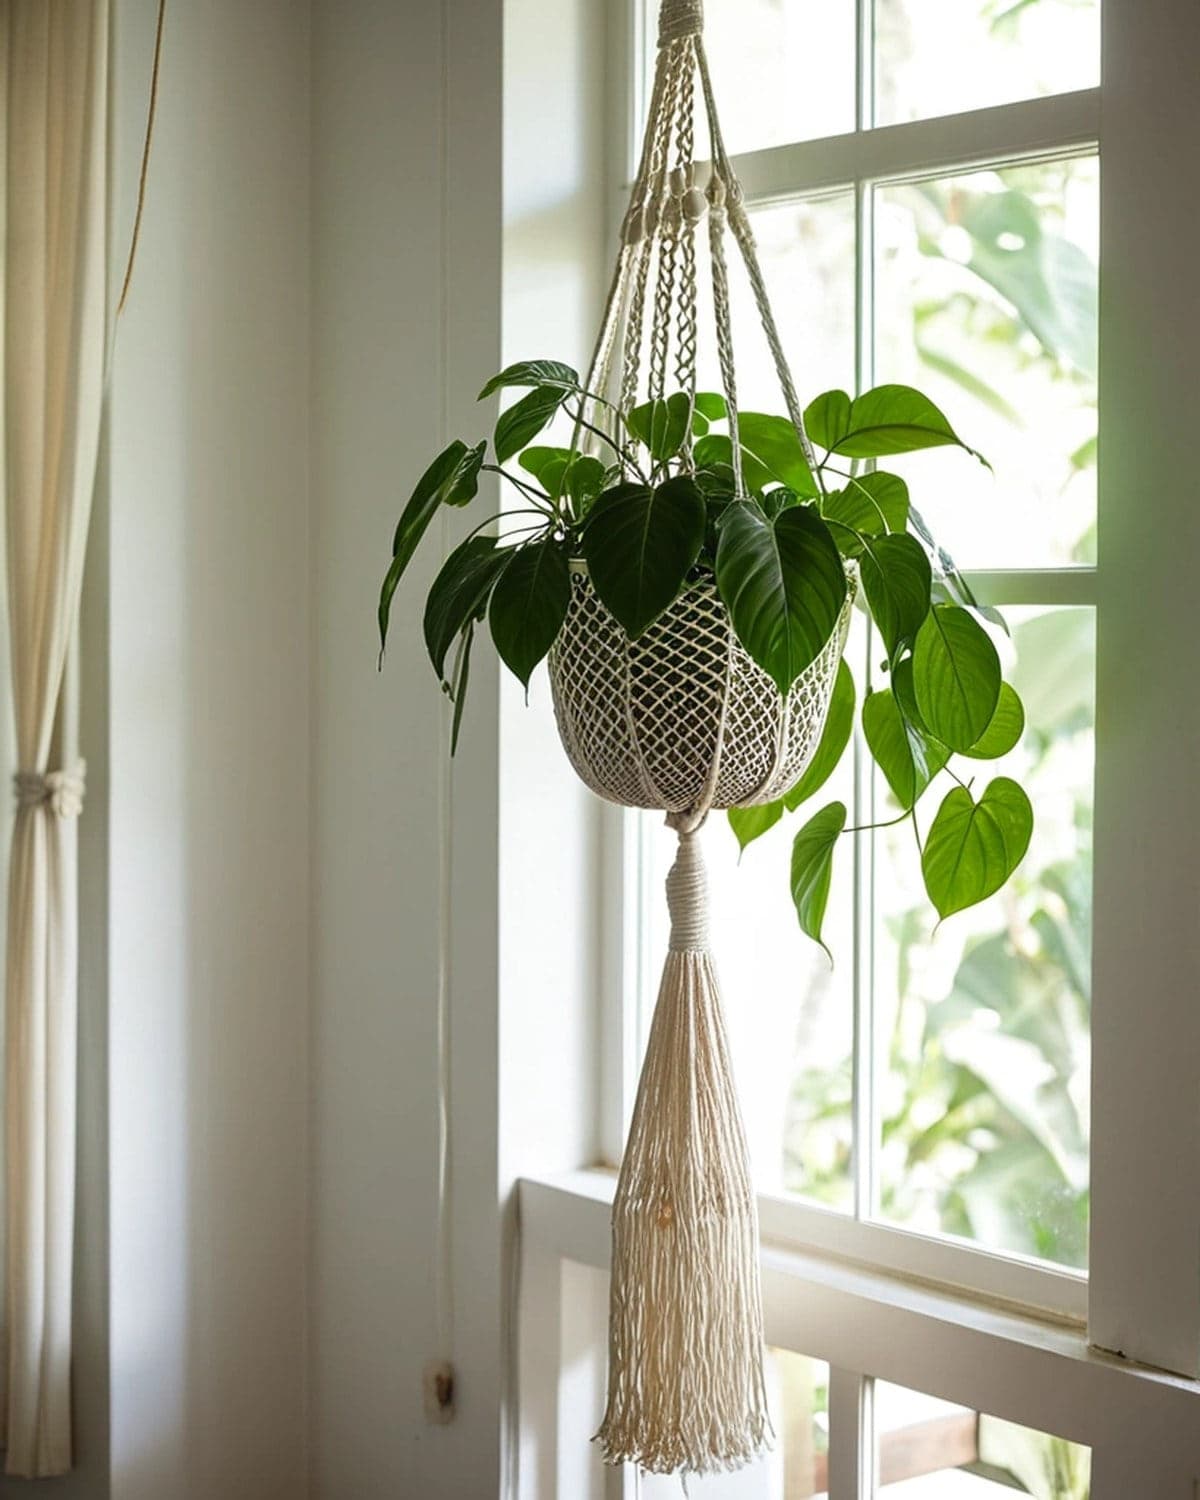
A crochet plant hanger lifts your plants off the windowsill and lets trailing leaves spill down beautifully. It's a quick, satisfying project: a solid round base that cups the pot, an open mesh that holds it in, and four strong cords that gather at a wooden ring. It looks like macramé, but it's much faster and you only need one stitch for most of it.
This free crochet plant hanger pattern gives you every round with stitch counts, sizes for small, medium and large pots, how to make strong hanging cords, how to hang it safely, and ideas for colours, beads and double hangers. It's a great beginner project and a lovely gift for anyone with a jungle at home.
Terms used here: US crochet terms. Single crochet (sc) is UK double crochet.
About this pattern: it's a simple design written for this guide. Each round's stitch count has been checked so the numbers add up. Sizes are approximate and depend on your cord and tension.
At a glance
| Skill level | Beginner (comfortable with sc in the round) |
| Stitches | Magic ring, ch, sl st, sc, back loop only |
| Yarn | 3 to 4 mm cotton macramé cord, or bulky cotton (weight 5) |
| Hook | 6 mm (US J-10) |
| Fits | Pots about 13 to 15 cm (5 to 6 in) across (other sizes below) |
| Length | About 60 to 70 cm (24 to 28 in), including the ring |
| Time | 2 to 3 hours |
What you need

- Cotton macramé cord, 3 to 4 mm thick, about 70 m (77 yd). Single-twist cord is soft and easy to crochet. Bulky cotton yarn (weight 5) or t-shirt yarn also work.
- A 6 mm (US J-10) hook.
- A wooden or metal ring, 5 to 7 cm (2 to 2.75 in) across.
- A plastic plant pot with a saucer or no drainage holes, about 13 to 15 cm (5 to 6 in) across.
- A tapestry needle with a large eye, scissors and a stitch marker.
- Wooden beads (optional) with holes large enough for the cord.
Why cotton? Cotton cord is strong, doesn't stretch much under weight, and looks natural. Acrylic yarn stretches over time and the pot will sag lower and lower.
How this plant hanger works
- Base: a flat single crochet circle the size of the bottom of the pot.
- Cup: a few straight rounds that wrap around the bottom of the pot, so it can't slip out.
- Mesh: rounds of chain loops that hold the sides of the pot.
- Cords: four strong cords that rise from the mesh and meet at the ring.
Sizes
Choose the base size by measuring across the bottom of the pot.
| Pot bottom | Base rounds | Base stitches | Mesh loops |
|---|---|---|---|
| Small, 9 to 11 cm | 5 | 30 | 10 |
| Medium, 12 to 14 cm | 6 | 36 | 12 |
| Large, 15 to 17 cm | 7 | 42 | 14 |
The pattern below is for the medium size. The base should be the same size as the bottom of the pot or very slightly smaller, so the pot sits snugly.
Base
Work in a continuous spiral. Move your marker up at the start of each round.
- R1: 6 sc in a magic ring (6)
- R2: inc in each st around (12)
- R3: (sc, inc) × 6 (18)
- R4: (2 sc, inc) × 6 (24)
- R5: (3 sc, inc) × 6 (30)
- R6: (4 sc, inc) × 6 (36)
Put the pot on the base. It should cover the base completely or nearly. For more on flat circles, see how to crochet a circle.

Cup
- R7: sc in the back loop only of each st around (36)
- R8 to R10: sc in each st around (36)
The back loop round makes a sharp edge, so the sides turn straight up. You now have a shallow bowl that holds the bottom of the pot.
Slip stitch into the next stitch to finish the spiral.
Mesh
From here, every round is joined with a slip stitch.
- R11: ch 1, sc in the same st, *ch 5, skip the next 2 sts, sc in the next st*; repeat from * 10 more times, ch 5, skip the last 2 sts. Sl st into the first sc. (12 ch-5 loops)
- R12: sl st into each of the first 3 ch of the next loop, to move to its centre. Ch 1, sc in the same loop, *ch 5, sc in the next ch-5 loop*; repeat from * 10 more times, ch 5. Sl st into the first sc. (12 loops)
- R13 to R15: repeat round 12. (12 loops)
 The mesh is about 10 cm (4 in) deep. Put the pot inside and check. For a taller pot, work one or two more mesh rounds. Fasten off and weave in the ends inside the base.
For a larger mesh, use ch 7 instead of ch 5: the hanger will open out more and show more of the pot.
Hanging cords (make 4)
The cords rise from four loops spaced evenly around the last round. With 12 loops, use loops 1, 4, 7 and 10.
For each cord:
- Join the cord with a slip stitch into the loop.
- Chain 75. That's about 60 cm (24 in) of chain with 3 mm cord.
- Slip stitch back down. Turn, and sl st into the back bump of the 2nd ch from the hook and of each ch back down to the loop. (74 sl st)
- Secure it. Sl st into the same loop again, and fasten off. Weave the end firmly into the mesh.
The slip stitches along the chain make a firm, round cord that won't stretch much. It's much stronger than a plain chain.
Keep all four cords the same length. Count the chains carefully, or lay the cords side by side after each one to check.
Joining at the ring

- Gather the four cords and hang the hanger up by them, with the pot inside, to check the pot sits level. Adjust if one cord is too long.
- Thread each cord over the ring from front to back, folding about 8 cm (3 in) of the end down.
- Wrap the bundle. Cut a 1 m (40 in) length of cord. Lay the end along the folded cords, then wrap tightly around all of them just below the ring, about 12 to 15 times, covering the end. Thread the end through the wraps with a needle and pull it in. This is a gathering knot, the same finish used in macramé.
- Trim any cord ends hidden in the wrap.
Simple alternative: knot each cord end around the ring, then sew through all four cords below the ring with a needle and spare cord, several times.
Hanging it safely
- Use a ceiling hook or bracket made for hanging plants, screwed into a joist or a solid wall. Check its weight rating.
- Use a plastic pot. It's much lighter than ceramic. Plant into a plastic pot and slip it inside a lighter decorative one if you like.
- Watch the weight. A cotton hanger holds a medium pot with soil comfortably, about 2 kg (4.5 lb). For heavier pots, double the cords or use thicker cord.
- Water carefully. Take the pot out to water it, or use a pot with a saucer, so water doesn't soak the cotton and drip on the floor.
Variations

Beaded plant hanger
Before you make each cord, thread 2 or 3 wooden beads onto the cord at the start. As you chain, slide a bead up next to the hook every 15 cm (6 in) and chain over it.
Colour-dipped hanger
Make the base in a contrasting colour, such as terracotta or sage, and the mesh in natural cord. Or dip-dye the finished base in fabric dye.
Double plant hanger
Make two hangers with cords of different lengths, and gather them at the same ring. The plants hang at two levels, which looks wonderful in a corner.
Hanging basket
Leave out the mesh, and continue the cup in plain sc rounds until it's as tall as the pot. Then add the cords. It's a hanging basket for trailing plants and air plants. The easy crochet basket shows more shaping ideas.
Best plants for a hanging planter
- Pothos: easy and fast-growing, with long trailing vines. Wikipedia's article on pothos has care basics.
- String of pearls and string of hearts: pretty succulent trailers that love sun.
- Spider plant: produces little baby plants that hang down.
- Ivy and tradescantia: grow quickly in bright light.
- Ferns: lovely in a bathroom with humidity.
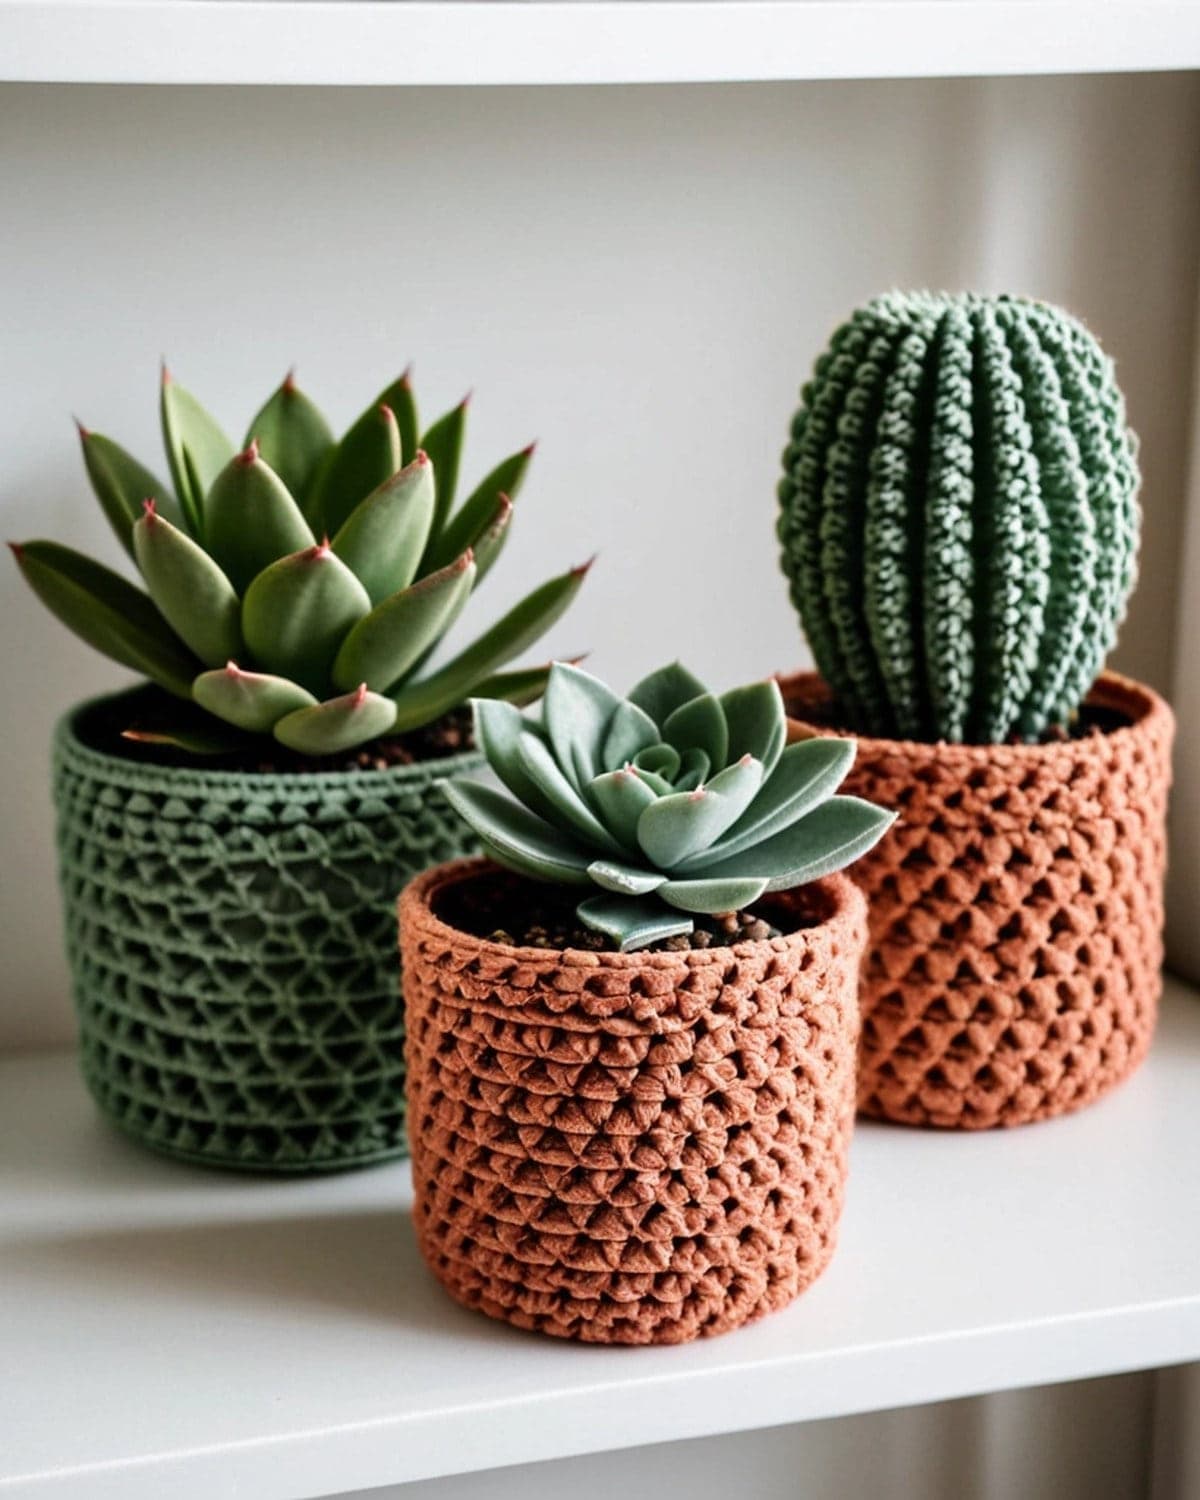
Not ready for real plants? Hang a pot of crochet succulents instead.
Tips for a neat plant hanger
- Crochet tightly in the base. It holds the weight.
- Count the stitches of each base round, so the circle lies flat.
- Keep the chain loops even in the mesh.
- Measure the cords before joining them at the ring.
- Weave in ends very securely, twice in different directions. A plant hanger carries weight, so ends can work loose.
Common problems and fixes
The pot slips through the mesh. The base is too small, or the cup is too shallow. Add a base round or another cup round.
The pot hangs crooked. One cord is longer. Undo the gathering knot, shorten the long cord and re-wrap.
The base ruffles. You have too many stitches, or the cord is loose. Count each round.
The hanger stretches over time. Acrylic stretches; switch to cotton cord. Doubling the cords also helps.
The cord frays. Single-twist cotton frays at the ends. Wrap the ends with a little tape while working, and weave them in well.
Caring for your plant hanger
- Check it every few months. Look at the cords and the gathering knot for wear, especially if the plant is heavy or the hanger gets sun.
- Keep it dry. Water the plant in the sink, let it drain, then put it back. Damp cotton can grow mould.
- Wash it by hand in cool water with mild soap if it gets dusty or stained. Hang it to dry without the pot, so the cords don't stretch.
- Replace the ring if it shows rust or cracks.
Cotton macramé cord is the same material used in traditional macramé hangers. Wikipedia's article on macramé shows how these hanging planters became a 1970s classic.
Frequently asked questions
Is a crochet plant hanger easy? Yes. The base is single crochet in the round, the mesh is chains and single crochet, and the cords are chains and slip stitches.
How much cord do I need? About 70 m (77 yd) of 3 mm cord for the medium size.
Can I use regular yarn? Yes, but use a strong cotton and hold it double, or the hanger may stretch.
How long does it take? About 2 to 3 hours.
Can I use it outside? Cotton fades and weakens in sun and rain over time. For outdoor use, choose a polyester or recycled cord.
Can I sell plant hangers made from this pattern? Yes. You're welcome to sell what you make.
What to make next
- For texture on the wall, try the crochet wall hanging.
- For storage, make an easy crochet basket.
- For your table, make easy crochet coasters.
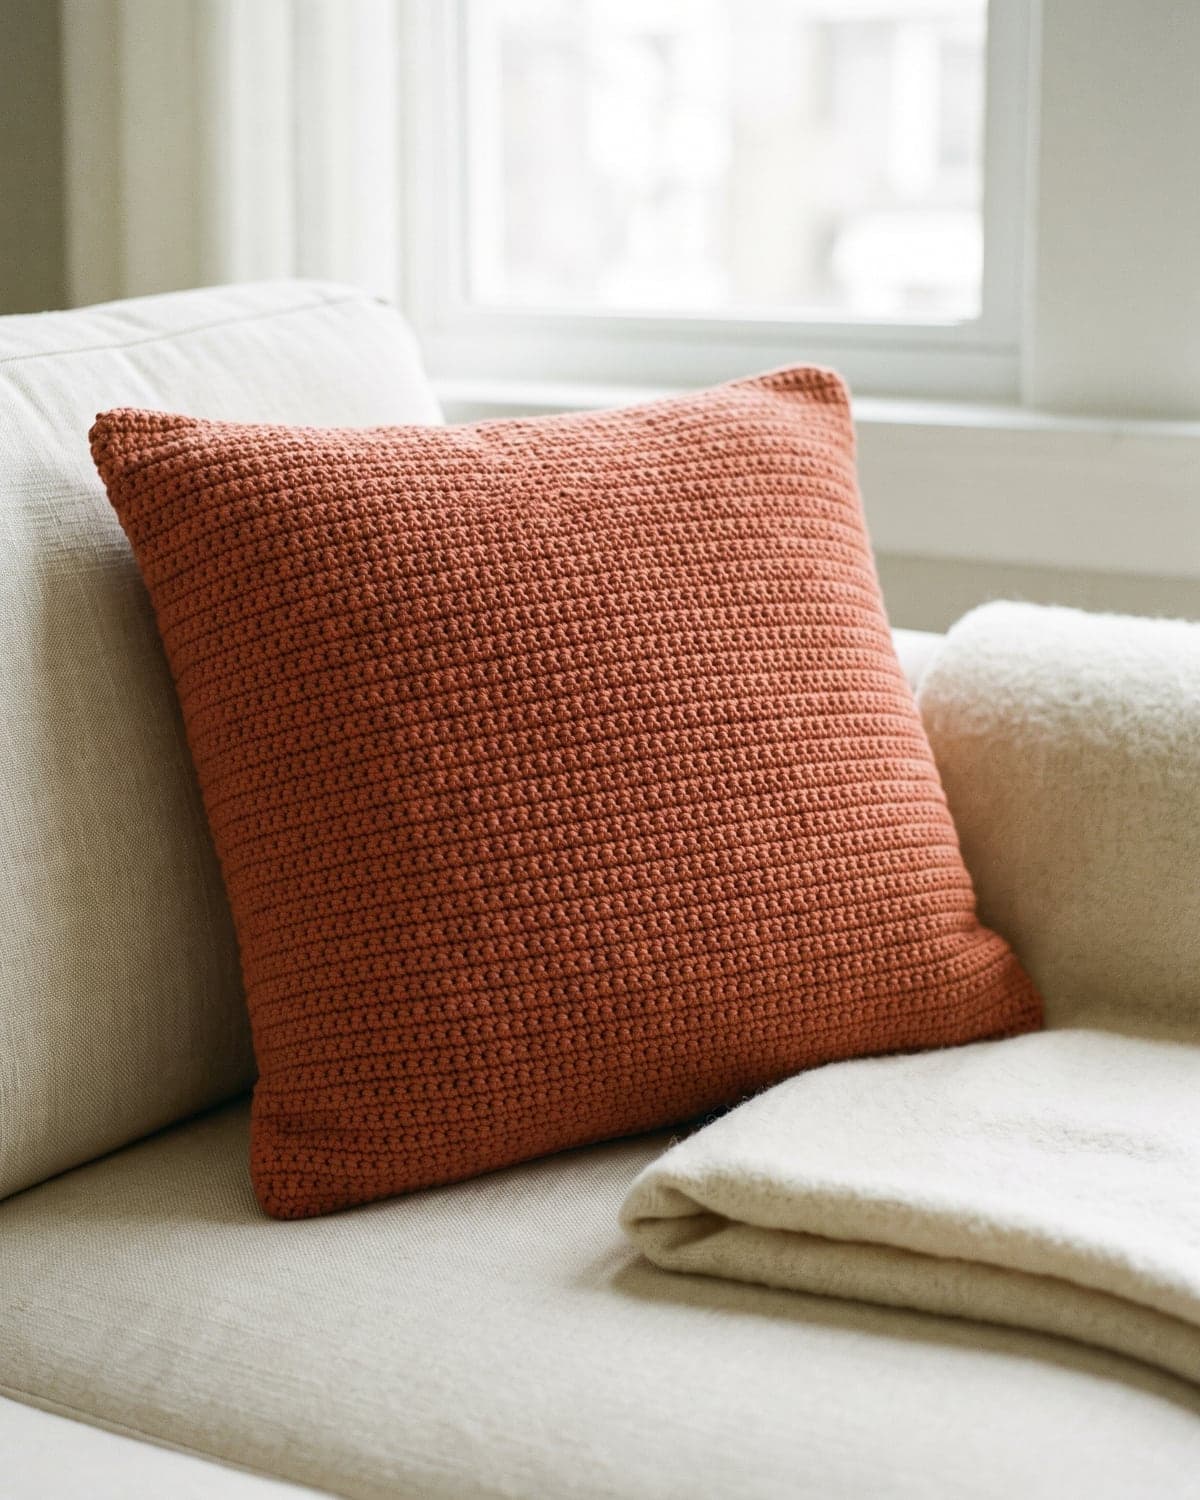
- For a soft touch on the sofa, see the easy crochet pillow cover.
There are more patterns for your home in the home decor section.
Save it for later
Pin this to your Pinterest board so it's there when you're ready to stitch.

Keep stitching