Crochet Wall Hanging: Easy Boho Pattern With Fringe
Crochet a boho wall hanging with bands of single crochet, moss stitch and bobbles, a V-shaped point and a long fringe. A free beginner pattern with every row counted, plus a mini rainbow version.
By AlixaPublished 10 min read

A crochet wall hanging adds warmth and texture to a bare wall, and it's one of the most relaxing things you can make: no sizing, no fitting, just rows of pretty stitches hanging from a wooden dowel. This boho wall hanging has bands of single crochet, moss stitch and bobbles, a pointed V-shaped bottom and a long fringe that sways when the window is open.
This free crochet wall hanging pattern gives you every row with stitch counts, how to shape the point, how to hang it on a dowel and add fringe, a colour plan in warm boho tones, a mini rainbow version, and tips for keeping it straight and flat on the wall.
Terms used here: US crochet terms. Single crochet (sc) is UK double crochet, and double crochet (dc) is UK treble.
About this pattern: it's a simple design written for this guide. Each row's stitch count has been checked so the numbers add up. The finished size is approximate.
At a glance
| Skill level | Beginner (comfortable with sc; bobbles taught) |
| Stitches | Ch, sc, moss stitch, 5-dc bobble, sc2tog, sc3tog |
| Yarn | Worsted (weight 4) cotton or acrylic in 4 colours |
| Hook | 5 mm (US H-8) |
| Finished size | About 28 cm (11 in) wide and 45 cm (18 in) long, plus fringe |
| Time | 4 to 6 hours |
What you need

- Worsted yarn (weight 4) in four colours. This hanging uses cream (A), mustard (B), rust (C) and dusty pink (D). You need about 60 m (65 yd) of cream, 30 m (33 yd) each of the others, plus extra for the fringe.
- A 5 mm (US H-8) hook.
- A wooden dowel, about 40 cm (16 in) long and 1 to 1.5 cm (0.5 in) thick. A straight branch from the garden looks lovely too.
- Cord or yarn for hanging, about 60 cm (24 in).
- A piece of card about 25 cm (10 in) wide to wrap fringe around.
- A tapestry needle and scissors.
Cotton gives the hanging a crisp, flat look, and it hangs straight. Acrylic is softer, with a slight drape.
Stitches used
- Single crochet (sc) and chain (ch). See easy crochet stitches for beginners.
- Moss stitch: single crochets alternating with chain-1 spaces. Full tutorial in moss stitch crochet.
- 5-dc bobble: (yarn over, insert the hook into the stitch, pull up a loop, yarn over and pull through 2 loops) 5 times in the same stitch. You have 6 loops on the hook. Yarn over and pull through all 6. The bobble pops out on the side facing away from you, so bobbles are worked on wrong side rows.
- sc2tog: (insert the hook into the next stitch, pull up a loop) twice, yarn over and pull through all 3 loops.
- sc3tog: the same over 3 stitches, pulling through 4 loops.
The ch-1 at the start of each row does not count as a stitch.
The hanging pattern
The hanging is 39 stitches wide. The odd number puts a bobble and a stitch exactly in the middle, and lets the point close to a single stitch.
Top band (colour A)
- Foundation: with A, ch 40.
- Row 1 (RS): sc in the 2nd ch from the hook and in each ch across. Turn. (39)
- Rows 2 to 8: ch 1, sc in each st across. Turn. (39)
These first rows make the pocket for the dowel. You'll fold the top 3 or 4 rows over the dowel later.
Moss stitch band (colour B)
Change to B at the end of row 8. For a clean change, see how to change colours in crochet.
- Row 9 (RS): ch 1, sc in the first st, *ch 1, skip the next st, sc in the next st*; repeat from * to the end. Turn. (39: 20 sc and 19 ch-1 spaces)
- Row 10: ch 1, sc in the first st, sc in the next ch-1 space, *ch 1, skip the next sc, sc in the next ch-1 space*; repeat from * 17 more times, sc in the last st. Turn. (39)
- Row 11: ch 1, sc in the first st, *ch 1, skip the next st, sc in the next ch-1 space or st*; repeat to the end, working the final sc into the last st. Turn. (39)
Repeat rows 10 and 11 twice more (rows 12 to 15). Change to A at the end of row 15.
Bobble band (colours A and C)
- Rows 16 and 17 (A): ch 1, sc in each st and ch-1 space across. Turn. (39)
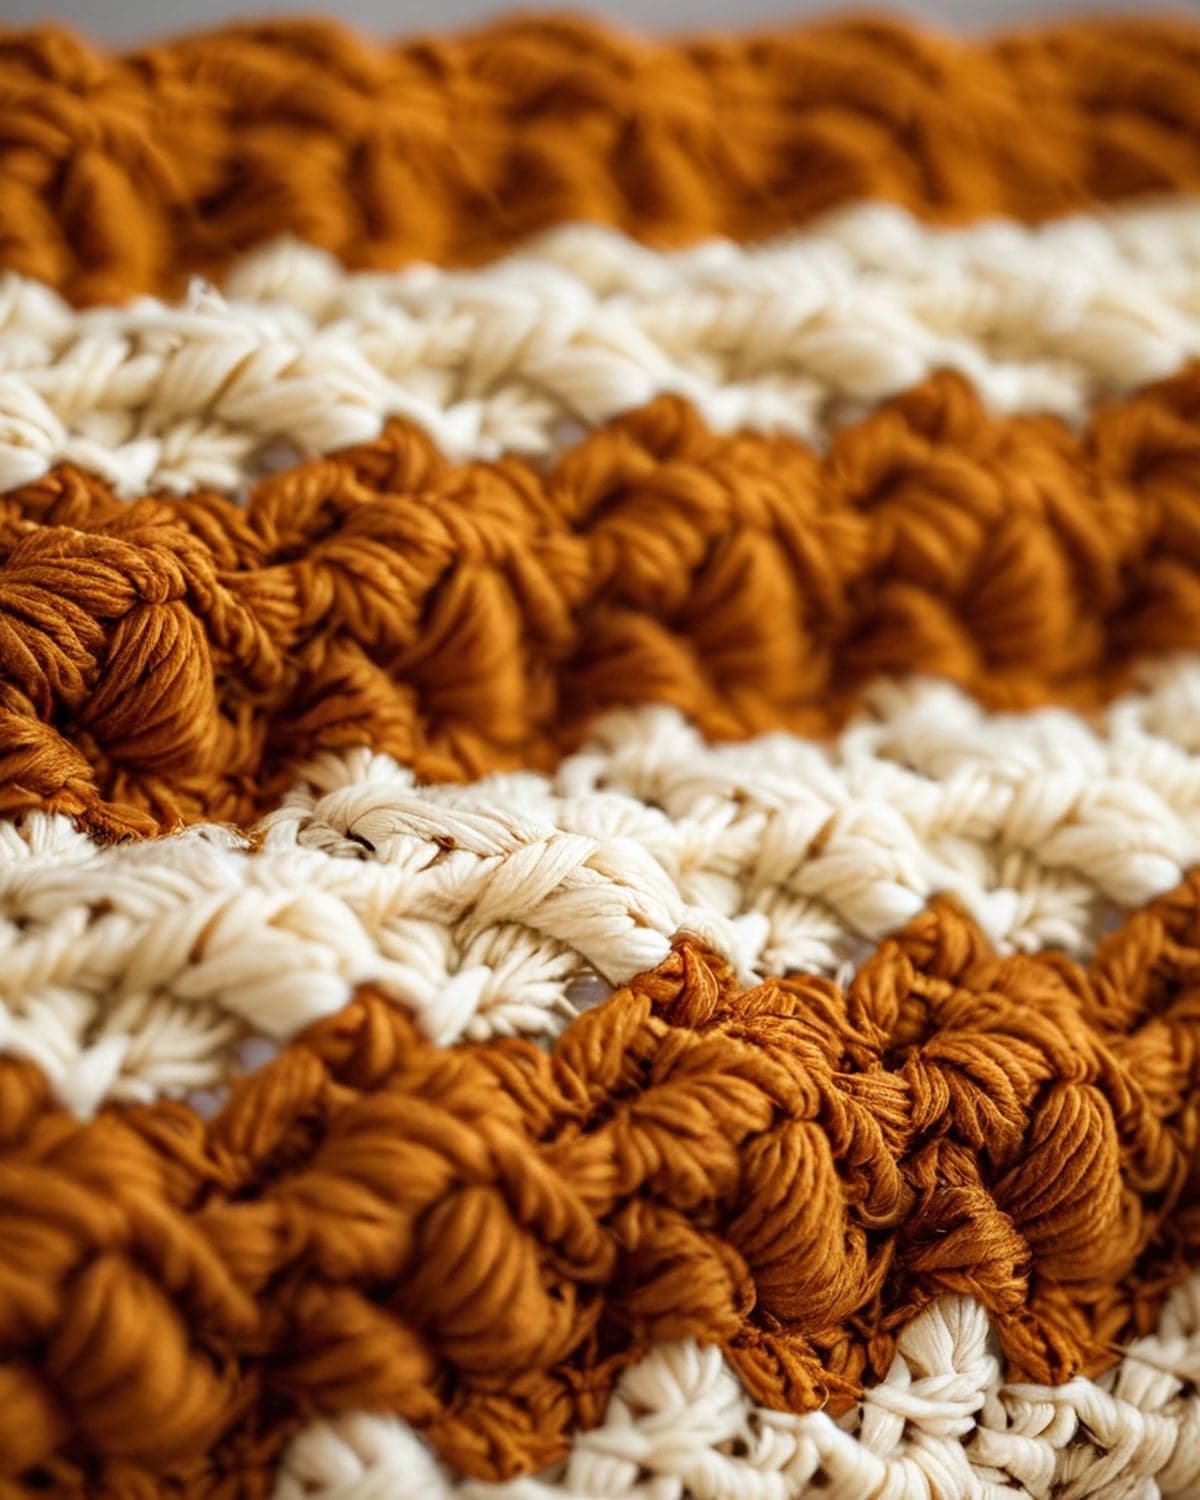
- Row 18 (WS, C): ch 1, sc in the first 3 sts, *bobble in the next st, sc in the next 3 sts*; repeat from * to the end. Turn. (39: 9 bobbles)
- Rows 19 and 20 (A): ch 1, sc in each st across. Turn. (39)
Make sure the bobbles are pushed out to the right side (the side facing you on row 19). On row 19, work the sc into the top of each bobble, not the bump.
Stripes (colours D, A and B)
- Rows 21 and 22: with D, ch 1, sc across. Turn. (39)
- Rows 23 and 24: with A, ch 1, sc across. Turn. (39)
- Rows 25 and 26: with B, ch 1, sc across. Turn. (39)
- Rows 27 and 28: with A, ch 1, sc across. Turn. (39)
The point (colour C)
Change to C. Each row now decreases one stitch at each end.
- Row 29: ch 1, sc2tog, sc in each st to the last 2 sts, sc2tog. Turn. (37)
- Rows 30 to 46: repeat row 29. The stitch count goes down by 2 each row: 35, 33, 31 and so on, to 3 stitches at the end of row 46.
- Row 47: ch 1, sc3tog. (1)
Fasten off. The point is about 18 cm (7 in) long.
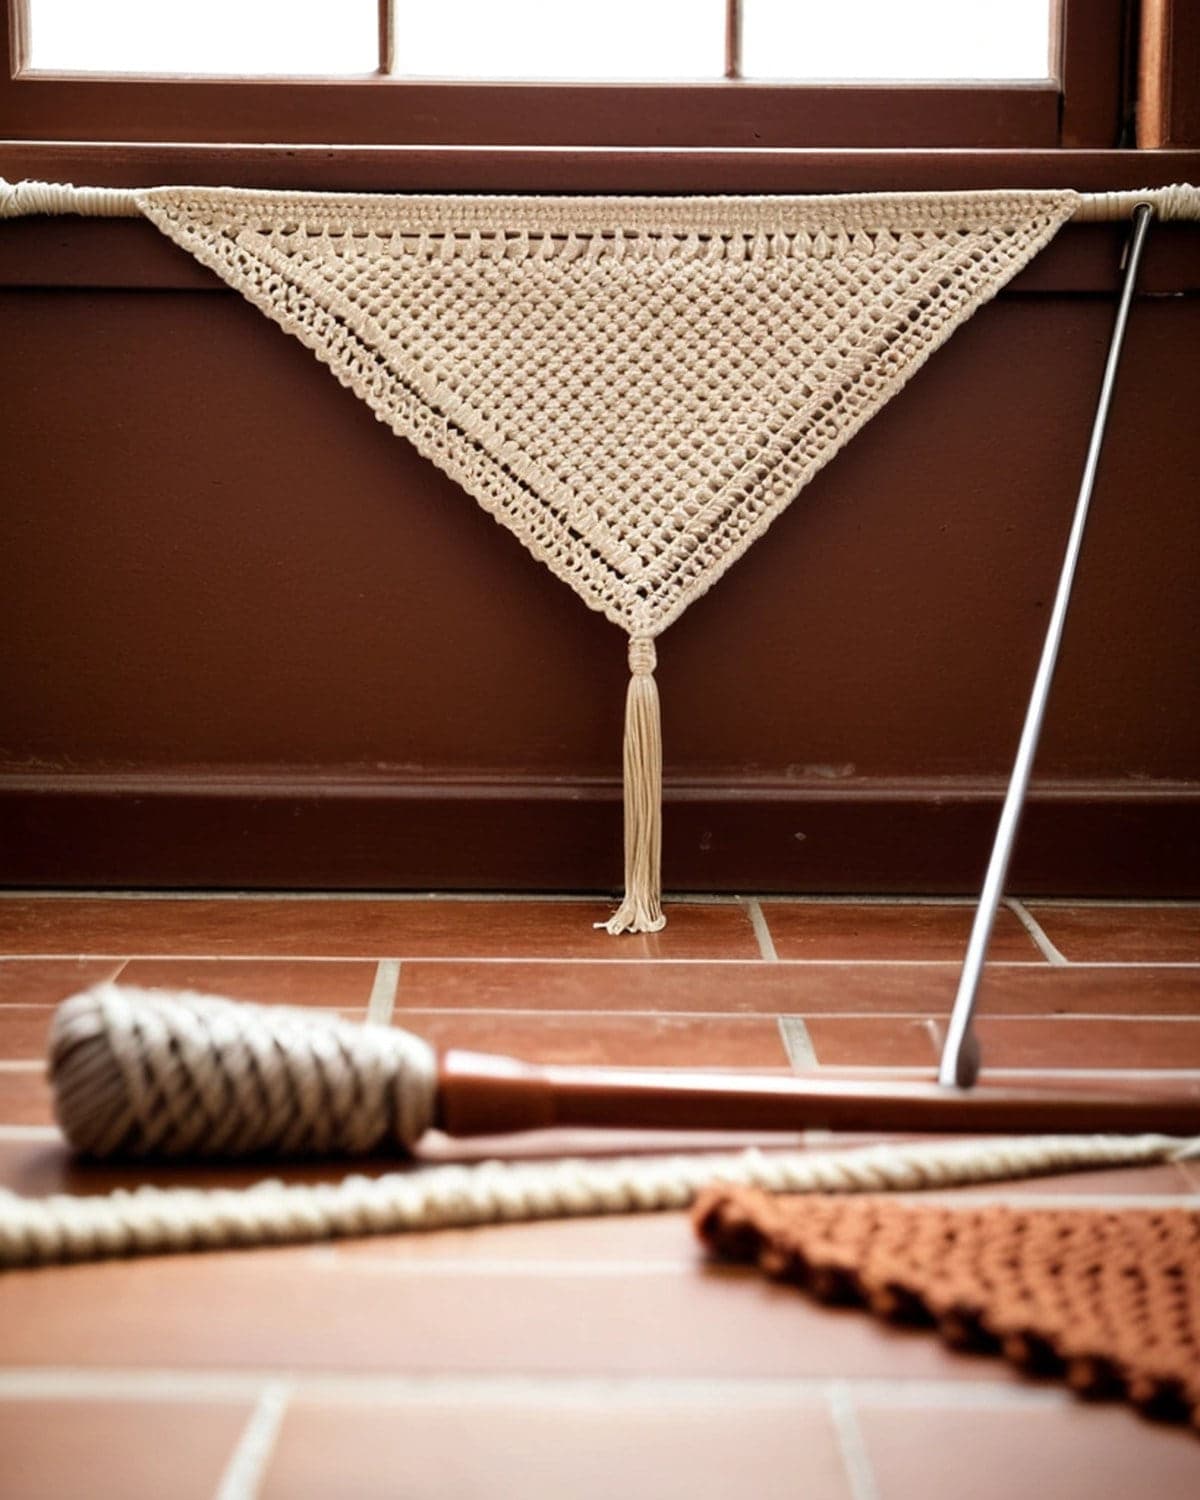 Change colours in the point if you like: work 6 rows in C, 6 rows in D and the last rows in B. Check the stitch count every row.
Finishing
- Weave in all the ends on the wrong side. Run each end through stitches of its own colour.
- Block it. Pin the hanging flat on a towel, with the sides straight and the point centred. Spray it with water and let it dry. This step makes a big difference: the edges straighten and the point sharpens.
- Make the dowel pocket. Fold the top 4 rows to the back, over the dowel. Sew the edge of row 1 to row 7 across the back with whip stitch. Slide the dowel through.
- Add a hanging cord. Tie the ends of a 60 cm (24 in) cord to each end of the dowel.
Adding the fringe
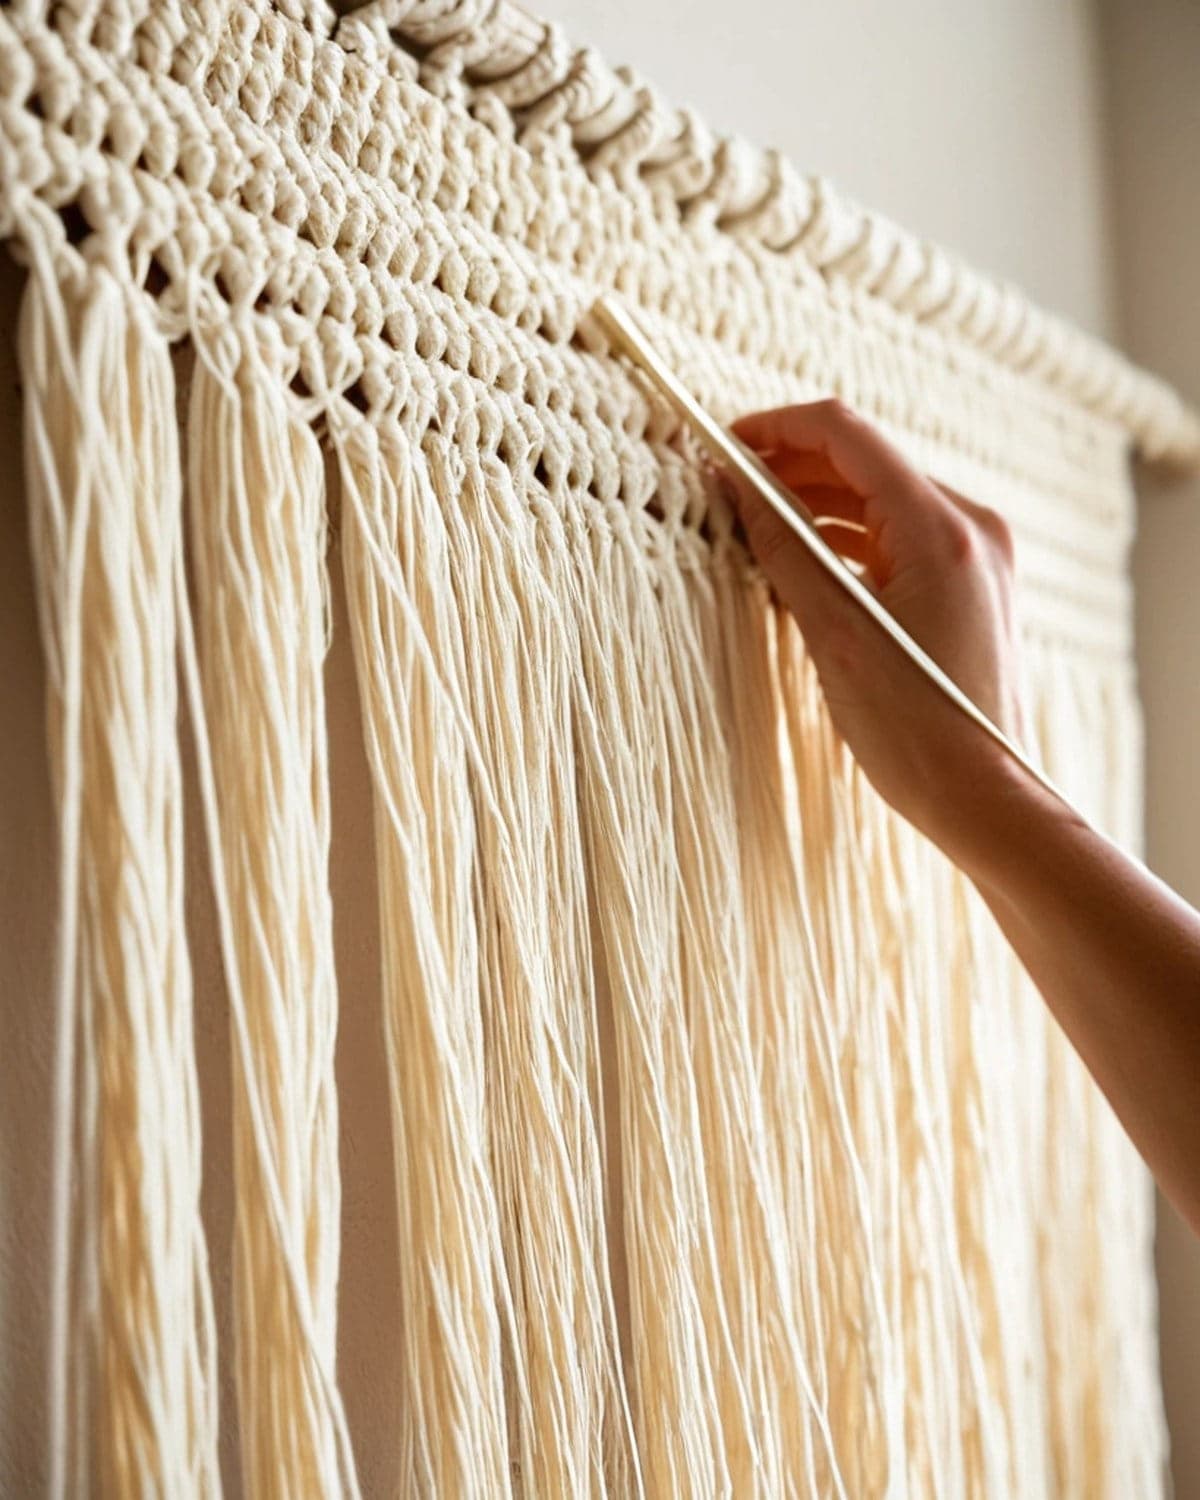
- Cut the strands. Wrap yarn around a 25 cm (10 in) piece of card about 80 times, then cut along one edge. You'll get strands about 50 cm (20 in) long.
- Attach a tassel. Take 2 strands together and fold them in half. With the hook, pull the fold through a stitch at the edge of the point from front to back. Pull the ends through the loop and tighten.
- Space them. Add a tassel at the end of every row along both slanted edges of the point, and 3 or 4 at the very tip.
- Trim. Lay the hanging flat and trim the fringe into a neat V that follows the shape of the point, or straight across for a different look.
Use one colour for the fringe, or mix all four.
Mini rainbow wall hanging
A small rainbow is a quick variation, lovely in a nursery.
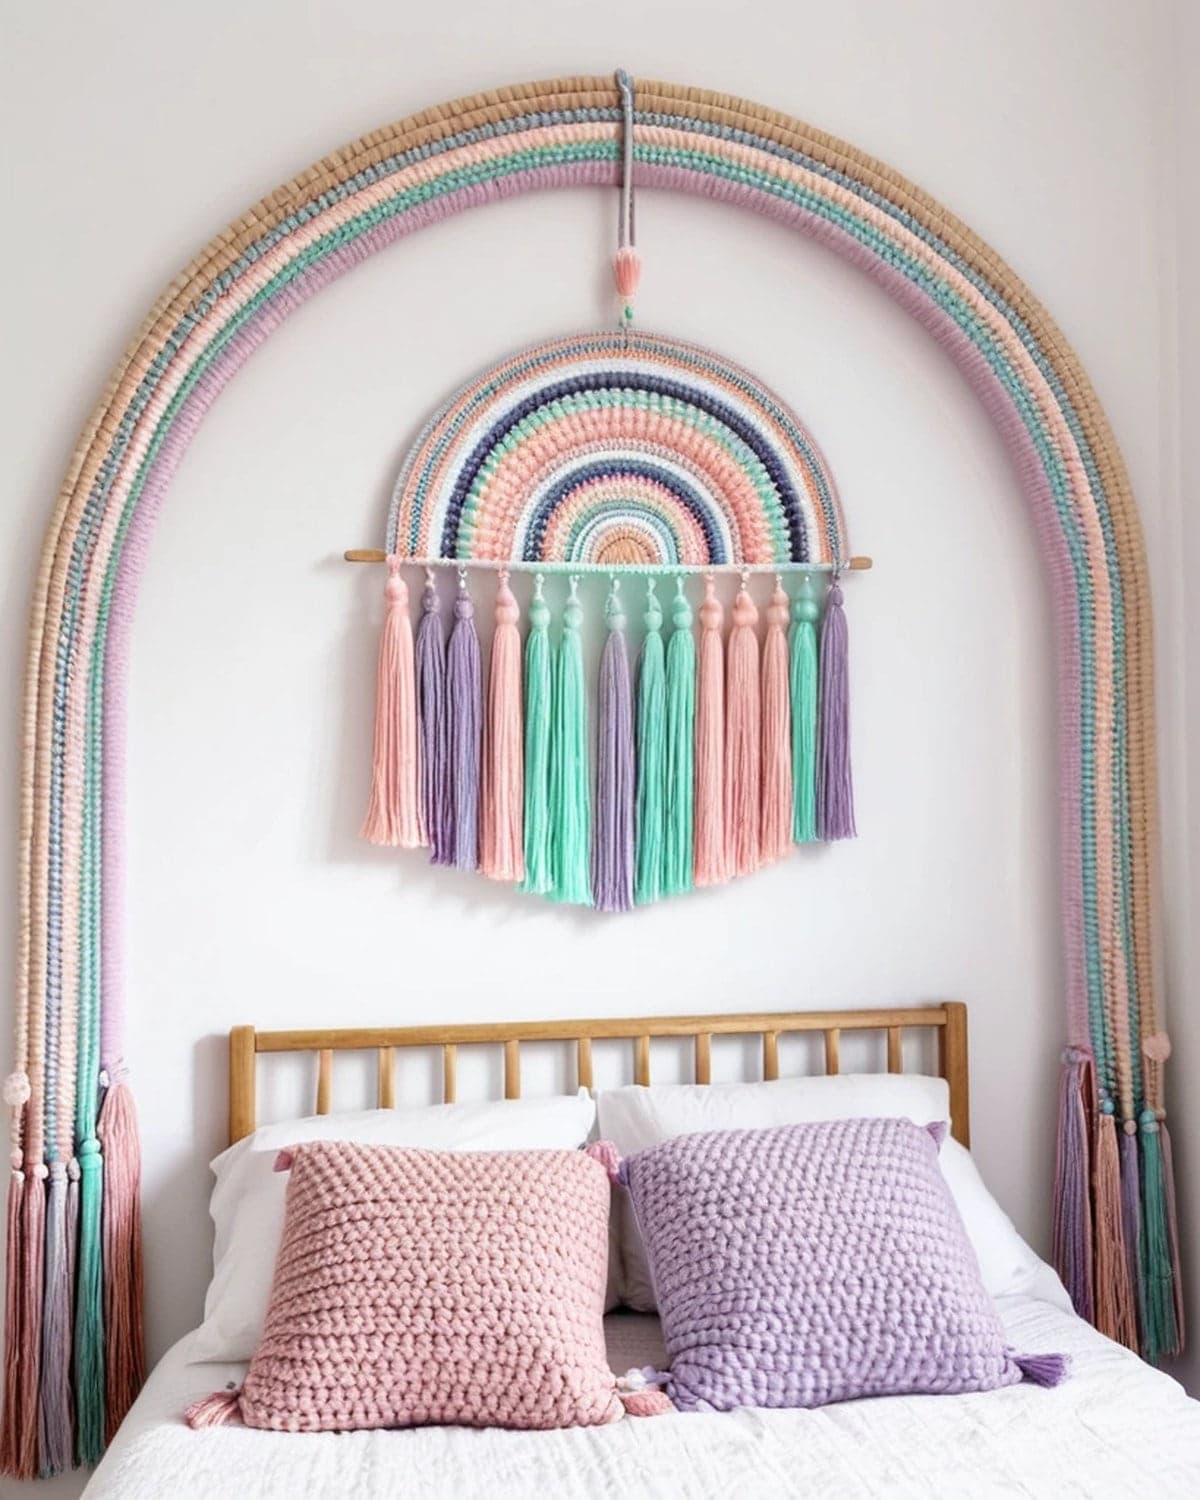
- Crochet three flat arches in single crochet: chain the length you need (20, 30 and 40 chains), and work 4 rows of sc. Fold each arch around a length of thick cotton cord, sew the long edges together, and bend the cord into an arch.
- Stack the arches from smallest to largest and sew them together at the bottom ends.
- Hang from a loop sewn to the top of the largest arch, and add a few tassels or crochet daisies at the ends.
Colour ideas
- Boho: cream, mustard, rust and dusty pink, as in this pattern.
- Scandi: white, oatmeal, grey and black.
- Ocean: white, teal, navy and sand.
- Nursery pastels: mint, lilac, peach and cream.
- Autumn: burnt orange, olive, brown and cream.
- Monochrome texture: all in cream, so the moss stitch and bobbles stand out on their own.
Tips for a neat wall hanging
- Count the stitches every row. The rectangle must stay 39 stitches wide.
- Keep your tension even, especially when you change colours, so the sides stay straight.
- Use a slightly smaller hook if the fabric looks loose: a hanging looks best when it's firm.
- Block before adding the fringe.
- Choose a dowel that's about 10 cm (4 in) wider than the hanging, so the ends show.
- Weight the point with a small wooden bead on the central tassel if it curls.
Common problems and fixes
The sides are wavy. You added or missed stitches. Count every row and always work into the first and last stitch.
The bobbles are on the wrong side. You worked them on a right side row. Bobbles pop out on the side away from you, so work them with the wrong side facing.
The point is off-centre. You decreased on one side only in some rows. Decrease at both ends of every row.
The hanging curls at the edges. Block it flat, or work a round of slip stitch around the edges.
The fringe is uneven. Use card to cut strands of the same length, and trim after attaching.
Where to hang it
- Above a bed or sofa: a hanging 30 to 50 cm wide sits nicely above a headboard or a small sofa. For a large wall, hang two or three in a row.
- In a nursery: above the cot or changing table, well out of reach of small hands.
- By a window: the fringe moves in the breeze, but keep it out of strong sunlight, which fades the colours.
- On a door: hang it on an over-the-door hook for a seasonal decoration.
- With plants: a wall hanging next to a crochet plant hanger makes a cosy boho corner.
Crochet wall hangings share their look with macramé, the art of decorative knotting. Wikipedia's article on macramé shows the knots and styles that inspire boho decor.
Caring for a wall hanging
Wall hangings don't need much care. Shake them gently every few weeks to remove dust, or use a hairdryer on its cool setting. If you need to wash one, take it off the dowel, hand wash it in cool water, and block it flat again. Comb the fringe with a wide-tooth comb while it's damp.
Frequently asked questions
Is a crochet wall hanging good for beginners? Yes. It's mostly single crochet in rows, with simple moss stitch and bobble bands.
How much yarn do I need? About 150 m (165 yd) in total, plus about 40 m (44 yd) for the fringe.
Can I make it bigger? Yes. Keep the stitch count as a multiple of 4, plus 3, so the bobble row works out evenly. For a hanging about 40 cm (16 in) wide, ch 56 for 55 stitches: the bobble row then has 13 bobbles, and the point takes 26 decrease rows plus the sc3tog row.
What else can I hang it from? A branch, a copper pipe, a brass rod or a wooden embroidery hoop all work well.
Can I sell wall hangings made from this pattern? Yes. You're welcome to sell what you make.
What to make next
- For a hanging planter, try the crochet plant hanger.
- For a cosy textured cushion, see the easy crochet pillow cover.
- For a practical piece of decor, make an easy crochet basket.
- For a quick gift, try easy crochet coasters.
There are more patterns for your home in the home decor section.
Save it for later
Pin this to your Pinterest board so it's there when you're ready to stitch.
Keep stitching
Related crochet projects
Home decor Easy Crochet Dishcloth: 2 Free Patterns for Beginners
10 min read
Clothing Easy Crochet Scarf for Beginners: One Stitch, Free Pattern
10 min read
Flowers Crochet Tulip Pattern: Easy Free Tutorial with Stem and Leaves
6 min read
Flowers Crochet Marigold Pattern: Easy Free Tutorial with Ruffled Petals
3 min read