Easy Crochet Pillow Cover: Free Envelope Pattern, No Zipper
Crochet a removable pillow cover from one long rectangle, folded like an envelope and closed with buttons. No zipper and no shaping, with sizes for any insert and easy stitch variations.
By AlixaPublished 11 min read
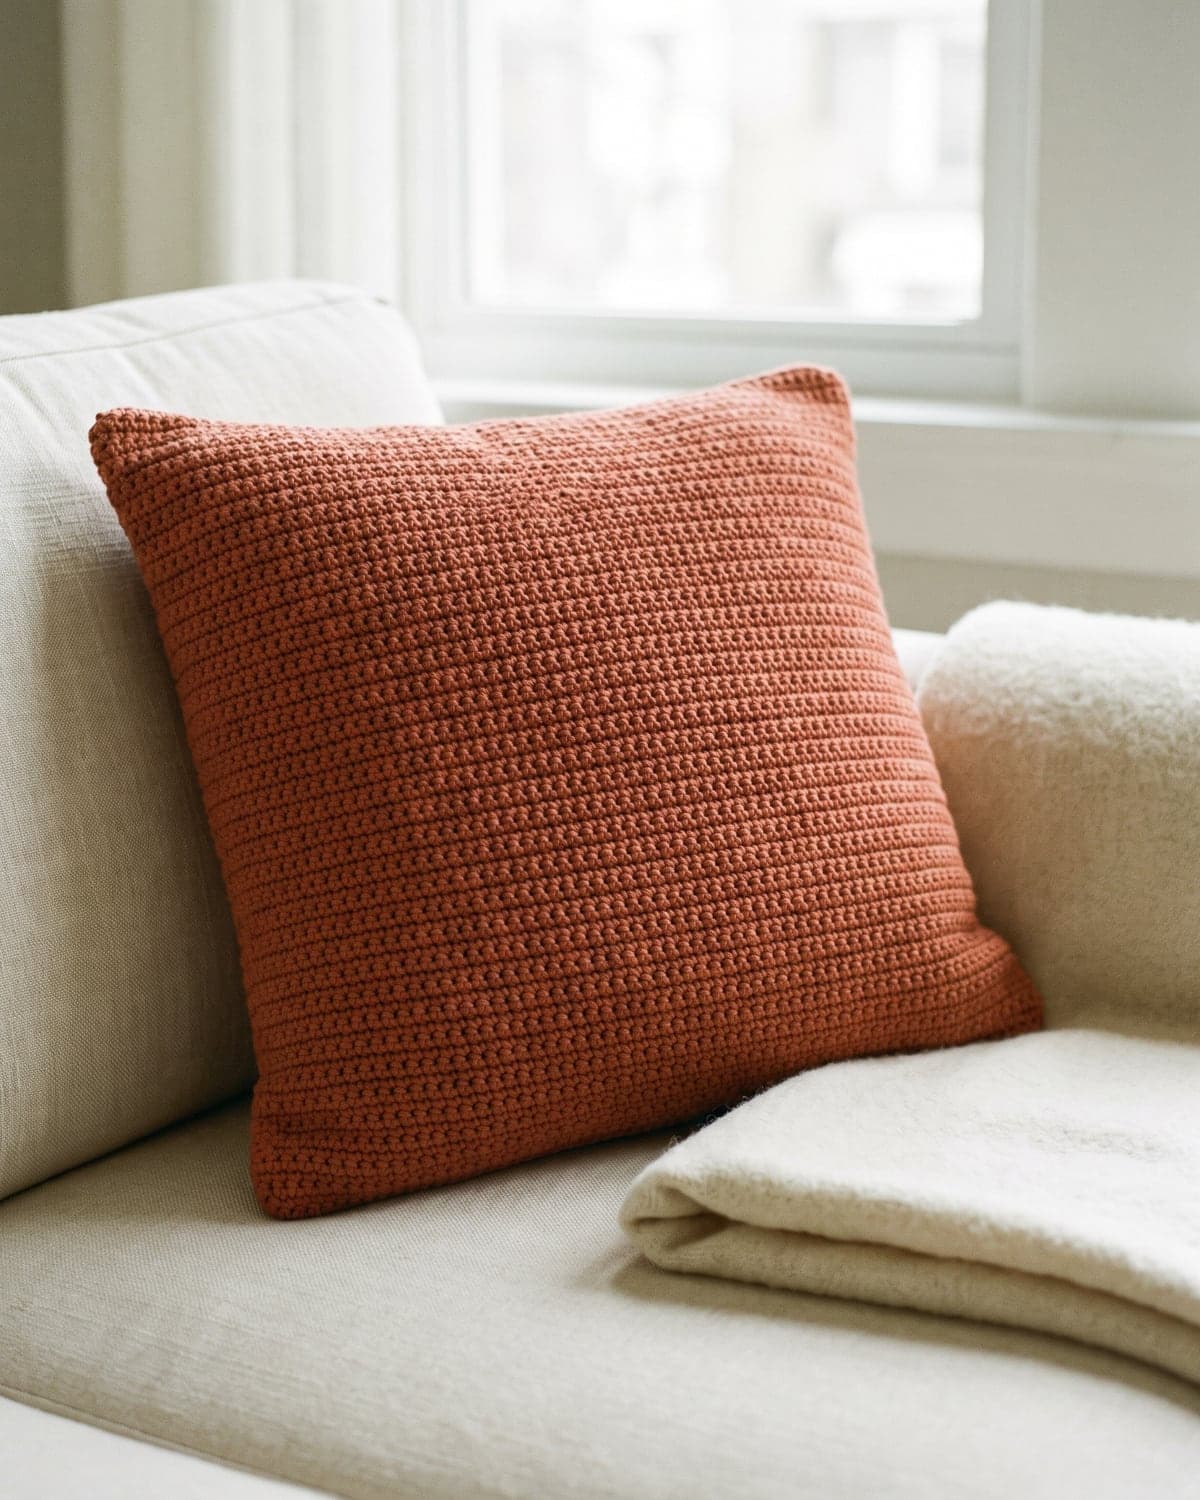
A crochet pillow cover changes the look of a sofa, a bed or a reading chair in a weekend. This one is as simple as a cover can be. You crochet one long rectangle, fold it like an envelope and sew two side seams. There's no zipper to fit and no shaping. The back overlaps and closes with three buttons, so the cover comes off for washing.
This guide gives the pattern for a 40 cm (16 in) pillow. It explains how to adjust it for any size, how to fold it so the flaps overlap the right way, and how to make buttonholes, and it suggests stitches and colours to try.
Terms used here: US crochet terms. Half double crochet (hdc) is called half treble crochet (htr) in UK terms.
About this pattern: it's a simple design written for this guide. The stitch counts have been checked so the numbers add up. Sizes and yarn amounts are estimates, because they depend on your yarn and tension. The pattern tells you where to measure.
At a glance
| Skill level | Beginner |
| Stitches | Chain, half double crochet |
| Yarn | Worsted weight (weight 4), about 300 to 350 m (330 to 380 yd) |
| Hook | 5 mm (US H-8) |
| Fits | A 40 × 40 cm (16 × 16 in) pillow insert |
| Construction | One rectangle, folded and seamed, with a buttoned back |
| Time | Eight to ten hours |
What you need
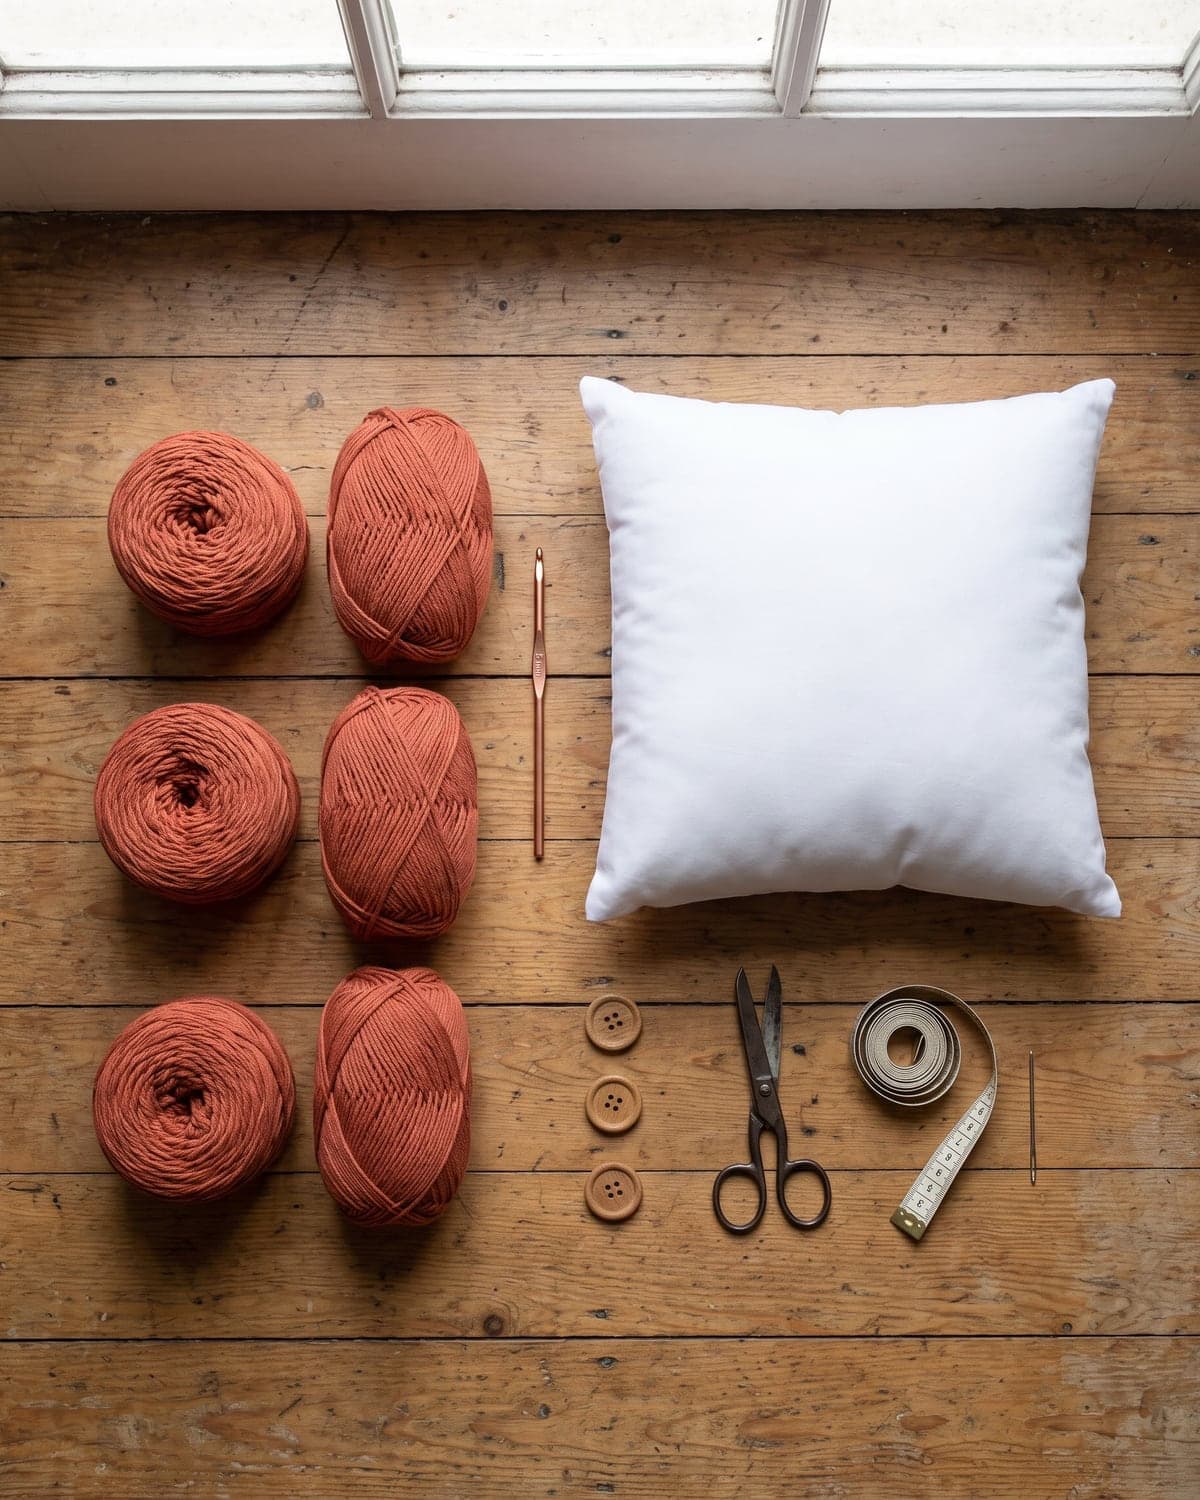
- Worsted weight yarn, about 300 to 350 m (330 to 380 yd). That's usually four 50 g balls of a cotton blend. Check the length on the label.
- A 5 mm (US H-8) hook.
- A pillow insert, 40 × 40 cm (16 × 16 in).
- Three buttons, about 20 to 25 mm (0.75 to 1 in) across.
- A tapestry needle, scissors and a tape measure.
- Locking stitch markers or pins, for holding the seams.
- A sewing needle and thread, if the holes in your buttons are too small for yarn.
Choosing yarn for a pillow
A pillow gets leaned on, sat on and hugged. The yarn needs to be hard-wearing.
- Cotton or a cotton blend gives clean stitches, keeps its shape and washes well. It's the best all-round choice.
- Acrylic is soft, light and easy to wash. Choose a smooth one, because fluffy acrylic pills quickly on a sofa.
- Wool is warm and springy, and good for a winter cushion. Check whether it's machine washable.
Smooth yarn in a solid colour shows off the stitches. The Craft Yarn Council's yarn weight system explains the weight numbers on labels.
Choosing the insert
A feather or good polyester insert, slightly larger than the cover, gives a plump, full pillow. That's why this cover is made a little smaller than the insert. Crochet stretches. A cover made to the exact size ends up baggy, with the white insert showing between the stitches.
If your insert is white and your yarn is dark, the insert may show through. A dense stitch and a snug fit usually prevent it. You can also slip the insert into a plain fabric case in a similar colour first.
Gauge
About 14 half double crochets and 11 rows measure 10 cm (4 in).
Gauge matters more here than for a blanket, because the cover has to fit. Chain 21, work 16 rows and measure the middle of your swatch. If you have more than 14 stitches in 10 cm, use a larger hook. If you have fewer, use a smaller one. If you'd prefer not to change hooks, change the starting chain so that it's 1 to 2 cm shorter than your insert.
How the envelope works
The rectangle is as wide as the pillow and a little more than twice as long.
| Part | Length |
|---|---|
| Under flap (back) | 22 cm |
| Front | 40 cm |
| Buttonhole flap (back) | 28 cm |
| Total | 90 cm |
The two back flaps add up to 50 cm, so they overlap by 10 cm. That overlap holds the buttons and keeps the insert covered.
Pillow cover pattern
Foundation
Chain 55.
Row 1
Half double crochet in the 2nd chain from the hook and in each chain across. (54 stitches)
Lay the row against your insert. It should be 1 to 2 cm narrower, about 38 to 39 cm. If it's wider than the insert, start again with fewer chains. It's a few minutes of work now, and it saves a baggy cover later.
Row 2
Chain 1 and turn. The chain doesn't count as a stitch. Hdc in the first stitch and in each stitch across. (54)
Repeat
Repeat row 2 until the piece measures 86 cm (34 in) from the foundation chain. That's around 95 rows. Measure with the piece lying flat, without stretching it.
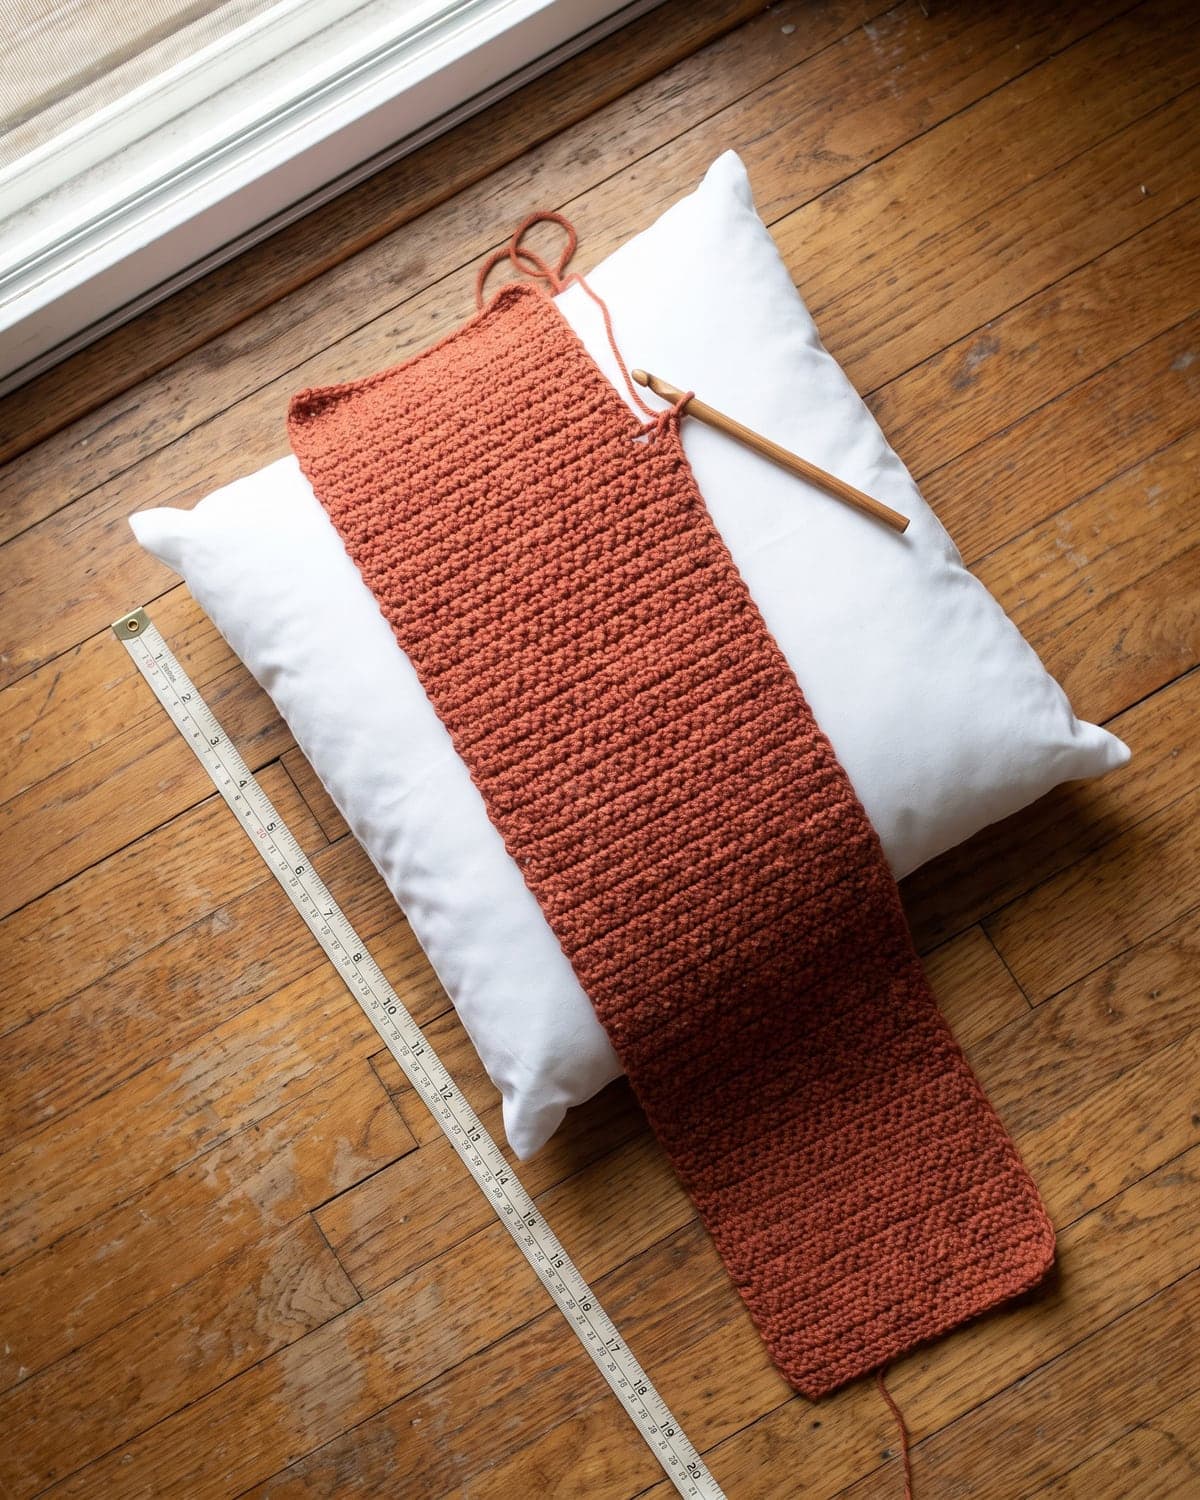 Count your stitches every few rows. All 54 should be there. A marker in the first stitch of each row helps you find the last stitch on the way back.
Buttonhole row
Chain 1 and turn. Hdc in each of the first 10 stitches. Then:
- Chain 3, skip 3 stitches, hdc in each of the next 13 stitches.
- Chain 3, skip 3 stitches, hdc in each of the next 13 stitches.
- Chain 3, skip 3 stitches, hdc in each of the last 9 stitches.
You have three gaps. Check the count: 10 + 3 + 13 + 3 + 13 + 3 + 9 = 54.
Hold a button against one of the gaps. It should pass through with a little effort. For smaller buttons, chain 2 and skip 2. For larger ones, chain 4 and skip 4. Adjust the plain stitches between the gaps so the total stays at 54.
Next row
Chain 1 and turn. Hdc in each stitch, and work 3 hdc into each chain-3 space. (54)
Final rows
Work 2 more rows of hdc. (54)
The piece should now measure about 90 cm. Fasten off and weave in the ends.
Folding and seaming
The order of the folds decides which flap ends up on the outside, so follow it exactly.
- Lay the rectangle flat, right side up. If one side of your fabric looks neater, that's your right side. With half double crochet, both sides are very similar.
- Fold the buttonhole end down first. Fold the top 28 cm down over the middle of the piece. Its right side is now facing the right side of the front.
- Fold the foundation end up second. Fold the bottom 22 cm up. It overlaps the buttonhole flap by about 10 cm.
- Check the size. The folded piece should be a 40 cm square, or just under. Adjust the folds until it is.
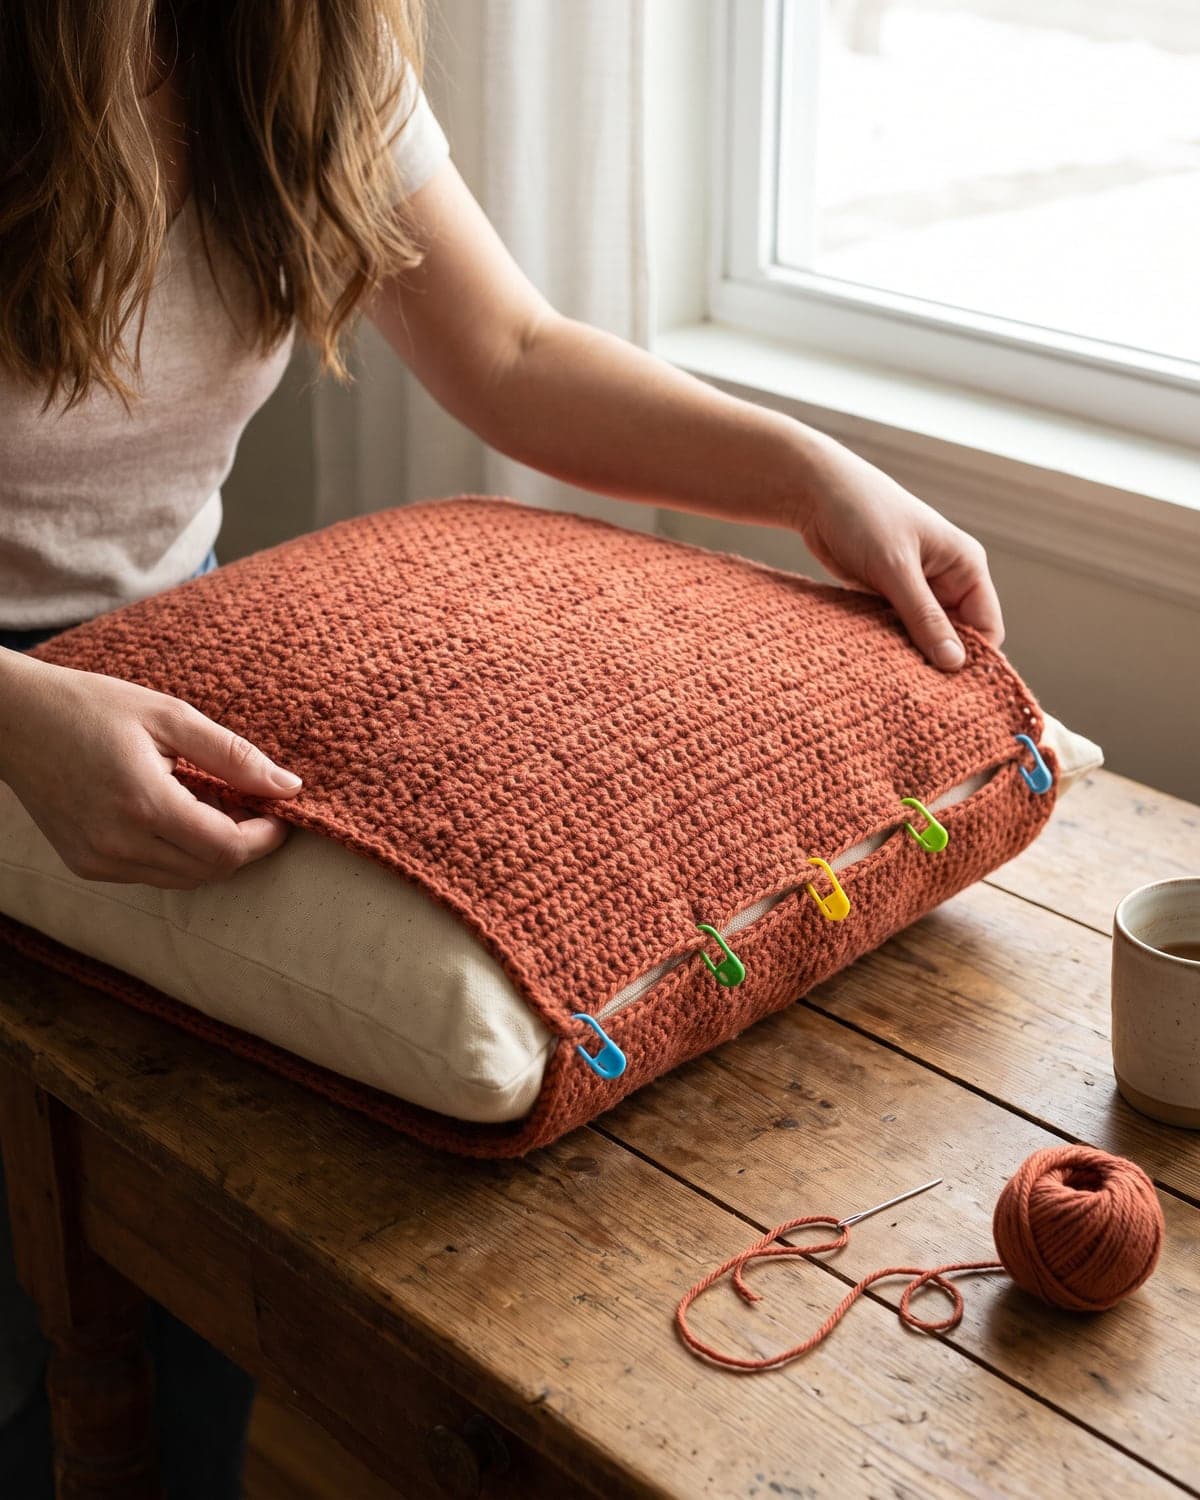
- Pin or clip both side edges, through all the layers.
- Sew the side seams. Thread a tapestry needle with a length of yarn about three times the length of the seam. Whip stitch down each side, going through every layer. Where the flaps overlap there are three layers, so take extra care to catch them all. You can also slip stitch the seams with your hook.
- Turn the cover right side out through the opening and push out the corners with your finger.
The buttonhole flap, which you folded first, is now on the outside of the back, with the plain flap underneath it. That's exactly what you want.
Not sure? Pin the sides, turn the cover right side out and look before you sew anything.
Sewing on the buttons
- Put the insert into the cover. Fold it in half to get it through the opening, then let it open out and work it into all four corners.
- Smooth the buttonhole flap down over the under flap.
- Push a pin through the centre of each buttonhole into the fabric beneath. Those are your button positions.
- Take the insert out, and sew a button at each pin. Use the yarn if it fits through the holes, or matching sewing thread if it doesn't. Wind the thread around the stitches under each button a few times to make a short shank. That gives room for the thick crochet fabric to sit beneath the button.
- Put the insert back and button the cover.
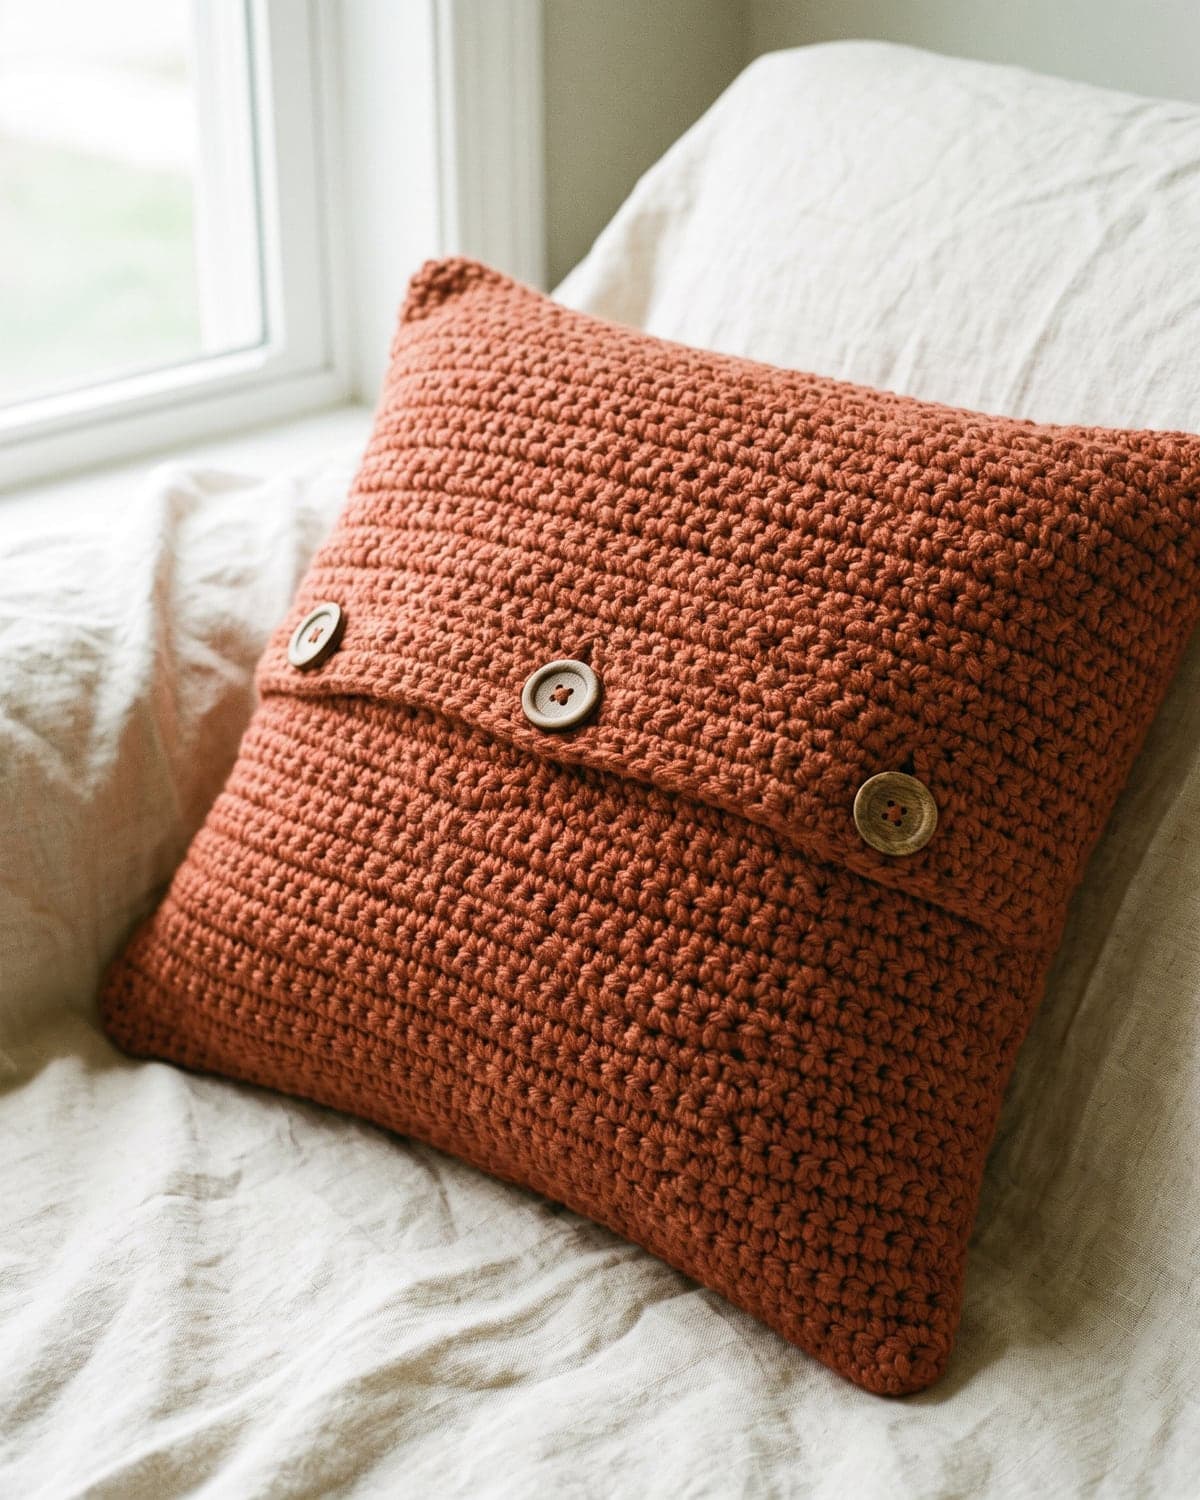 If the cover is for a home with a baby or a small child, leave the buttons off. Sew on a strip of hook-and-loop tape, or simply rely on the 10 cm overlap, which holds an insert well without any fastening.
How to change the size
The method works for any square or rectangular insert.
- Width: measure the insert and take off 1 to 2 cm. Multiply that by your stitches per centimetre. At 14 stitches per 10 cm, that's 1.4 a centimetre. Chain that number, plus 1.
- Length: twice the height of the insert, plus 10 cm for the overlap.
- Folds: make the under flap about half the height plus 2 cm, and the buttonhole flap about half the height plus 8 cm.
- Buttonholes: work them about 4 cm before the end, evenly spaced.
| Insert | Chain | Total length |
|---|---|---|
| 30 × 30 cm (12 in) | 41 | 70 cm |
| 40 × 40 cm (16 in) | 55 | 90 cm |
| 45 × 45 cm (18 in) | 62 | 100 cm |
| 50 × 50 cm (20 in) | 69 | 110 cm |
| 30 × 50 cm lumbar | 69 | 70 cm |
These chain counts assume the gauge above. Check row 1 against your insert every time. Yarn use rises with the area, so the 50 cm cover needs about half as much again as the 40 cm one.
Stitch and style variations
- Moss stitch. A flat, woven-looking fabric that suits a modern room. Chain an even number and follow the moss stitch tutorial.
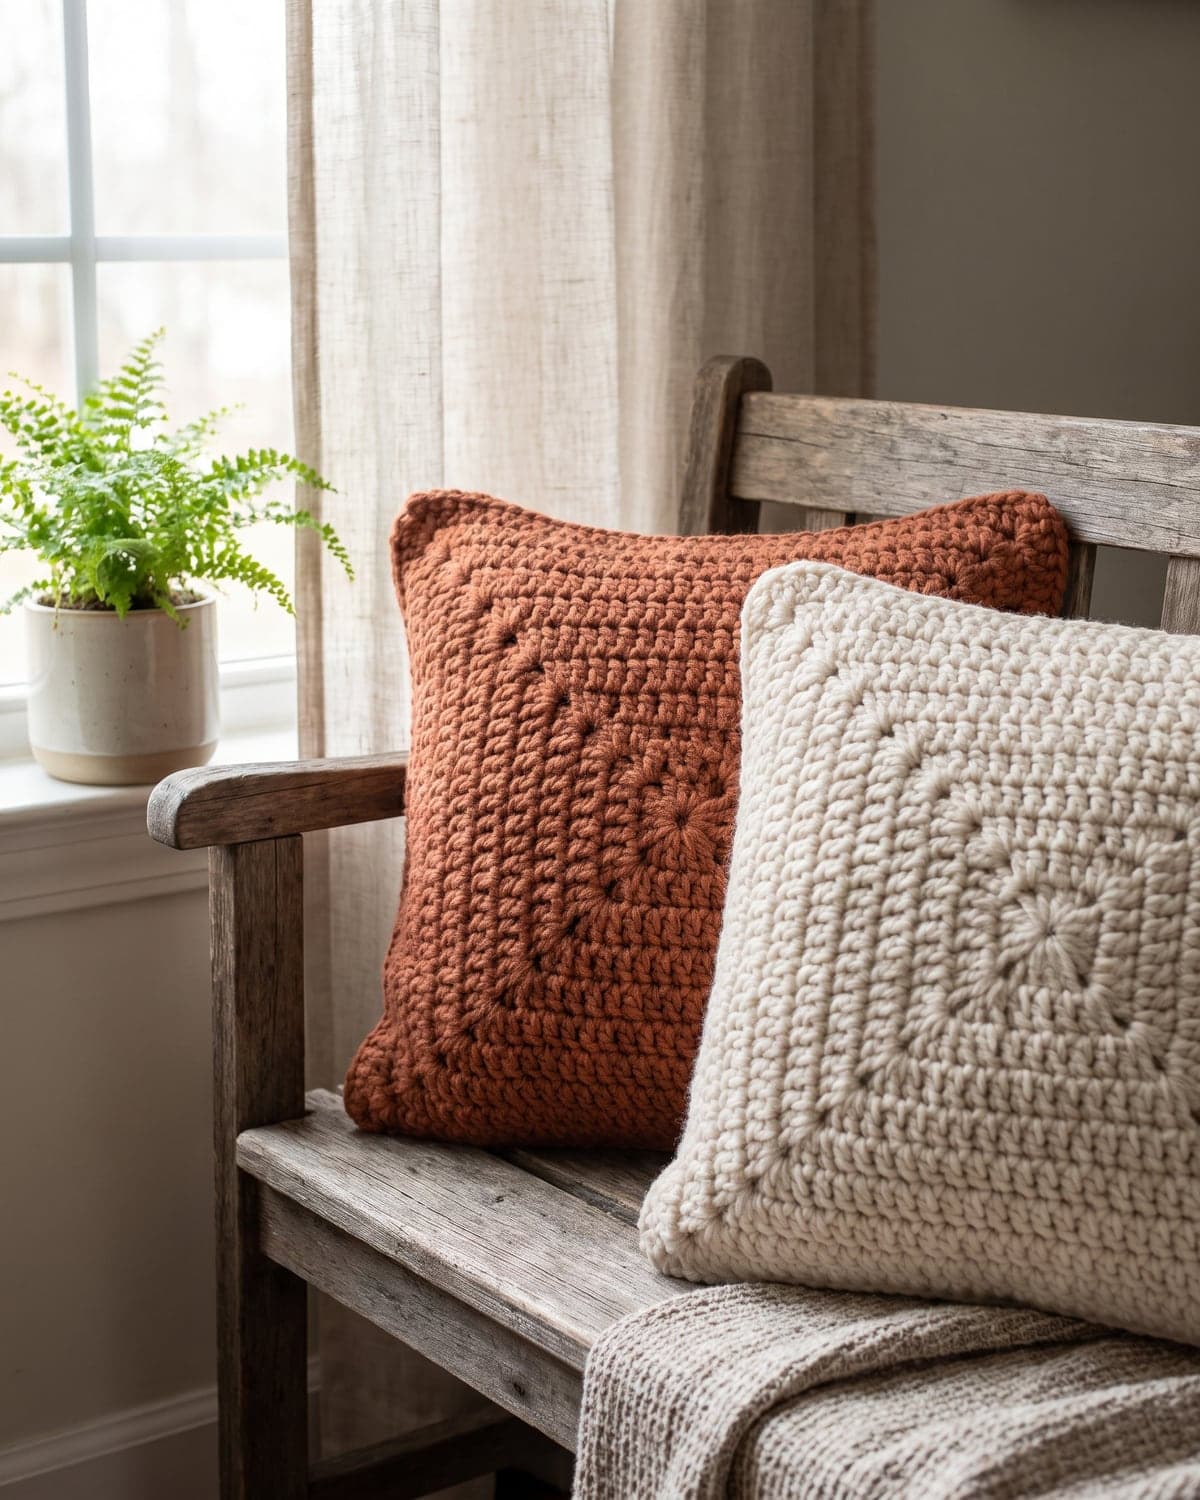
- Textured front. Work the middle 40 cm, the front, in bobbles or waffle stitch from textured crochet stitches, and the flaps in plain hdc. Textured stitches are denser, so check your width.
- Stripes. Change colour every 4 or 6 rows. The stripes run across the pillow.
- Colour-block. Work the front in one colour and both back flaps in another.
- Granny square front. Join nine squares into a 3 × 3 panel, and crochet only the back flaps as two rectangles. The squares are in how to crochet a granny square.
- Back loop only. Work every row in the back loop for horizontal ridges.
- Tassels or pompoms. Add one to each corner after seaming.
- Chunky version. Use bulky yarn and a 6.5 mm hook. Chain until the chain measures 38 cm, then follow the same measurements.
Washing and care
Take the insert out and button the cover before washing, so the buttonholes don't stretch. Follow your yarn label. As a guide, cotton and acrylic can usually be machine washed on a gentle cycle, and wool should be washed by hand in cool water. Reshape the cover and dry it flat. Hanging a wet crochet cover pulls it out of shape.
Common problems and fixes
The cover is baggy. It was made to the size of the insert, or larger. Use a bigger or fuller insert, or take in the side seams by sewing a second seam 1 cm in.
The insert shows through the stitches. The fabric is too open. Use a smaller hook next time. For now, put the insert in a fabric case that matches the yarn.
The cover is too tight to button. The piece is too short. Add a few rows of hdc to the foundation end by joining yarn there and working into the base of the chain.
The edges of the rectangle aren't straight. The stitch count has changed. Count 54 on every row. Slightly uneven edges will disappear into the seams.
The plain flap ended up on the outside. The ends were folded in the wrong order. Unpick the seams and fold the buttonhole end down first.
The buttonholes are too loose. Sew a few stitches across one end of each hole with matching yarn.
The flap gapes between the buttons. Add a fourth button, or a small press stud between each pair.
The seams are bulky at the overlap. Whip stitch through one loop of each layer only, or steam the seams lightly from the inside.
Frequently asked questions
Is a crochet pillow cover good for beginners? Yes. It's a rectangle in a single stitch. The only new skills are the buttonholes and a simple seam.
How much yarn do I need for a 16 inch pillow cover? About 300 to 350 metres of worsted weight yarn for this envelope design.
Should a crochet pillow cover be smaller than the insert? Yes, by 1 to 2 cm. Crochet stretches, and a snug cover looks plump and tidy.
Can I make it without buttons? Yes. A 10 cm overlap holds the insert without a fastening. Leave out the buttonhole row and work plain rows.
What's the best stitch for a pillow cover? A dense one, so the insert doesn't show. Half double crochet, single crochet, moss stitch and waffle stitch all work.
How long does it take? Eight to ten hours for a beginner. It's a comfortable weekend project.
Can I sell pillow covers made from this pattern? Yes. You're welcome to sell what you make.
What to make next
- Storage to match: the easy crochet basket.
- For the table: easy crochet coasters.
- For the kitchen: the easy crochet dishcloth patterns.
- To go with it on the sofa: the chunky crochet blanket for beginners.
There are more projects in the home decor section.
Save it for later
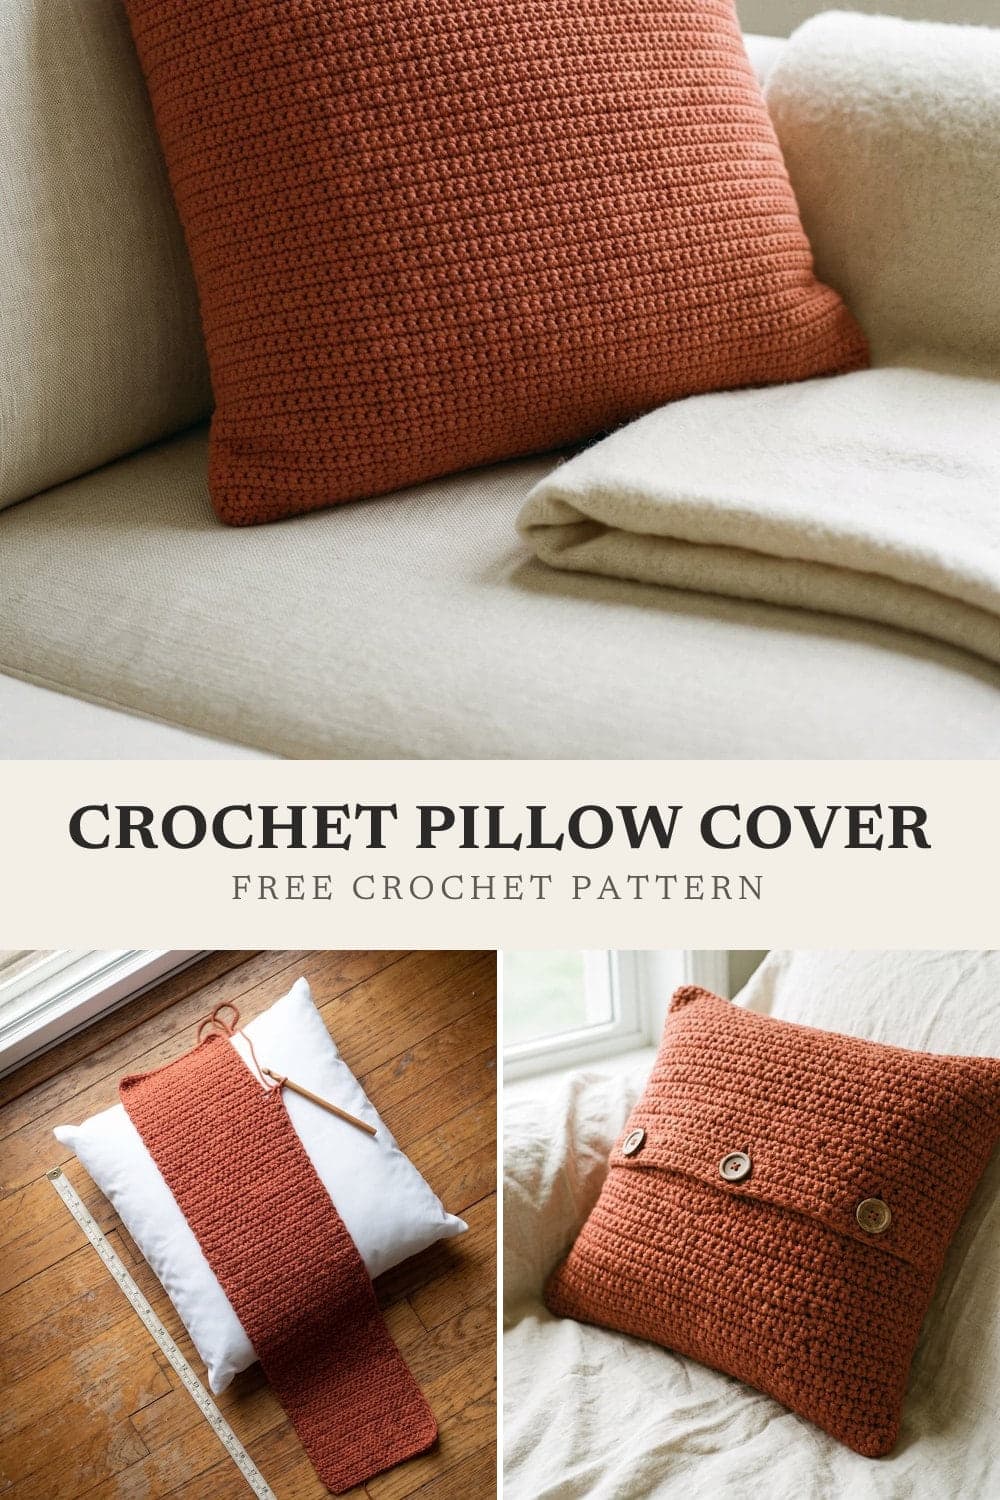
Pin this to your Pinterest board so it's there when you're ready to stitch.
Keep stitching
Related crochet projects
Home decor Easy Crochet Dishcloth: 2 Free Patterns for Beginners
10 min read
Home decor Easy Crochet Basket: Beginner Pattern in Three Sizes
11 min read
Clothing Easy Crochet Tote Bag for Beginners: One-Piece Pattern
11 min read
Home decor Easy Crochet Coasters: Round and Square Patterns for Beginners
10 min read