Easy Crochet Beanie for Beginners: Free Pattern in 4 Sizes
The easiest crochet beanie: a flat ribbed rectangle, seamed and gathered at the top. No working in the round and no shaping. Four sizes from baby to adult, with fitting tips and a pompom.
By AlixaPublished 11 min read
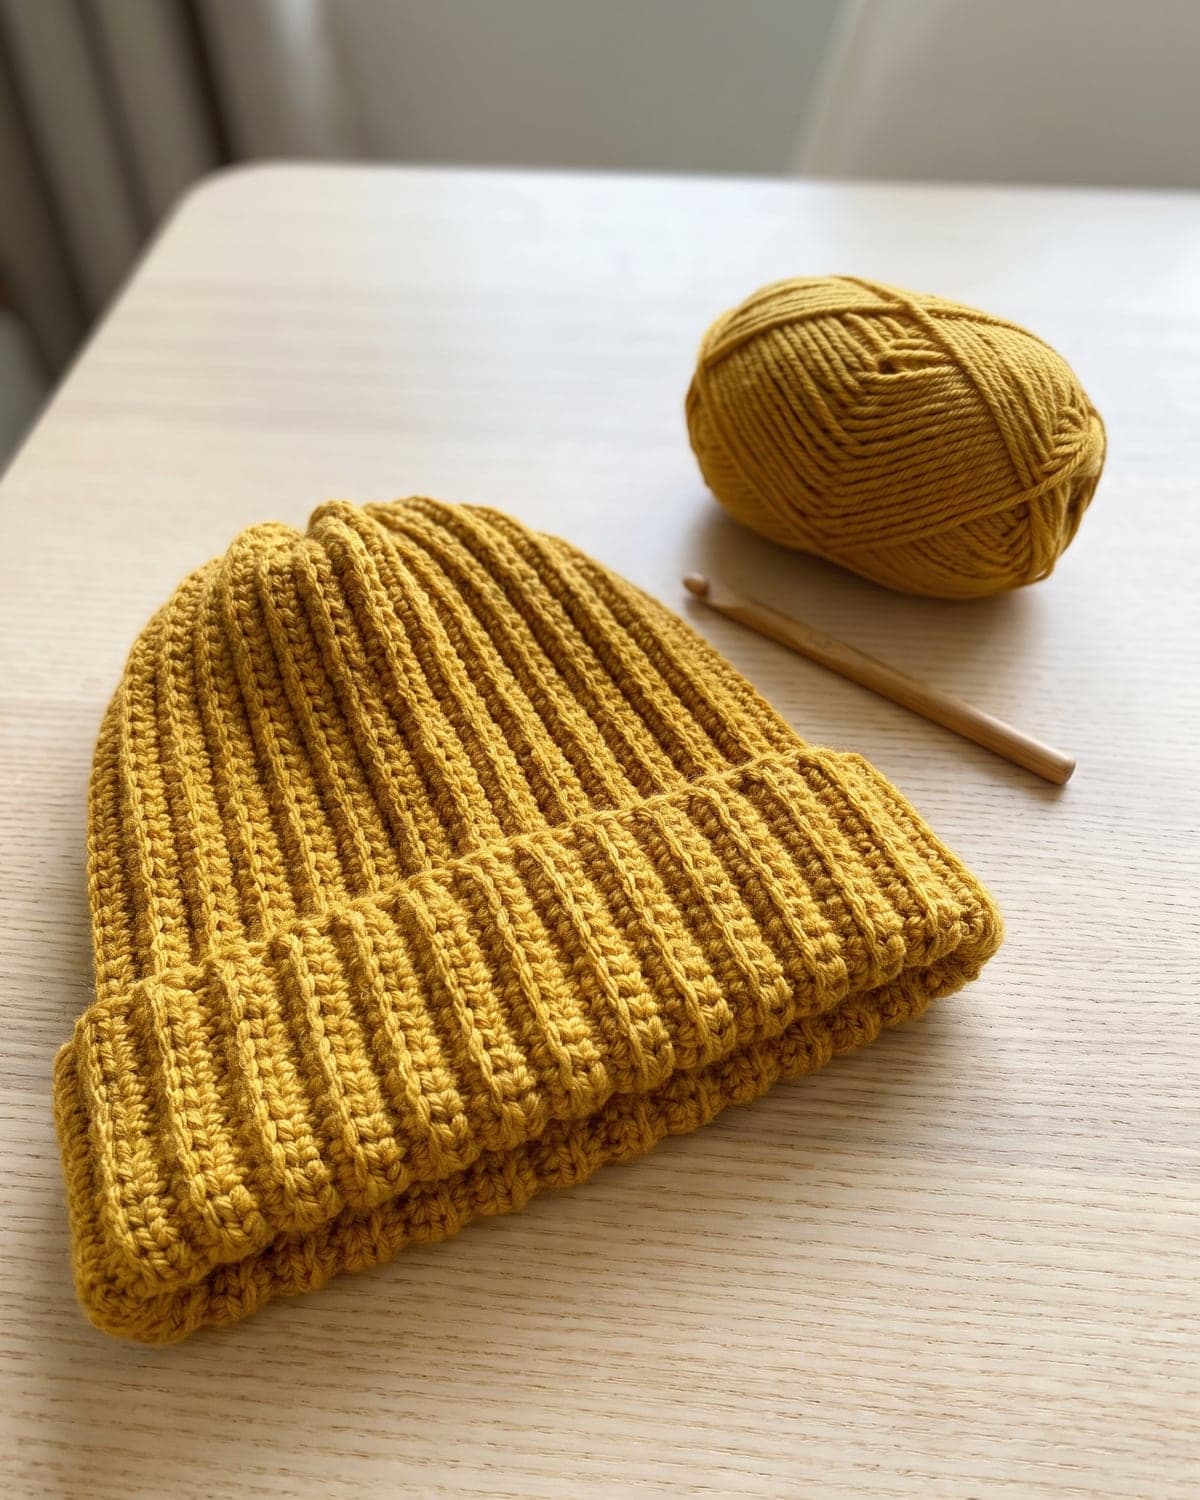
This is the easiest crochet beanie there is. You don't work in the round, you don't increase and you don't decrease. You crochet a flat ribbed rectangle, sew it into a tube and gather one end. The result is a stretchy, close-fitting hat with a fold-up brim that looks knitted.
The stretch comes from one small change to an ordinary stitch: working into the back loop only. This guide explains it, gives the pattern in four sizes, and shows how to fit the hat to any head, close the crown neatly and add a pompom.
Terms used here: US crochet terms. Half double crochet (hdc) is called half treble crochet (htr) in UK terms.
About this pattern: it's a simple design written for this guide. The stitch counts have been checked so the numbers add up. Sizes and yarn amounts are estimates, because they depend on your yarn and tension. The pattern tells you to measure as you go, which matters more than the row count.
At a glance
| Skill level | Beginner |
| Stitches | Chain, half double crochet in the back loop only |
| Yarn | Worsted weight (weight 4), wool or a wool blend |
| Hook | 5.5 mm (US I-9) |
| Sizes | Baby, child, adult S/M, adult L |
| Construction | A flat rectangle worked sideways, seamed and gathered |
| Time | Two to three hours for an adult size |
What you need
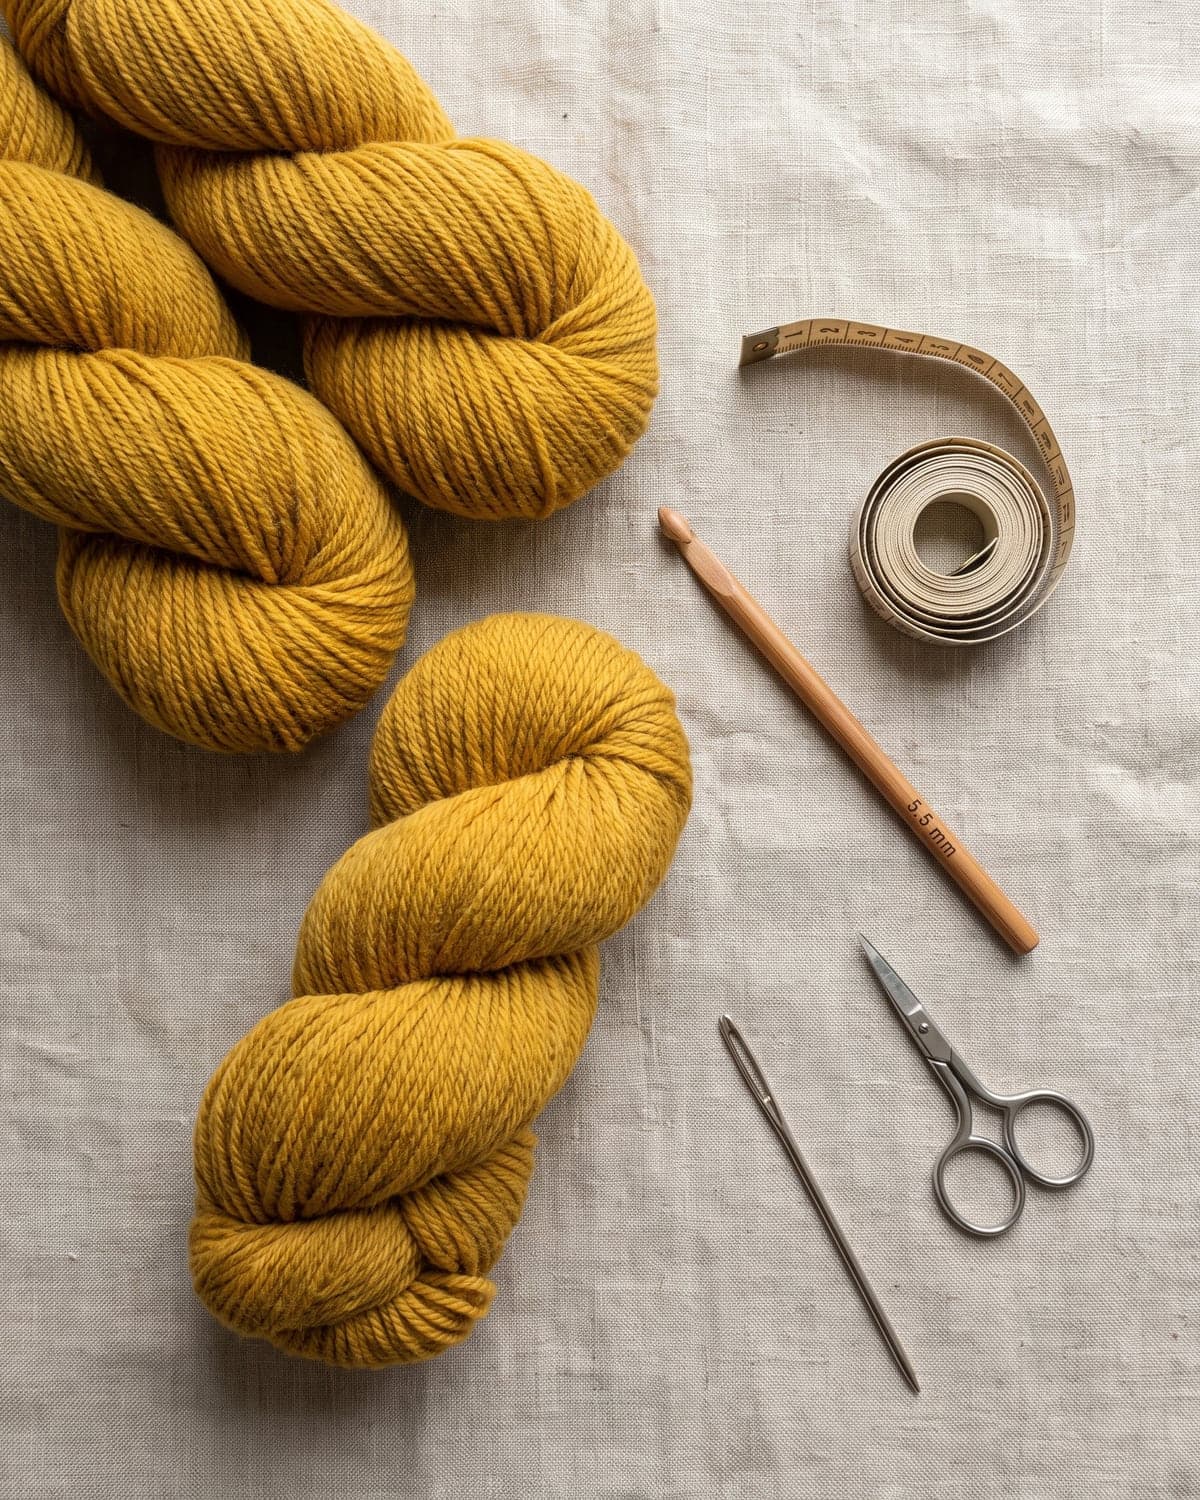
- Worsted weight yarn. About 150 to 180 m (165 to 200 yd) for an adult hat with a folded brim. That's usually two 50 g balls or one 100 g skein. Amounts for every size are in the table below.
- A 5.5 mm (US I-9) hook.
- A tape measure.
- A large blunt tapestry needle and scissors.
- A pompom maker or a piece of card, if you want a pompom.
Choosing yarn for a beanie
Stretch and warmth are what you're looking for.
- Wool or a wool blend is springy, warm and keeps its shape. It's the best choice for a ribbed hat.
- Acrylic is soft, washable and inexpensive. Choose one that feels bouncy and not limp.
- Cotton has no stretch and makes a heavy, saggy rib. Keep it for summer hats made to a different pattern.
A smooth, solid-coloured yarn shows the ribs best. The Craft Yarn Council's yarn weight system explains what "worsted" and "weight 4" mean on a label.
How this beanie works
The rectangle is worked sideways. The rows run from the brim to the crown, so the length of your starting chain is the height of the hat, and the number of rows decides how far it goes around the head.
That has a very useful consequence: you can fit the hat as you make it. Wrap the rectangle around the wearer's head, and stop when it reaches.
The back loop only
Look at the top of any stitch. You'll see a V made of two strands. The strand nearer to you is the front loop. The one further away is the back loop.
Normally the hook goes under both. For this hat, it goes under the back loop only. The unused front loops fold forward into a ridge, and after a few rows those ridges become a deep, elastic rib.
If half double crochet is new to you, practise a few rows first with easy crochet stitches for beginners.
Sizes
| Size | Head circumference | Starting chain | Stitches | Rectangle (height × length) | Rows (approx.) | Yarn (estimate) |
|---|---|---|---|---|---|---|
| Baby (6 to 12 months) | 43 to 46 cm (17 to 18 in) | 27 | 26 | 20 × 38 cm | 38 | 80 m |
| Child (3 to 10 years) | 50 to 53 cm (20 to 21 in) | 32 | 31 | 24 × 44 cm | 44 | 115 m |
| Adult S/M | 54 to 57 cm (21 to 22.5 in) | 37 | 36 | 28 × 49 cm | 50 | 160 m |
| Adult L | 58 to 61 cm (23 to 24 in) | 40 | 39 | 30 × 53 cm | 54 | 185 m |
The rectangle is made about 5 to 8 cm (2 to 3 in) shorter than the head measurement. Ribbing stretches a long way, and a hat needs to grip a little to stay on.
The heights include a folded brim of about 6 to 7 cm. For a close-fitting hat with no fold, chain 8 fewer.
To measure a head, run a tape around it just above the eyebrows and ears. If you can't measure, the Craft Yarn Council publishes a head circumference chart by age.
Gauge
About 13 stitches and 10 rows measure 10 cm (4 in) in back-loop half double crochet, with the fabric lying flat and unstretched.
You don't have to match this exactly, because you'll measure the rectangle as you go. If your stitches are much tighter or looser, adjust the starting chain so its length matches the height in the table.
Beanie pattern
Foundation
Chain 27, 32, 37 or 40 for your size. Leave a tail of about 30 cm (12 in) at the start. You can use it later for the seam.
Row 1
Half double crochet in the 2nd chain from the hook and in each chain across. (26, 31, 36 or 39 stitches)
Row 2
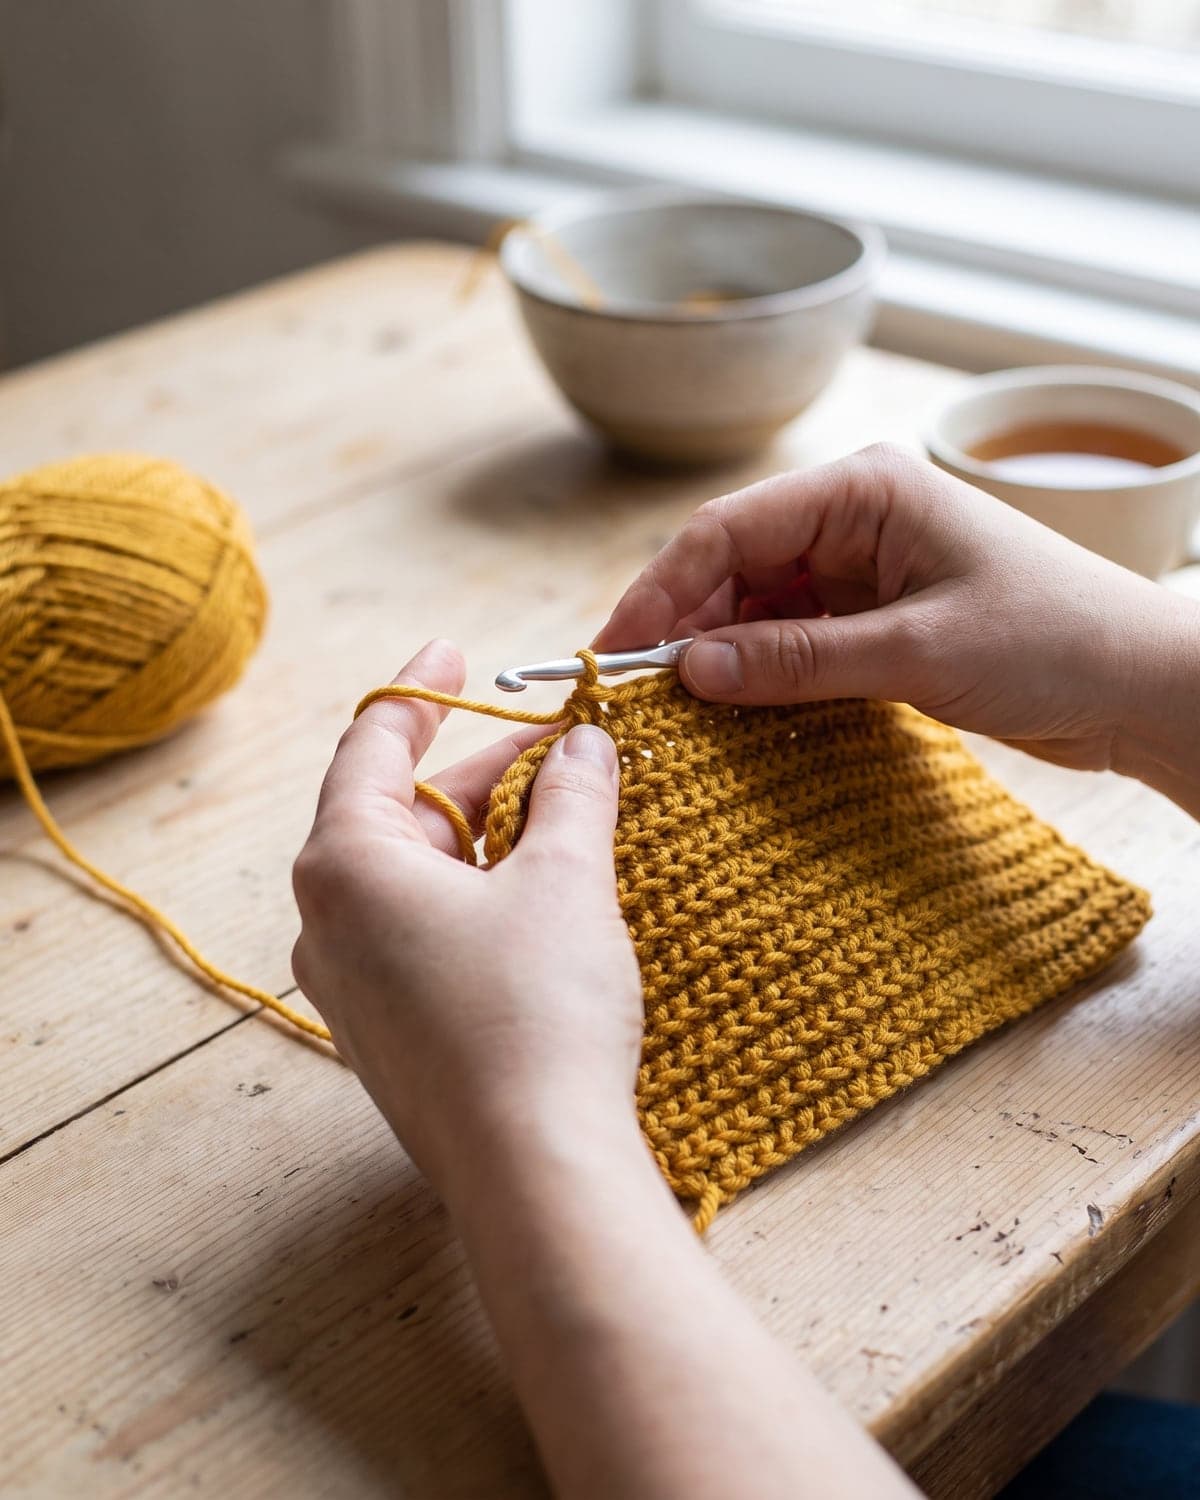
Chain 1 and turn. The chain doesn't count as a stitch. Half double crochet in the back loop only of each stitch across, except the last stitch. Work the last stitch under both loops. That keeps the edge firm and straight.
Count your stitches. You should have the same number as in row 1.
Repeat
Repeat row 2 until the rectangle reaches the length for your size. Finish on an even-numbered row, so the working yarn ends at the same edge as your starting tail.
Check the fit the reliable way. Wrap the rectangle around the wearer's head, stretching it gently. The two short ends should just meet. If you have to pull hard, add two rows. If they overlap without stretching, take two out.
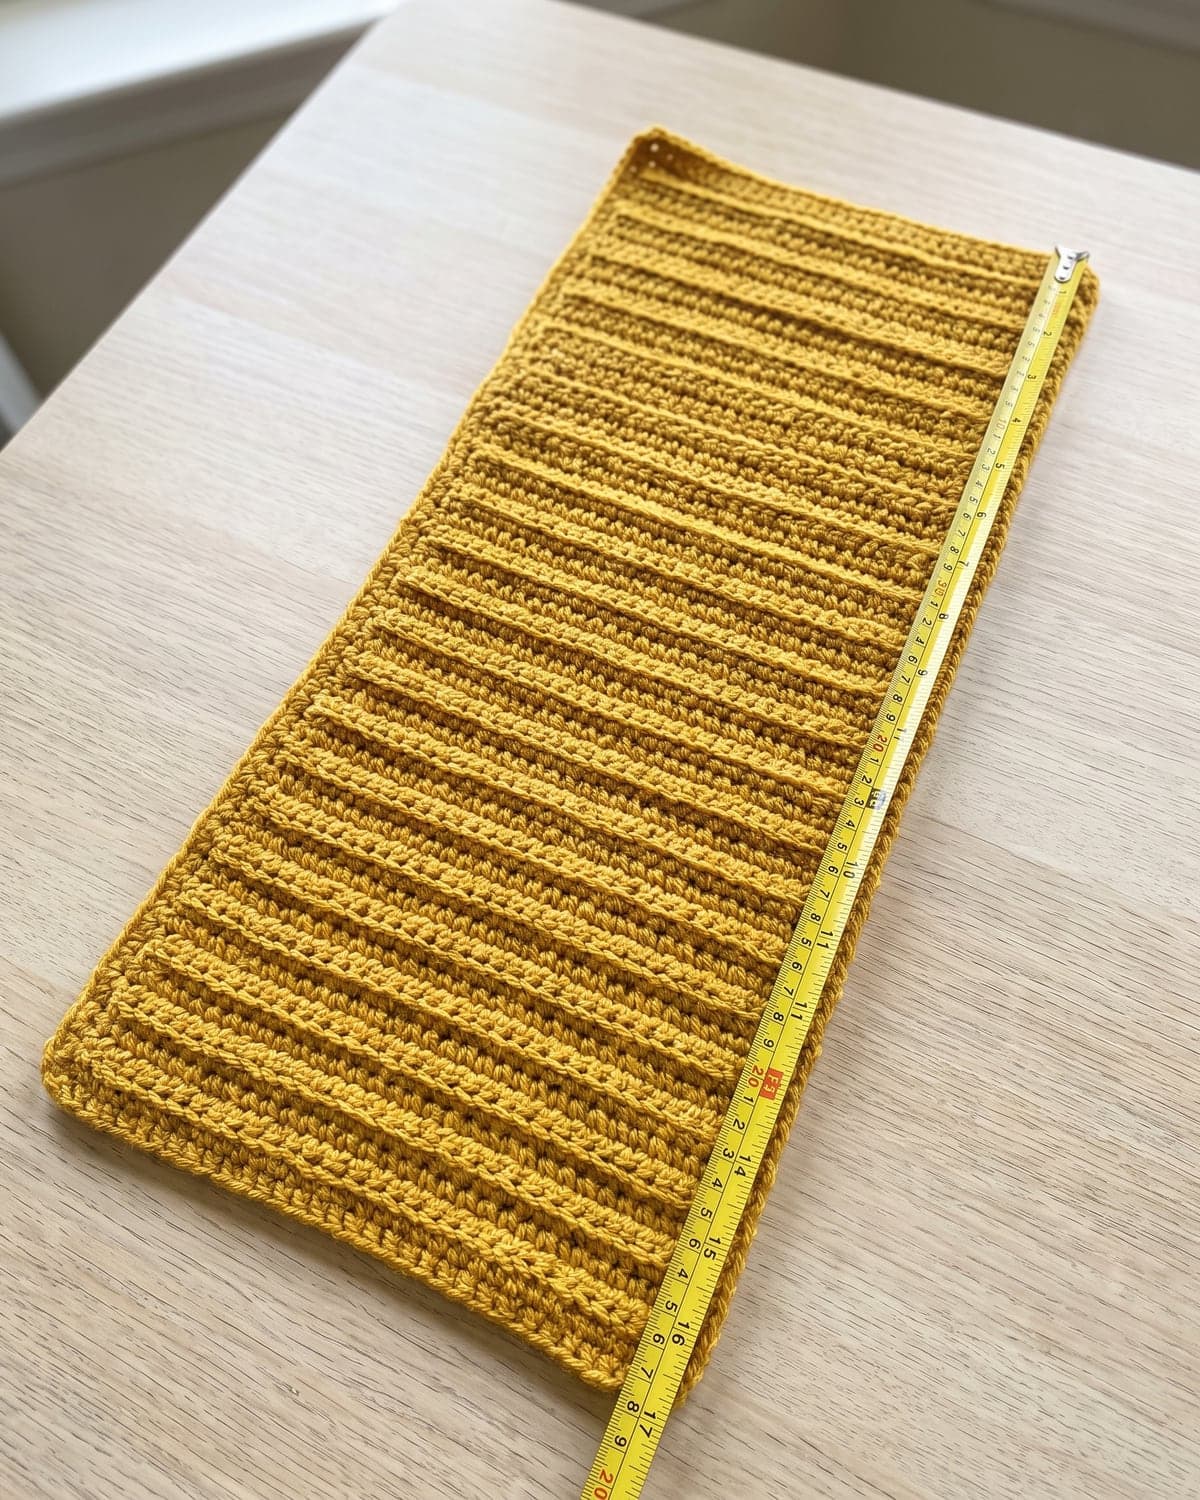 Don't fasten off. You'll use the working yarn for the seam.
A note on the half double crochet's third loop
A half double crochet has an extra horizontal strand on the side facing you, just under the front loop. Ignore it. Your hook goes under one strand only: the back loop of the V at the very top of the stitch, the one furthest from you. If you catch more than that, the rib will be much less stretchy.
Seaming the tube
Fold the rectangle in half, so the last row lies against the foundation chain. The ridges run from the brim to the crown.
Slip stitch seam (quick and stretchy): chain 1. Insert the hook through the back loop of the first stitch of the last row and through the matching loop of the foundation chain. Yarn over and pull through everything on the hook. Repeat across. Keep the slip stitches loose, or the seam will be tighter than the rest of the hat.
Whip stitch seam (flat): cut the yarn with a 60 cm (24 in) tail and thread it onto your needle. Sew through one loop of each edge, stitch for stitch.
You now have a tube that's open at both ends. Don't cut the yarn.
Closing the crown
- Cut the yarn, leaving a tail of about 40 cm (16 in), and thread it onto your tapestry needle.
- Working around one open end of the tube, weave the needle in and out of the row ends. Take one stitch in the end of every row.
- When you get back to the start, pull the tail firmly. The top gathers into a tight circle.
- If a small hole remains, sew across it several times, from one side to the other, like the spokes of a wheel.
- Push the needle through to the inside, knot the yarn firmly and weave in the end.
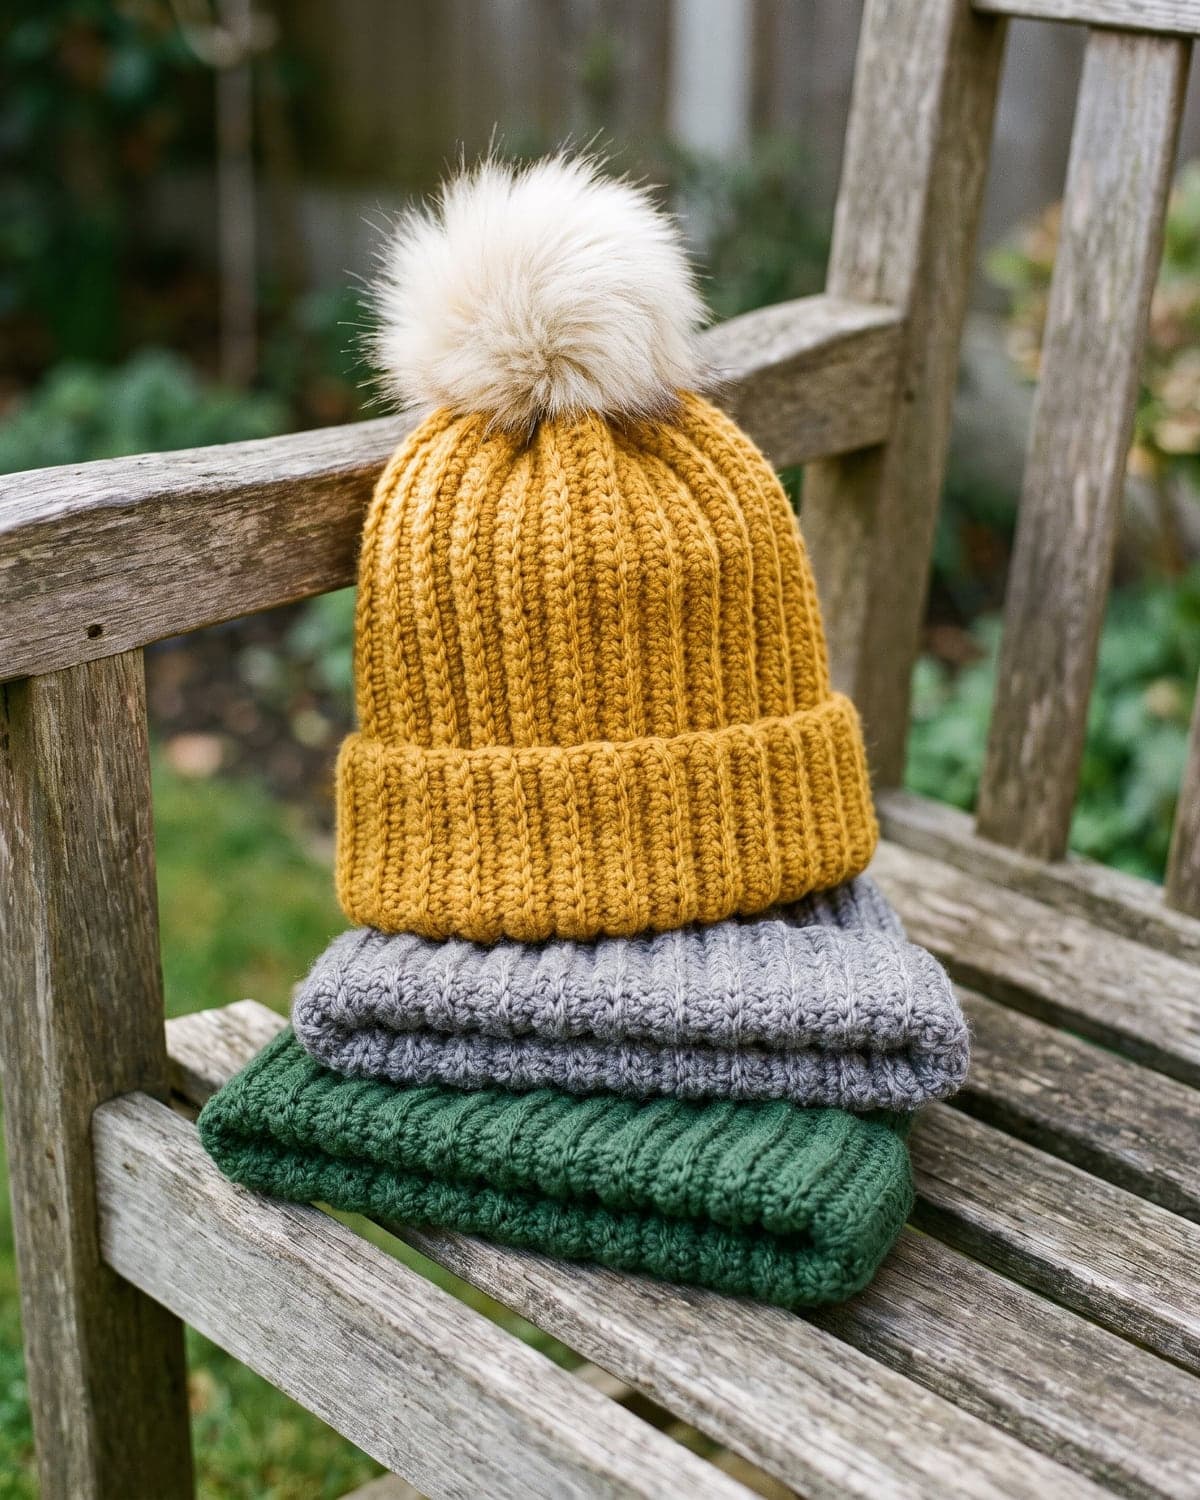
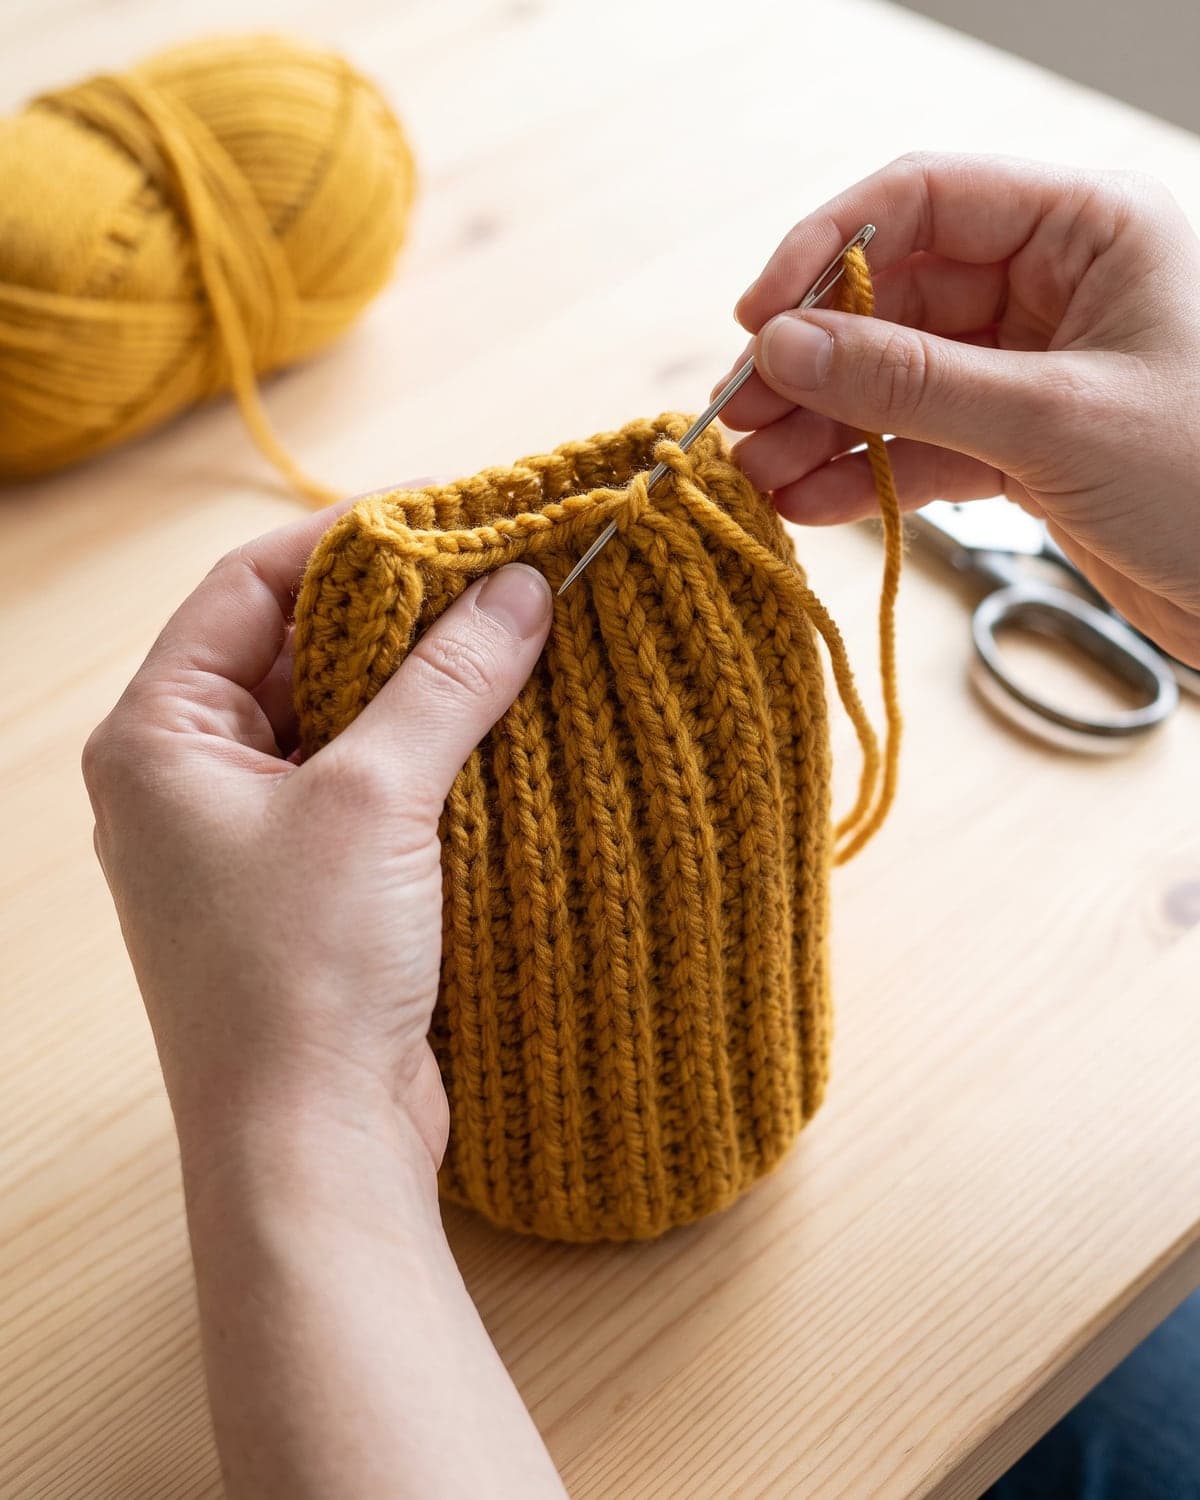 Turn the hat so the seam is on the inside. Fold up the brim.
One side or the other? Both sides of this fabric are ribbed, and they look slightly different. Try the hat both ways round before you weave in the last end, and choose the side you prefer.
Adding a pompom
A pompom also hides the gathered top.
- Yarn pompom: wind yarn about 100 times around a piece of card 7 cm (2.75 in) wide. Slide it off, tie it very tightly around the middle with a strong strand, cut the loops and trim it into a ball. Use the tying strands to fasten it through the crown, and knot them on the inside.
- Faux fur pompom: most come with a snap or an elastic loop. Sew the snap to the crown so the pompom can come off for washing.
For a baby's or a toddler's hat, leave the pompom off. A pompom can be pulled apart and its strands swallowed.
Variations
Slouchy beanie
Add 8 to 10 chains to the starting chain for extra height, and wear the hat without folding the brim.
No-fold fitted beanie
Chain 8 fewer. The rectangle should be about 20 to 21 cm (8 in) tall for an adult.
Chunky beanie
Use bulky yarn (weight 5) and an 8 mm hook. Chain until the chain measures the height you need, about 28 cm for an adult with a brim, and work rows until the rectangle wraps around the head. You'll need far fewer stitches and rows, and you can finish in an hour.
Striped beanie
Change colour every two rows. The stripes will run vertically from brim to crown. With two colours, carry the unused yarn up the edge that becomes the crown, so the strands are hidden in the gathers.
Single crochet rib
Work single crochet in the back loop for a thinner, denser rib with narrower ridges. You'll need more rows for the same length.
Ear-warmer headband
Chain 13 and work in the pattern until the strip fits around the head. Seam the ends and skip the gathering.
Tips for a good fit and finish
- Count the first few rows. Losing the last stitch of the row is the classic mistake, and it turns the rectangle into a wedge.
- Mark the last stitch. Clip a stitch marker into the first stitch of each row. When you come back, that marker shows the final stitch.
- Keep the turning chain short. One chain is enough. A loose turning chain leaves bumps along the edge.
- Measure unstretched. Lay the rectangle flat, without pulling it, when you check the length.
- Fit it to the person, if you can. Head sizes vary more than charts suggest.
- Don't block it. Wetting and stretching a rib flattens it. A beanie should go straight from the hook to the head.
Common problems and fixes
The hat is too loose. Ribbing relaxes with wear. Undo the crown and the seam, pull out four rows and close it again. That's the advantage of this construction.
The hat is too tight. Add rows, in pairs.
The hat is too short or too tall. The height is set by the starting chain, so it can't be changed afterwards. Check the chain's length against the table before you work row 1.
The rectangle is getting narrower. The last stitch of each row is being missed. The turning chain doesn't count, so the first hdc goes into the very first stitch and the last one into the very last.
The rectangle is getting wider. A stitch is being worked into the turning chain at the end of the row.
There's no stretch. The stitches were worked under both loops, or the yarn is cotton.
The crown has a hole. Run the gathering yarn around a second time and pull again, then stitch across the centre.
The seam shows as a ridge. Wear the seam at the back, or resew it with whip stitch through one loop of each edge.
Frequently asked questions
Is this crochet beanie good for a first project? Yes. If you can chain and work a half double crochet, you can make it. There's no shaping at all.
How many chains do I need for a beanie? For this pattern in worsted yarn: 27 for a baby, 32 for a child, 37 for an adult S/M and 40 for an adult L. The chain sets the height of the hat, not the width.
How much yarn do I need for a beanie? About 160 metres of worsted yarn for an adult hat with a folded brim.
How long does it take to crochet a beanie? Two to three hours for an adult size. It's an easy one-evening project.
How do I make it fit? Work rows until the rectangle, gently stretched, wraps around the head. It should measure 5 to 8 cm less than the head when lying flat.
Can I make it with a different stitch? Yes. Back-loop single crochet and back-loop double crochet both work. Keep the back loop, because that's where the stretch comes from.
Can I sell beanies made from this pattern? Yes. You're welcome to sell what you make.
What to make next
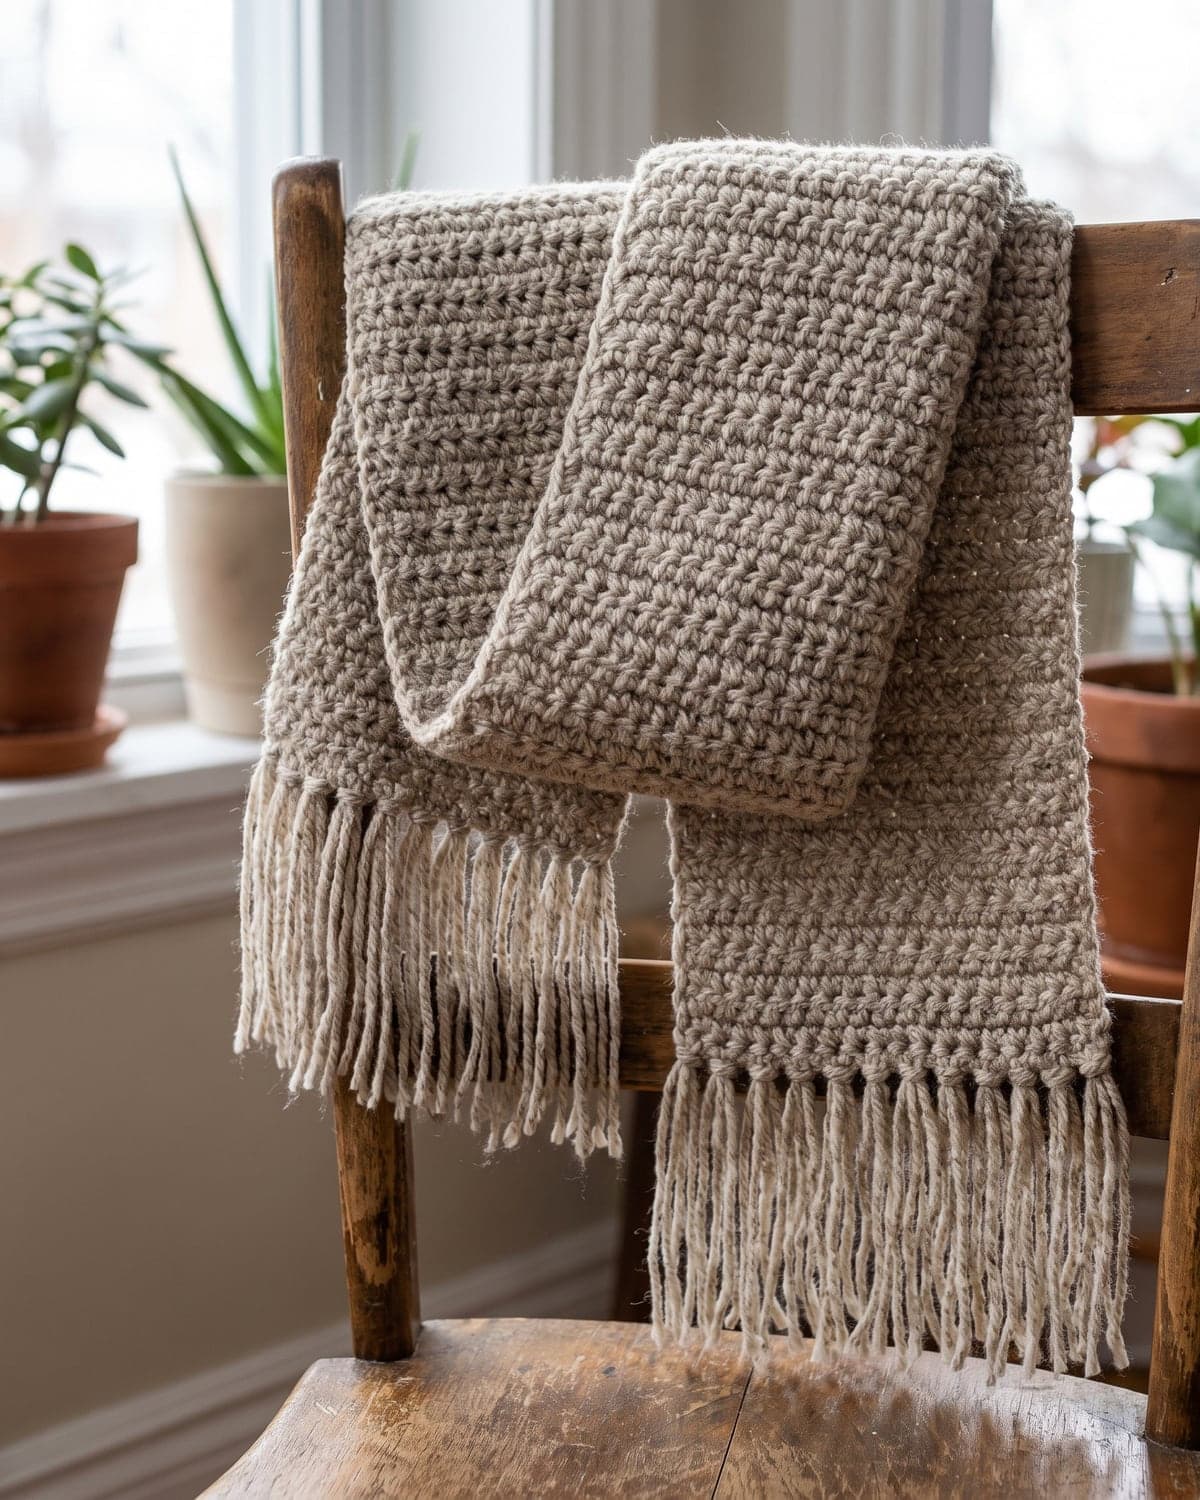
- Make a set with the easy crochet scarf for beginners.
- Ready for a garment? The easy crochet cardigan for beginners is also built from rectangles.
- For another practical accessory, try the easy crochet tote bag.
- For more ribbed and bumpy fabrics, see textured crochet stitches.
There are more things to wear in the clothing section.
Save it for later
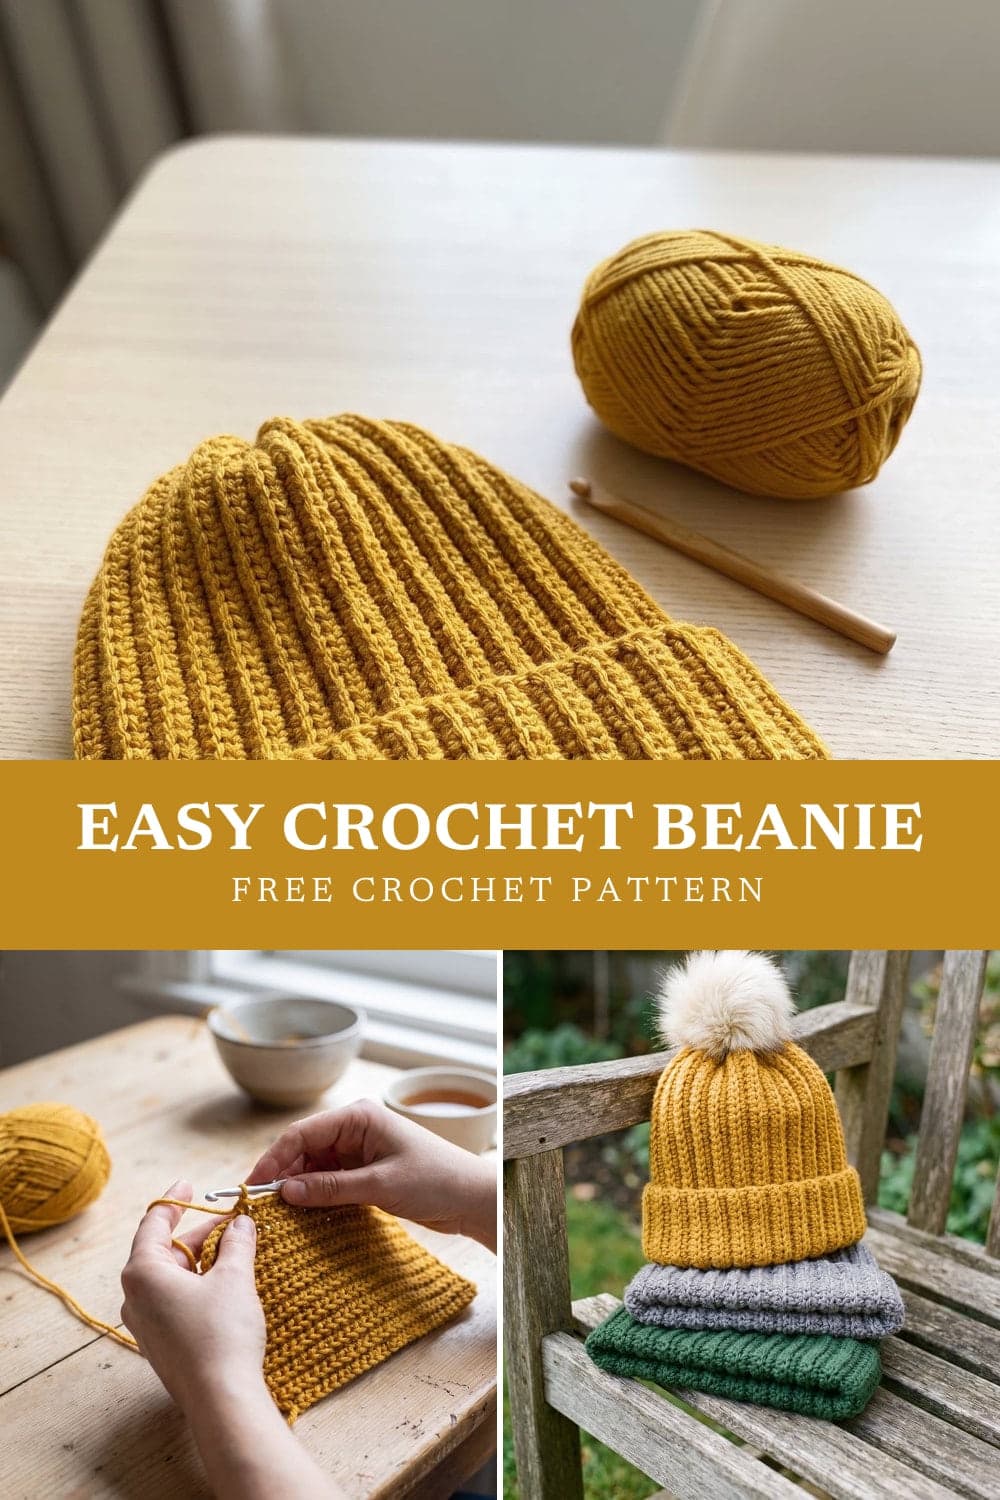
Pin this to your Pinterest board so it's there when you're ready to stitch.
Keep stitching
Related crochet projects
Clothing Easy Crochet Scarf for Beginners: One Stitch, Free Pattern
10 min read
Home decor Easy Crochet Dishcloth: 2 Free Patterns for Beginners
10 min read
Seasonal Crochet Christmas Ornaments: 4 Easy Patterns for Beginners
12 min read
Home decor Easy Crochet Coasters: Round and Square Patterns for Beginners
10 min read