Easy Crochet Cardigan for Beginners: Made from Simple Rectangles
Crochet your first cardigan from five simple rectangles. Measure, swatch and calculate your own stitch counts, then seam it together, with a full worked example.
By AlixaPublished 10 min read
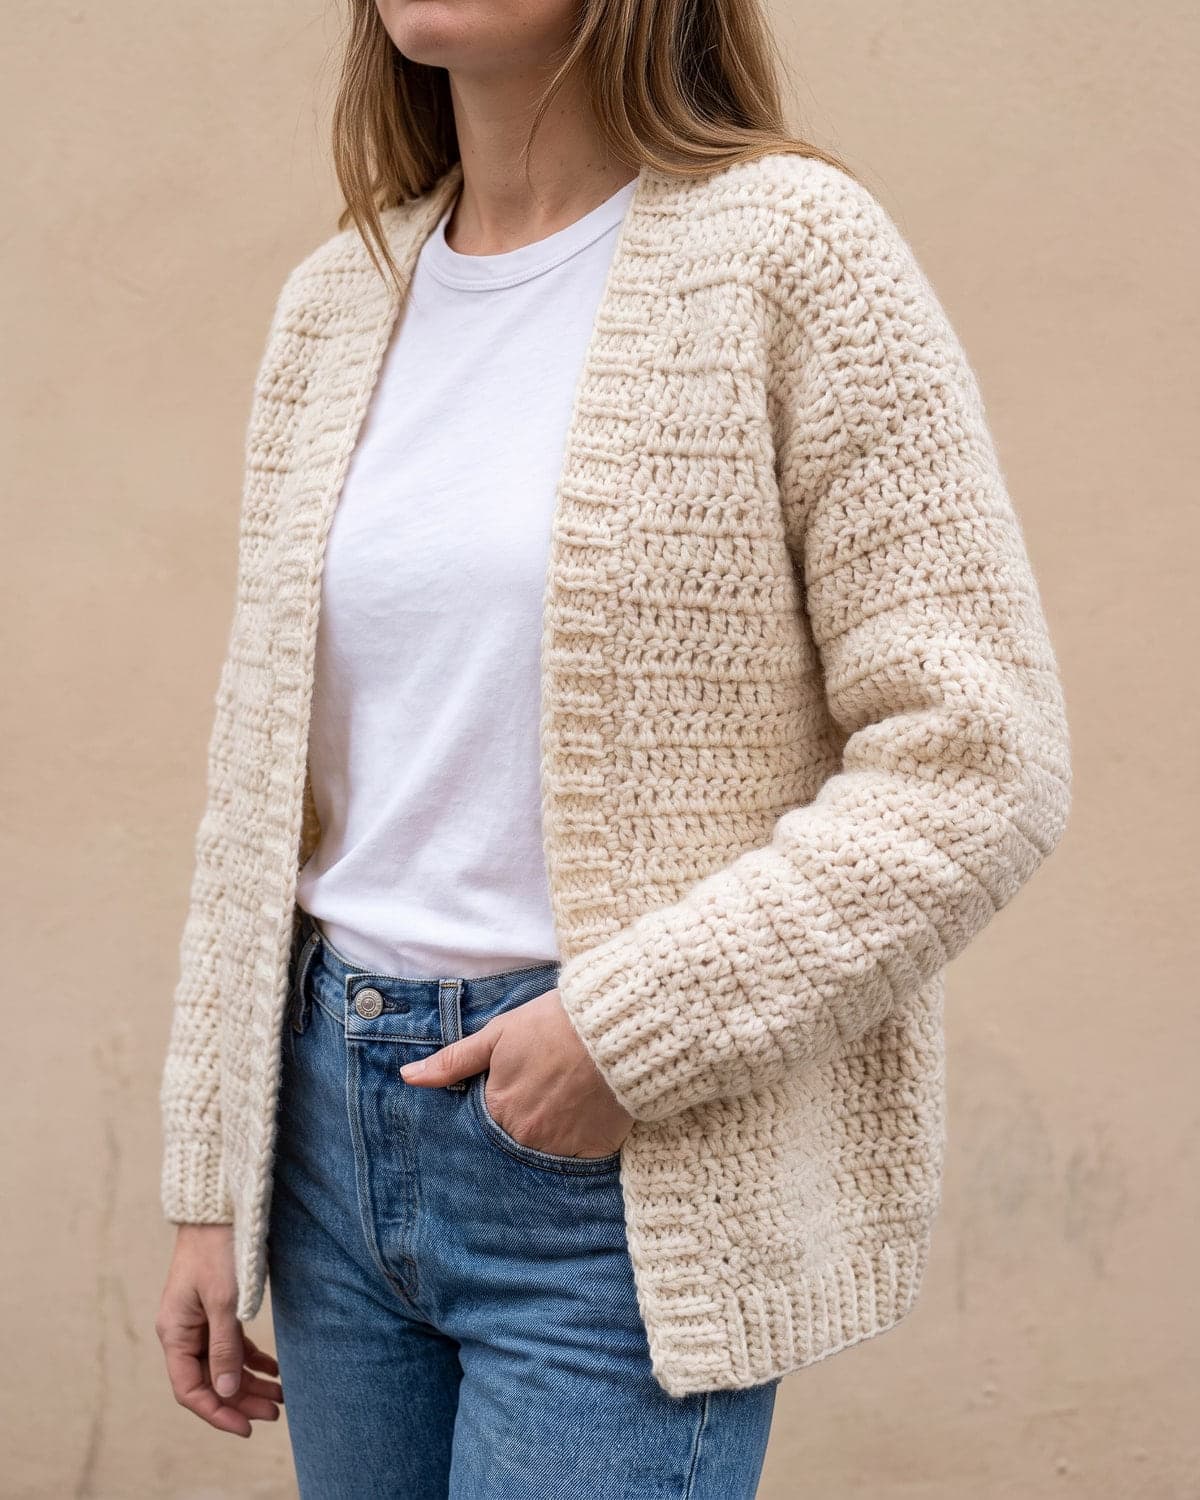
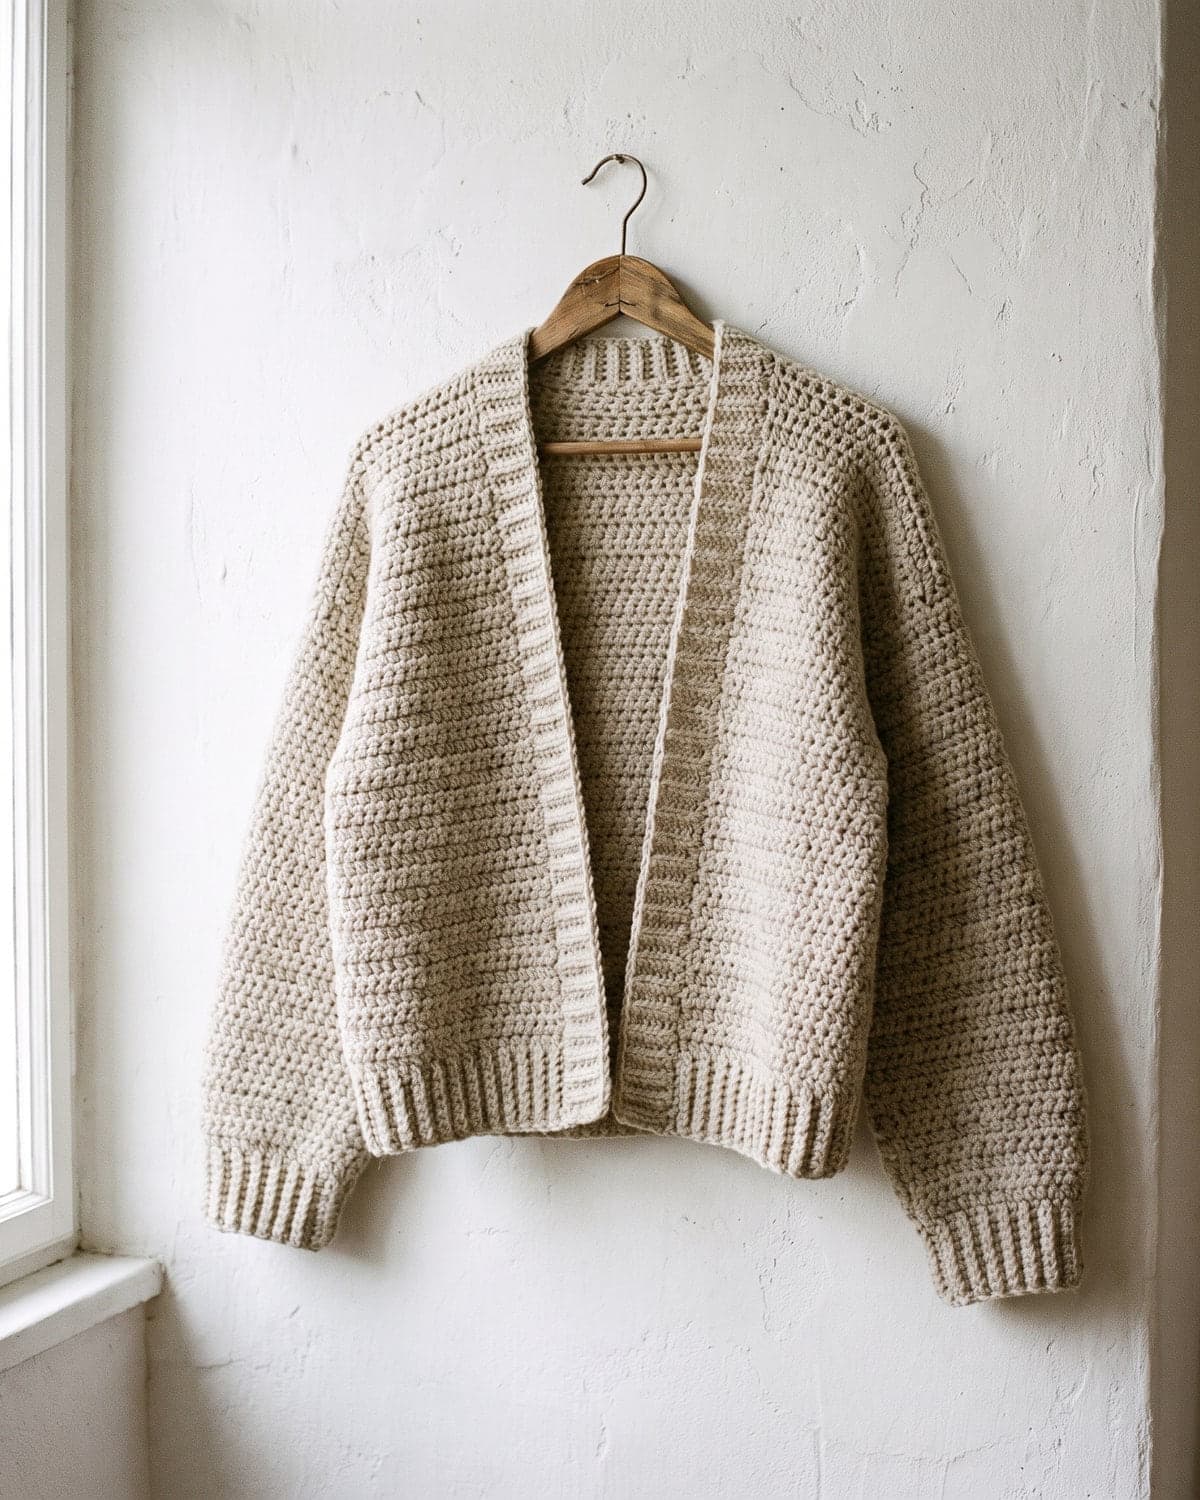
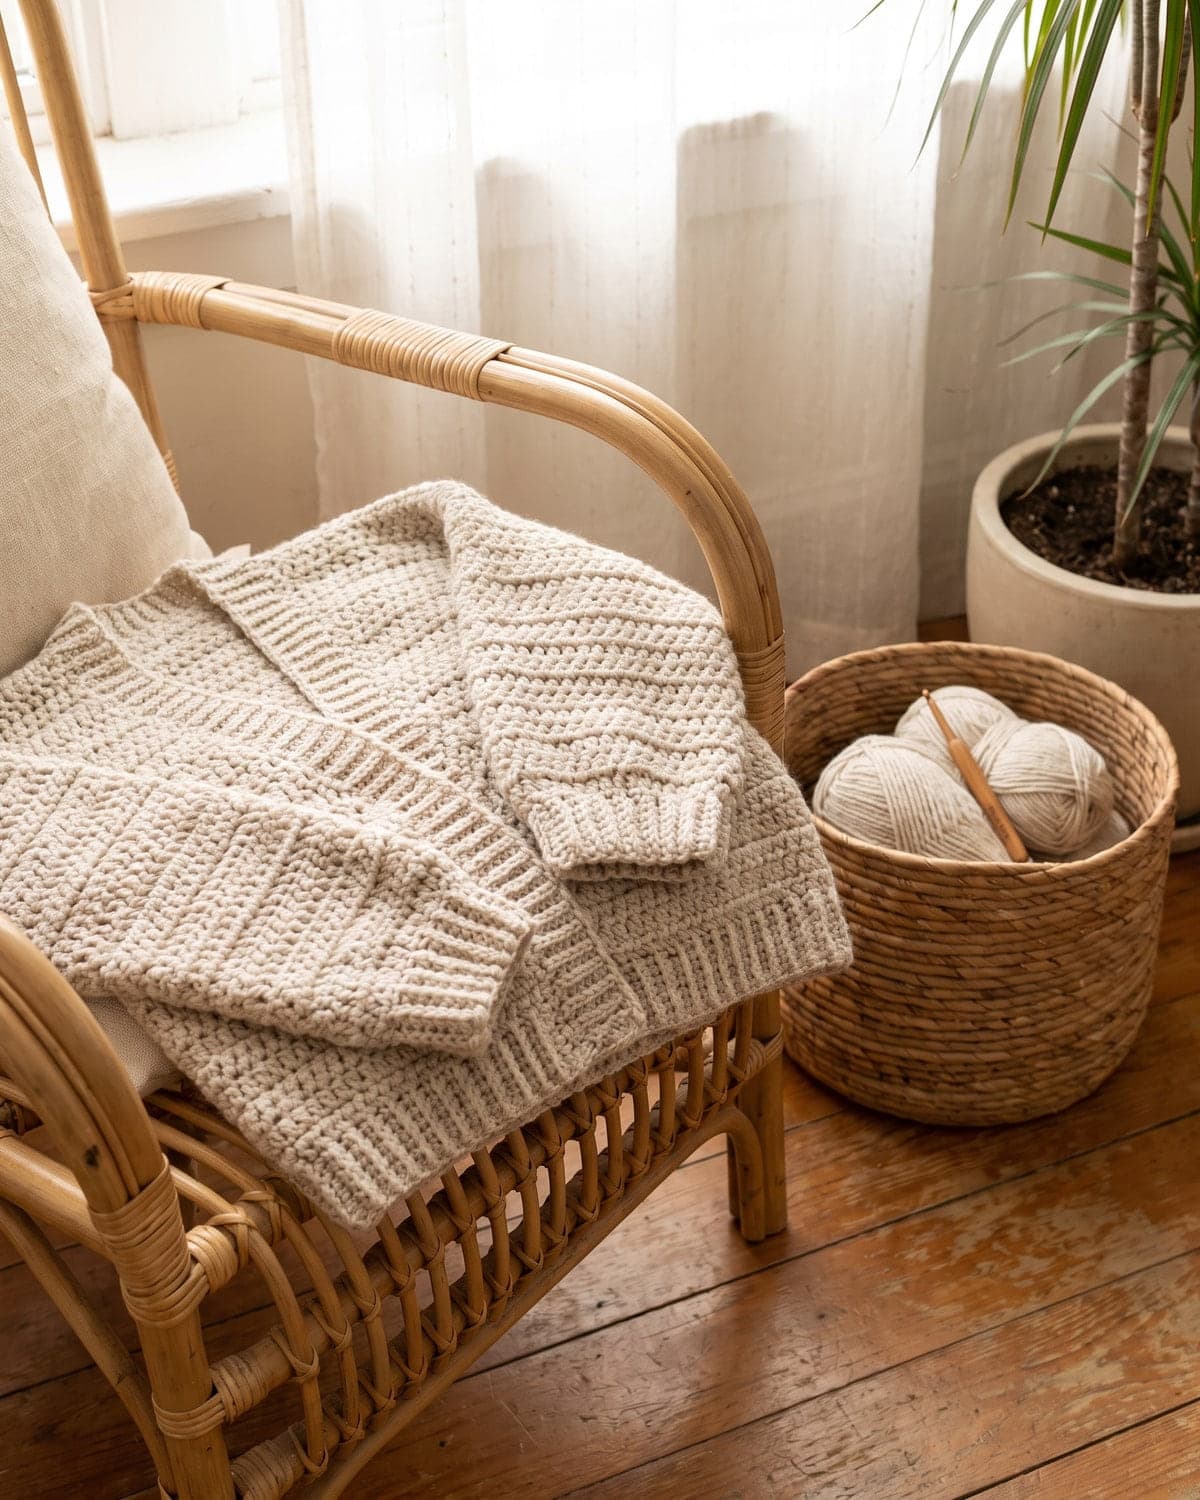
A cardigan sounds like an advanced project, but the simplest ones are five rectangles sewn together: one back, two fronts and two sleeves. There's no shaping, no increasing and no decreasing. If you can crochet a scarf, you can crochet each piece of this cardigan.
This tutorial is a recipe, not a fixed pattern. You measure yourself, make a gauge swatch, and use a little arithmetic to get stitch counts that fit you, in the yarn you've chosen. A full worked example is included so you can see every step.
Terms used here: US crochet terms. Half double crochet (hdc) is half treble (htr) in UK terms, and single crochet (sc) is double crochet (dc).
About the numbers: the stitch counts in the worked example are calculated from the stated gauge and measurements. Yarn amounts are estimates. Your own gauge swatch is what makes the cardigan fit, so please don't skip it.
How a rectangle cardigan is constructed
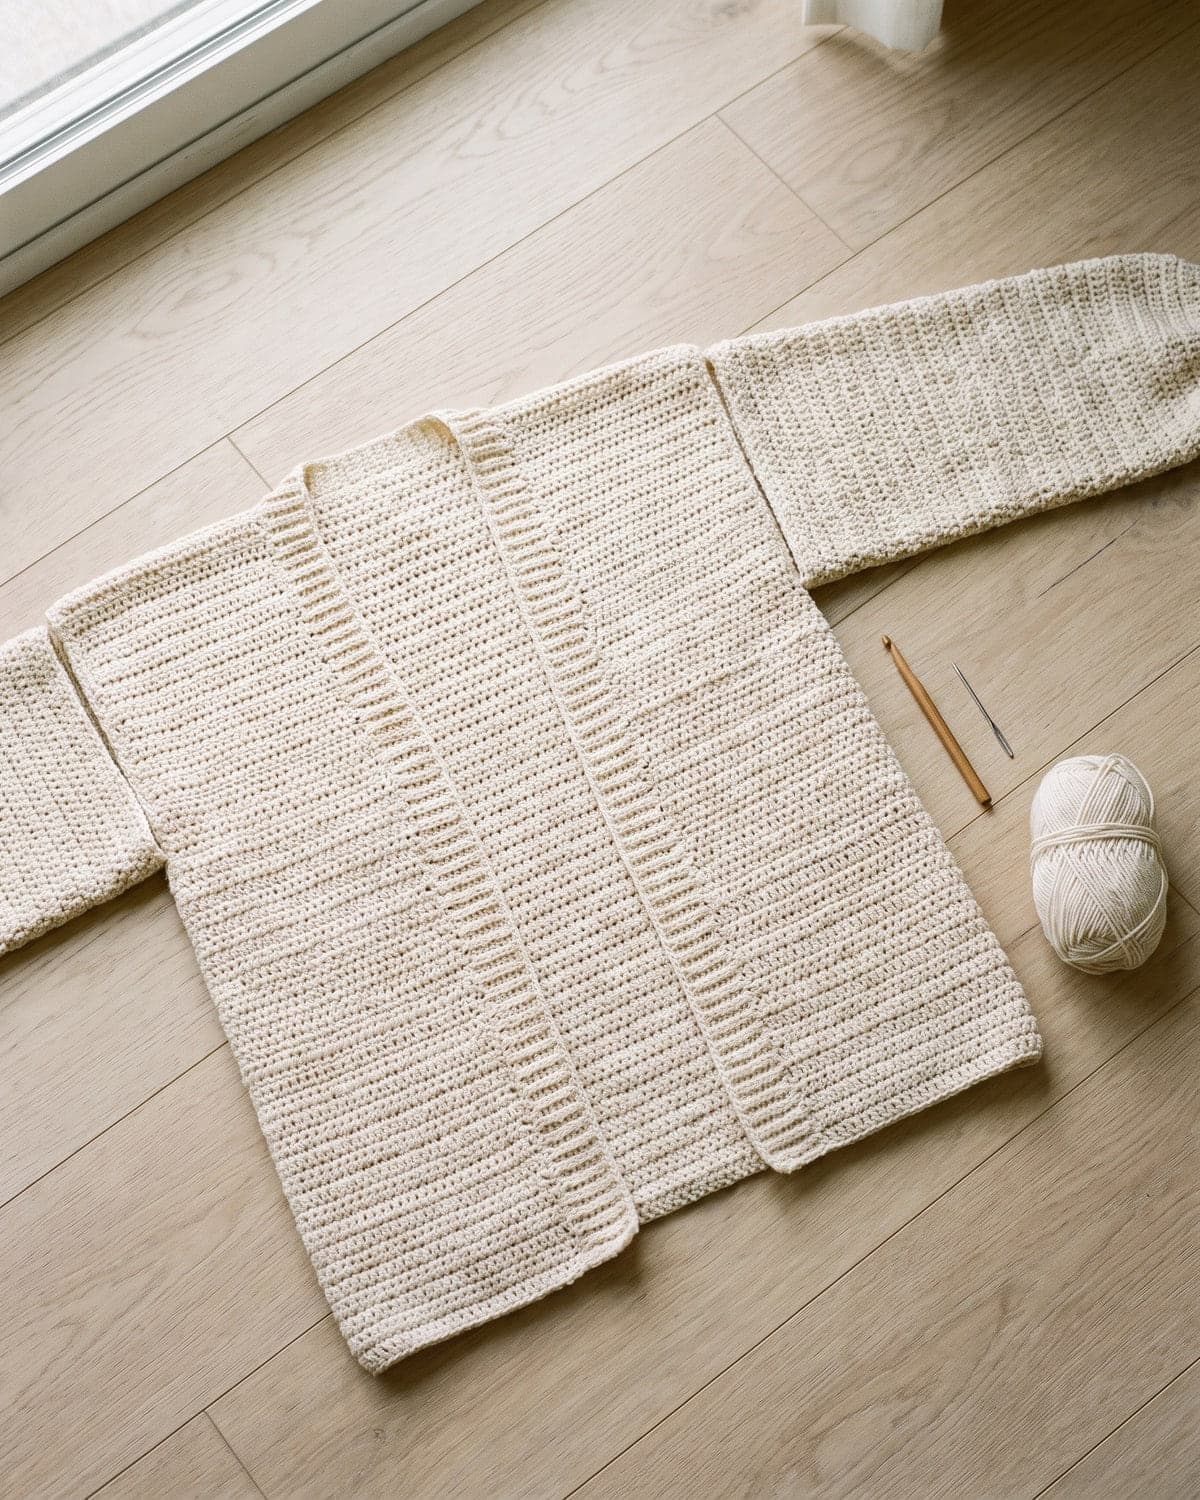
- Back panel: one rectangle as wide as half your bust measurement plus ease, and as long as you want the cardigan.
- Two front panels: each a little less than half the width of the back, and the same length. The gap between them is the open front.
- Two sleeves: rectangles that wrap around your arm. They're sewn flat to the body, then seamed along the underarm.
The shoulders are "dropped": the body panels are wider than your shoulders, so the seam sits partway down your upper arm. That's what gives this style its relaxed, slouchy fit, and it's why no armhole shaping is needed.
What you need
- Yarn: worsted weight (weight 4). A wool blend or soft acrylic gives warmth and a little stretch. Cotton is cooler but heavier and less elastic.
- Hook: 5.5 mm (US I-9), or whatever size gives you a fabric you like.
- A tape measure.
- Locking stitch markers or safety pins, for holding pieces together while you seam.
- A tapestry needle and scissors.
How much yarn?
As a rough estimate, an adult rectangle cardigan in worsted yarn and half double crochet uses somewhere between 900 and 1,400 m (about 1,000 to 1,500 yd), depending on size, length and sleeve length. The swatch method further down gives you a better figure for your own cardigan. Buy from one dye lot, and get a spare ball.
Step 1: Take three measurements
Measure over a thin top, with the tape snug but not tight.
- Bust (or chest): around the fullest part.
- Length: from the top of your shoulder, beside the neck, down to where you want the hem. Hip length is roughly 55 to 60 cm (22 to 24 in) on many adults. Cropped is shorter. Measure a cardigan you already like if you're unsure.
- Upper arm: around the fullest part of your upper arm.
The Craft Yarn Council publishes standard body measurement charts if you're making the cardigan for someone you can't measure.
A word about ease
Ease is the difference between your body and the garment. A cardigan the exact size of your bust would be skin-tight. For a relaxed fit, add about 20 cm (8 in) to your bust measurement. For a more oversized look, add 25 to 30 cm (10 to 12 in).
Step 2: Make a gauge swatch
Gauge decides the size of everything. Two crocheters with the same yarn and hook often get different results, so measure your own.
- Chain 22.
- Hdc in the 3rd chain from the hook and in each chain across (20 stitches).
- Chain 2 (doesn't count as a stitch), turn, and hdc in each stitch across.
- Repeat until the swatch is about 15 cm (6 in) tall.
- Lay it flat. Don't stretch it.
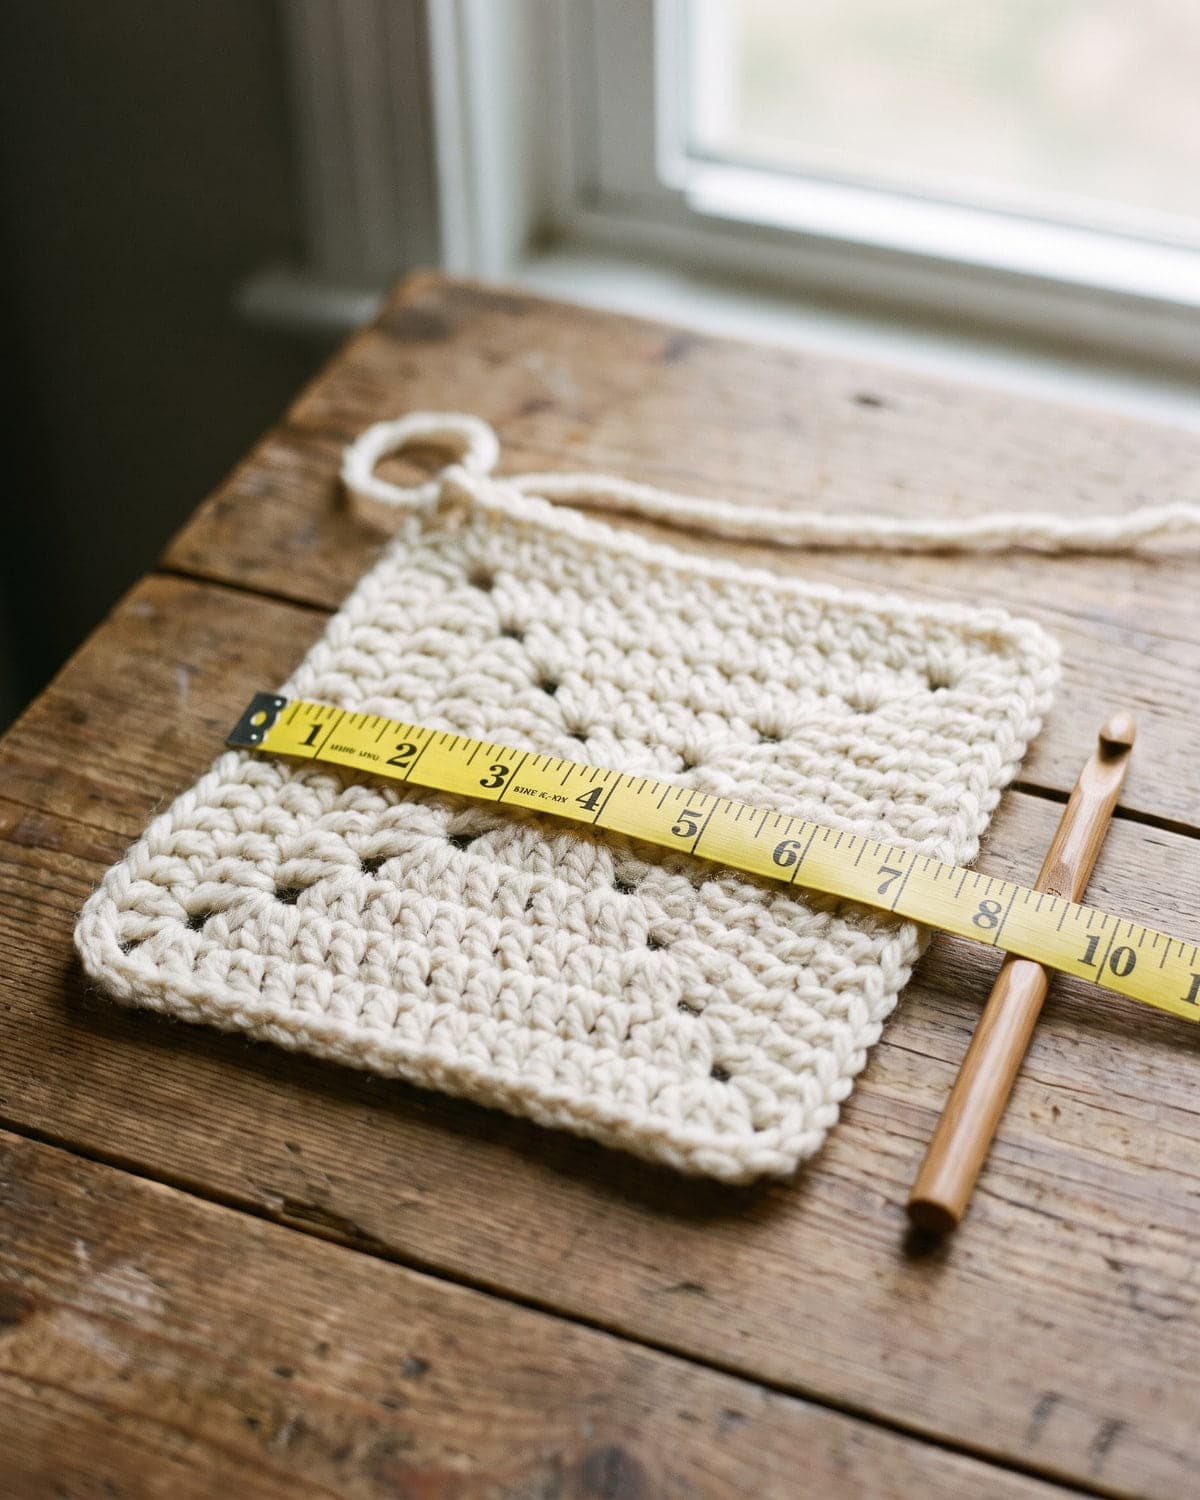 Measure across the middle of the swatch, away from the edges:
- How many stitches fit in 10 cm (4 in)?
- How many rows fit in 10 cm (4 in)?
Check the fabric too. It should be soft enough to drape but not so loose that you can see through it. If it's stiff, try a larger hook. If it's holey, try a smaller one. Then swatch again.
If you plan to wash the cardigan (you will), wash and dry the swatch the same way before measuring. Some yarns grow or tighten after the first wash.
Step 3: Do the arithmetic
Divide your gauge numbers by 10 to get stitches and rows per centimetre (or by 4 for per inch). Then:
| Piece | Width | Length |
|---|---|---|
| Back | (bust + ease) ÷ 2 | your length measurement |
| Each front | back width ÷ 2, minus 2.5 cm (1 in) | same as the back |
| Each sleeve | upper arm + 10 cm (4 in) | underarm to wrist, minus the shoulder drop |
- Stitches to work = width × stitches per centimetre (or inch), rounded to a whole number.
- Foundation chain = stitches + 2.
- Rows to work = length × rows per centimetre (or inch).
For sleeve length, remember the dropped shoulder. The body panel already covers the top of your arm, so the sleeve is shorter than your full arm. The easiest way to get it right is to sew the shoulder seams first, try the body on, and measure from the edge of the panel to your wrist.
Worked example
Here is the whole calculation for one size, in inches because the numbers are rounder.
- Bust: 38 in. Ease: 8 in. Total: 46 in.
- Length: 22 in.
- Upper arm: 11 in.
- Gauge: 13 hdc and 10 rows to 4 in. That's 3.25 stitches and 2.5 rows per inch.
| Piece | Width | Stitches | Chain | Length | Rows |
|---|---|---|---|---|---|
| Back | 23 in | 75 | 77 | 22 in | 55 |
| Front (each) | 10.5 in | 34 | 36 | 22 in | 55 |
| Sleeve (each) | 15 in | 49 | 51 | 17 in | 43 |
Your own numbers will be different. That's the point.
Step 4: Crochet the five rectangles
Every piece is worked the same way.
Foundation: Chain the number you calculated.
Row 1: Hdc in the 3rd chain from the hook and in each chain across. Count your stitches.
Row 2: Chain 2 (doesn't count as a stitch) and turn. Hdc in the first stitch and in each stitch across. Count again.
Repeat Row 2 for the number of rows you calculated. Fasten off, leaving a long tail for seaming.
Some tips while you work:
- Count often. A panel that slowly loses stitches becomes a trapezoid, and the seams won't match.
- Measure as you go. Lay the piece flat every 10 rows and check the width against your plan.
- Make matching pieces match. Count the rows on the first front and first sleeve, and make the second ones with exactly the same number.
- Mark the right side. Clip a marker to the front of each panel so all pieces face the same way when you assemble them.
If you'd like a refresher on the stitch, see easy crochet stitches for beginners.
Step 5: Block the pieces
Blocking evens out stitches and makes seaming much easier.
- Lay each rectangle on a towel or foam mat.
- Pin it to the measurements you planned. Use a tape measure, and pin the corners square.
- Mist with water until damp, or hover a steam iron above the fabric without touching it. Never press acrylic with a hot iron, because it melts.
- Leave until completely dry.
Step 6: Sew it together
Use the same yarn and a tapestry needle. A whip stitch or mattress stitch both work. Pin or clip every seam before you sew it.
- Shoulder seams. Lay the back flat, right side up. Lay the two fronts on top, right sides down, with their outer edges lined up with the back's side edges. On each side, sew the front to the back along the top edge, starting at the outer corner and stopping after about one third of the back's width. In the worked example that's 7.5 in on each side, which leaves 8 in open in the middle for the back of the neck. The unsewn inner corner of each front folds back naturally into a soft collar.
- Attach the sleeves. Open the body out flat. Find the centre of a sleeve's top edge and pin it to the shoulder seam. Pin the rest of the edge evenly down the front and the back. Sew. Repeat for the other sleeve.
- Side and underarm seams. Fold the cardigan at the shoulders with the right sides together. Starting at the cuff, sew along the underarm, then turn the corner and continue down the side to the hem, in one seam. Repeat on the other side.
- Turn right side out and weave in every end.
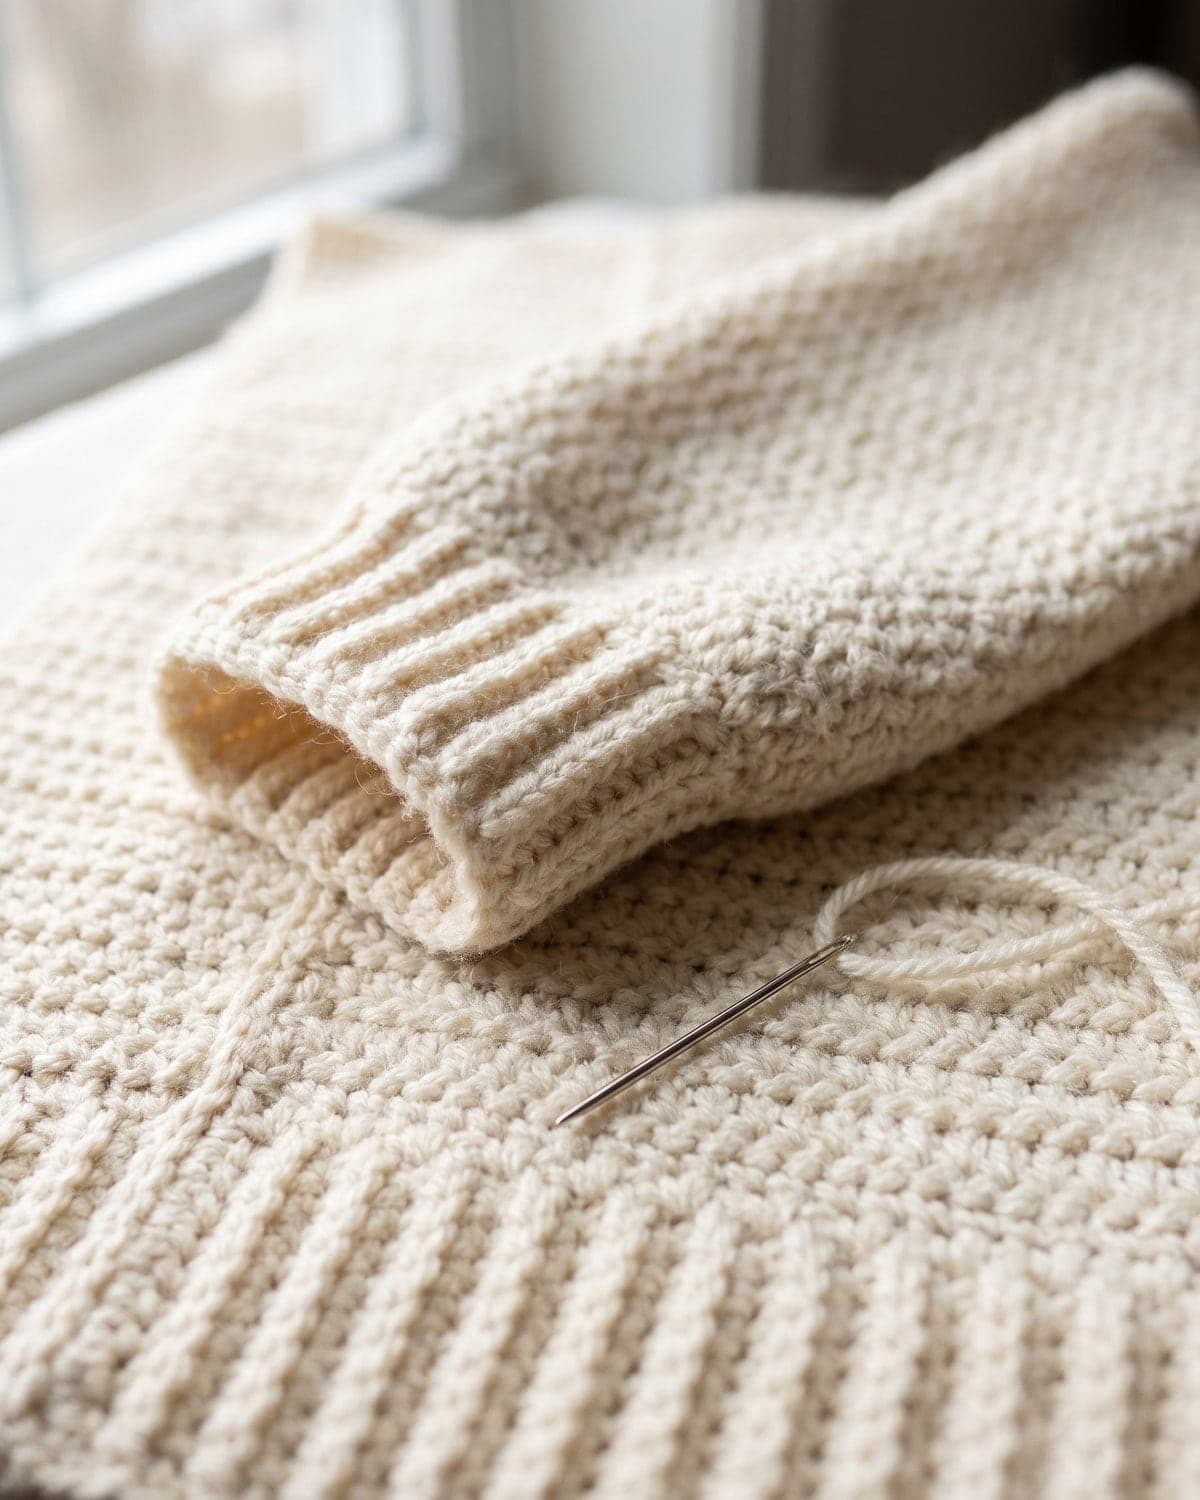 Try it on before weaving in the ends. If the sleeves are too long, it's easy to pull out a few rows from the cuff end at this stage.
Step 7: Finishing touches (optional)
- A neat edge. Join yarn at the bottom of one front and work a row of single crochet up the front, around the back of the neck and down the other front. Work about 3 sc for every 2 row-ends so it lies flat.
- A wider front band. Work three or four rows of single or half double crochet around the same edge instead of one.
- Ribbed cuffs. Join yarn at the cuff and work a round of single crochet, placing one stitch in every other stitch to gather the sleeve in. Then add a few more rounds. For true stretchy ribbing, see the back-loop ribbing method in the stitch guide.
- Pockets. Crochet two small rectangles, about 13 cm (5 in) square, and sew them to the fronts on three sides.
- Buttons. This open-front shape doesn't need them, but a single large button with a chain loop at the bust is an easy addition.
Estimating yarn from your swatch
- Weigh your gauge swatch on kitchen scales.
- Multiply its width by its height to get its area.
- Add up the areas of all five rectangles from your plan.
- Divide the total area by the swatch area, and multiply by the swatch's weight.
- Add 10 to 15% for seams, edging and safety.
Compare the result with the weight printed on the yarn label to see how many balls you need.
Common problems and fixes
The cardigan is too big or too small. The gauge changed between swatch and garment, which is very common once you relax into a big project. Measure your first panel after 10 rows and adjust the hook size early.
The fronts don't meet. That's by design in an open-front cardigan. For more overlap, make each front as wide as half the back, or add a wide front band.
The fabric is stiff. Use a larger hook, or a taller stitch such as double crochet. Swatch again, because the gauge will change.
The shoulders slide off. The back neck opening is too wide. Sew each shoulder seam a little further in towards the centre.
The collar bunches at the back of the neck. The neck opening is too narrow. Unpick a few centimetres of each shoulder seam from the neck side.
The edges are wavy. The stitch count is drifting. Count each row, and mark the first stitch.
The seams are bulky. Use mattress stitch instead of whip stitch, and don't pull the seam yarn tight.
Frequently asked questions
Can a beginner really crochet a cardigan? Yes, if you can keep a steady stitch count over a rectangle. It takes longer than a scarf, but it isn't harder.
How long does it take? That depends on size and speed. It's a multi-week project for most people, worked in the evenings. The pieces are easy to carry around.
Which stitch is best for a cardigan? Half double crochet is warm and not too holey. Double crochet is faster and drapier. Moss stitch gives a lovely woven texture.
Should I use US or UK size charts? Use your own measurements whenever you can. Charts are for when you can't measure the wearer.
Can I make it in thicker yarn? Yes. The recipe works with any yarn, because every number comes from your swatch. Bulky yarn makes a heavier, cosier cardigan and uses fewer stitches.
More to wear
A rectangle cardigan teaches you gauge, measuring, blocking and seaming, which are the skills behind every crochet garment. When you're ready for the next one, browse the clothing section.
Want a quicker project in between? The chunky crochet blanket for beginners uses the same stitch and the same swatch arithmetic, with no seaming at all. And if you're just starting out, begin with how to crochet for beginners.
Save it for later
Pin this to your Pinterest board so it's there when you're ready to stitch.
Keep stitching
Related crochet projects
Clothing Easy Crochet Tote Bag for Beginners: One-Piece Pattern
11 min read
Amigurumi Easy Crochet Octopus: Free Amigurumi Pattern for Beginners
10 min read
Seasonal Crochet Christmas Ornaments: 4 Easy Patterns for Beginners
12 min read
Blankets Chunky Crochet Blanket for Beginners: Easy One-Stitch Pattern
10 min read