Crochet Cable Stitch: Easy Step-by-Step Cable Tutorial
Learn crochet cables step by step: front post and back post stitches on a half double crochet background, crossed every four rows. A practice swatch with stitch counts, left and right crosses, a braided cable and project ideas.
By AlixaPublished 10 min read
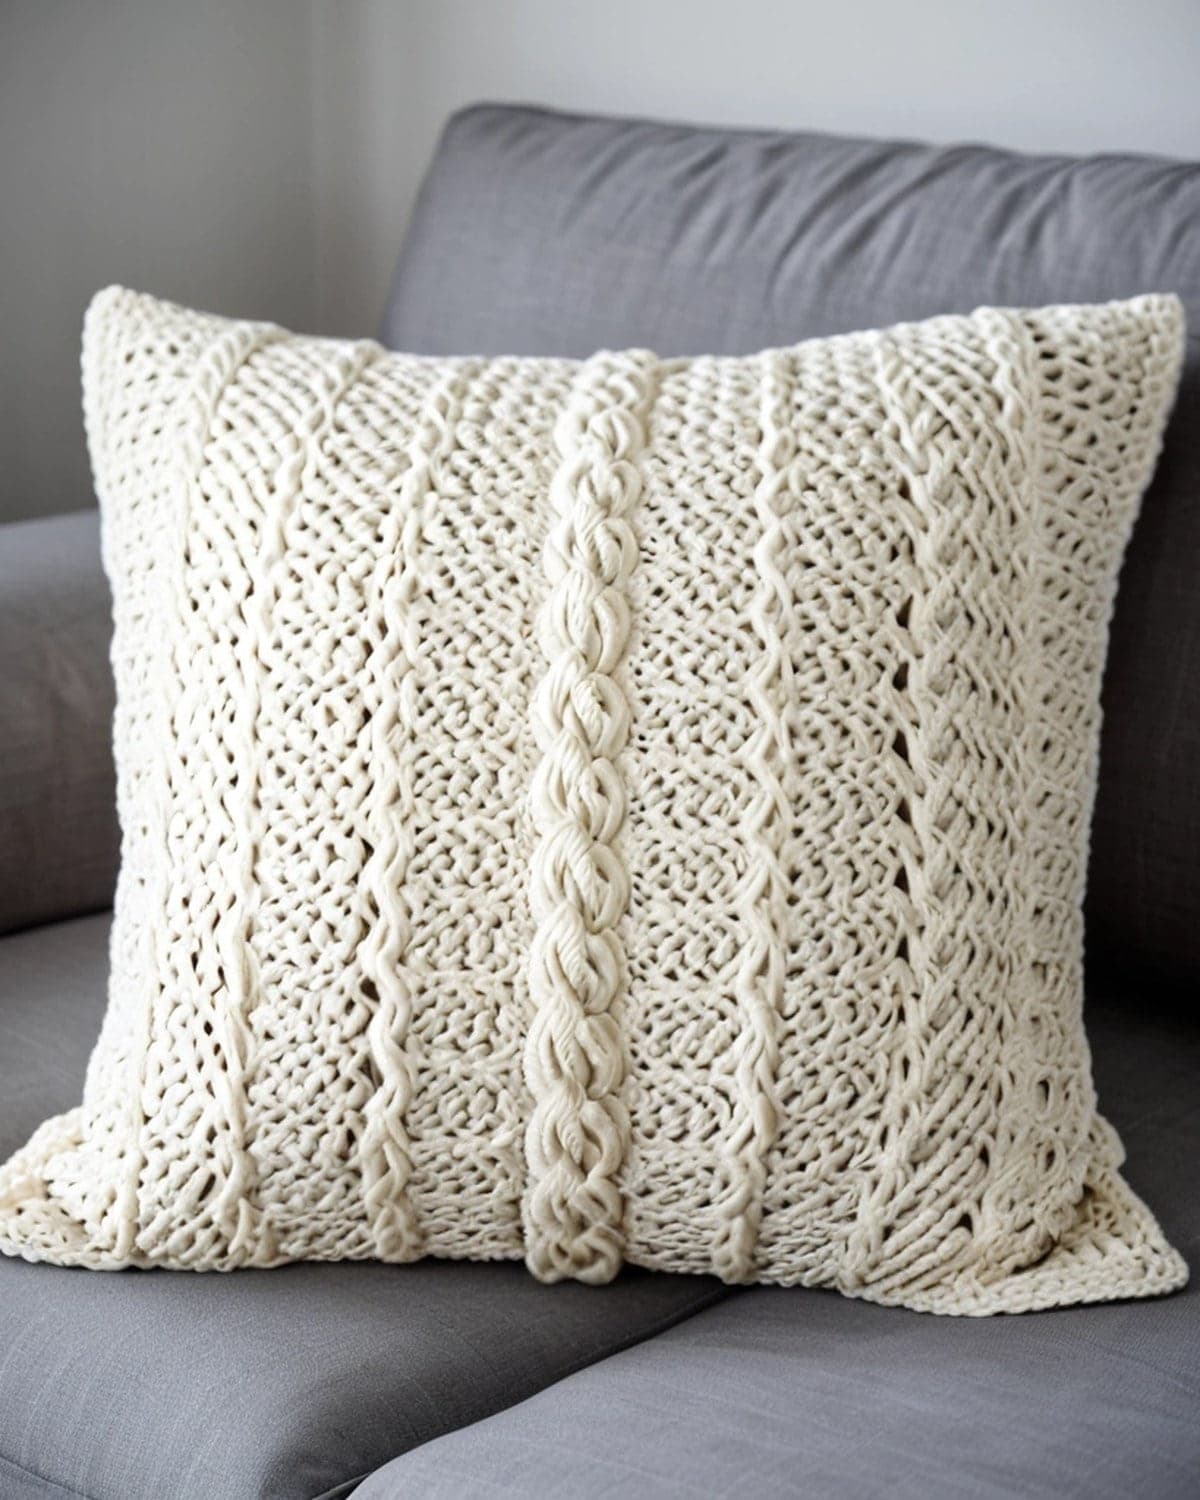
Crochet cables have the chunky, twisted look of a fisherman's knit sweater, but they're made with a hook and a few simple post stitches. Once you've crossed your first cable, you'll see that it's just two pairs of stitches swapping places. No cable needle, no special tools, and no dropped stitches to worry about.
This tutorial teaches the crochet cable stitch with a practice swatch that has two cables on a half double crochet background. You'll learn front post and back post stitches, how to cross a cable to the left and to the right, how to make a braided cable, and how to use cables in an ear warmer, a cushion and a blanket. Every row has its stitch count.
Terms used here: US crochet terms. Half double crochet (hdc) is UK half treble, double crochet (dc) is UK treble and treble crochet (tr) is UK double treble. Front post double crochet (fpdc) is UK front post treble.
At a glance
| Skill level | Intermediate (comfortable with double crochet; post stitches taught) |
| Stitches | Chain, hdc, fpdc, bpdc, front post treble (fptr) |
| Cable | 4 stitches wide, crossed every 4 rows |
| Yarn | Worsted (weight 4) in a smooth, light colour |
| Hook | 5 mm (US H-8) |
| Swatch | 20 stitches, about 14 cm (5.5 in) wide |
What you need

- Worsted yarn (weight 4). Smooth, plied yarn in cream, grey or a soft colour shows cables beautifully. Wool and wool blends give the classic look; acrylic is fine for practice.
- A 5 mm (US H-8) hook.
- Stitch markers, to mark the right side and the edges of each cable.
- A tapestry needle and scissors.
Cables use more yarn than flat fabric, about a quarter to a third more, because the post stitches wrap around each other.
The stitches
You'll need half double crochet for the background and three post stitches. All the abbreviations follow the Craft Yarn Council's standard crochet abbreviations. If any basic stitch is new, see easy crochet stitches for beginners.
Front post double crochet (fpdc). Yarn over, insert the hook from front to back to the right of the post of the next stitch, then out to the front on its left. The hook passes behind the post. Yarn over, pull up a loop and finish as a double crochet. The stitch pushes towards you.
Back post double crochet (bpdc). Yarn over, insert the hook from back to front to the right of the post, then to the back again on its left. The hook passes in front of the post. Finish as a double crochet. On the wrong side, a bpdc pushes the post towards the right side, so the cable stays raised.
Front post treble (fptr). The same as fpdc, but yarn over twice at the start and finish as a treble crochet: (yarn over, pull through 2) three times. The extra height lets the stitches reach across each other when they cross.
Skip the stitch behind the post. Every time you work a post stitch, the stitch behind it is not used. Your stitch count stays the same.
How a crochet cable works
A cable is a group of raised post stitches, here 4 of them, sitting on a flatter background.
- On most rows, the posts simply go straight up: each post stitch is worked around the post below it.
- Every few rows, on a cable row, the first two posts and the last two posts swap places. You skip the first two, work the second two, then go back and work the skipped ones in front of (or behind) them. That crossing is the cable twist.
The background of half double crochet stays flat and lets the cables pop.
Cable stitch swatch
The swatch has 20 stitches: 3 hdc, a 4-stitch cable, 6 hdc, a second cable and 3 hdc. The chain-2 at the start of each row does not count as a stitch.
Setting up
- Foundation: ch 22.
- Row 1 (WS): hdc in the 3rd ch from the hook and in each ch across. Turn. (20 hdc)
- Row 2 (RS): ch 2, hdc in the first 3 sts, fpdc around each of the next 4 sts, hdc in the next 6 sts, fpdc around each of the next 4 sts, hdc in the last 3 sts. Turn. (20)
- Row 3 (WS): ch 2, hdc in the first 3 sts, bpdc around each of the next 4 posts, hdc in the next 6 sts, bpdc around each of the next 4 posts, hdc in the last 3 sts. Turn. (20)

The pattern rows
- Row 4 (RS): ch 2, hdc in the first 3 sts, fpdc around each of the next 4 posts, hdc in the next 6 sts, fpdc around each of the next 4 posts, hdc in the last 3 sts. Turn. (20)
- Row 5 (WS): as row 3. (20)
- Row 6 (RS, cable row): ch 2, hdc in the first 3 sts. Cable: skip the next 2 posts, fptr around each of the following 2 posts, then, working in front of the stitches you just made, fptr around each of the 2 skipped posts. Hdc in the next 6 sts. Work the second cable the same way. Hdc in the last 3 sts. Turn. (20)
- Row 7 (WS): as row 3. (20)
Repeat rows 4 to 7 for the pattern. The cables cross once every 4 rows. After 4 or 5 crossings, finish with row 5 and fasten off.

Left cross and right cross
The way you cross the posts decides which way the cable leans.
- Front cross (left-leaning cable): the skipped stitches are worked in front of the new ones, as in the swatch. The cable twists towards the left.
- Back cross (right-leaning cable): skip 2 posts, fptr around the next 2, then work the skipped ones behind the new stitches. Fold the new stitches towards you to reach behind them. The cable twists to the right.
For matching cables on a scarf or the front of a sweater, use a front cross on one side and a back cross on the other, so they mirror each other.
Braided cable
A braid is three pairs of posts that take turns crossing. It makes a gorgeous centre panel for a cushion or a blanket.
- Set up 6 posts instead of 4, with hdc on either side.
- Cable row A: skip 2 posts, fptr around the next 2, fptr around the 2 skipped posts in front (front cross). Then fpdc around the last 2 posts.
- Work 3 rows with the posts going straight up (WS, RS, WS).
- Cable row B: fpdc around the first 2 posts. Skip the next 2, fptr around the last 2, then fptr around the 2 skipped posts behind (back cross).
- Work 3 rows straight again, then repeat from cable row A.
The left and right crosses alternate, so the three strands weave over and under each other just like a plait.

Projects with crochet cables
Cable ear warmer
A single cable ear warmer is a great first project.
- Ch 14. Row 1: hdc in the 3rd ch from the hook and in each ch across. (12 hdc)
- Set up and work one cable in the middle: 4 hdc, 4 posts, 4 hdc.
- Repeat the cable rows until the band measures about 48 to 52 cm (19 to 20.5 in), or fits snugly around your head.
- Seam the short ends together, or overlap them and sew on a large button.

Cable cushion cover
Work a panel about 40 cm (16 in) wide with three or four cables separated by 6 hdc, and a braid in the centre if you like. Back it with a plain hdc panel. The easy crochet pillow cover explains how to assemble a cover without a zip.
Cable blanket
Alternate cable panels with panels of a plain texture, such as moss stitch or alpine stitch, for a heirloom-style throw. Make each panel separately and join them, or work the whole width at once. Cables pull the fabric in a little, so a cable blanket needs more stitches than a plain one of the same width: always swatch first.
Cable beanie
You can add cables to a hat worked in joined rounds: in the round the right side is always facing, so every row is a front post row. Work straight posts with fpdc, and cross them with fptr every fourth round. For a simpler hat to start with, see the easy crochet beanie.
Tips for crisp cables
- Use a smooth, light yarn. Dark, fluffy or variegated yarns hide the crossings.
- Keep the posts relaxed. Pull up the first loop of each post stitch to the height of the row, so the fabric doesn't pucker.
- Count the posts on every RS row. Each cable has exactly 4.
- Place markers on the hdc stitches on either side of each cable, so you always know where it starts.
- Use bpdc on WS rows. Plain hdc on the wrong side works too, but the cable lies flatter and less defined.
- Block your work. Pin the piece out and steam it lightly (or spray it with water for wool). The background relaxes and the cables stand up.
Common problems and fixes
The fabric puckers around the cables. Your post stitches are too short. Pull up a taller loop, or use a hook half a size larger for the post stitches only.
There's a hole beside the cable. That's common at the crossing. Make sure you skip only the stitches behind the posts, and work the hdc right next to the cable firmly.
The stitch count keeps changing. You worked into a stitch behind a post as well as around the post. Count after every row.
The cable twists the wrong way. You crossed in front instead of behind, or the other way round. Choose one and stick to it for each cable.
The cable looks flat. Use front post stitches on the RS and back post stitches on the WS. Using fptr on the cable row also helps.
The edges are uneven. The ch-2 doesn't count as a stitch, so hdc into the first stitch of every row.
Reading a cable chart
Many cable patterns, especially ones adapted from knitting, come as charts instead of written rows. Each square is one stitch and each line is one row. Raised post stitches are usually shown with a vertical line, and crossings with two slanted lines that cross: the line on top shows which pair goes in front. Read right side rows from right to left and wrong side rows from left to right. Once you can read a chart, you can design your own cable panels on squared paper.
The look of crochet cables comes from the traditional fisherman's knits of Ireland. Wikipedia's article on the Aran jumper shows the classic cable and braid patterns that inspire them.
Caring for cabled pieces
Cables are thick, so they take a while to dry. Wash wool by hand in cool water, roll it in a towel to remove water and dry it flat, pushing the cables back into shape with your fingers. Acrylic can go in the machine on a gentle cycle. Avoid hanging cabled garments, which stretch them, and fold them instead. The Craft Yarn Council's guide to care symbols explains the symbols on yarn labels.
Frequently asked questions
Are crochet cables hard? They're easier than they look. If you can make a double crochet and a front post stitch, you can make a cable. Try the swatch first.
Do I need a cable needle? No. In crochet, you simply skip stitches and come back to them. There's nothing live to drop.
What's the best yarn for crochet cables? A smooth worsted wool or wool blend. Acrylic also works and is easy to wash.
Can I make cables in single crochet? Cables need tall post stitches to reach across each other, so they're worked on a hdc, dc or sc background with dc and tr posts.
Why use treble crochet on the cable row? Crossing stitches have to reach further than straight ones. The treble is taller, so it reaches without pulling.
Can left-handed crocheters follow this pattern? Yes. Work from left to right; a front cross will lean the opposite way, which is fine.
What to learn next
- For another raised texture with post stitches, try the alpine stitch.
- For five quick textures, see textured crochet stitches.
- For a soft, flat background, learn moss stitch crochet.
- If you're new to written patterns, see how to read crochet patterns.
There are more stitch guides in the crochet stitches section.
Save it for later
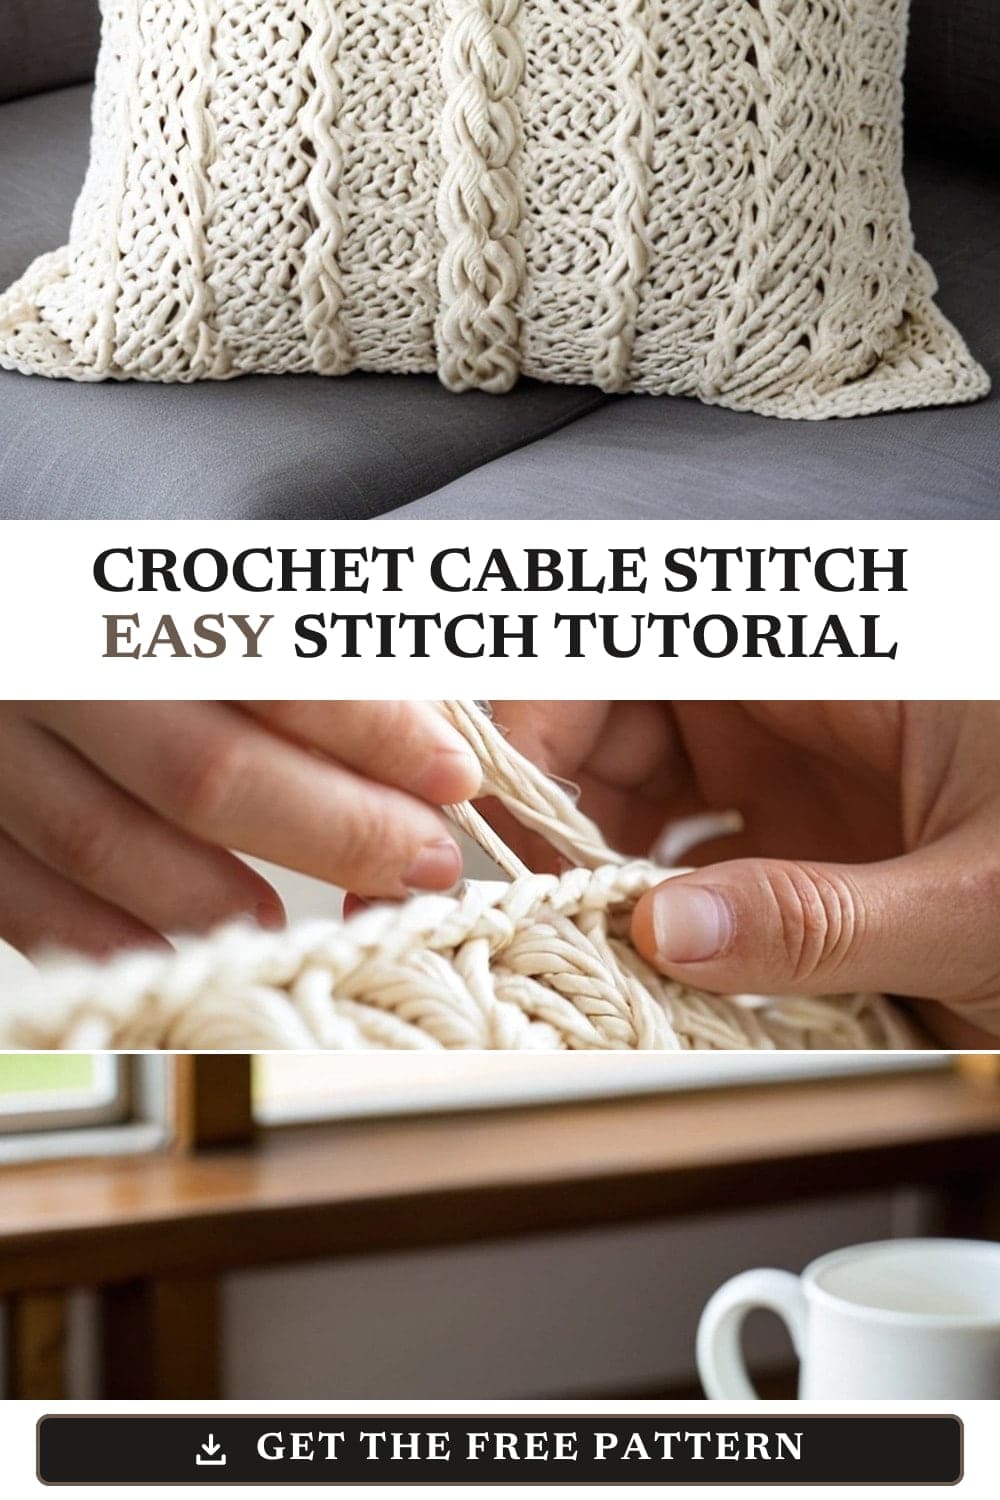
Pin this to your Pinterest board so it's there when you're ready to stitch.
Keep stitching