Crochet Fingerless Gloves: Easy Free Pattern for Beginners
Crochet fingerless gloves from a simple ribbed rectangle, folded and seamed with a gap for the thumb. A free beginner pattern with sizes from child to adult large, a thumb gusset, and stripe, cable and arm warmer ideas.
By AlixaPublished 9 min read
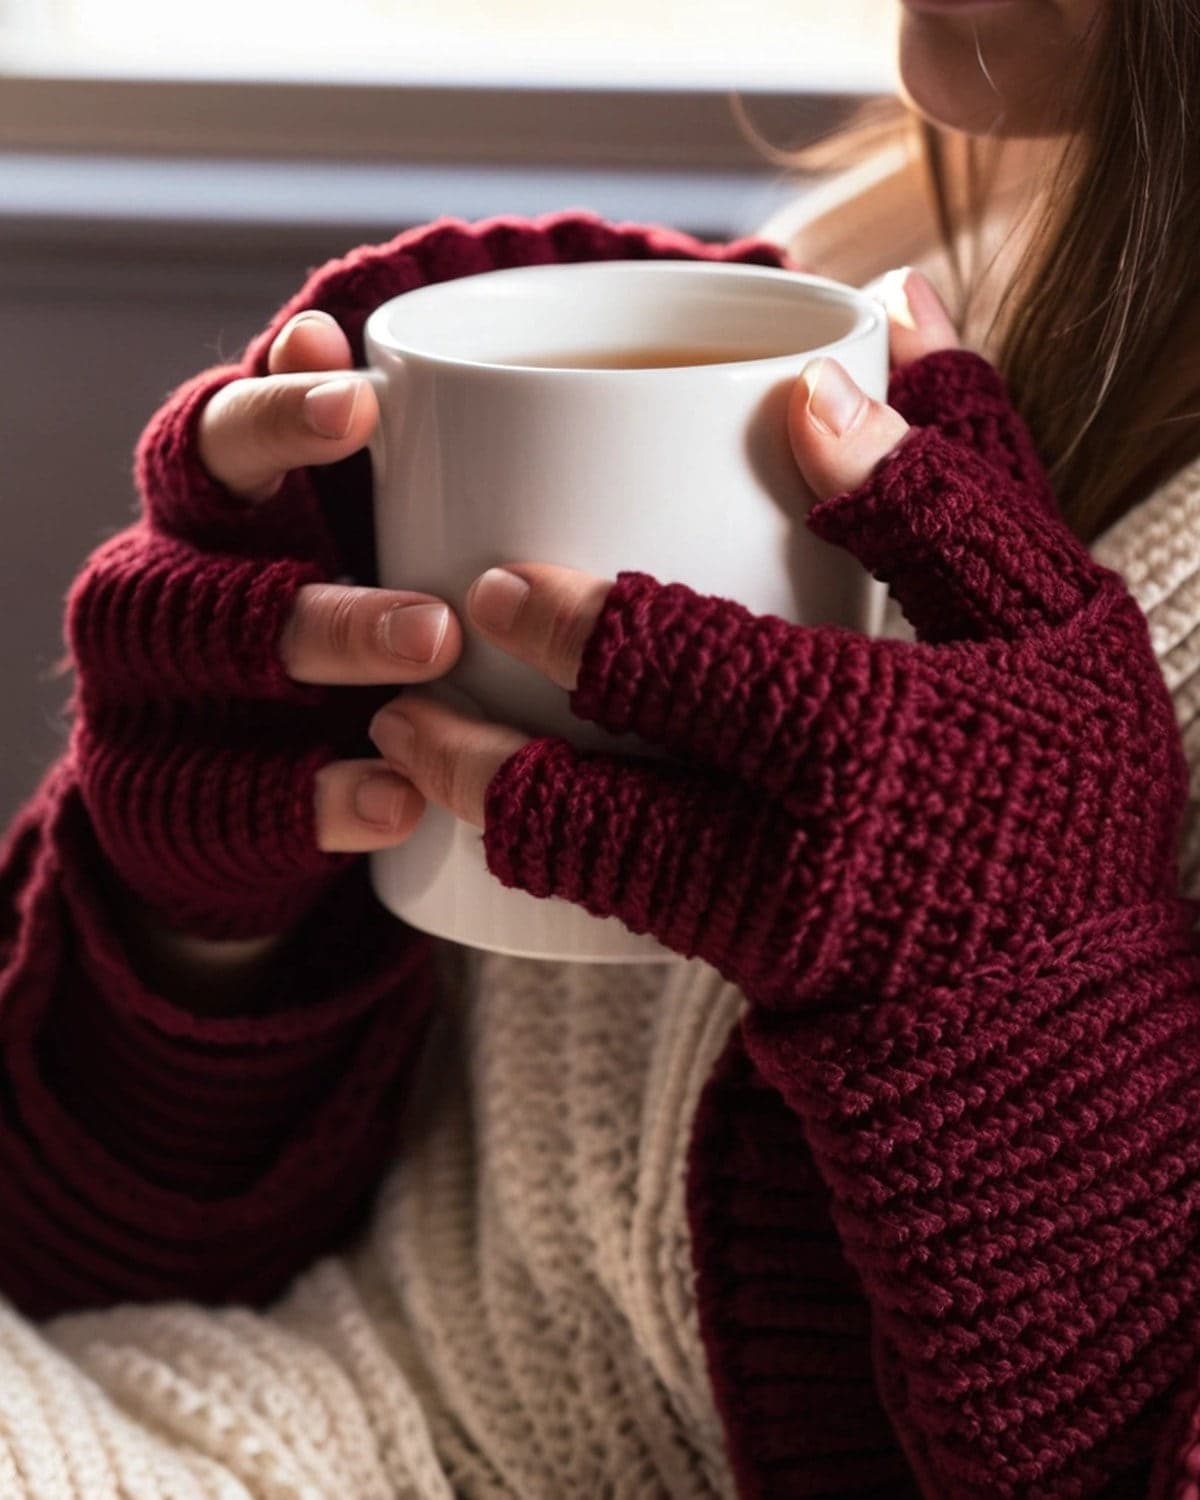
Crochet fingerless gloves keep your hands and wrists warm while leaving your fingers free to type, scroll, drive or crochet. This pair is one of the easiest garments you can make: each glove is a simple ribbed rectangle, folded and seamed with a gap for the thumb. No shaping, no counting increases, and you can make a pair in an evening.
This free crochet fingerless gloves pattern gives you the ribbed rectangle with stitch counts for sizes from child to adult large, step-by-step seaming, an optional thumb gusset for a snugger fit, and ideas for stripes, cables, longer arm warmers and gift sets.
Terms used here: US crochet terms. Half double crochet (hdc) is UK half treble, and single crochet (sc) is UK double crochet.
About this pattern: it's a simple design written for this guide. Sizes are approximate and depend on your yarn and tension, so try the glove on before you seam.
At a glance
| Skill level | Beginner (you can chain and work half double crochet in rows) |
| Stitches | Ch, hdc in the back loop only, sl st, sc |
| Yarn | Worsted (weight 4) wool blend or acrylic, about 100 to 130 m per pair |
| Hook | 5 mm (US H-8) |
| Gauge | 14 hdc = 10 cm (4 in) across the stitches |
| Sizes | Child, Adult S, Adult M, Adult L |
| Time | 2 to 3 hours for a pair |
What you need
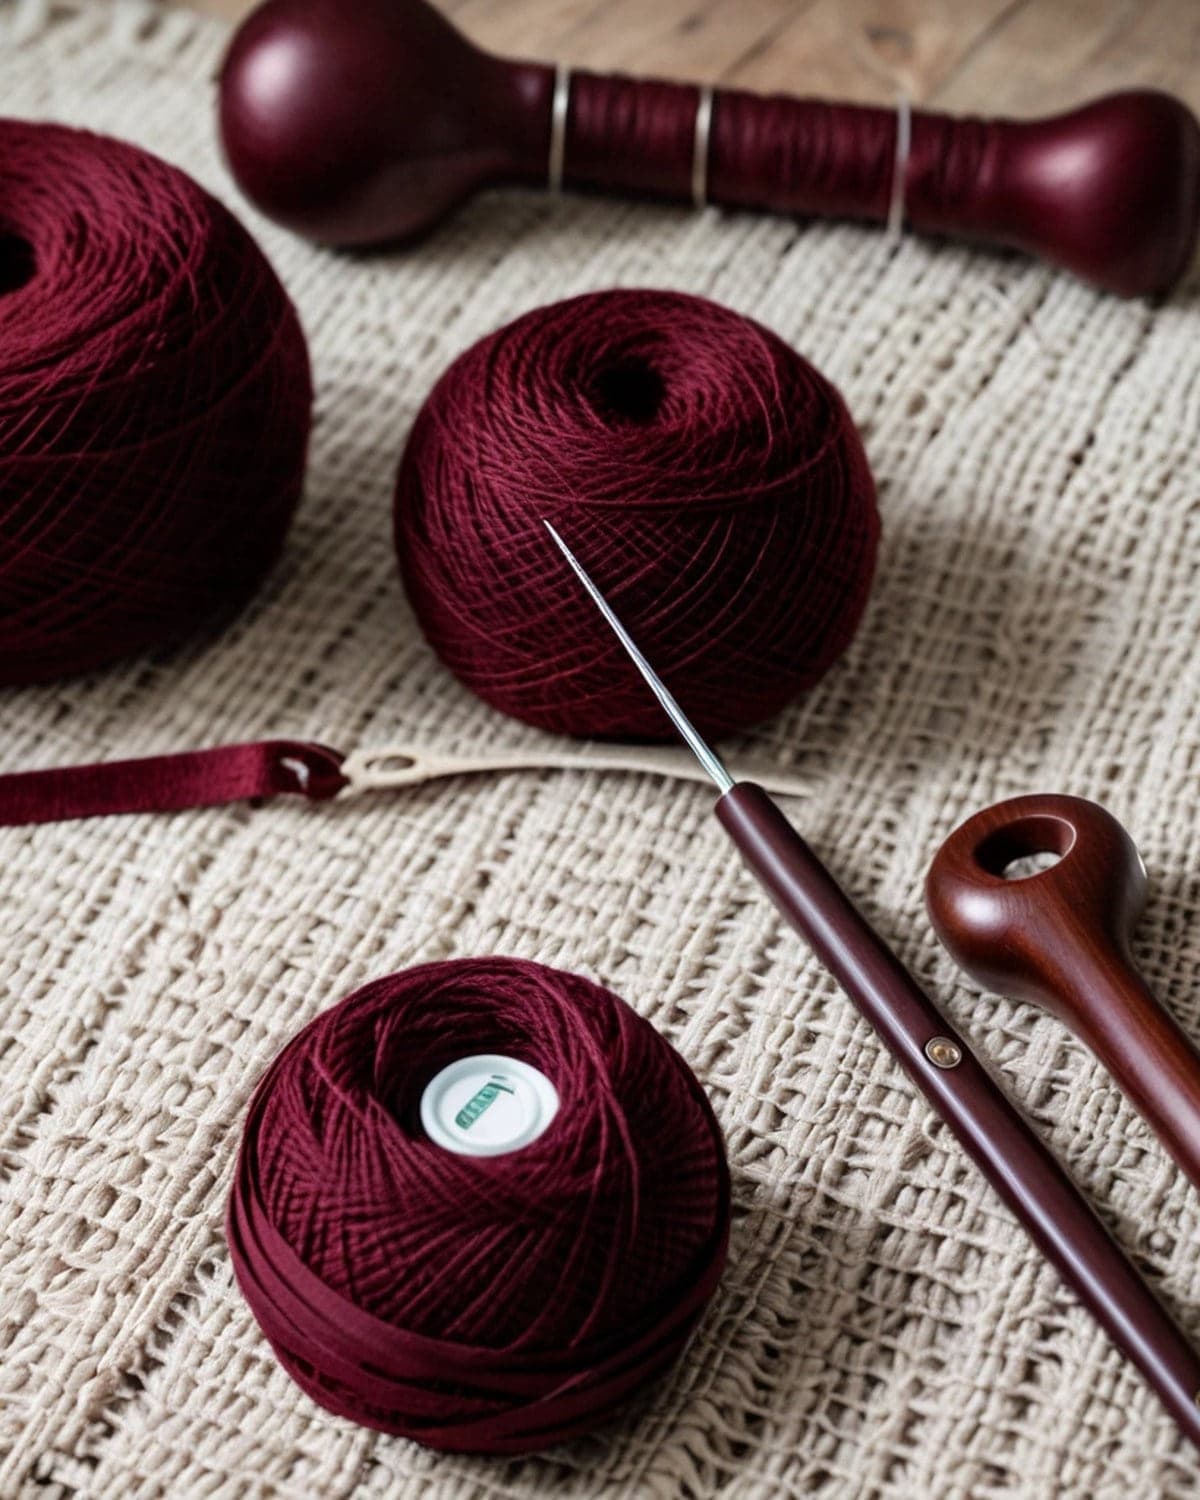
- Worsted yarn (weight 4), about 100 m (110 yd) for adult S and 130 m (140 yd) for adult L. A wool blend is warm and stretchy; acrylic is easy to wash. Merino and alpaca blends are lovely and soft against the skin.
- A 5 mm (US H-8) hook.
- A tapestry needle, scissors and stitch markers.
- A tape measure.
How these gloves work
Each glove is a rectangle worked in rows of half double crochet in the back loop only. The back loops leave a ridge on every row, so the fabric looks like knitted ribbing and stretches a lot in one direction.
- The stitches (the chain) run along the length of the glove, from wrist to knuckles.
- The rows wrap around the hand. Because the ribbing stretches sideways, the glove hugs your hand.
When the rectangle fits around your hand, you fold it and seam the long edge, leaving a gap for the thumb.
Sizes
Measure around your hand at the knuckles, without the thumb, and measure the length you want, from the wrist to just below the knuckles.
| Size | Hand around | Length | Chain | Stitches | Rows |
|---|---|---|---|---|---|
| Child | 14 to 16 cm | 14 cm (5.5 in) | 22 | 20 | 14 |
| Adult S | 17 to 18 cm | 18 cm (7 in) | 27 | 25 | 16 |
| Adult M | 19 to 20 cm | 20 cm (8 in) | 30 | 28 | 18 |
| Adult L | 21 to 23 cm | 22 cm (8.75 in) | 33 | 31 | 20 |
The glove should be slightly smaller than your hand, so it stretches to fit. Always try it on before seaming.
Gauge
Make a small swatch of 16 chains (14 hdc) and 6 rows in the pattern below. The 14 stitches should measure about 10 cm (4 in). Rows of back-loop hdc vary a lot between crocheters, which is why you check the fit with your hand rather than counting rows exactly.
The pattern (Adult M)
Make 2 the same. The glove is reversible, so the two pieces make a left and a right glove automatically.
The ch-2 at the start of each row does not count as a stitch.
- Foundation: ch 30.
- Row 1: hdc in the 3rd ch from the hook and in each ch across. Turn. (28)
- Row 2: ch 2, hdc in the back loop only of each st across. Turn. (28)
Repeat row 2 until you have 18 rows, or until the piece wraps snugly around your hand at the knuckles with a little stretch.
 Leave a long tail of about 60 cm (24 in) when you fasten off: you'll use it to seam the glove.
Check: wrap the rectangle around your hand. The short edges (first and last row) should meet with a gentle stretch. Add or remove a row if needed.
Seaming and the thumb hole
- Fold the rectangle in half so the first and last rows lie together, right sides facing in. The foundation chain edge is one end (the cuff), and the last stitches of the rows are the other (the knuckles).
- Mark the thumb hole. Starting from the cuff end, measure about 11 cm (4.25 in) for adult M (9 cm for child, 10 cm for S, 12 cm for L) and place a marker. Place a second marker 5 cm (2 in) further along. The gap between the markers is the thumb hole.
- Seam from the cuff. With the long tail and a tapestry needle, whip stitch the two edges together from the cuff up to the first marker. Or slip stitch them together with your hook.
- Skip the thumb hole. Secure the yarn at the first marker, and pass it along the inside to the second marker.
- Seam the rest, from the second marker to the knuckle edge.
- Turn the glove right side out and try it on.
 Seam with slip stitches for a neat ridge you can wear on the outside as a design detail, or whip stitch for an almost invisible seam.
Neat edges (optional)
For a smooth finish, work a round of single crochet around each opening:
- Knuckle edge: join yarn at the seam and work 1 sc in the end of each row around. Sl st to join. Fasten off.
- Thumb hole: join at the bottom of the hole and work about 12 to 14 sc evenly around it. Sl st to join.
- Cuff: the foundation chain edge is already neat, but a round of sc makes it firmer.
Thumb gusset (optional)
For a warmer glove that covers the base of the thumb:
- R1: join yarn at the bottom of the thumb hole. Ch 1, work 14 sc evenly around the hole. Sl st to join. (14)
- R2: ch 1, sc in each st around, decreasing once at the inner corner (sc 2 together). Sl st to join. (13)
- R3: ch 1, sc in each st around. Sl st to join. (13)
Fasten off and weave in the end. The gusset is about 2 cm (0.75 in) long. Add a round or two for a longer thumb.
Variations
Long arm warmers
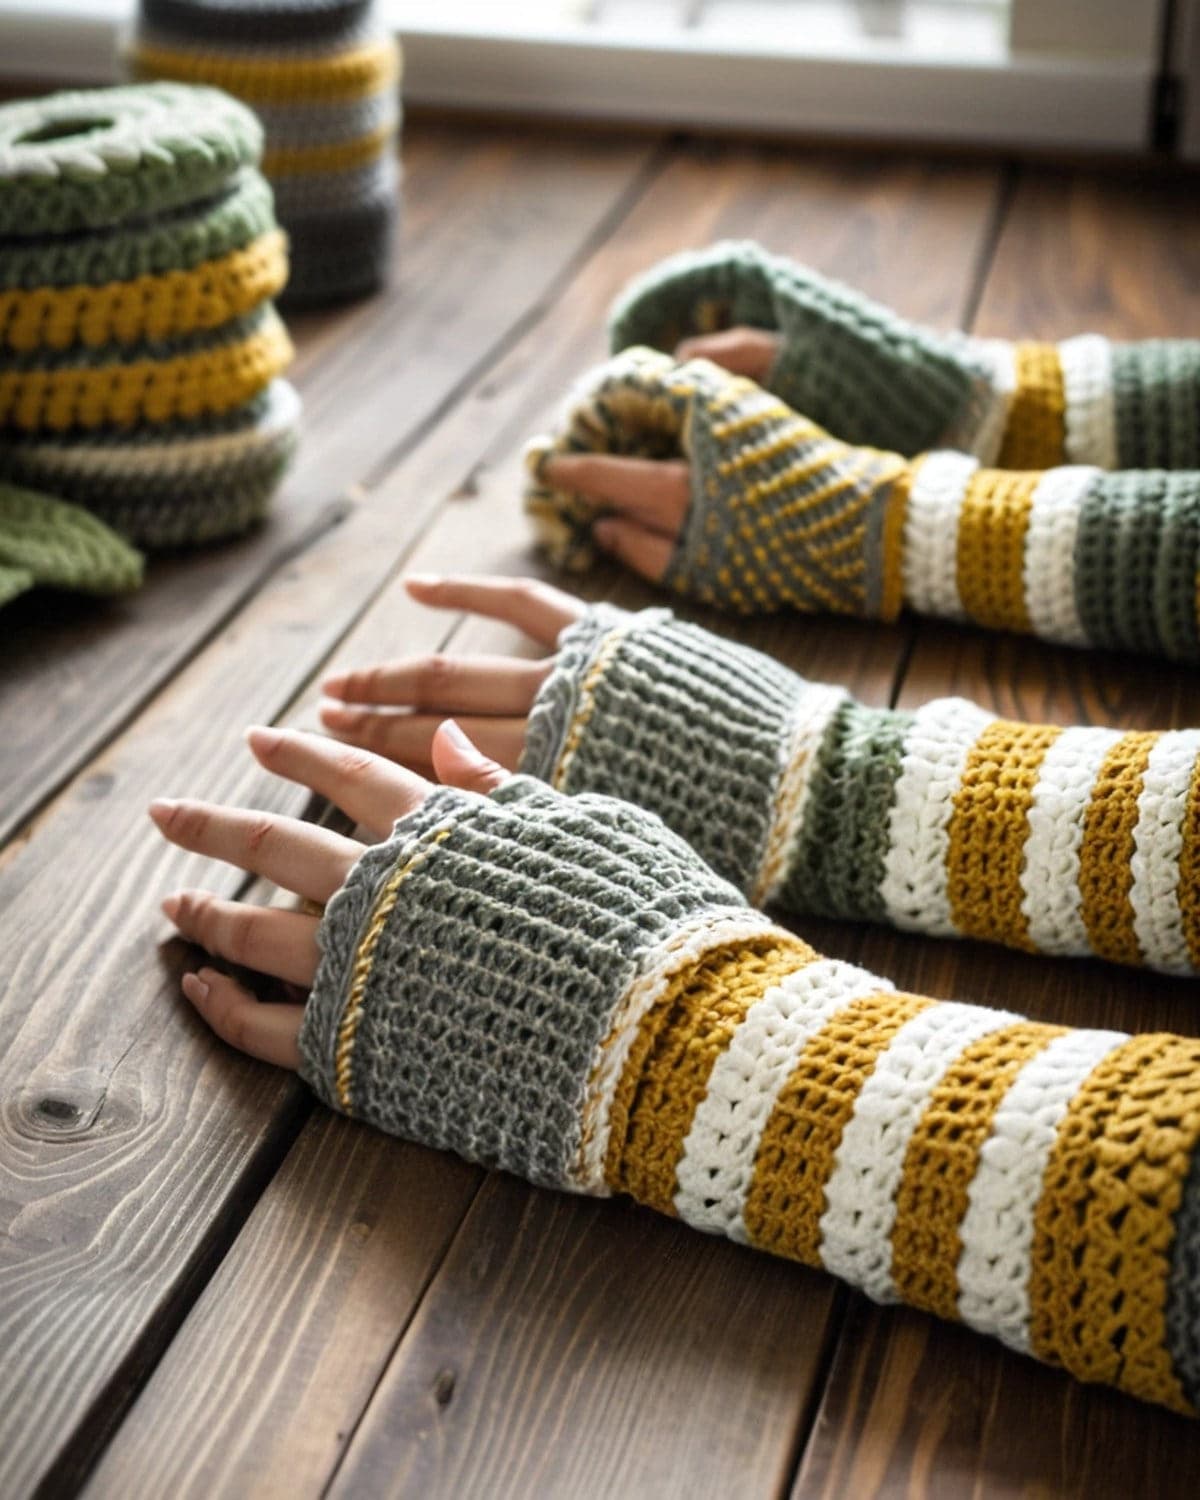
Make the chain longer: about 40 cm (16 in) for an elbow-length warmer. For a comfortable fit, measure your forearm and make the rectangle with enough rows for the widest part. Seam from the wrist up, leaving the thumb hole about 4 cm (1.5 in) from the end.
Striped gloves
Change colour every 2 rows for even stripes, which wrap around the hand. Carry the yarn up the side: it will be hidden in the seam. See how to change colours in crochet.
Cable fingerless gloves
Work a 4-stitch cable down the back of the hand. Make the glove in the round or in rows of hdc with front post stitches. The crochet cable stitch tutorial explains everything you need.
Alpine texture
Work the back of the hand in alpine stitch for a textured, extra-warm pair.
Lace edge
Add a scalloped edge to the knuckle opening: (sk 1, 5 dc in next, sk 1, sl st in next) around. See shell stitch crochet.
Gift sets
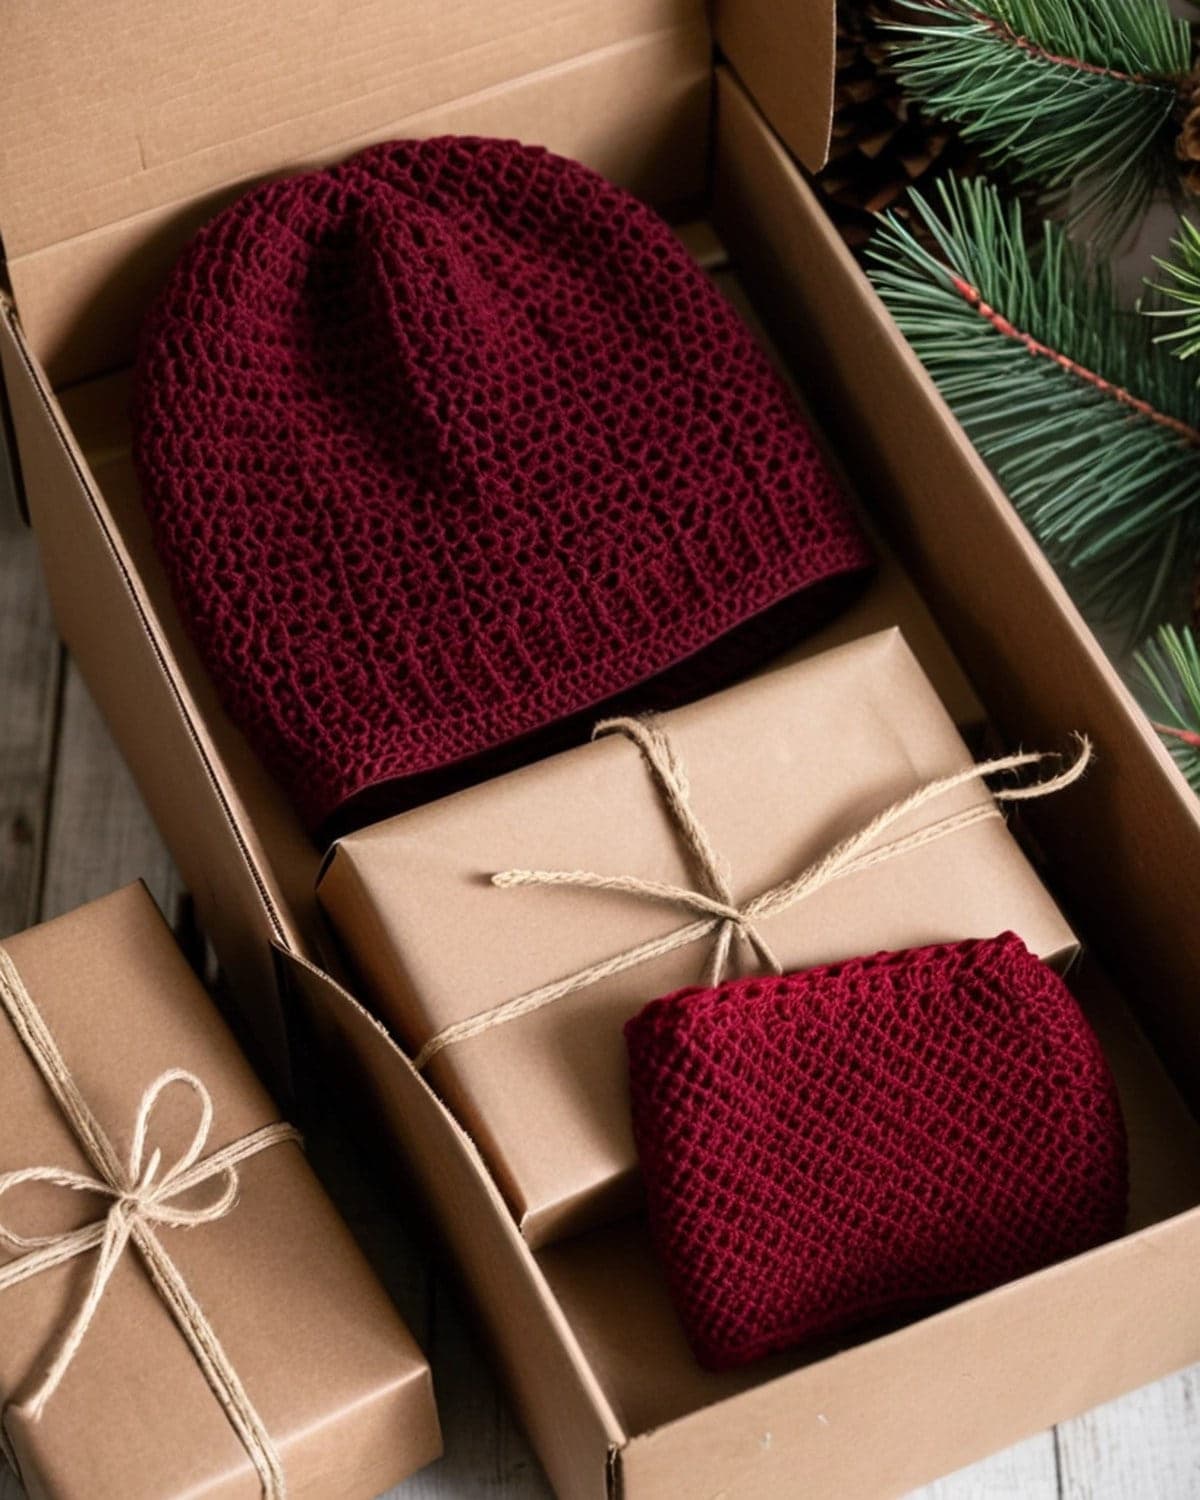 Fingerless gloves are one of the most popular crochet gifts, and they're small enough to make several pairs before the holidays.
- With a hat: make a matching easy crochet beanie from the same yarn.
- With a scarf: pair them with the easy crochet scarf for beginners.
- Wrap them with a care label: wash by hand in cool water and dry flat.
Choosing the best yarn
- Merino and wool blends: warm, soft and stretchy; perfect for gloves.
- Acrylic: budget-friendly and machine washable, great for children.
- Alpaca blends: extra warm and soft, but less stretchy.
- Avoid 100% cotton: it doesn't stretch back, so gloves become loose.
The Craft Yarn Council's yarn weight chart helps you find a substitute yarn of the same weight.
Tips for a perfect fit
- Go smaller rather than bigger. Ribbing stretches with wear.
- Try the glove on before seaming and adjust the number of rows.
- Keep the first and last rows the same tension, so the seam is straight.
- Count stitches every few rows. Missing the last stitch is easy in hdc.
- Use the long tail to seam, so there's one less end to weave in.
Common problems and fixes
The edges of the rectangle are uneven. Work the first hdc into the very first stitch of the row, and the last hdc into the last stitch, not the turning chain.
The glove is too loose. Remove 1 or 2 rows, or use a smaller hook.
The glove is too tight across the knuckles. Add 1 or 2 rows.
The thumb hole is too big. Sew a few more stitches at each end of the gap, or add the thumb gusset.
The ribs look flat. Make sure you're working in the back loop only, not both loops.
Why back loop ribbing works so well
When you work into only the back loop, the front loop of every stitch is left behind as a horizontal bar. These bars form ridges, and the fabric between them can fold like an accordion. That's what makes it stretch sideways and spring back, just like the ribbing at the cuff of a knitted sweater. Because the ribs run along the length of the glove, the glove stretches around your hand and wrist, and grips without being tight.
The same technique makes cuffs for hats, sweaters and socks. Once you know it, you can add a ribbed band to almost any project.
Caring for your gloves
- Wool and wool blends: hand wash in cool water with a wool wash. Squeeze out the water in a towel and dry flat.
- Acrylic: machine wash cool in a laundry bag, then dry flat.
- Reshape while damp. Gently pull the gloves back to their length and push the ribs together.
- Store them flat in a drawer. Hanging stretches the ribbing.
The Craft Yarn Council's guide to care symbols explains the symbols on your yarn label.
Frequently asked questions
Are crochet fingerless gloves easy? Yes. Each glove is a flat rectangle in one stitch. They're a great first garment.
How much yarn do I need? About 100 to 130 m (110 to 140 yd) of worsted yarn for an adult pair.
How long does it take? About 1 to 1.5 hours per glove, including seaming.
Are the gloves left and right? No. The two gloves are identical and fit either hand.
Can I make them in the round? Yes. Work in joined rounds of front post and back post double crochet ribbing, and leave a gap for the thumb by working a few rows back and forth.
Can I sell gloves made from this pattern? Yes. You're welcome to sell the gloves you make.
What to make next
- For a matching hat, try the crochet bucket hat or the easy crochet beanie.
- For a warm accessory, make an easy crochet scarf.
- For a first sweater-style project, try the easy crochet cardigan for beginners.
There are more patterns to wear in the clothing section.
Save it for later
Pin this to your Pinterest board so it's there when you're ready to stitch.
Keep stitching