Crochet Cat Pattern: Free Easy Amigurumi Cat
Crochet a sweet sitting amigurumi cat with pointed ears, a white muzzle, four paws and a long curled tail. A free beginner pattern with every round counted, assembly step by step and ideas for tabby, ginger, black and calico cats.
By AlixaPublished 8 min read

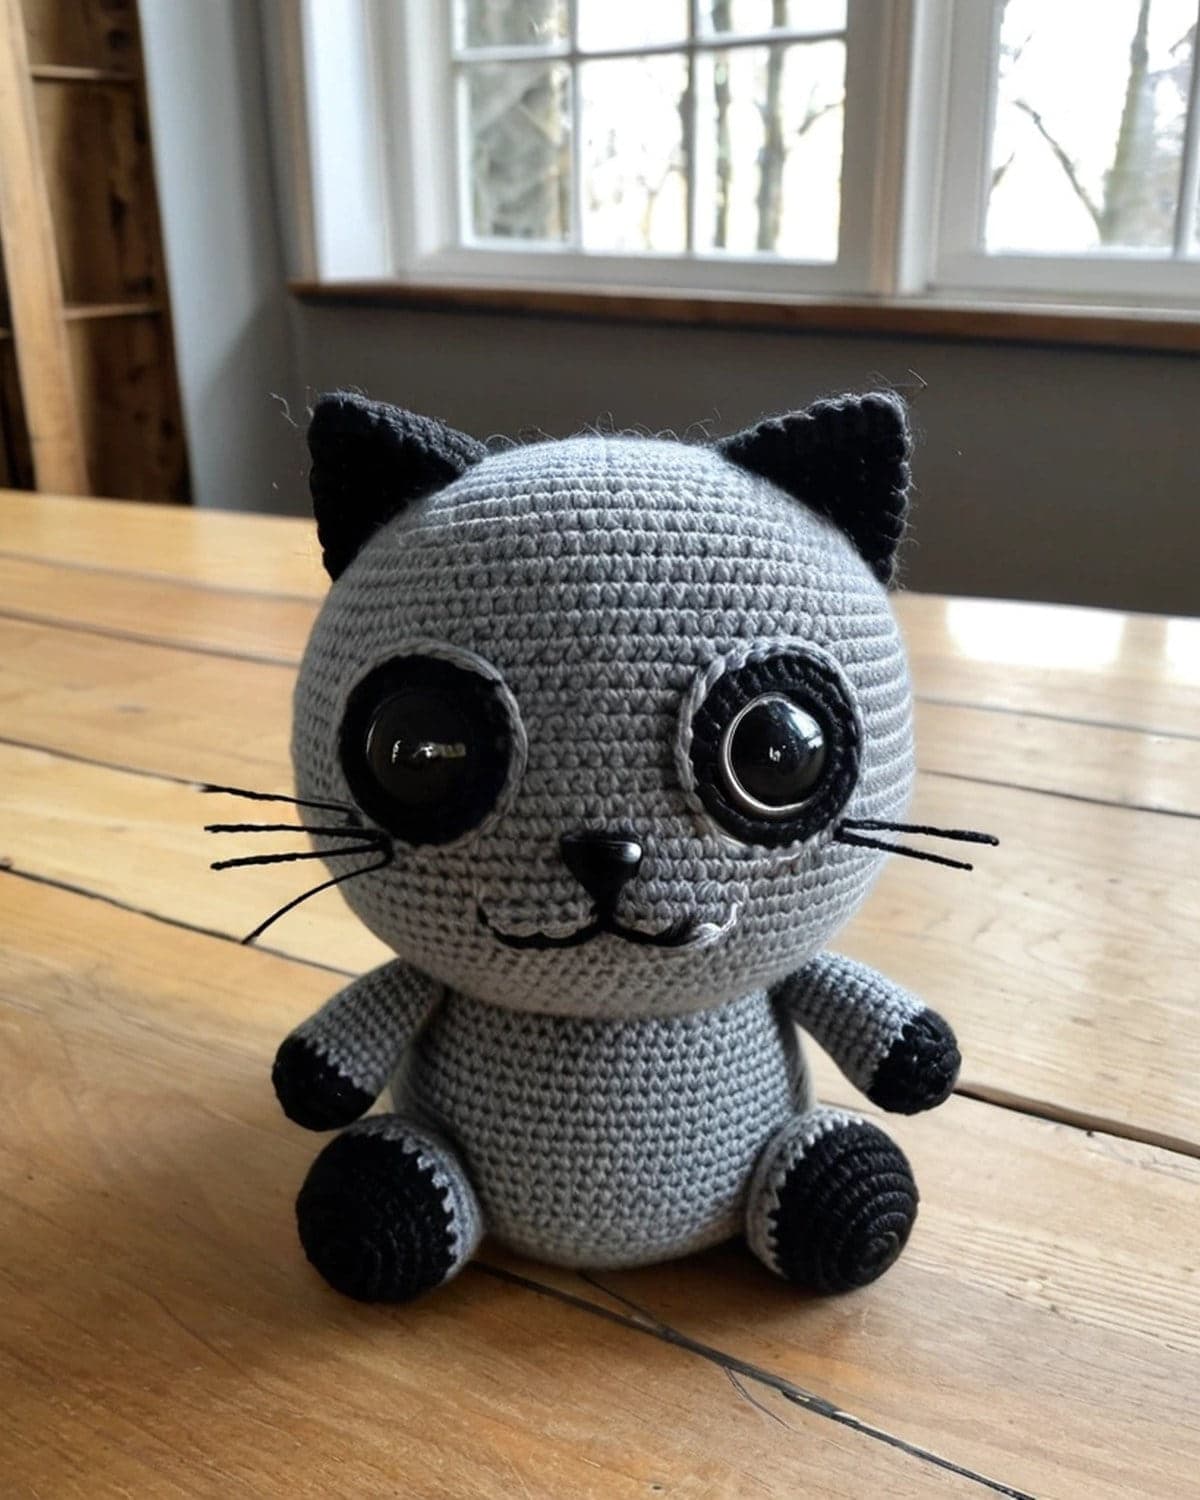
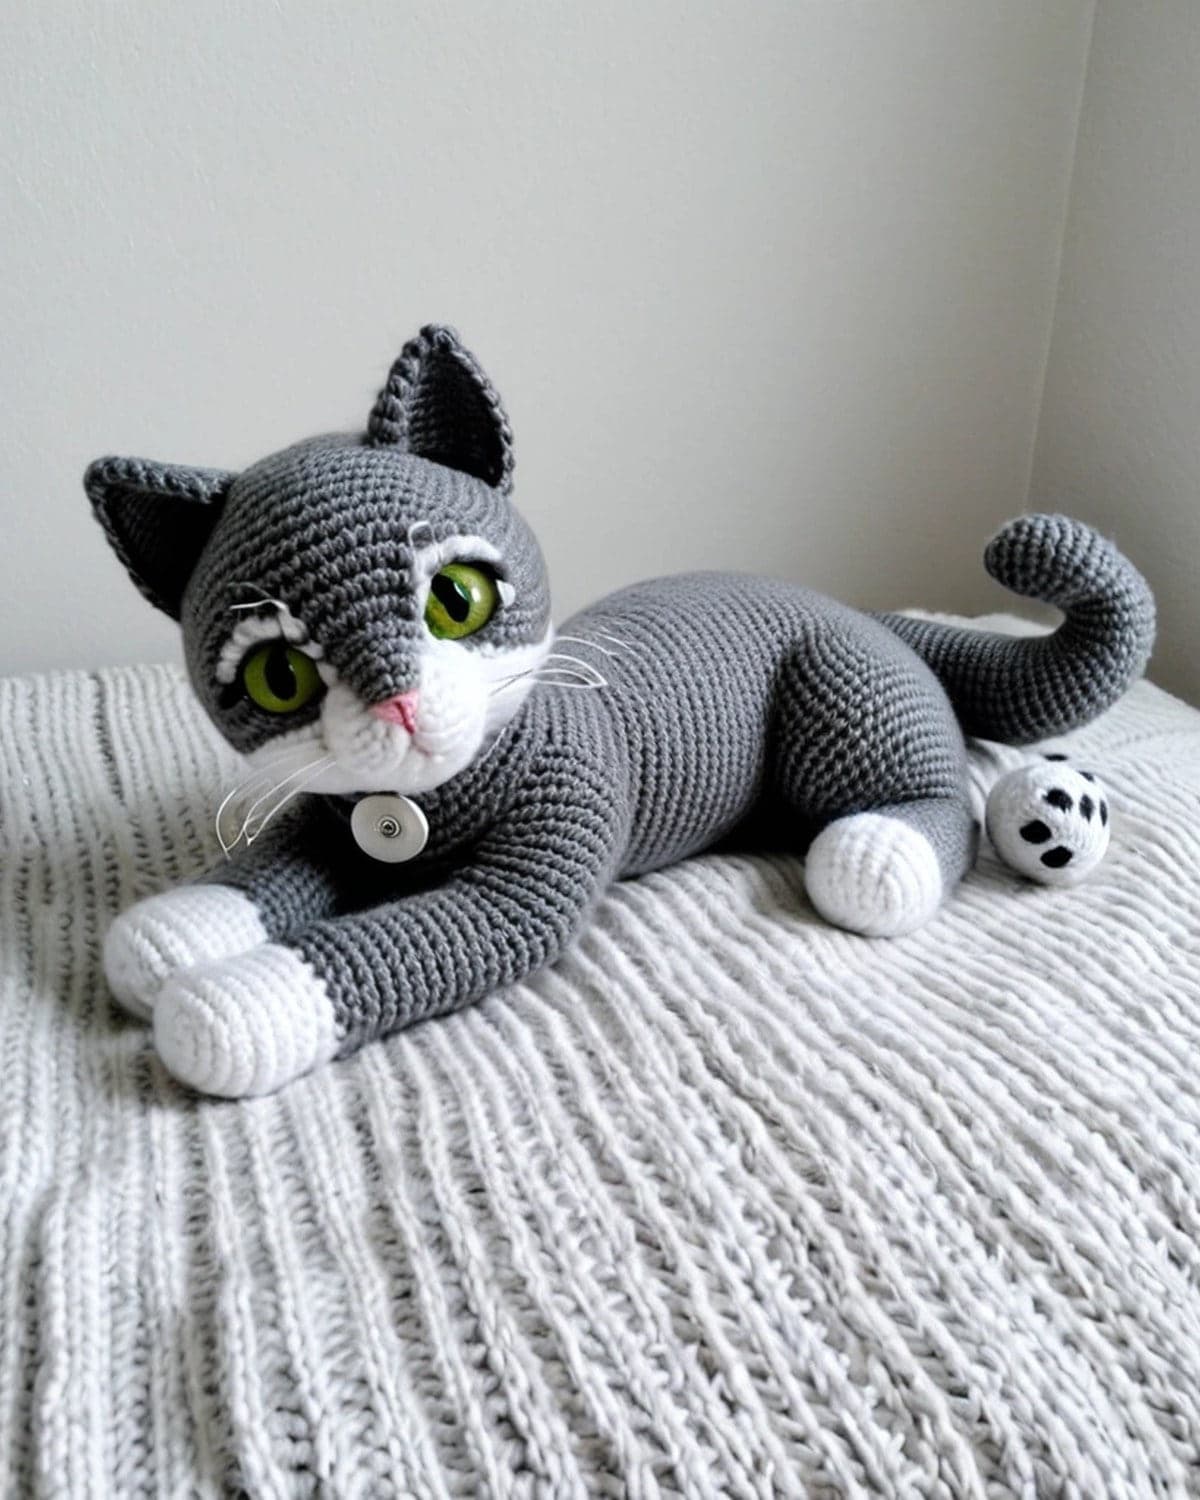
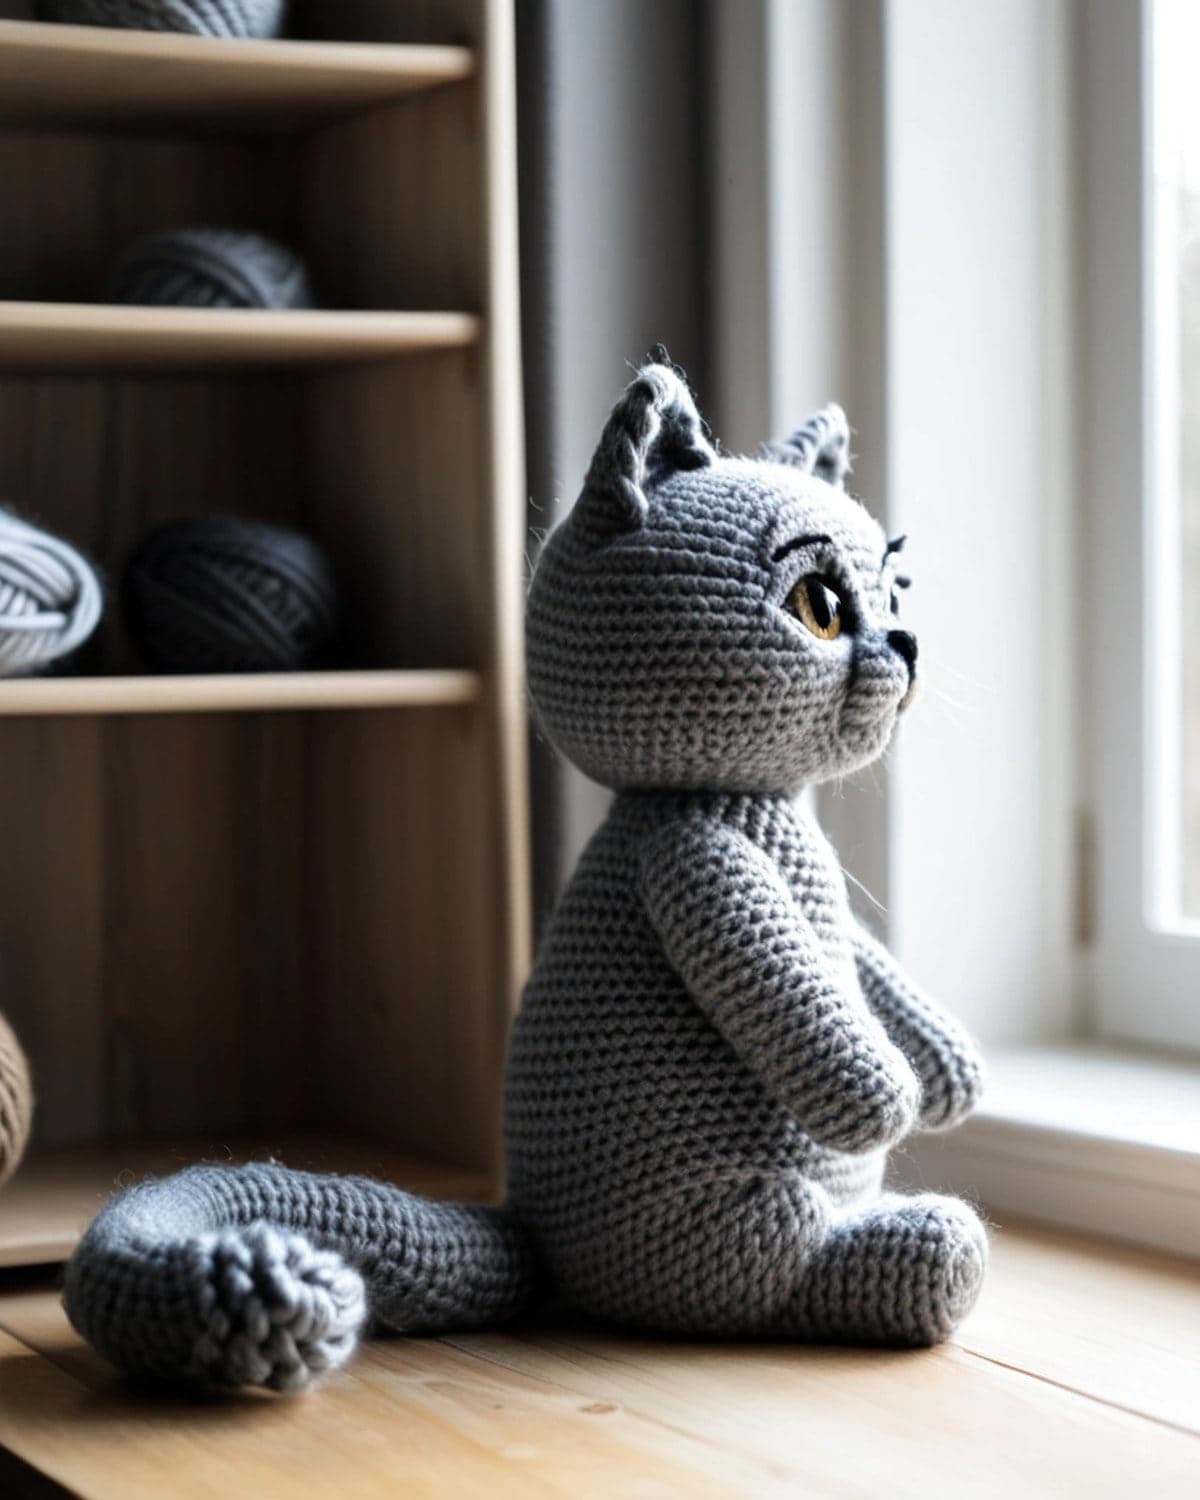
This crochet cat is a sweet little sitting kitty with pointed ears, a white muzzle, four paws and a long tail that curls around her side. She's about 15 cm (6 in) tall, made from simple rounds of single crochet, and easy enough for anyone who has made one or two amigurumi before. Make her in grey, ginger, black or calico to look like your own cat.
This free crochet cat pattern gives you every round with stitch counts, the face, assembly step by step, and ideas for different cat colours and sizes.
Terms used here: US crochet terms. Single crochet (sc) is UK double crochet.
About this pattern: it's a simple design written for this guide. Each round's stitch count has been checked so the numbers add up. The finished size is approximate.
At a glance
| Skill level | Beginner amigurumi |
| Stitches | Magic ring, ch, sc, inc, invisible dec, sl st |
| Yarn | Worsted (weight 4) cotton or acrylic in grey and white |
| Hook | 3.5 mm (US E-4) |
| Finished size | About 15 cm (6 in) tall, sitting |
| Time | 4 to 5 hours |
| Construction | Head and body stuffed separately; ears, muzzle, legs and tail sewn on |
What you need

- Worsted yarn (weight 4) in grey, about 60 m (65 yd), and white, about 10 m (11 yd).
- A 3.5 mm (US E-4) hook.
- Two 9 mm safety eyes, or black yarn for embroidered eyes.
- Polyester fibrefill.
- Pink and black embroidery thread for the nose, mouth and whiskers.
- A stitch marker, a tapestry needle, sewing pins and scissors.
- Optional: a pipe cleaner to make the tail bendy (not for babies).
Safety first: for babies and children under 3, embroider the eyes, leave out the pipe cleaner and sew every part on very securely.
Techniques used
- Magic ring. See how to crochet a magic ring.
- Working in a spiral, with a stitch marker in the first stitch of each round.
- Increase (inc): 2 sc in one stitch. Invisible decrease (dec): sc 2 together through the front loops only.
- Working around a chain to make an oval, for the muzzle.
If you're new to amigurumi, the amigurumi for beginners guide explains every technique with a practice ball.
Head
Use grey.
- R1: 6 sc in a magic ring (6)
- R2: inc in each st around (12)
- R3: (sc, inc) × 6 (18)
- R4: (2 sc, inc) × 6 (24)
- R5: (3 sc, inc) × 6 (30)
- R6: (4 sc, inc) × 6 (36)
- R7 to R13: sc in each st around (36), 7 rounds
Add the eyes now. Insert the safety eyes between rounds 9 and 10, about 7 stitches apart. Leave room below them for the muzzle. Press the washers on once you're happy.
- R14: (4 sc, dec) × 6 (30)
- R15: (3 sc, dec) × 6 (24)
- R16: (2 sc, dec) × 6 (18)
Stuff the head firmly.
- R17: (sc, dec) × 6 (12)
- R18: dec × 6 (6)
Fasten off. Thread the tail through the front loops of the last 6 stitches, pull tight and weave it in.
Muzzle
Use white.
- Foundation: ch 4.
- R1: sc in the 2nd ch from the hook, sc in the next ch, 3 sc in the last ch. Working along the other side of the chain, sc in the next ch, 2 sc in the last ch. (8)
- R2: inc, sc, inc × 3, sc, inc × 2 (14)
Sl st into the next stitch and fasten off with a long tail.
Ears (make 2)
Use grey.
- R1: 4 sc in a magic ring (4)
- R2: (sc, inc) × 2 (6)
- R3: (2 sc, inc) × 2 (8)
- R4: (3 sc, inc) × 2 (10)
- R5: sc in each st around (10)
Don't stuff. Flatten the ear and fasten off with a long tail. For pink inner ears, embroider a small triangle of pink yarn on the front of each one.
Body
Use grey. The body is worked from the bottom up, so it sits flat.
- R1: 6 sc in a magic ring (6)
- R2: inc in each st around (12)
- R3: (sc, inc) × 6 (18)
- R4: (2 sc, inc) × 6 (24)
- R5: (3 sc, inc) × 6 (30)
- R6 to R10: sc in each st around (30), 5 rounds
- R11: (3 sc, dec) × 6 (24)
- R12 to R14: sc in each st around (24), 3 rounds
- R15: (2 sc, dec) × 6 (18)
- R16 and R17: sc in each st around (18)
Stuff firmly, keeping the base flat. Sl st into the next stitch and fasten off with a long tail for sewing to the head.
Legs (make 4)
Start with white for the paws.
- R1: 6 sc in a magic ring (6)
- R2: (sc, inc) × 3 (9)
- R3: sc in each st around (9). Change to grey on the last stitch.
- R4 to R7: sc in each st around (9), 4 rounds
Stuff the paw end lightly and leave the top open. Fasten off with a long tail. For the back legs, stop after round 5, so they're shorter.
Tail
Use grey. You can make the last 2 rounds white for a tipped tail.
- R1: 6 sc in a magic ring (6)
- R2 to R22: sc in each st around (6), 21 rounds
Don't stuff, or stuff very lightly. For a bendy tail, slide a pipe cleaner inside with both ends folded over. Fasten off with a long tail.
Assembly
Pin everything first and look at the cat from all sides before sewing.
- Muzzle. Stuff the muzzle lightly and sew it to the face just below the eyes, between rounds 10 and 14, centred between them.
- Nose and mouth. With pink thread, embroider a small triangle nose on the top of the muzzle. With black thread, stitch a short line down from the nose and a little "w" mouth.
- Whiskers. Add 2 or 3 long black straight stitches on each side of the muzzle.
- Ears. Sew the ears to the top of the head, between rounds 4 and 7, about 8 stitches apart, with the flat sides facing forward.
- Head to body. Sew the open end of the body to the underside of the head, around rounds 15 and 16. Add a little more stuffing in the neck before you close the seam, so the head doesn't wobble.
- Front legs. Sew the two long legs to the front of the body, side by side, pointing straight down, with the paws resting on the table.
- Back legs. Sew the two short legs to the sides of the body near the base, lying sideways, so the cat looks like she's sitting.
- Tail. Sew the tail to the back of the body at round 3, then curl it around one side and tack the tip down with a couple of stitches.
 Weave all the tails inside the body.
Cat colour ideas

- Grey tabby: grey body with darker grey stripes embroidered across the head and back in backstitch.
- Ginger cat: orange body with a white muzzle, paws and tail tip.
- Black cat: black body with yellow or green safety eyes. Perfect for Halloween; see more ideas in the seasonal section.
- Tuxedo cat: black body with a white muzzle, white paws and a white oval sewn to the chest.
- Calico: white body with patches of orange and black sewn on as small flat circles.
- Siamese: cream body with brown ears, paws and tail, and blue safety eyes.
Sizes
- Kitten: DK cotton and a 2.5 mm hook make a cat about 10 cm (4 in) tall. Use 6 mm safety eyes.
- Big cuddly cat: chunky velvet yarn and a 5 mm hook make a cat about 28 cm (11 in) tall. Use 15 mm safety eyes.
Tips for a neat cat
- Use a small hook so the stuffing doesn't show between stitches.
- Stuff in small pieces, shaping the head as you go.
- Place the eyes wide apart for a cute, kitten-like face.
- Sew the head on firmly. Go around the neck twice.
- Use the same yarn as each part for sewing, so the stitches disappear.
Common problems and fixes
The head is lumpy. Pull the stuffing apart into fluffy pieces and add it a little at a time.
The cat won't sit up. The body needs more stuffing at the base, or the head is too heavy. Stuff the body more firmly and sew the front legs a little further forward.
The ears flop. Sew along the whole base of each ear, front and back.
The muzzle looks flat. Add a little more stuffing behind it before you finish sewing.
The stitch count is off. Count every round, especially decreases.
Caring for your cat
- Spot clean small marks with a damp cloth.
- Hand wash in cool water if needed. Squeeze, don't wring, roll in a towel, and dry in shape away from heat.
Amigurumi, the Japanese art of crocheting small stuffed animals and creatures, is the technique behind this cat. Wikipedia's article on amigurumi explains more.
Frequently asked questions
Is this crochet cat easy? Yes, for anyone who has made a simple amigurumi. Every piece is a basic round of single crochet.
How long does it take? About 4 to 5 hours, including assembly.
How much yarn do I need? About 60 m (65 yd) of grey and 10 m (11 yd) of white.
Can I make it as a baby toy? Yes. Embroider the eyes, leave out the pipe cleaner and sew every part on very securely.
Can I sell cats made from this pattern? Yes. You're welcome to sell what you make.
What to make next
- Make a friend for your cat with the crochet bunny pattern.
- Try a velvet crochet panda pattern.
- For a pond friend, make the crochet frog pattern.
- For an ocean friend, try the crochet whale pattern.
There are more free patterns in the amigurumi section.
Save it for later
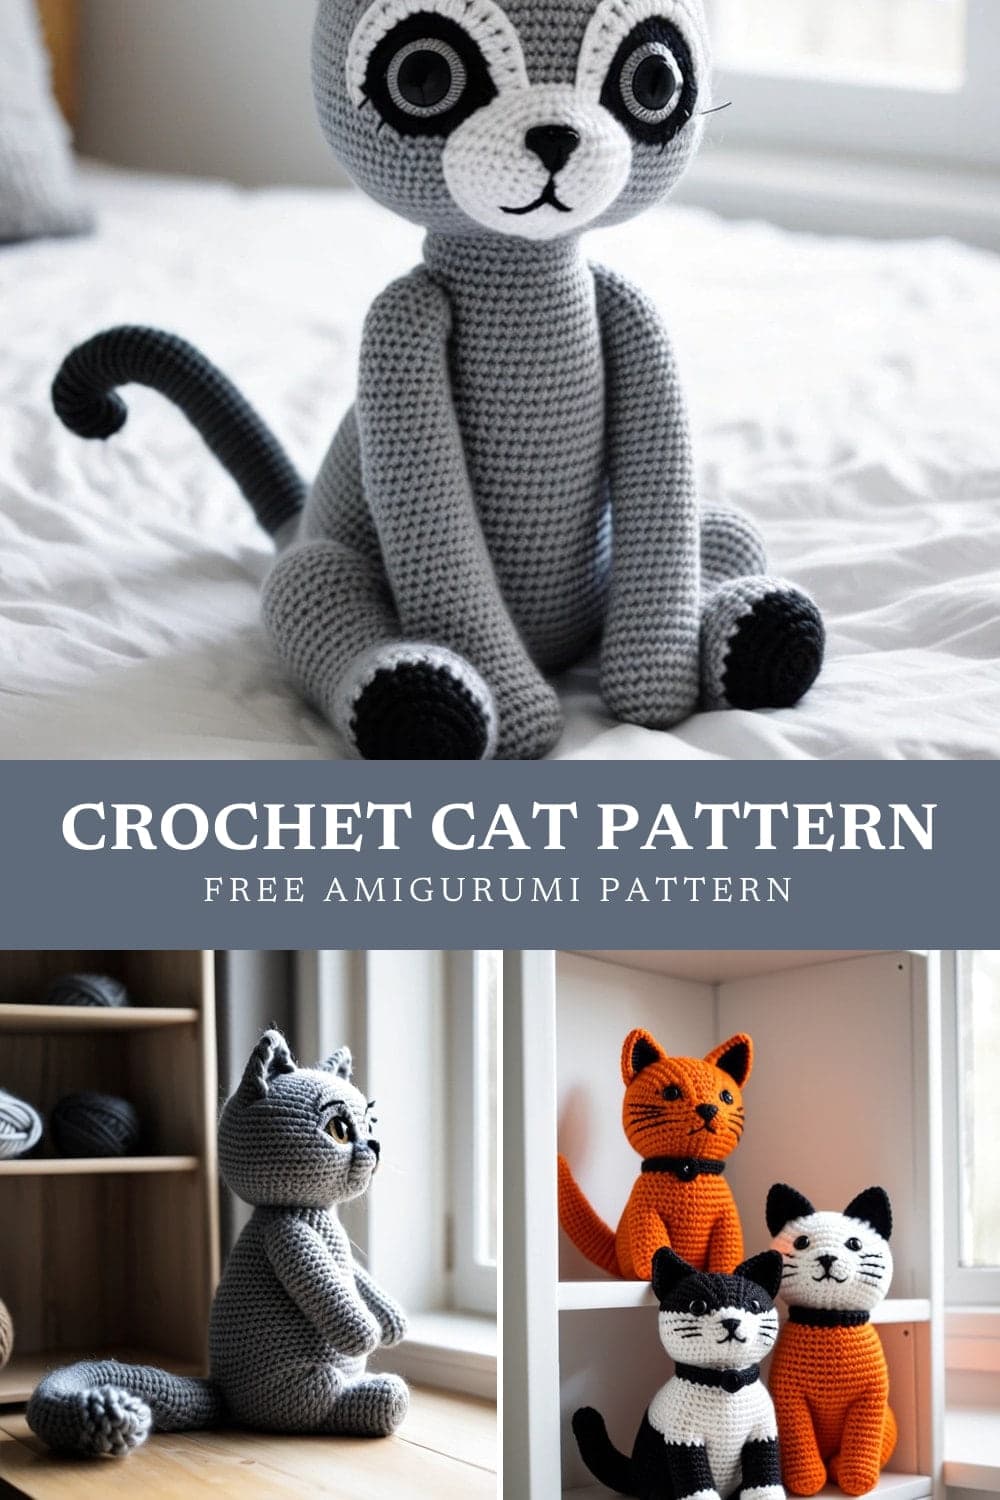
Pin this to your Pinterest board so it's there when you're ready to stitch.
Keep stitching