Crochet Whale Pattern: Free Easy Amigurumi Whale
Crochet a chubby, smiling amigurumi whale with a pale belly, little fins, a curved tail and a water spout. A free beginner pattern with every round, assembly and ideas for a whole whale family.
By AlixaPublished 9 min read

This crochet whale is a chubby, smiling ocean friend with a pale belly, two little fins, a curved tail and a spout of yarn on top. He's about 15 cm (6 in) long, soft enough to cuddle and simple enough for a beginner who has made one or two amigurumi before. He makes a lovely baby shower gift, a nursery decoration or a desk companion.
This free crochet whale pattern gives you every round with stitch counts, step-by-step assembly, a water spout, face embroidery and ideas for a whole whale family in different sizes and colours.
Terms used here: US crochet terms. Single crochet (sc) is UK double crochet.
About this pattern: it's a simple design written for this guide. Each round's stitch count has been checked so the numbers add up. The finished size is approximate.
At a glance
| Skill level | Beginner amigurumi |
| Stitches | Magic ring, ch, sc, inc, invisible dec, sl st |
| Yarn | Worsted (weight 4) cotton or acrylic in blue and white |
| Hook | 3.5 mm (US E-4) |
| Finished size | About 15 cm (6 in) long and 9 cm (3.5 in) tall |
| Time | 3 to 4 hours |
| Construction | Body and tail in one piece; belly, fins and flukes sewn on |
What you need
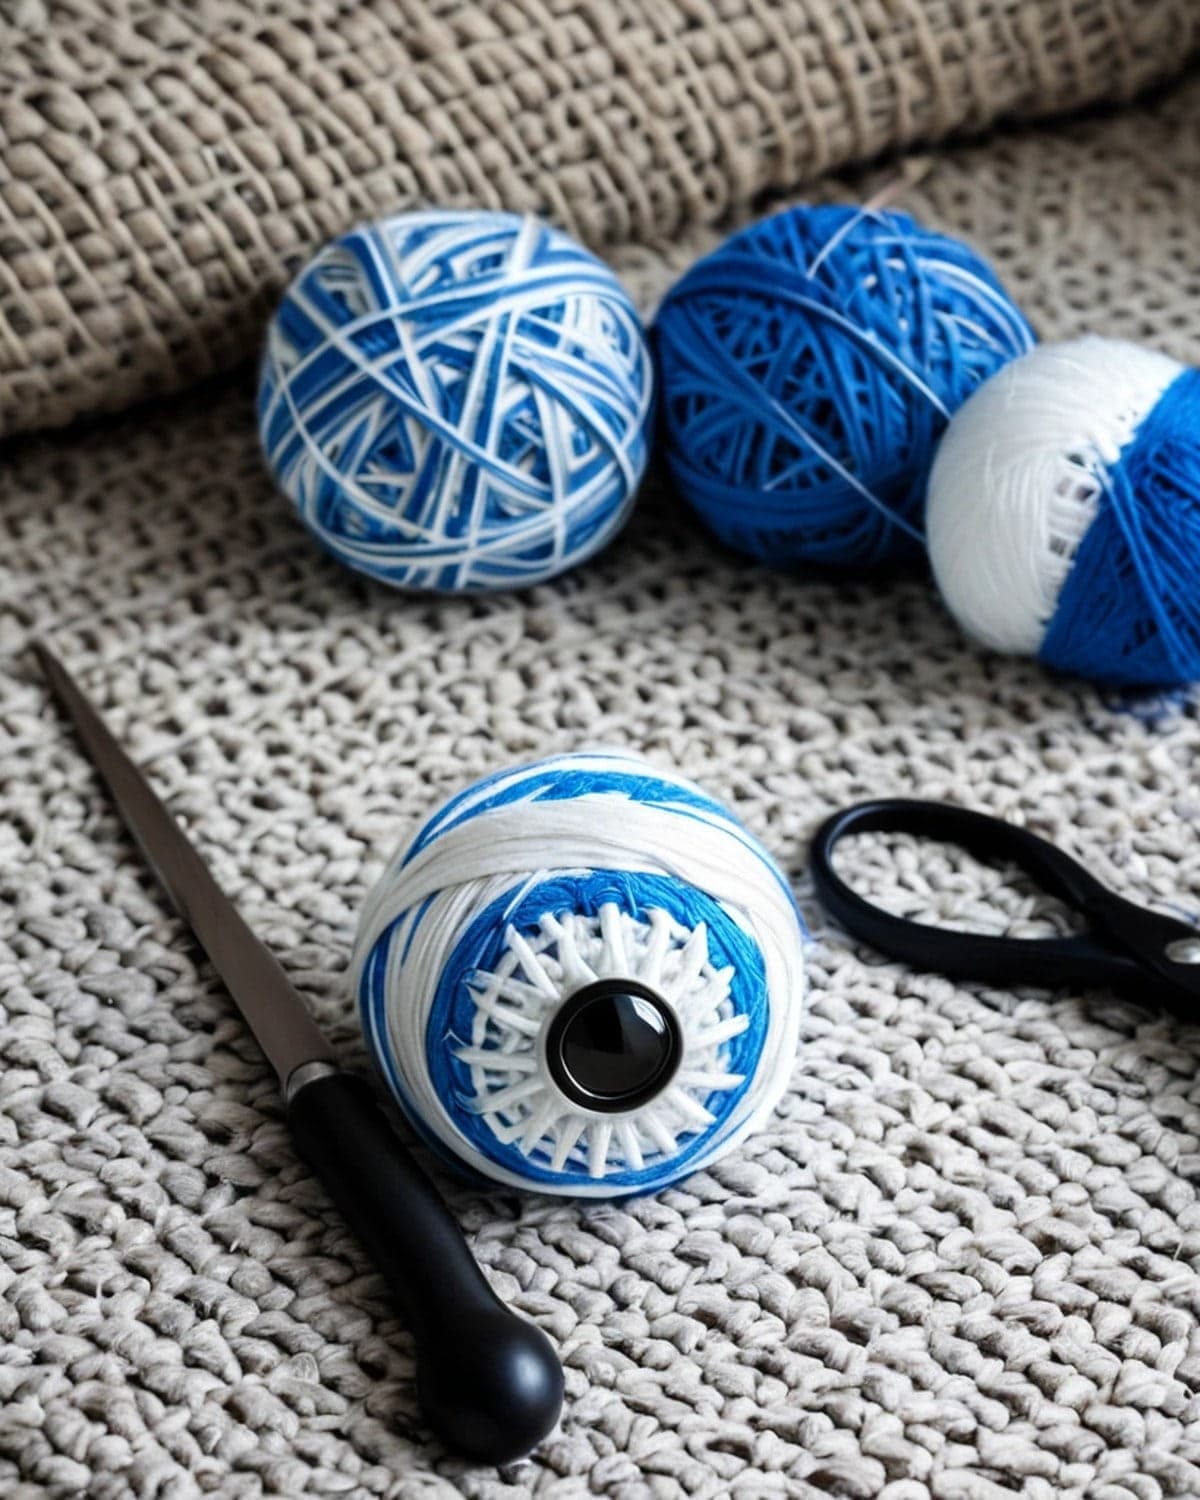
- Worsted yarn (weight 4) in blue, about 50 m (55 yd), and white or cream, about 12 m (13 yd). Cotton gives a smooth, crisp whale; acrylic is softer; a velvet yarn makes a plush one.
- A 3.5 mm (US E-4) hook.
- Two 8 mm safety eyes, or black yarn for embroidered eyes.
- Polyester fibrefill.
- Black embroidery thread for the smile, and a little pink yarn for the cheeks.
- A stitch marker, a tapestry needle, sewing pins and scissors.
Safety first: for babies and children under 3, embroider the eyes, and sew every part on very securely.
Choosing yarn for your whale
- Cotton gives clear stitches and a firm shape, and it washes well. It's the best choice for a baby's toy.
- Acrylic is soft, cheap and comes in every shade of blue. It pills a little over time.
- Velvet or chenille makes a squishy, plush whale. It's harder to see the stitches, so count carefully and use stitch markers.
- Avoid fluffy or eyelash yarns for babies: loose fibres can come away.
Whatever you choose, use the same yarn for the body and the fins so the colours and stitch sizes match.
Techniques used
- Magic ring. See how to crochet a magic ring.
- Working in a spiral, with a stitch marker in the first stitch of each round.
- Increase (inc): 2 sc in one stitch. Invisible decrease (dec): sc 2 together through the front loops only.
- Working around a chain to make an oval, for the belly.
If you're new to amigurumi, the amigurumi for beginners guide explains every technique with a practice ball.
Body and tail
Use blue. The body starts at the nose, grows into a big round head, then narrows into the tail.
- R1: 6 sc in a magic ring (6)
- R2: inc in each st around (12)
- R3: (sc, inc) × 6 (18)
- R4: (2 sc, inc) × 6 (24)
- R5: (3 sc, inc) × 6 (30)
- R6: (4 sc, inc) × 6 (36)
- R7: (5 sc, inc) × 6 (42)
- R8 to R15: sc in each st around (42), 8 rounds
Add the eyes now. Insert the safety eyes between rounds 10 and 11, about 14 stitches apart, on the sides of the head. Don't press the washers on until you're happy with the position.
- R16: (5 sc, dec) × 6 (36)
- R17: (4 sc, dec) × 6 (30)
- R18: (3 sc, dec) × 6 (24)
- R19: (2 sc, dec) × 6 (18)
Stuff the body firmly, shaping a round head.
- R20: (sc, dec) × 6 (12)
- R21 to R26: sc in each st around (12), 6 rounds
Stuff the tail lightly. Flatten the opening so the last round makes two layers of 6 stitches. Sc through both layers across, 6 sc, to close. Fasten off with a 30 cm (12 in) tail.
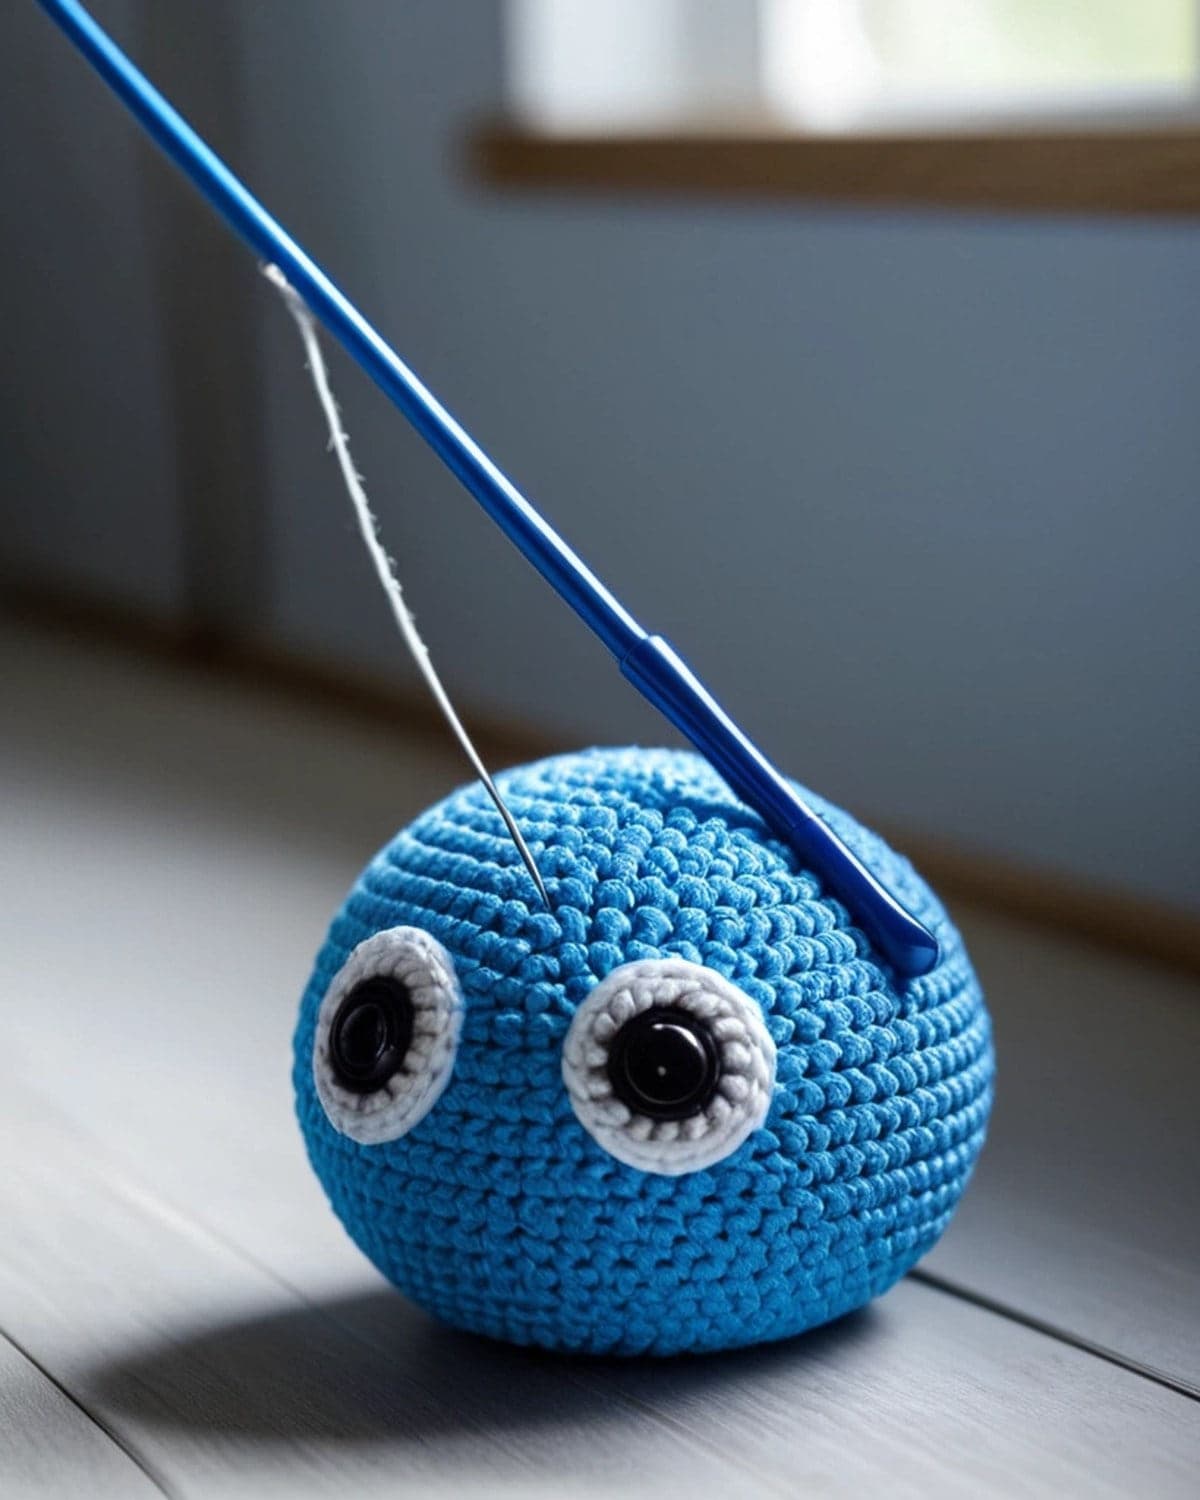 Curve the tail upwards. Thread the tail yarn down through the body to round 20, pull gently and secure. The tail will lift into a curve, like a whale swimming.
Tail flukes (make 2)
Use blue.
- R1: 6 sc in a magic ring (6)
- R2: (sc, inc) × 3 (9)
- R3: (2 sc, inc) × 3 (12)
- R4 and R5: sc in each st around (12)
Don't stuff. Flatten and sc through both layers to close, 6 sc. Fasten off with a long tail.
Fins (make 2)
Use blue.
- R1: 6 sc in a magic ring (6)
- R2: (sc, inc) × 3 (9)
- R3 and R4: sc in each st around (9)
Don't stuff. Flatten the opening and close with 4 sc through both layers. Fasten off with a long tail.
Belly
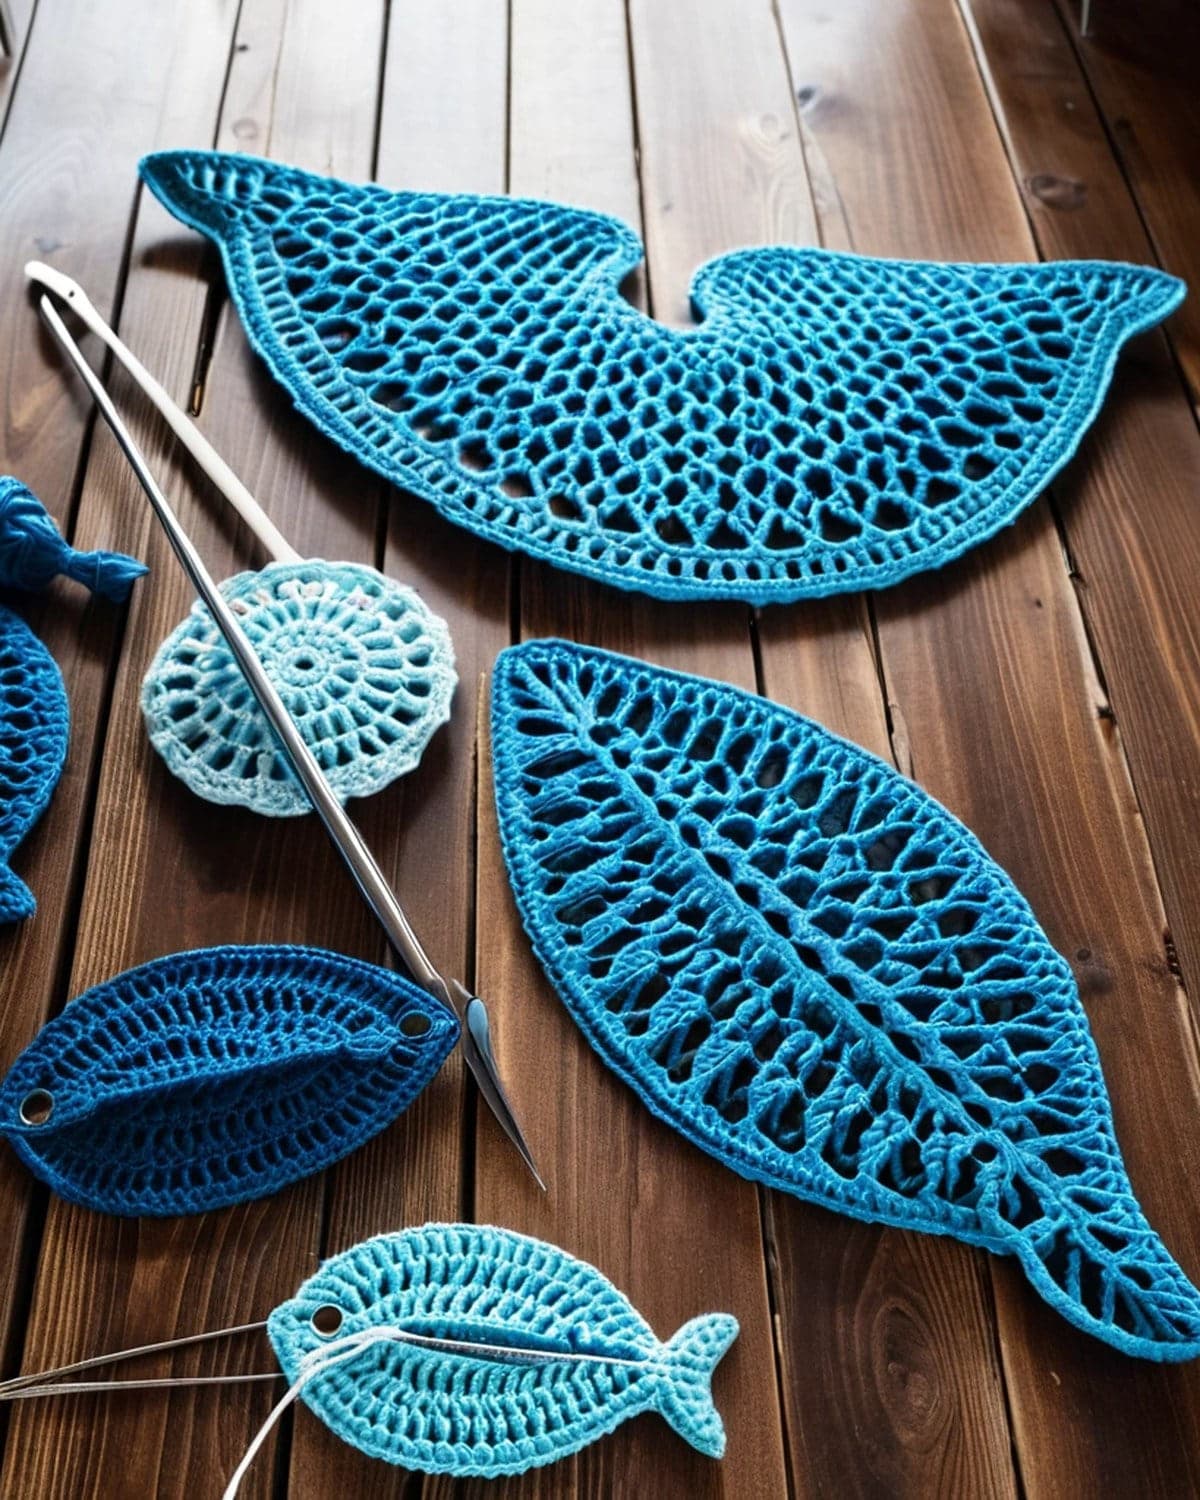
Use white. The belly is a flat oval sewn to the underside of the whale.
- Foundation: ch 11.
- R1: sc in the 2nd ch from the hook, sc in the next 8 ch, 3 sc in the last ch. Working along the other side of the chain, sc in the next 8 ch, 2 sc in the last ch. (22)
- R2: inc, sc in the next 8 sts, inc in each of the next 3 sts, sc in the next 8 sts, inc in each of the last 2 sts. (28)
- R3: sc, inc, sc in the next 8 sts, (sc, inc) × 3, sc in the next 8 sts, (sc, inc) × 2. (34)
Slip stitch into the next stitch and fasten off with a long tail. The belly is about 9 × 5 cm (3.5 × 2 in).
For a striped belly, like a blue whale or a humpback, embroider 4 or 5 lines of blue backstitch along the length of the white oval.
Water spout
Cut 6 strands of white and light blue yarn, each 10 cm (4 in) long. Fold them in half together. With a hook, pull the folded middle through a stitch at the very top of the head, between rounds 8 and 9, then pull the ends through the loop to knot them, as you would a fringe. Trim to about 3 cm (1.25 in) and separate the plies with a needle so the spout looks fluffy.
Alternative: crochet a tiny spout. With white, make 5 sc in a magic ring, then (sl st, ch 4, sl st) in each stitch around for 5 little loops. Sew the centre to the top of the head so the loops spray upwards.
Assembly
Pin everything first and check the whale from all sides.
- Belly. Pin the belly to the underside, from round 7 at the front to round 19, centred between the eyes. Sew all around the edge with whip stitch in white.
- Fins. Sew one fin on each side, just behind and below the eyes, around rounds 13 to 15. Angle them slightly back, like they're paddling.
- Flukes. Sew the two flukes to the closed end of the tail in a V shape, with their flat closed edges meeting in the middle.
- Smile. With black thread, embroider a wide smile across the front of the face, from just below one eye to just below the other, about 2 rounds under the eyes.
- Cheeks. With pink yarn, make 2 or 3 small stitches under each eye.
- Spout. Add the water spout on top.
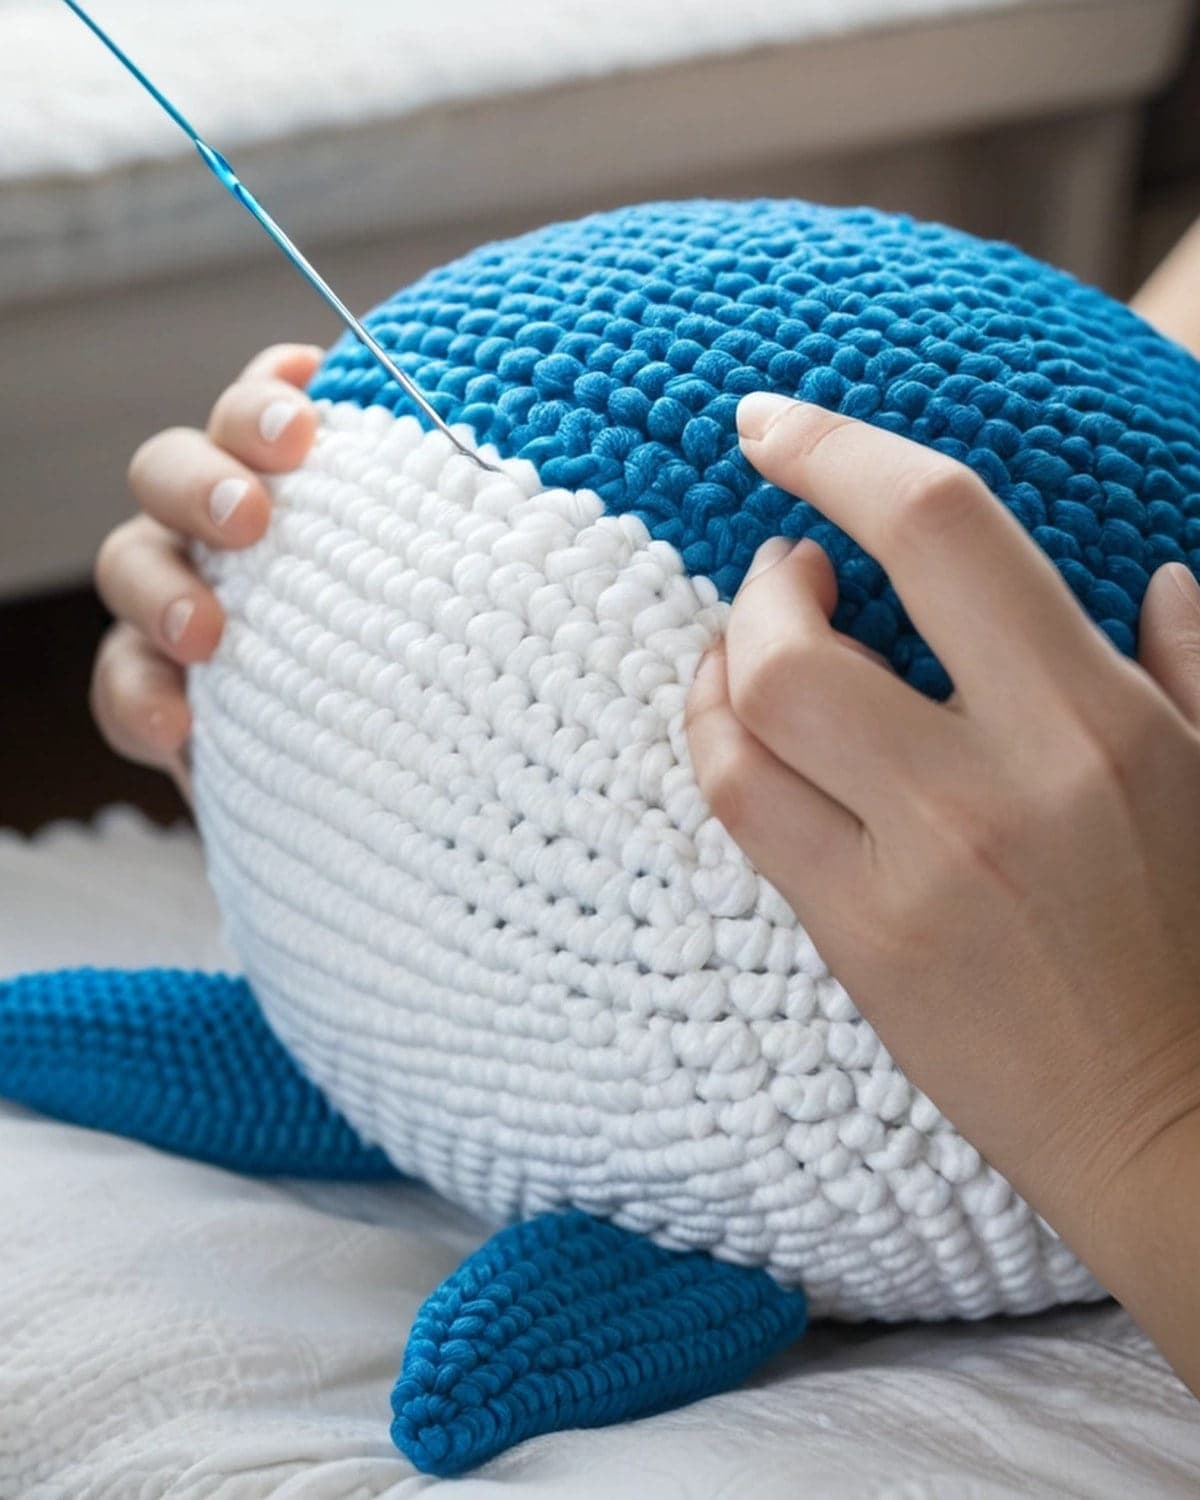 Weave all the tails inside the body.
A whale family
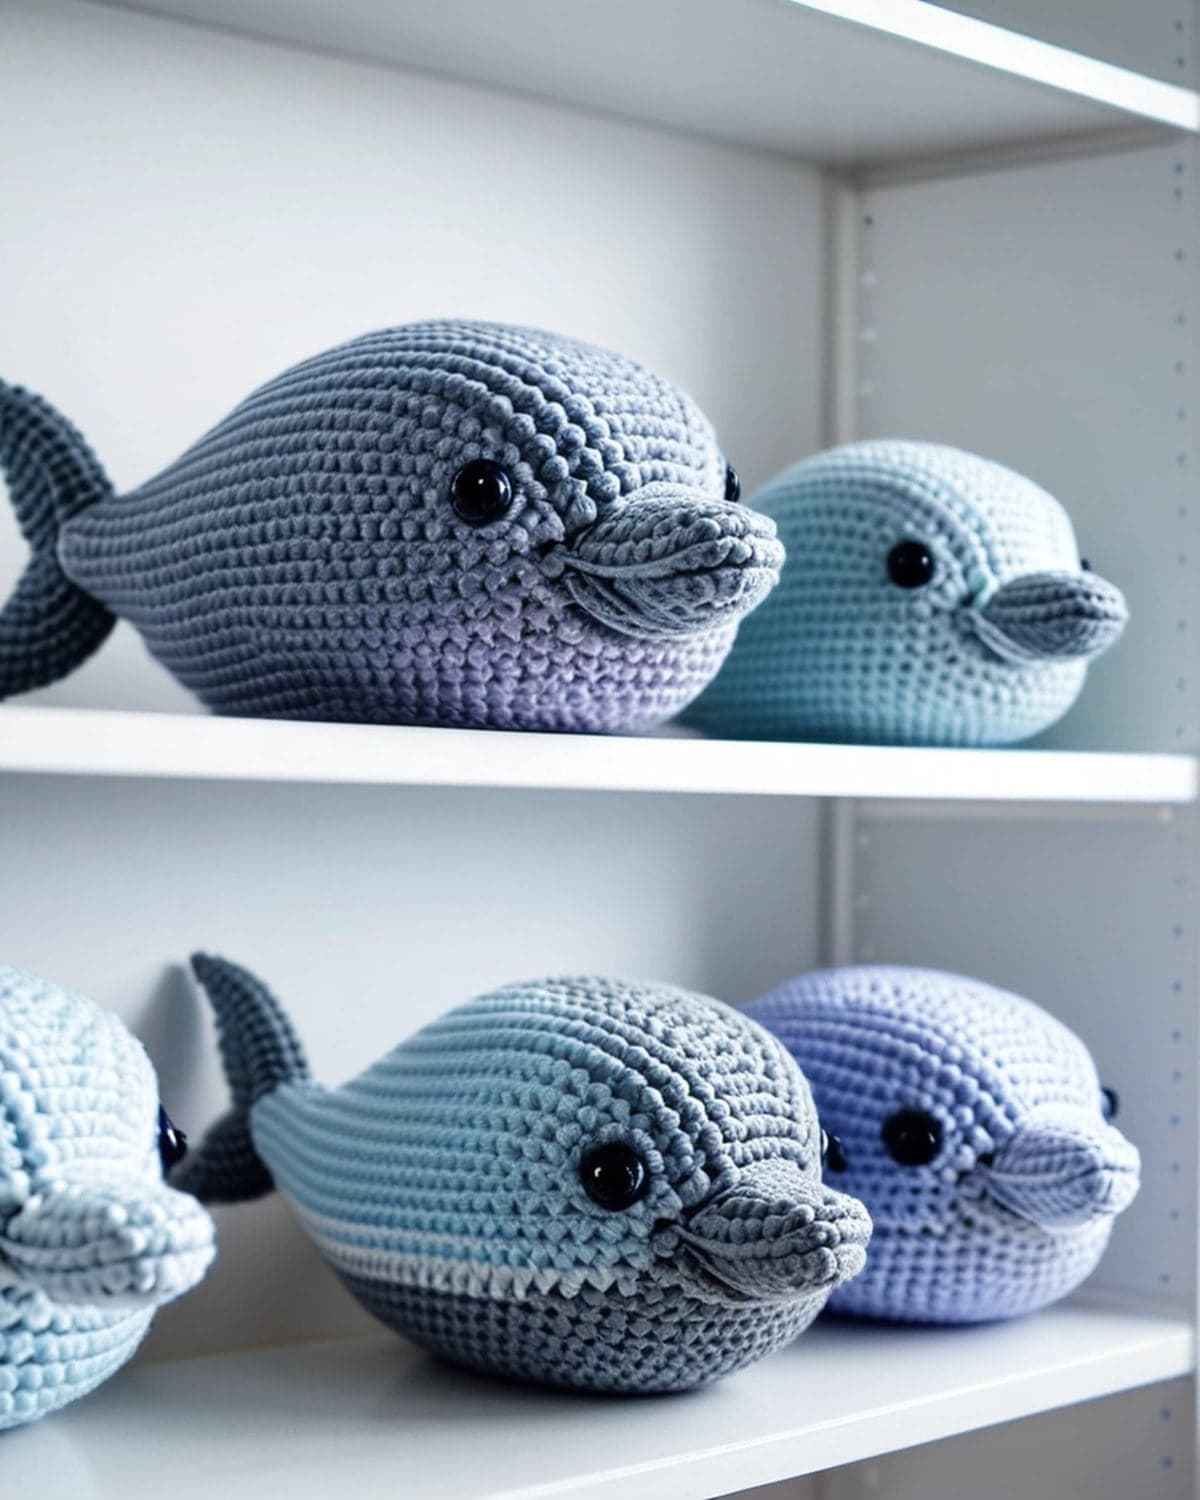 Whales look adorable in families of different sizes.
- Baby whale: use DK cotton and a 2.5 mm hook. Work the body to round 6 (36), then rounds 7 to 12 straight, and decrease from round 16 onwards. About 9 cm (3.5 in) long.
- Big whale: use chunky velvet yarn and a 5 mm hook. The same pattern makes a whale about 28 cm (11 in) long. Use 12 mm safety eyes.
- Mobile: make 3 small whales and hang them from a wooden hoop with fishing line for a nursery mobile. Use embroidered eyes and hang it out of baby's reach.
Colour ideas
- Blue whale: blue-grey body with a pale grey striped belly. Wikipedia's blue whale article shows its colouring.
- Orca: black body, white belly and a white oval behind each eye.
- Narwhal: grey with darker spots and a cream spiral tusk: crochet a long thin cone (4 sc in a magic ring, increasing one stitch every third round).
- Pastel whale: lilac, mint or peach with a cream belly.
- Rainbow whale: change colour every 2 rounds for a striped body. See how to change colours in crochet.
Tips for a neat whale
- Use a small hook and tight stitches.
- Stuff in small handfuls, shaping the head as you go.
- Don't over-stuff the tail, or it won't curve.
- Place the eyes wide apart on the sides of the head. Whales with wide-set eyes look friendlier.
- Hide the colour change jog under the belly.
- Sew with the same yarn as the part you're attaching, so the stitches disappear.
Common problems and fixes
The body is lumpy. Pull the stuffing apart into fluffy pieces before you push it in, and add it a little at a time.
The tail flops down. Pull the yarn tail tighter through the body to curve it, or add a little more stuffing at the base.
The belly puckers. It's too small or sewn too tightly. Sew with small, relaxed stitches, and pin it evenly first.
The fins point forward. Rotate them before sewing so the closed edge points back.
The stitch count is off. Count every round, especially the decrease rounds.
Gift ideas
- Baby shower: a whale in soft cotton with embroidered eyes, tied with a ribbon and a card.
- Nursery set: a whale, a small blanket in matching colours and a mobile.
- Beach house decor: a family of whales in shades of blue and white on a shelf.
- Ocean party favours: mini whales in DK cotton, one for each guest.
Amigurumi, the Japanese art of crocheting small stuffed animals, is the technique behind this whale. Wikipedia's article on amigurumi explains its history.
Caring for your whale
- Spot clean small marks with a damp cloth and a drop of mild soap.
- Hand wash the whole toy in cool water if needed. Squeeze, don't wring, then roll it in a towel.
- Dry it in shape on a towel, away from direct heat. Fibrefill takes a day or two to dry fully.
- Fluff the spout with your fingers once dry.
Check the care symbols on the yarn label before washing. The Craft Yarn Council's guide to care symbols explains them.
Frequently asked questions
Is this crochet whale easy? Yes, for anyone who has made a simple amigurumi before. The body is one long piece with steady increases and decreases.
How long does it take? About 3 to 4 hours.
How much yarn do I need? About 50 m (55 yd) of blue and 12 m (13 yd) of white.
Can I make it as a baby toy? Yes. Use embroidered eyes, a cotton or baby acrylic yarn, and sew everything on very securely. Leave out the yarn spout for babies.
Can I sell whales made from this pattern? Yes. You're welcome to sell what you make.
What to make next
- For a pond friend, try the crochet frog pattern.
- For another sea creature, make the easy crochet octopus.
- For a turtle with a textured shell, see the crochet turtle pattern.
- For a velvet panda, try the crochet panda pattern.
There are more free patterns in the amigurumi section.
Save it for later
Pin this to your Pinterest board so it's there when you're ready to stitch.

Keep stitching