Crochet Frog Pattern: Free Easy Amigurumi Frog for Beginners
Crochet a round, squishy amigurumi frog with big eyes, folded back legs and a happy smile. A free beginner pattern with every round, assembly, a lily pad and a strawberry hat.
By AlixaPublished 9 min read

This little crochet frog is round, squishy and impossible not to smile at. He has big eyes on top of his head, a chubby body, folded back legs that let him sit up on his own, and two little arms. He's about 10 cm (4 in) tall, he takes an afternoon to make, and he's one of the best amigurumi patterns for a confident beginner.
This free crochet frog pattern includes every round with stitch counts, step-by-step assembly, face embroidery, a lily pad for him to sit on, and ideas for a strawberry hat, colour variations and making a bigger or smaller frog.
Terms used here: US crochet terms. Single crochet (sc) is UK double crochet.
About this pattern: it's a simple design written for this guide. Each round's stitch count has been checked so the numbers add up. The finished size is approximate.
At a glance
| Skill level | Beginner amigurumi (magic ring, increases and decreases) |
| Stitches | Magic ring, sc, inc, invisible dec, sl st |
| Yarn | Worsted (weight 4) cotton or acrylic in green, plus white and pink |
| Hook | 3.5 mm (US E-4) |
| Finished size | About 10 cm (4 in) tall, sitting |
| Time | 3 to 4 hours |
| Construction | Body in one piece; eyes, legs and arms made separately and sewn on |
What you need

- Worsted yarn (weight 4) in frog green, about 40 m (44 yd). Small amounts of white or cream for the eye patches and lily pad flower, and pink for the cheeks. A bright green cotton gives a crisp look; a velvet or chenille yarn gives a plush toy.
- A 3.5 mm (US E-4) hook, smaller than the yarn label suggests, so the stitches are tight and the stuffing doesn't show.
- Two 9 mm safety eyes, or black yarn to embroider the eyes.
- Polyester fibrefill for stuffing.
- Black embroidery thread for the mouth.
- A stitch marker, a tapestry needle and scissors.
Safety first: for babies and children under 3, embroider the eyes instead of using safety eyes, and sew every part on very securely.
Techniques used
- Magic ring. The adjustable start for every round piece. See how to crochet a magic ring.
- Working in a spiral. Don't join the rounds; move your stitch marker up at the start of each round.
- Increase (inc): 2 sc in the same stitch.
- Invisible decrease (dec): insert the hook into the front loop of the next stitch and the front loop of the one after, yarn over, pull through both front loops, yarn over and pull through both loops on the hook.
- Working into a chain on both sides to make an oval, for the back legs.
Amigurumi, the Japanese art of crocheting small stuffed toys, has a long history: Wikipedia's amigurumi article tells the story. New to amigurumi? Start with amigurumi for beginners, which explains each of these with a practice ball.
Body
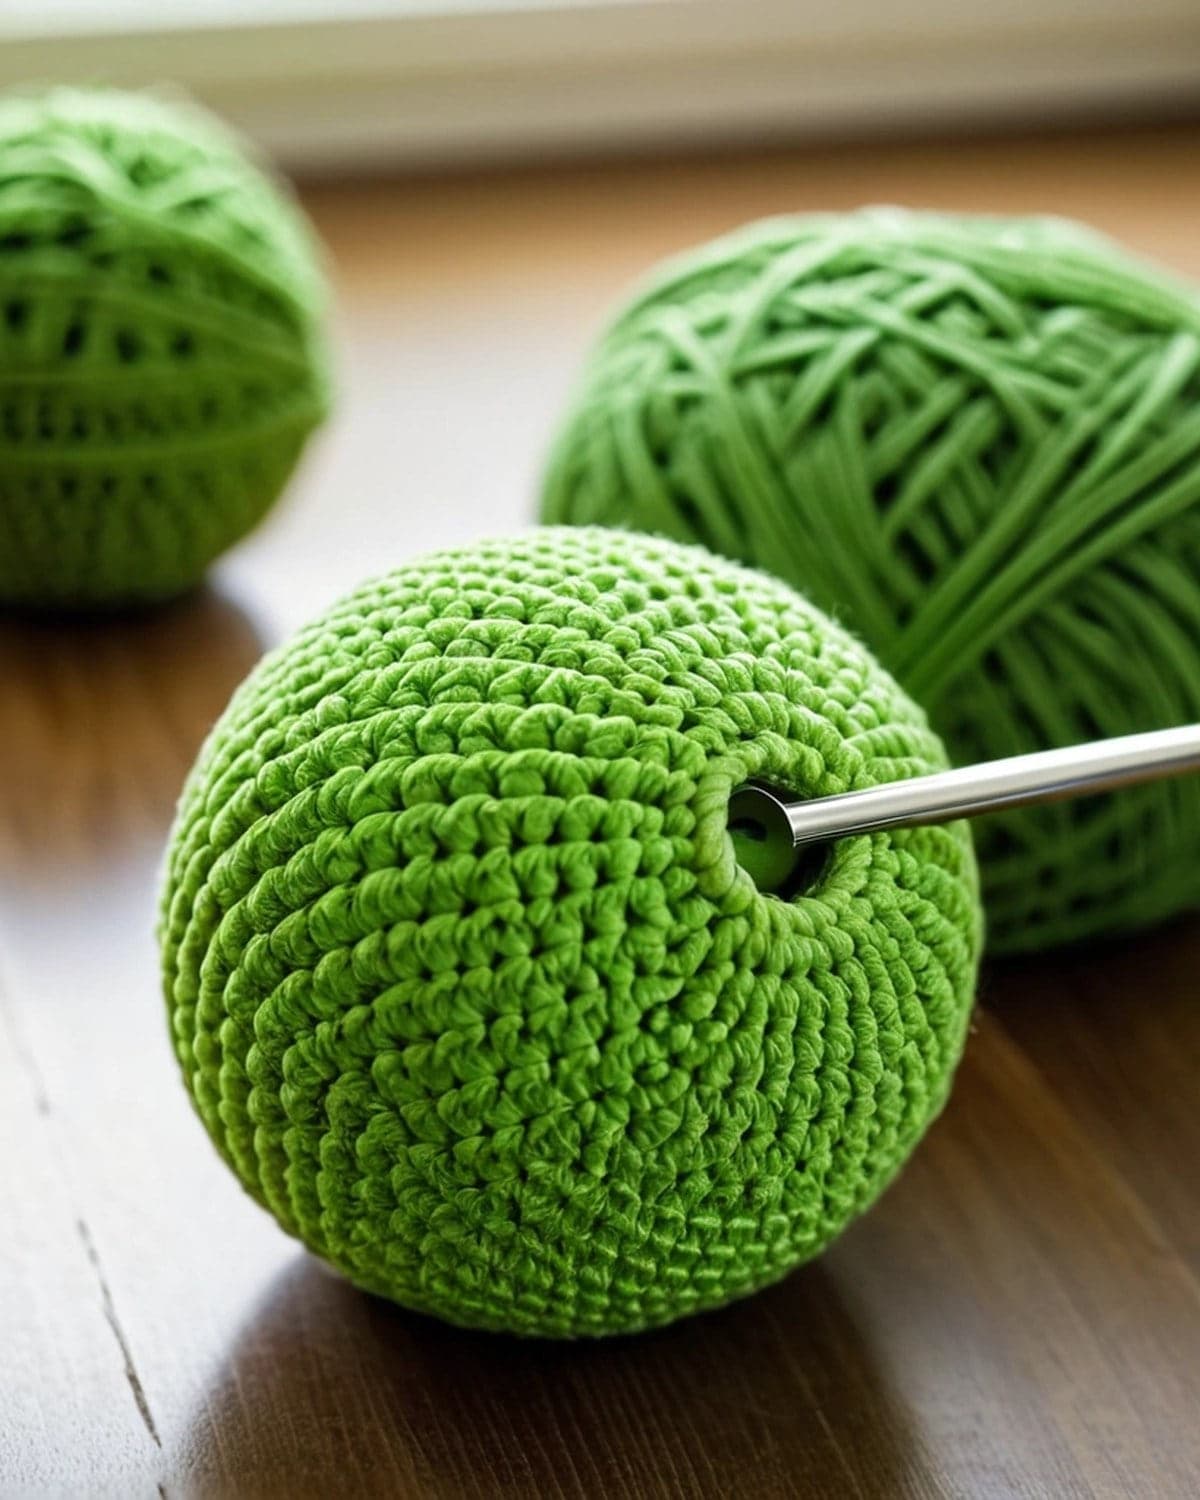
Use green. The head and body are one piece: a round, slightly pear-shaped ball.
- R1: 6 sc in a magic ring (6)
- R2: inc in each st around (12)
- R3: (sc, inc) × 6 (18)
- R4: (2 sc, inc) × 6 (24)
- R5: (3 sc, inc) × 6 (30)
- R6: (4 sc, inc) × 6 (36)
- R7 to R14: sc in each st around (36), 8 rounds
- R15: (4 sc, dec) × 6 (30)
- R16: sc in each st around (30)
- R17: (3 sc, dec) × 6 (24)
- R18: (2 sc, dec) × 6 (18)
Stuff the body firmly. Push extra stuffing into the bottom so the frog sits flat.
- R19: (sc, dec) × 6 (12)
- R20: dec × 6 (6)
Fasten off. Thread the tail through the front loops of the last 6 stitches, pull tight to close, and weave it in.
Which end is the bottom? The round where you started (the magic ring) is the top of the frog's head. The closed end at round 20 is the bottom he sits on.
Eyes (make 2)
Use green. The eyes are little domes that sit on top of the head.
- R1: 6 sc in a magic ring (6)
- R2: inc in each st around (12)
- R3: (sc, inc) × 6 (18)
- R4 to R6: sc in each st around (18), 3 rounds
Slip stitch into the next stitch and fasten off, leaving a 30 cm (12 in) tail for sewing.
Add the eyes:
- With white or cream yarn, embroider a small circle of satin stitches around the centre of round 2, or crochet a small white circle (6 sc in a magic ring, then inc in each st for 12) and sew it on.
- Insert a safety eye through the centre of the white patch, between rounds 1 and 2, and press the washer on firmly from the inside.
- Stuff the eye lightly.
Back legs (make 2)
Use green. The back legs are flat ovals that sit folded at the sides of the body.
- Foundation: ch 6.
- R1: sc in the 2nd ch from the hook, sc in the next 3 ch, 3 sc in the last ch. Working along the other side of the chain, sc in the next 3 ch, 2 sc in the last ch (the one where you made your first sc). (12)
- R2: inc, sc in the next 3 sts, inc in each of the next 3 sts, sc in the next 3 sts, inc in each of the last 2 sts. (18)
- R3 and R4: sc in each st around (18)
Slip stitch and fasten off with a long tail. Don't stuff. Flatten the leg into an oval pad.
Arms (make 2)
Use green.
- R1: 6 sc in a magic ring (6)
- R2 to R6: sc in each st around (6), 5 rounds
Don't stuff. Flatten the opening and sc through both layers, 3 sc, to close. Fasten off with a long tail.
Assembly
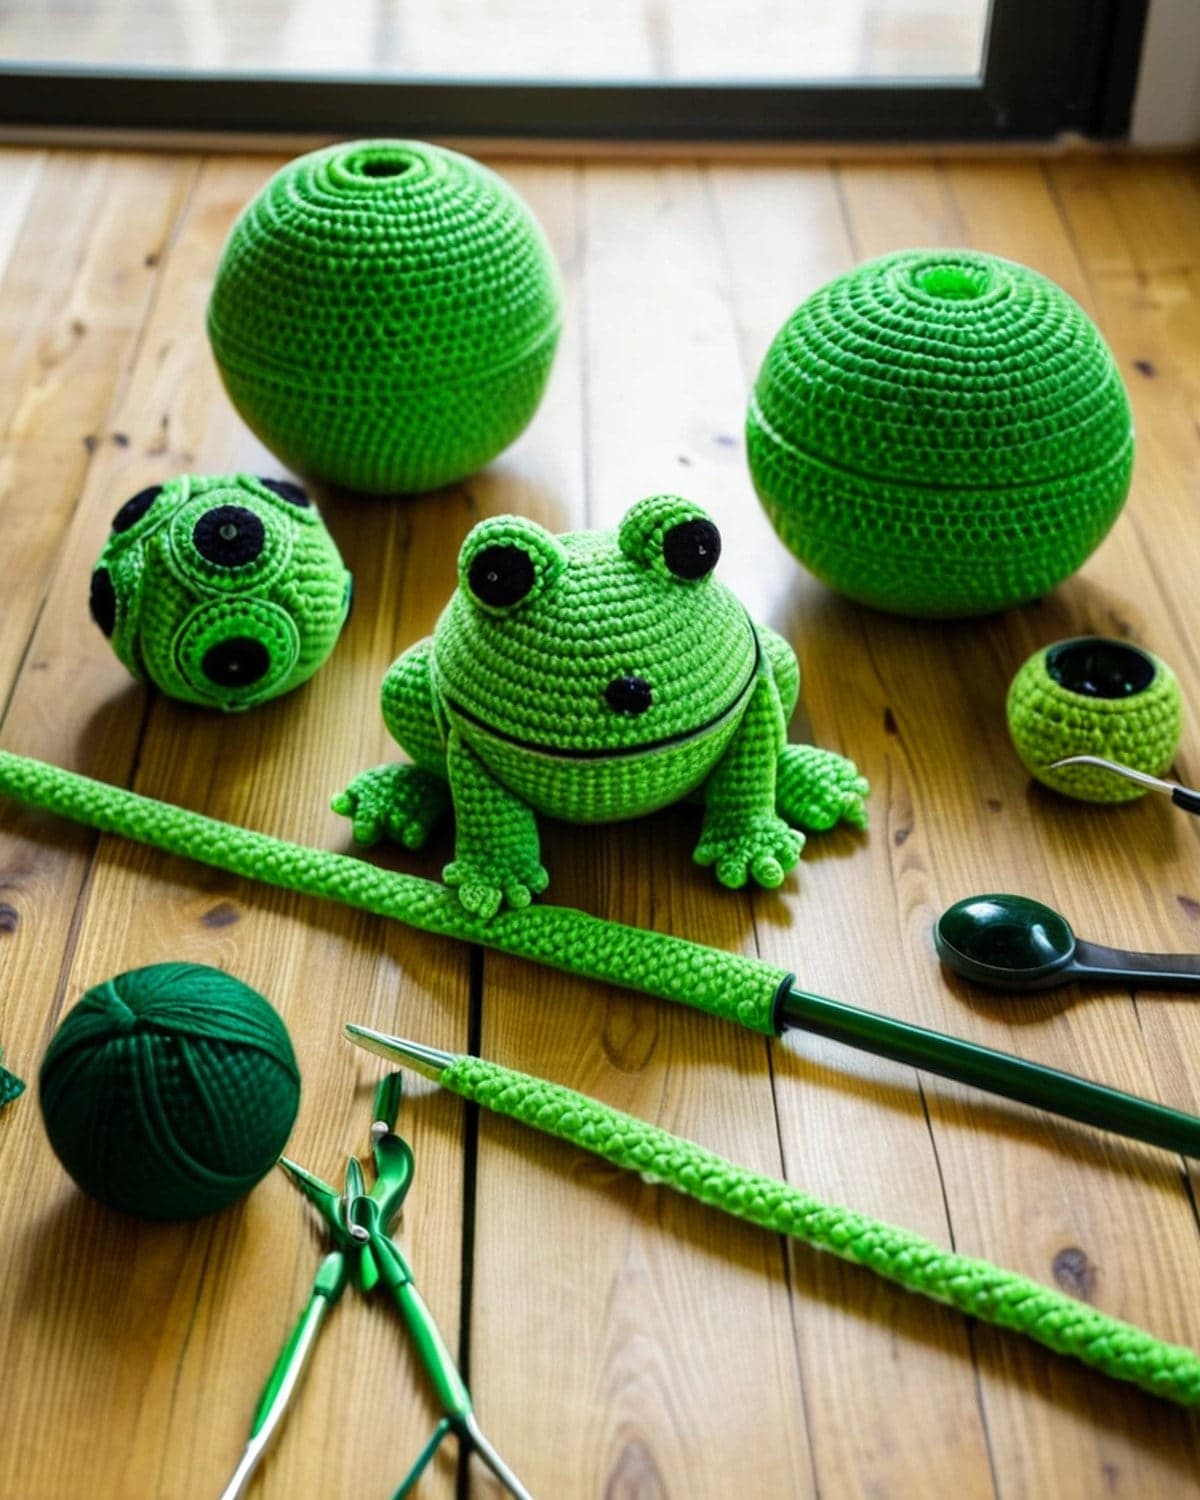
Before sewing, pin all the pieces on with sewing pins and look at the frog from the front. It's easy to move a piece now and hard later.
- Eyes. Pin the two eyes on top of the head, between rounds 3 and 7, with about 3 stitches between them. They should point slightly outwards. Sew around the base of each eye with whip stitch, adding a little more stuffing before you close.
- Back legs. Pin one leg on each side of the bottom of the body, between rounds 15 and 19, angled so the front of the oval points forward. Sew all around the edge. The frog should now sit steadily.
- Arms. Sew the arms at the front of the body, between rounds 13 and 15, about 6 stitches apart, pointing down and slightly towards the middle.
- Mouth. With black embroidery thread, sew a wide, shallow smile across the front, about 2 rounds below the eyes and 8 to 10 stitches wide. Use backstitch along a gentle curve.
- Cheeks. With pink yarn, make 2 or 3 small straight stitches at each end of the smile. Or use a little pink blush powder with a cotton bud.
Weave all the tails inside the body and trim.
Lily pad (optional)
Use a darker green. The lily pad is a flat circle for the frog to sit on.
- R1: 6 sc in a magic ring (6)
- R2: inc in each st around (12)
- R3: (sc, inc) × 6 (18)
- R4: (2 sc, inc) × 6 (24)
- R5: (3 sc, inc) × 6 (30)
- R6: (4 sc, inc) × 6 (36)
- R7: (5 sc, inc) × 6 (42)
Slip stitch into the next stitch and fasten off. Real lily pads have a narrow notch: suggest it by embroidering a straight line of backstitch in a lighter green from the centre to the edge, plus a few thinner lines fanning out like veins.
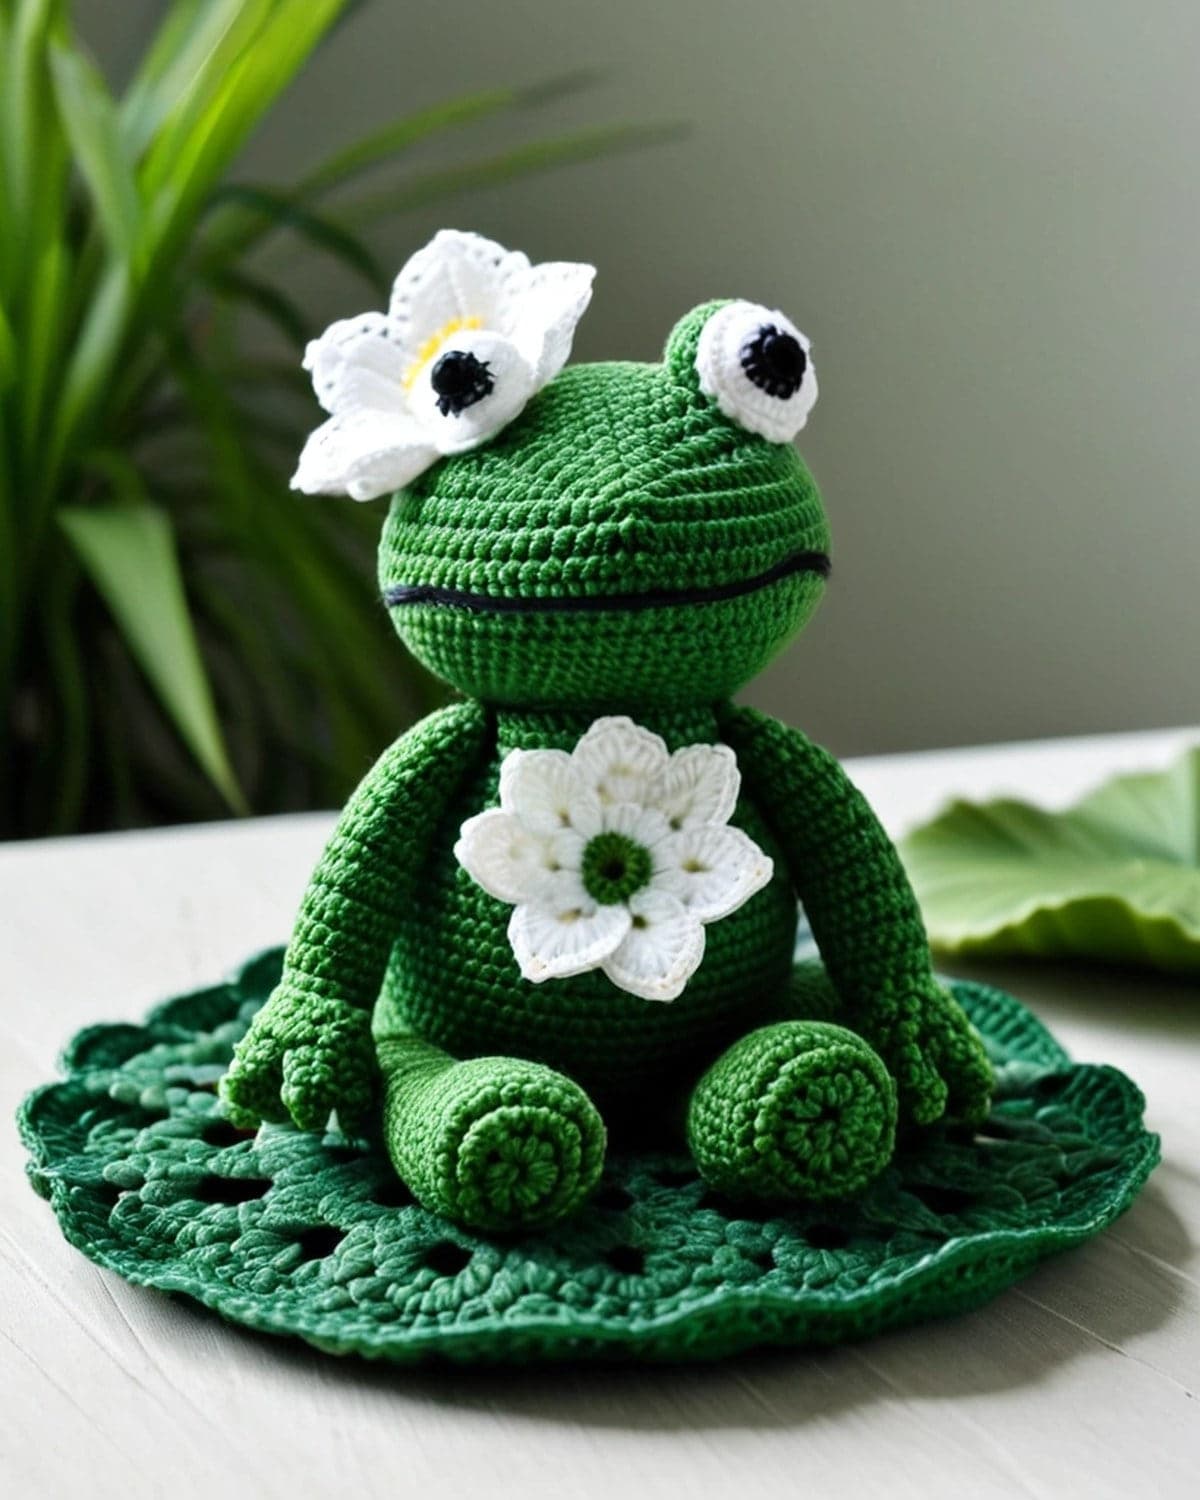 For more on flat circles, see how to crochet a circle. Add a tiny white or pink flower on one side of the lily pad: 5 sc in a magic ring, then (sl st, ch 3, sl st) in each stitch around.
Strawberry hat (optional)
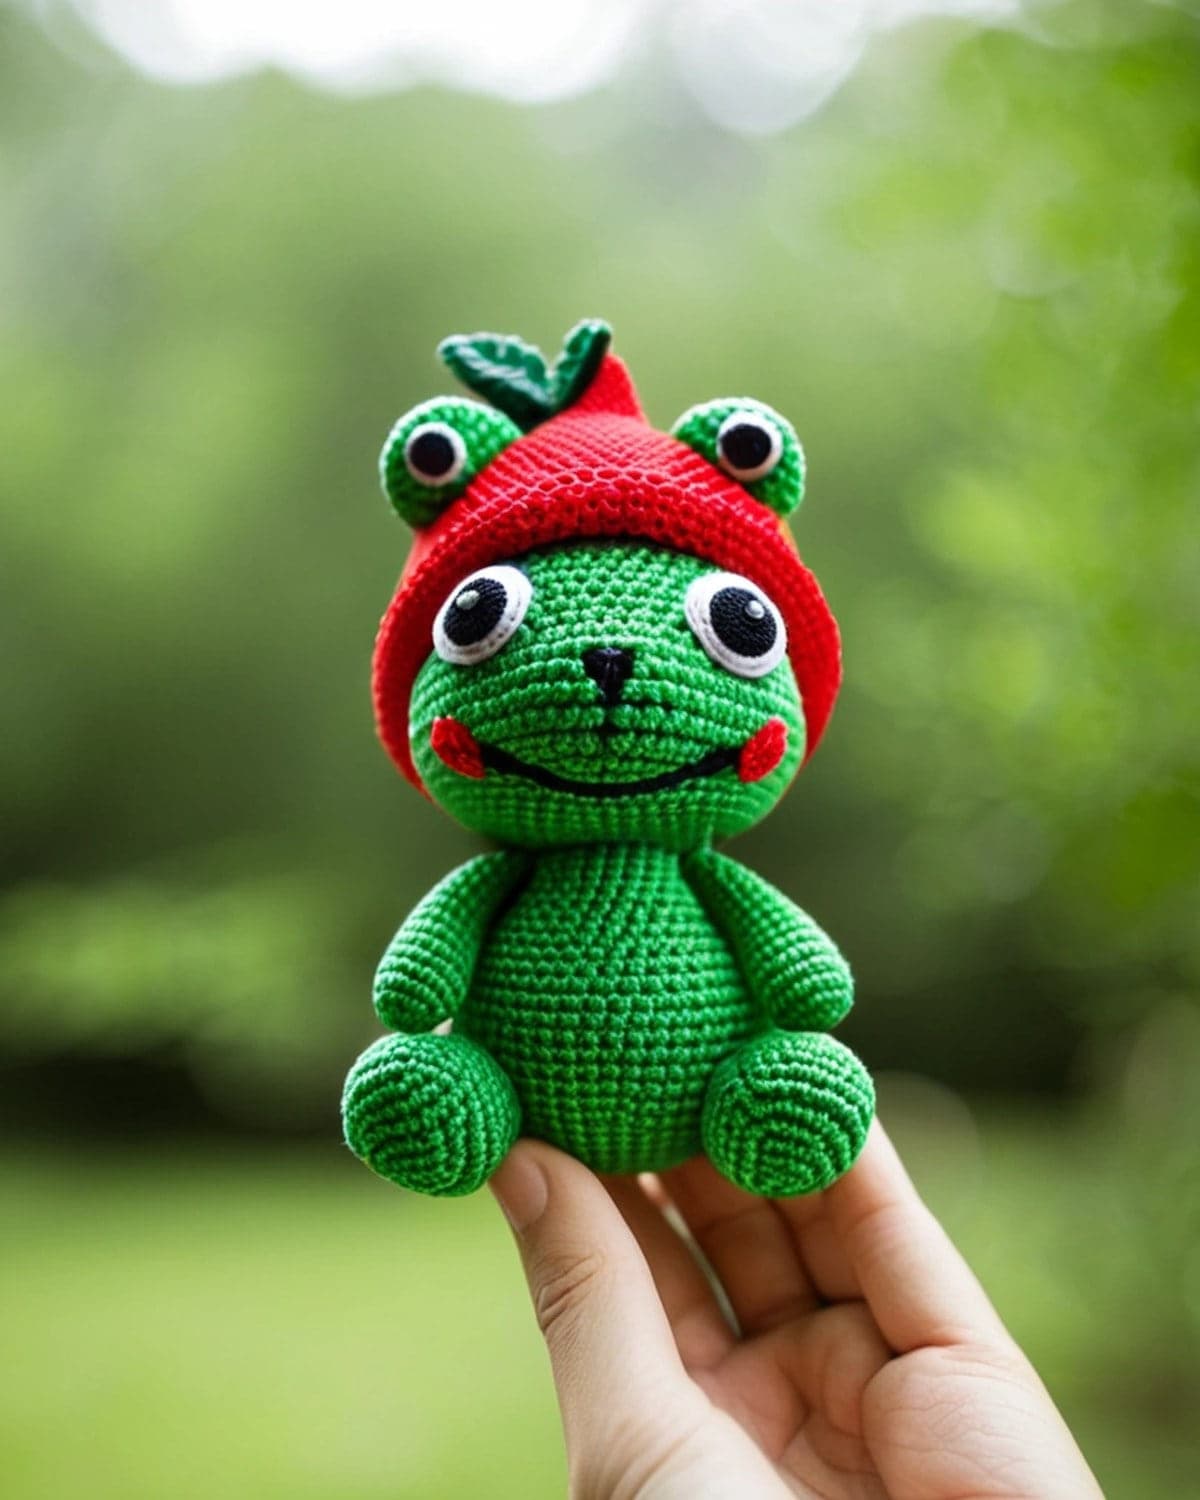
A tiny strawberry hat is a popular accessory for crochet frogs.
- With red: R1 6 sc in a magic ring, R2 inc in each st (12), R3 (sc, inc) × 6 (18), R4 (2 sc, inc) × 6 (24), R5 to R7 sc in each st (24). Fasten off.
- Leaves with green: 6 sc in a magic ring. Then (ch 4, sl st in the 2nd ch from the hook, sc in the next 2 ch, sl st in the next st of the ring) × 6, for 6 little leaves. Fasten off and sew the leaves to the top of the red hat.
- Seeds: embroider small yellow straight stitches all over the red.
Sew the hat to the top of the head, between the eyes, or leave it loose so it can be removed.
Colour ideas
- Classic green: bright apple green with a pale yellow belly patch (crochet a small oval like a back leg and sew it to the front).
- Tree frog: bright green with orange arms and legs.
- Poison dart frog: electric blue with black spots.
- Toad: olive or brown with darker spots.
- Pastel frog: mint, lilac or peach for a soft, kawaii look.
- Mushroom frog: brown body with a red and white mushroom cap instead of the strawberry hat.
Changing the size
- Mini frog keychain: use DK cotton and a 2.5 mm hook for a frog about 6 cm (2.5 in) tall. Add a keyring through the top of the head, as in the crochet turtle keychain.
- Big plush frog: use chunky velvet yarn and a 5 mm hook for a frog about 20 cm (8 in) tall. Use 15 mm safety eyes.
Tips for a neat frog
- Keep your tension tight so no stuffing shows between stitches.
- Stuff firmly, especially the bottom of the body, so the frog sits up.
- Use the same side of the eyes and arms facing out for a matching pair.
- Count every round until you're comfortable with the pattern.
- Pin before sewing, and look at the face from a little distance before you commit.
Common problems and fixes
The frog falls over. Push more stuffing into the bottom and flatten it a little, or sew the back legs further back.
There are holes around the increases. Work tighter or use a smaller hook.
The eyes look crooked. Count the stitches between the eyes and between each eye and the side of the head.
The mouth looks uneven. Mark the two ends with pins first, then stitch the curve between them.
The stitch count is off. Mark the first stitch of every round and count before you move on.
Frequently asked questions
Is this crochet frog good for beginners? Yes, if you've made one simple amigurumi before. The body is a basic ball and the other pieces are small.
How long does it take to make? About 3 to 4 hours, including assembly.
How much yarn do I need? About 40 m (44 yd) of green and a few metres of the other colours.
Can I make it without safety eyes? Yes. Embroider the eyes with black yarn in satin stitch. It's the safer choice for babies.
Can I sell frogs made from this pattern? Yes. You're welcome to sell the frogs you make. Please link to this page instead of sharing the pattern itself.
What to make next
- For an ocean friend, try the crochet whale pattern.
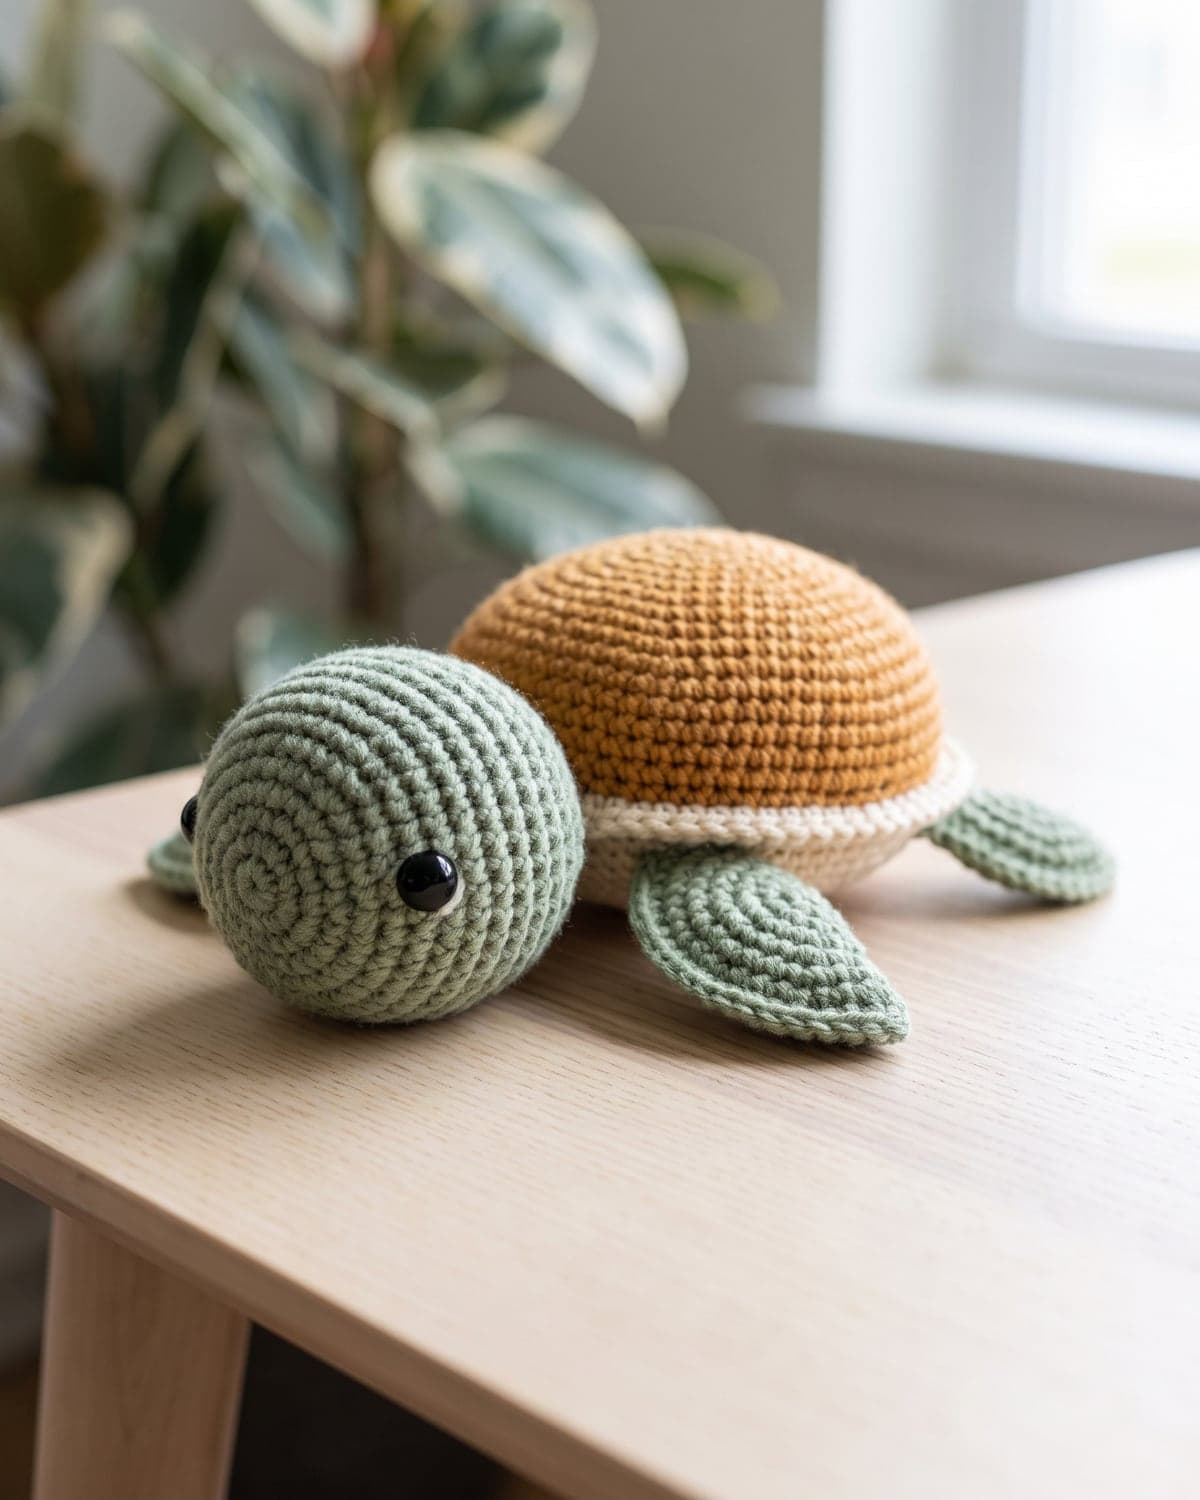
- For a slow and steady friend, see the crochet turtle pattern.
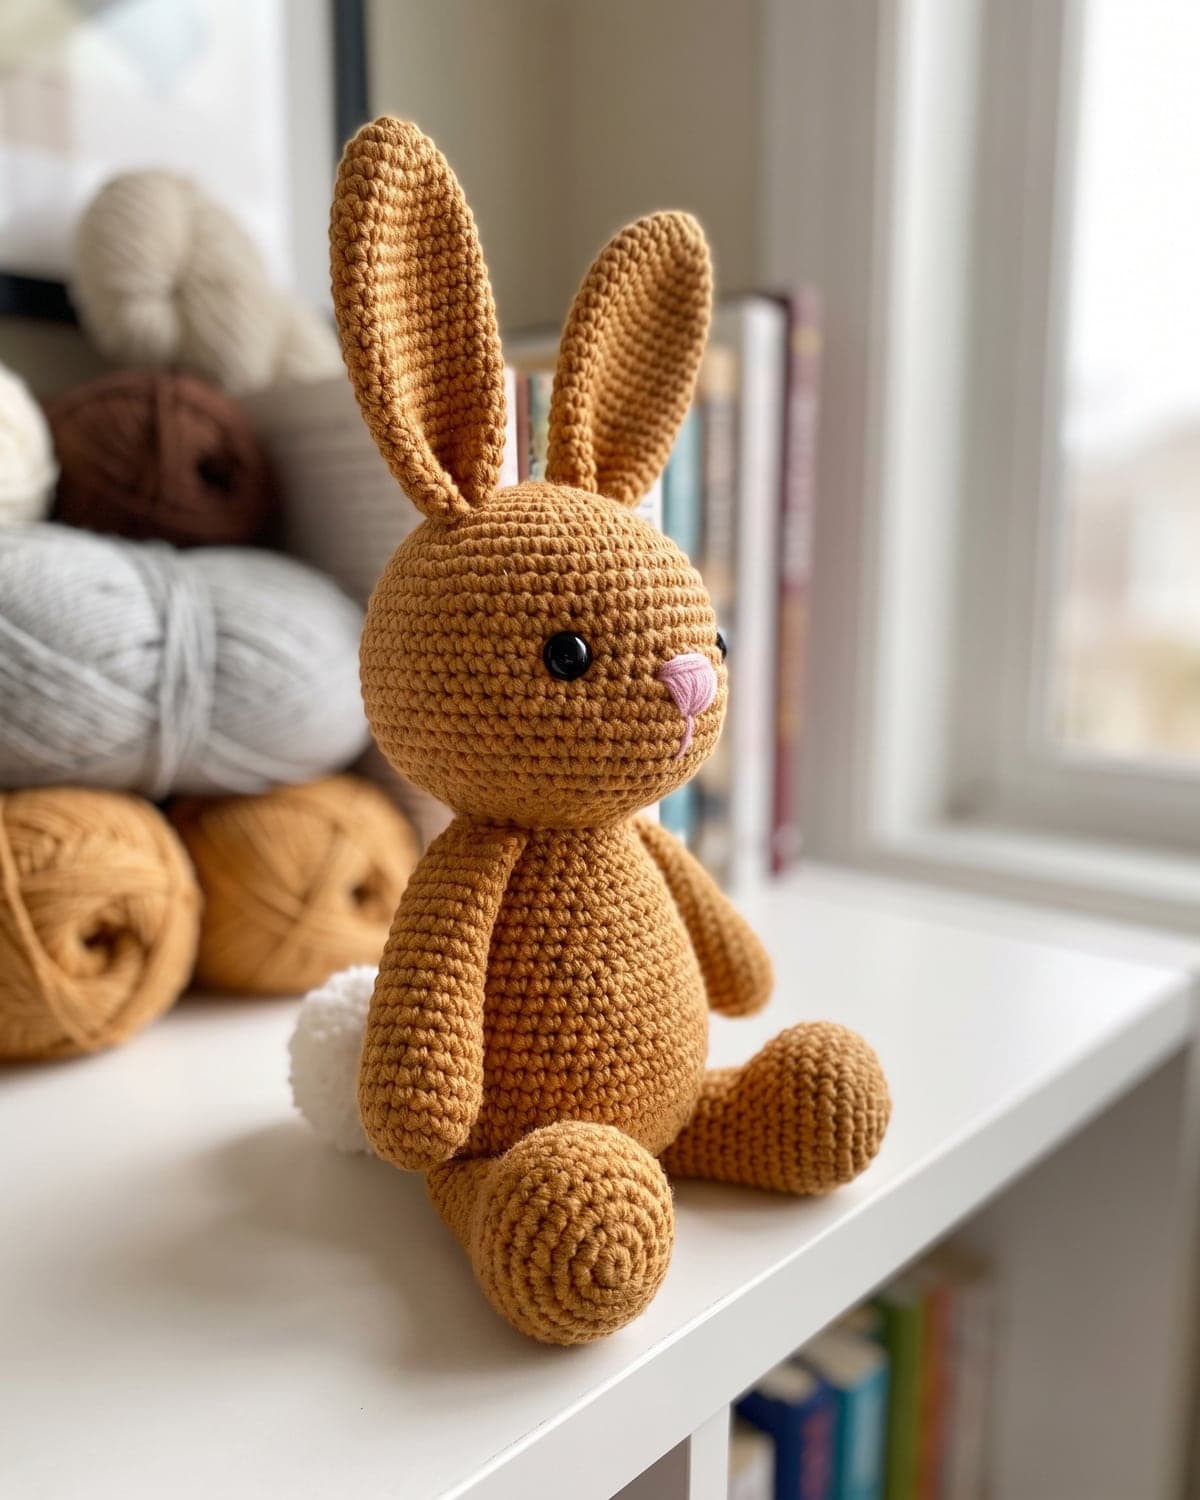
- For a cuddly bunny, follow the crochet bunny pattern.
- For your first amigurumi, start with amigurumi for beginners.
There are more free patterns in the amigurumi section.
Save it for later
Pin this to your Pinterest board so it's there when you're ready to stitch.
Keep stitching