Crochet Christmas Stocking: Easy Free Pattern for Beginners
An easy crochet Christmas stocking made from two flat pieces of half double crochet, joined and finished with a white cuff for a name. Every row with stitch counts, plus a mini stocking ornament and advent calendar.
By AlixaPublished 10 min read
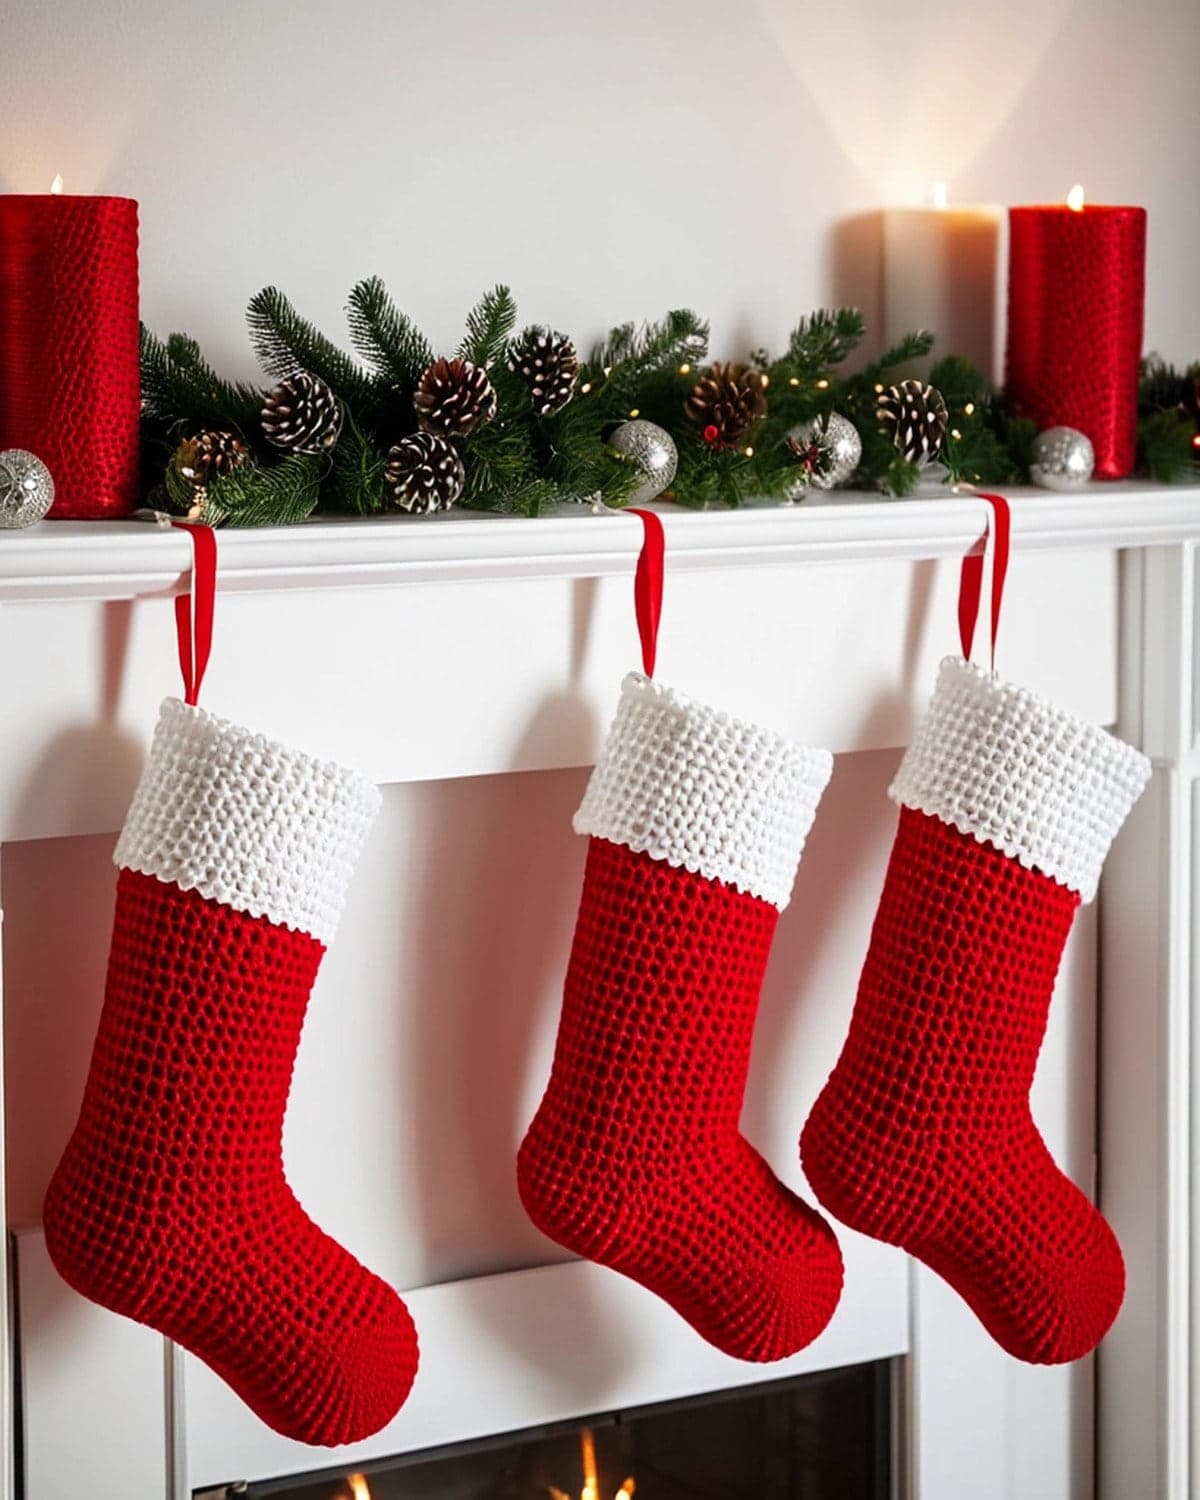
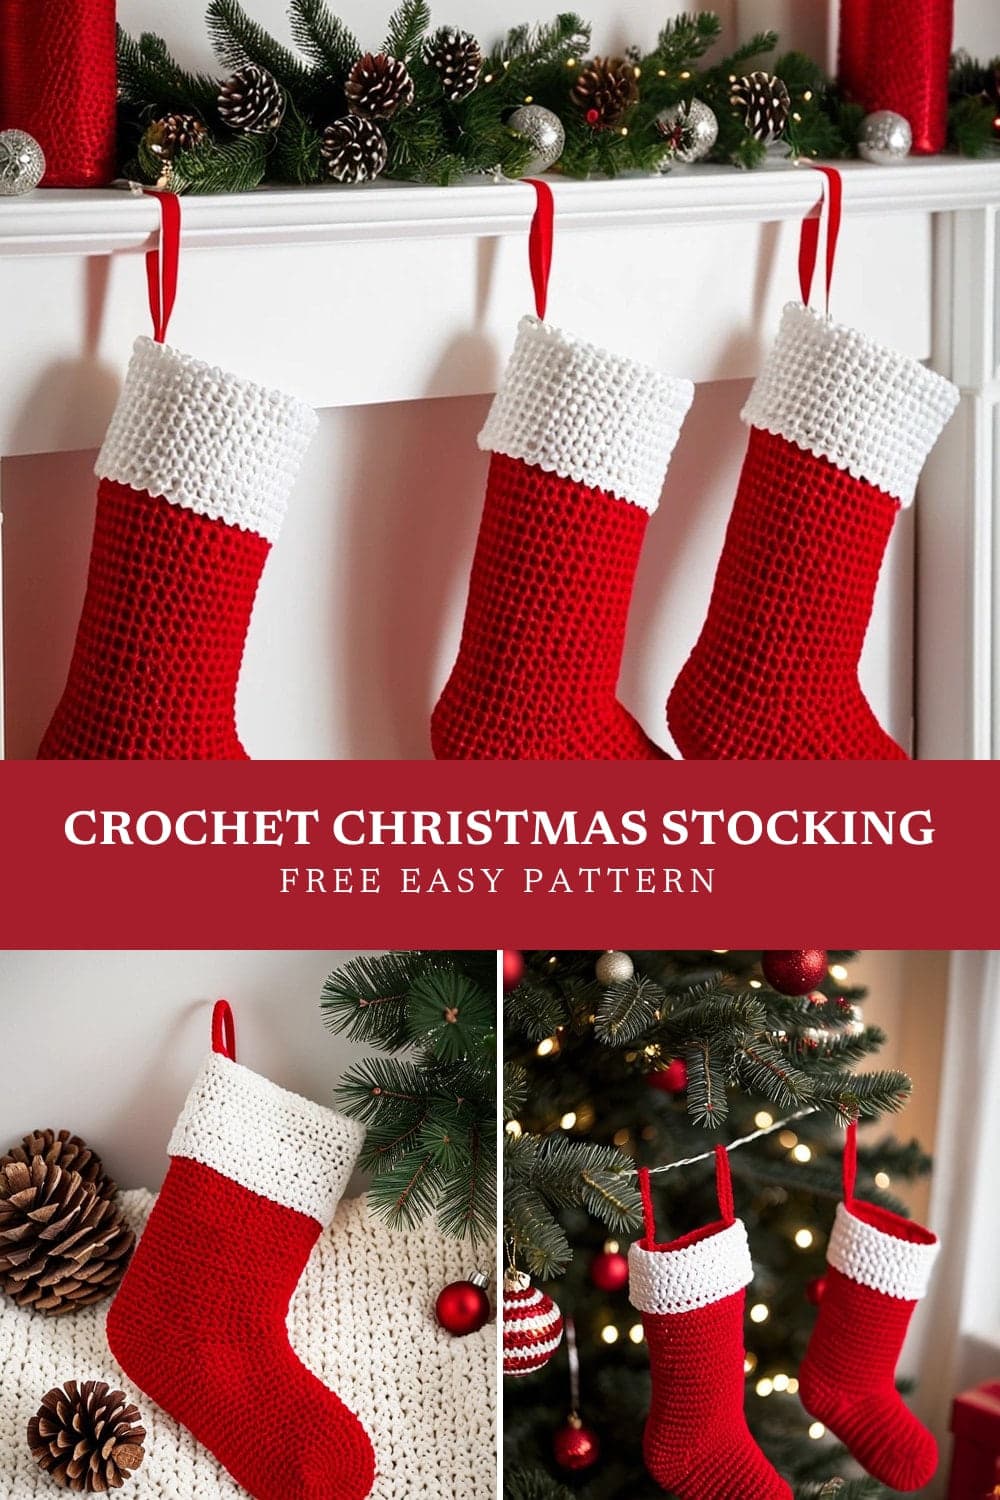
A handmade Christmas stocking is a keepsake that comes out every December for years. This crochet Christmas stocking is made from two flat pieces in half double crochet, joined with a round of single crochet, and finished with a soft white cuff and a hanging loop. There's no heel turning and no working in the round, so it's a perfect first Christmas project.
This free crochet Christmas stocking pattern gives you every row with stitch counts, how to join the pieces, a cuff that's ready to personalise with a name, a mini stocking ornament version, and ideas for stripes, Nordic colours and gift-giving. You can make one for each member of the family in an evening or two.
Terms used here: US crochet terms. Half double crochet (hdc) is UK half treble, and single crochet (sc) is UK double crochet.
About this pattern: it's a simple design written for this guide. Each row's stitch count has been checked so the numbers add up. The finished size is approximate.
At a glance
| Skill level | Beginner (comfortable with hdc in rows) |
| Stitches | Ch, sl st, hdc, hdc2tog, sc, back loop only |
| Yarn | Worsted (weight 4) acrylic in red and white, about 220 m in total |
| Hook | 5 mm (US H-8) |
| Finished size | About 40 cm (16 in) long and 16 cm (6.25 in) wide at the leg |
| Time | 5 to 7 hours |
| Construction | Two flat pieces, joined, then a cuff worked in rounds |
What you need
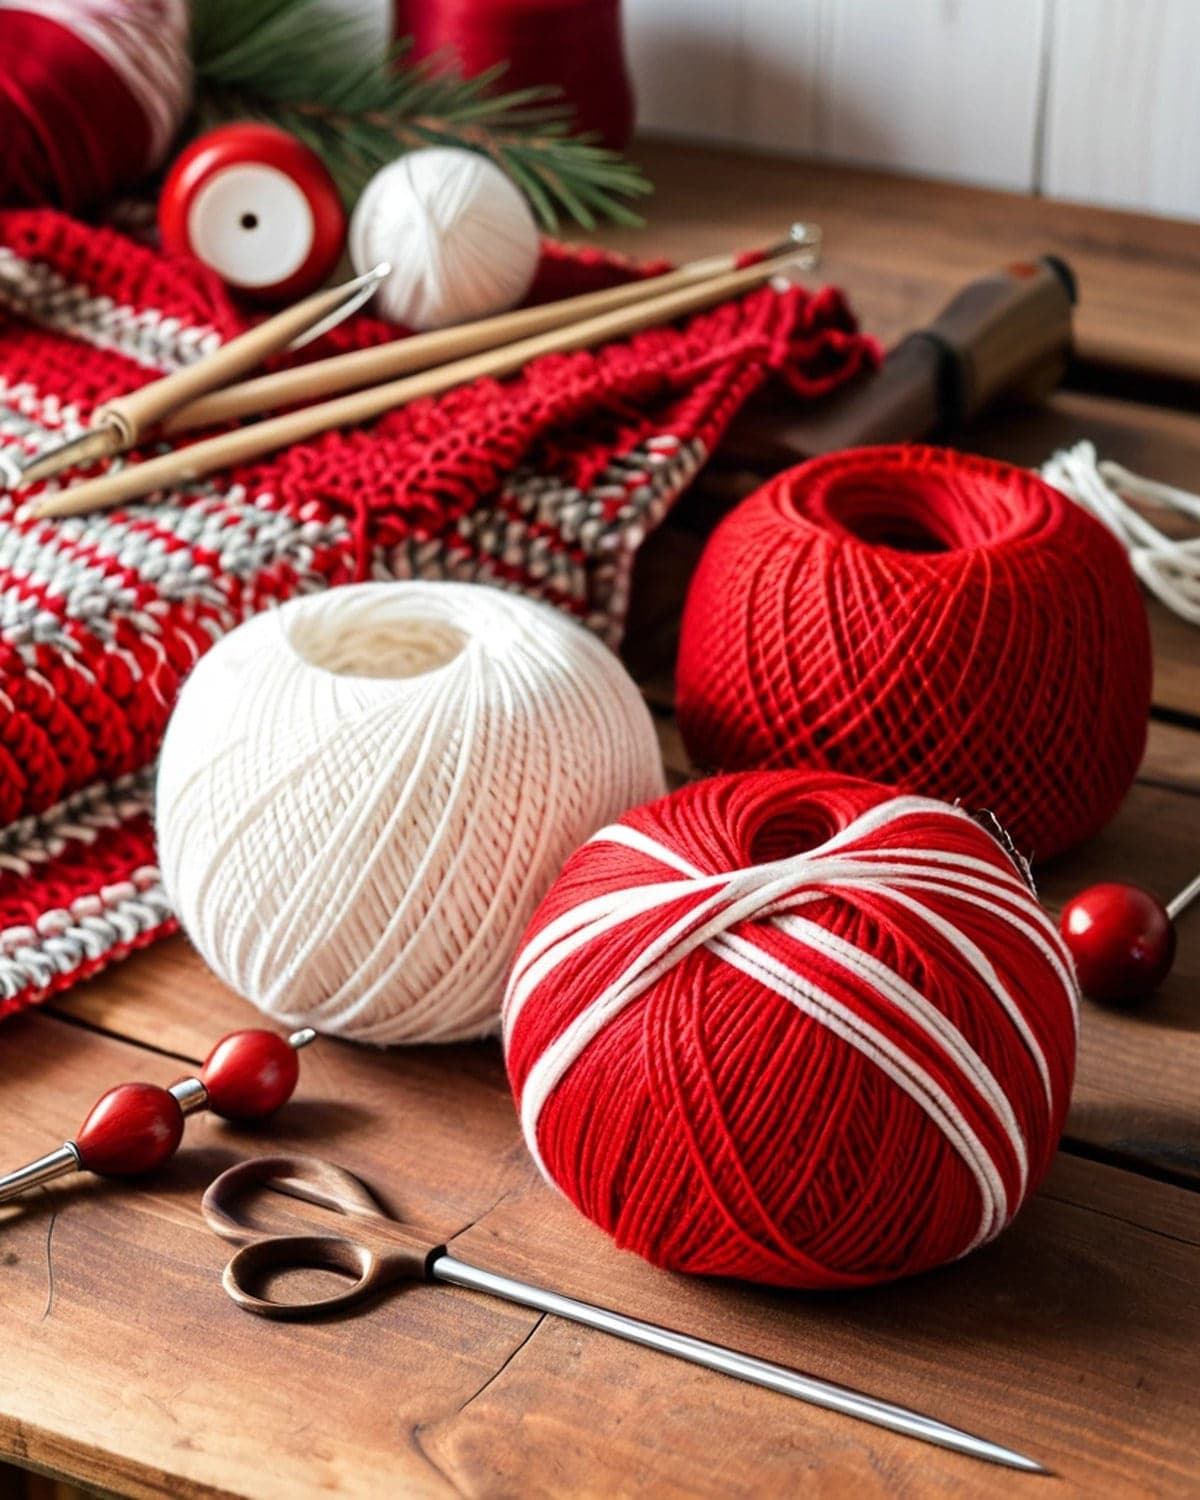
- Worsted yarn (weight 4) in red, about 170 m (185 yd), and white or cream, about 50 m (55 yd). Acrylic is warm, bright and easy to wash. For a softer, fluffier cuff, use a white chenille or velvet yarn.
- A 5 mm (US H-8) hook.
- A tapestry needle, scissors and stitch markers.
- Optional: a small pompom maker, felt letters, or a contrast yarn for embroidering a name.
How this stocking works
Each half of the stocking is one flat piece, worked from the top down:
- Leg: a rectangle of hdc rows.
- Foot: a chain added at the start of one row extends the piece forward to make the foot.
- Toe and heel: a few decrease rows at each end round the bottom.
You make two identical pieces. Half double crochet looks the same on both sides, so you turn one over and it becomes the mirror image. Then you join them, add the cuff and a hanging loop.
The ch-2 at the start of each row does not count as a stitch.
Stocking pieces (make 2)
Leg
Use red.
- Foundation: ch 24.
- Row 1: hdc in the 3rd ch from the hook and in each ch across. Turn. (22)
- Rows 2 to 20: ch 2, hdc in each st across. Turn. (22)
The leg is about 16 cm (6.25 in) wide and 20 cm (8 in) long.

Foot
- Row 21: ch 14. Hdc in the 3rd ch from the hook and in each of the next 11 ch (12 hdc), then hdc in each of the 22 sts across the leg. Turn. (34)
- Rows 22 to 29: ch 2, hdc in each st across. Turn. (34)
The foot now sticks out to one side. That side is the toe; the other side is the heel.
Toe and heel shaping
- Row 30: ch 2, hdc2tog, hdc in each st to the last 2 sts, hdc2tog. Turn. (32)
- Row 31: as row 30. (30)
- Row 32: as row 30. (28)
Fasten off. Weave in the ends.
hdc2tog: (yarn over, insert the hook into the next stitch, pull up a loop) twice. You have 5 loops on the hook. Yarn over and pull through all 5.
Make the second piece the same.
Joining the pieces
- Line them up. Turn one piece over, so the two feet point the same way. Hold them together with the edges matching. Pin with stitch markers.
- Join with single crochet. Starting at the top of the leg at the heel side, join red through both layers. Work sc evenly through both layers down the heel side, around the heel, along the bottom of the foot, around the toe and up the front of the leg to the top. Work about 2 sc into the side of each hdc row, 1 sc into each stitch along the bottom, and 2 sc into the corners at the heel and toe.
- Leave the top open. Fasten off.
 The single crochet seam forms a neat raised edge all around the stocking. For an invisible seam, whip stitch the pieces together with the right sides facing in, then turn the stocking right side out.
Cuff
Use white. The cuff is worked in rounds around the top opening, then folded down.
- R1: join white at the back seam with a sl st. Ch 1, sc in each foundation chain around the top of both pieces, 22 sts per piece. Sl st into the first sc. (44)
- R2: ch 2, hdc in the back loop only of each st around. Sl st into the first hdc. (44)
- R3 to R10: ch 2, hdc in each st around. Sl st to join. (44)
Fasten off and weave in the ends. Fold the cuff down over the outside of the stocking. The back loop round helps it fold neatly. The folded cuff is about 7 cm (2.75 in) deep.
For a fluffy cuff, work rounds 3 to 10 in a white chenille yarn with a 6 mm hook, or add a round of loop stitches.
Hanging loop
With red or white, join yarn at the back seam, just under the cuff fold. Ch 15, and sl st back into the same place. Work 20 sc over the chain loop to make it strong, sl st to finish and fasten off.
Personalising the cuff
 The flat white cuff is perfect for a name.
- Surface slip stitch: draw the letters lightly with a washable fabric pen. Hold red yarn behind the cuff and, with the hook in front, work slip stitches through the fabric along the lines.
- Backstitch: embroider the name with a tapestry needle and red or green yarn.
- Felt letters: cut letters from felt and sew them on with small stitches.
- Duplicate stitch: work small cross stitches on top of the hdc to make pixel letters, using a letter chart.
Write the name on the cuff after folding it, so the letters are the right way up.
Mini stocking ornament
A tiny version makes a lovely tree ornament, gift card holder or advent calendar.
- Leg: ch 12, hdc in the 3rd ch from the hook and across (10). Work 8 rows in total.
- Foot: row 9: ch 8, hdc in the 3rd ch from the hook and next 5 ch (6), then hdc across (16). Work 3 more rows (16).
- Shaping: 1 row of hdc2tog at each end (14).
- Cuff: join the two pieces, then work 3 rounds of white around the 20-stitch top.
Each mini stocking is about 12 cm (4.75 in) long. Make 24 for an advent calendar and hang them on a string with small pegs, or number them with felt.
Making a set for the whole family
A row of matching stockings on the mantel is a lovely sight. To make a set that looks good together:
- Pick one main colour for every stocking and vary the cuff, or keep the cuff the same and change the main colour.
- Use the same yarn throughout, so every stocking is the same size.
- Make the pet stockings smaller with the mini stocking pattern, or a stocking with a paw print embroidered on the cuff.
- Start early. One stocking takes an evening or two, so a family of four needs a couple of weeks of evenings.
Ideas and variations

- Striped stocking: change colour every 2 rows in the leg. See how to change colours in crochet.
- Nordic stocking: work the leg in red with 2 rows of white and a row of green, and add a white heel and toe by working rows 26 to 32 in white.
- Textured stocking: work the leg in moss stitch or alpine stitch for extra texture.
- Granny stocking: make the leg from small granny squares joined in a strip.
- Pompom: add a white pompom to the hanging loop.
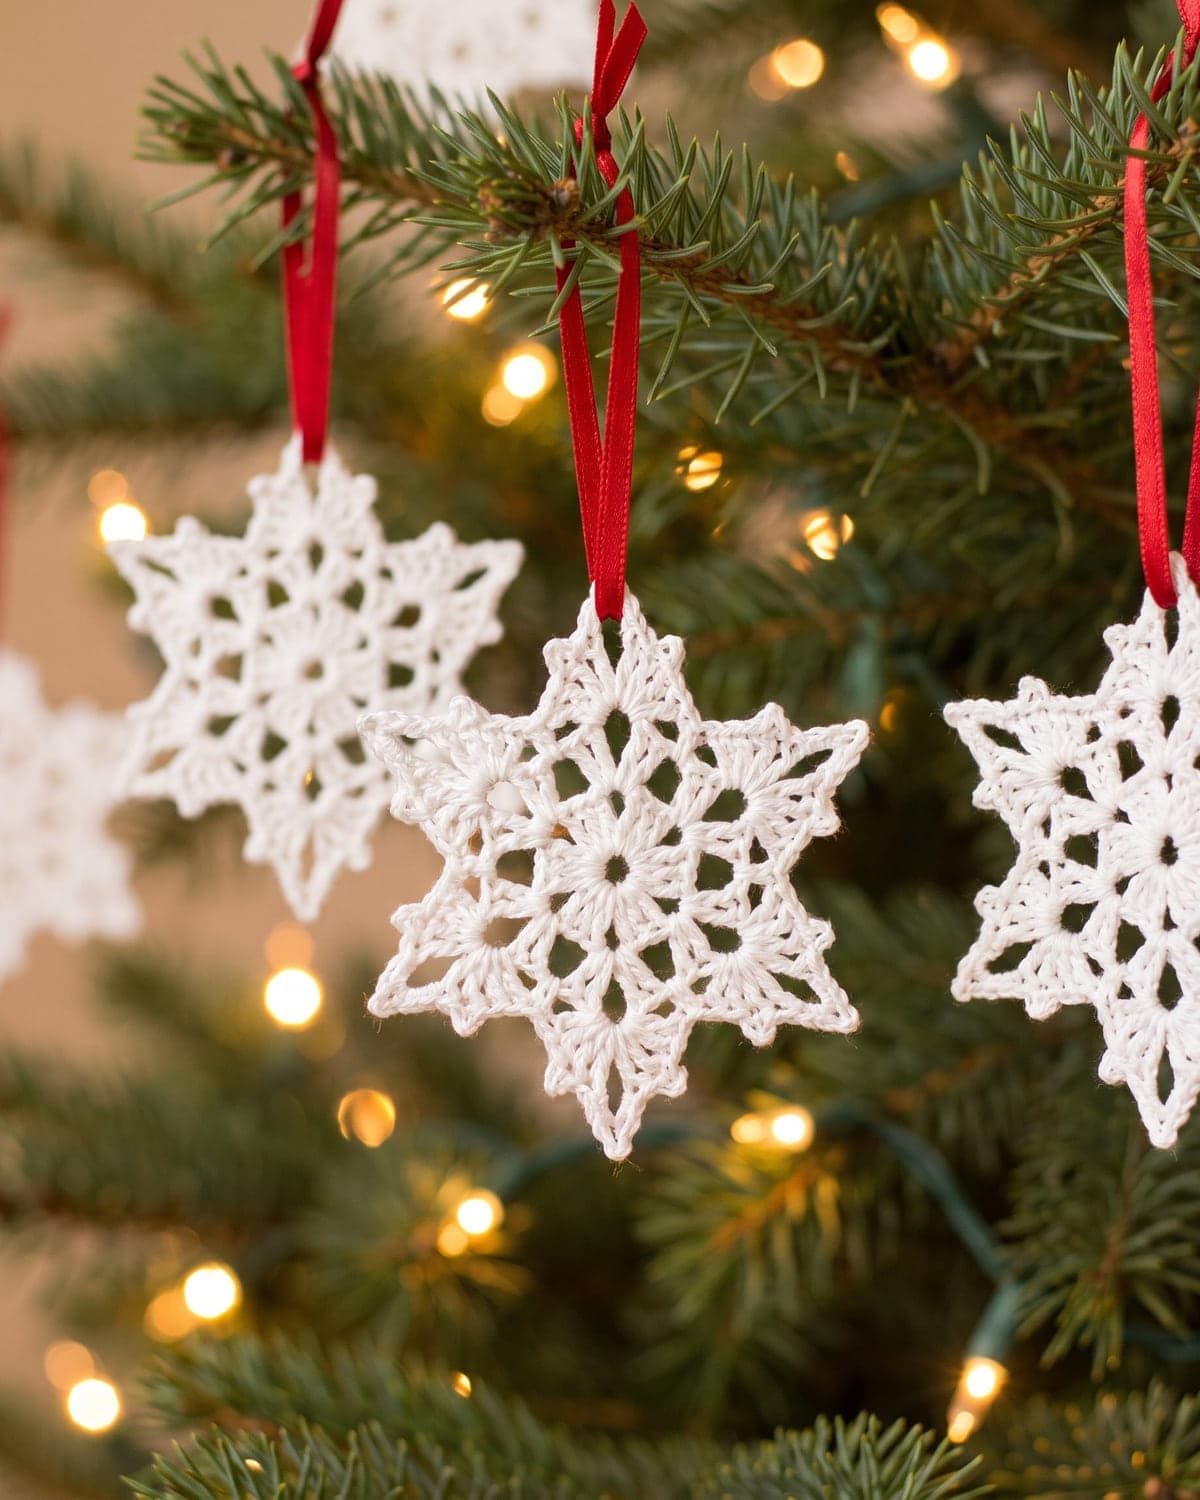
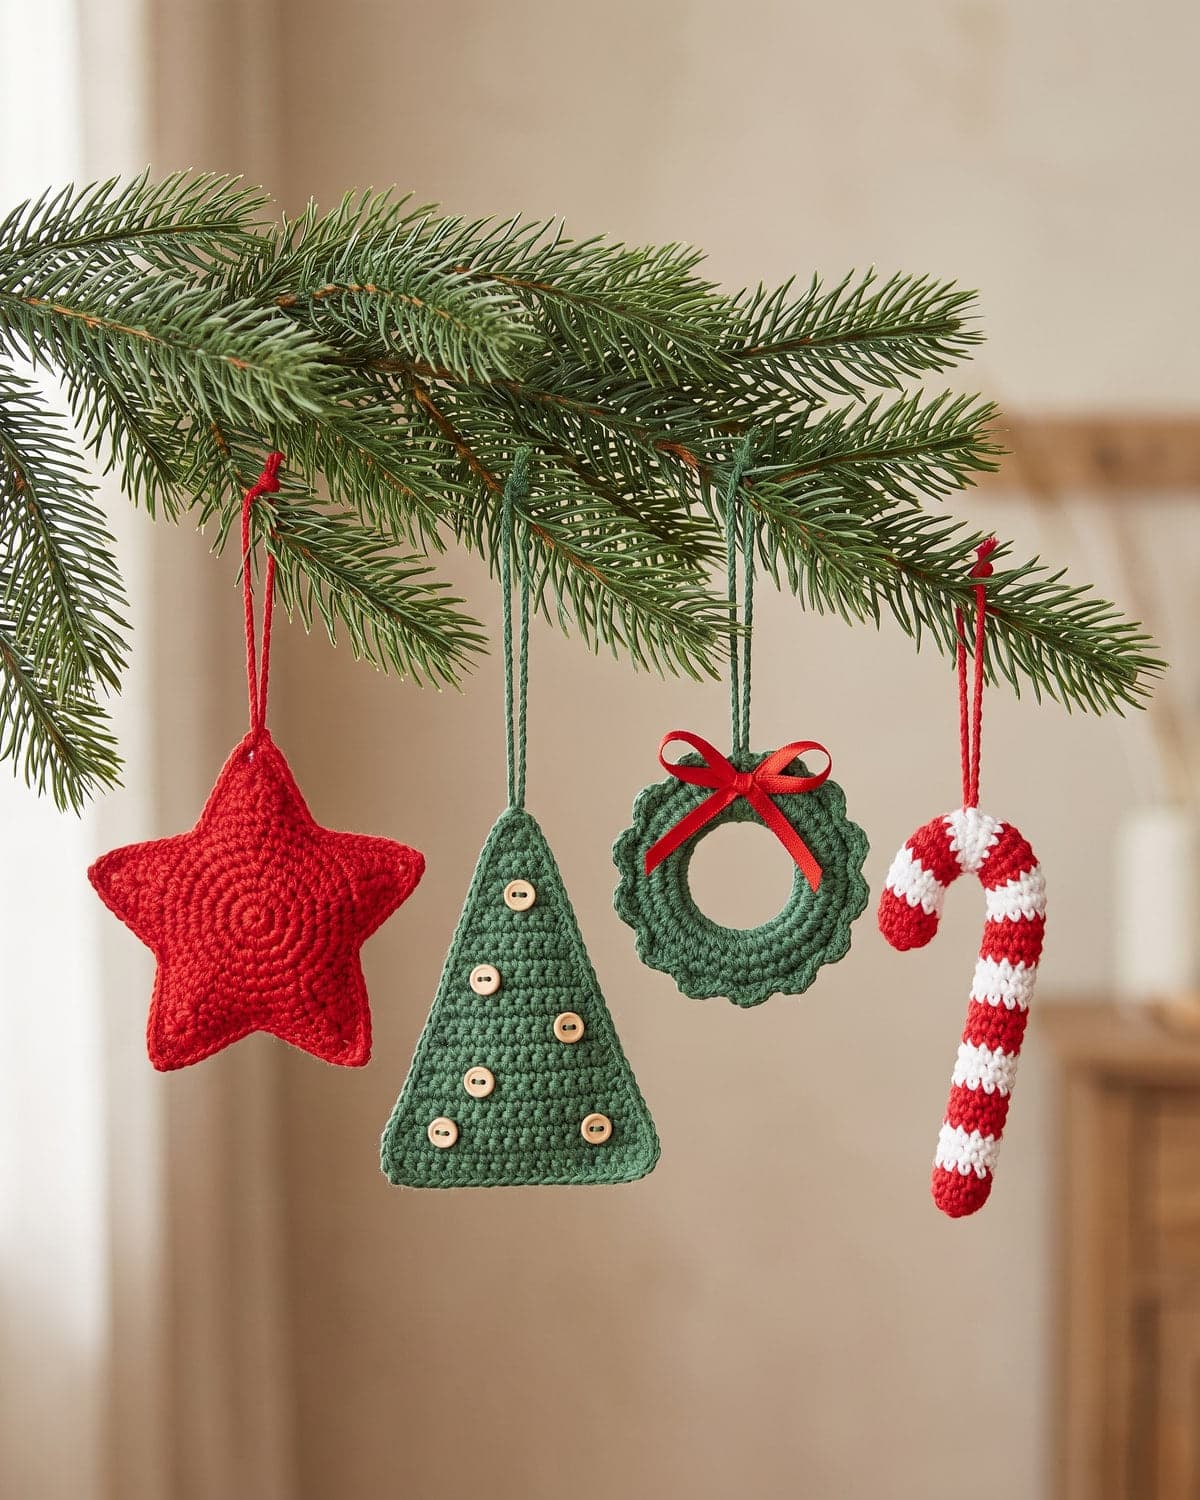
- Decorations: sew a crochet snowflake or a star from the crochet Christmas ornaments pattern onto the leg.
- A gnome friend: sit a crochet gnome in the top of the stocking.
You can read about the history of the tradition in Wikipedia's article on the Christmas stocking.
Colour ideas
- Classic: red with a white cuff.
- Woodland: forest green with a cream cuff and a red name.
- Scandi: grey or oatmeal with a white cuff.
- Modern: blush pink or sage green with a cream cuff.
- Candy cane: red and white stripes.
- Family set: the same pattern in a different colour for each person.
Tips for a neat stocking
- Count stitches every row. Hdc edges are easy to lose a stitch from.
- Make both pieces with the same tension. If they're different sizes, block them first.
- Pin before joining, matching the corners at the heel and toe.
- Block the finished stocking. Spray it lightly with water, lay it flat and let it dry. The edges straighten.
- Weave ends into the seam, where they won't show.
Common problems and fixes
The leg gets narrower. You're missing the last stitch of the row. Work the last hdc into the last stitch, not the turning chain.
The pieces don't match. Count the rows. If one piece is longer, take out the extra row.
The foot points the same way on both pieces. You need to turn one piece over before joining.
The cuff flares. You have too many stitches in round 1. Use exactly one sc per foundation chain.
The hanging loop stretches. Work sc over the chain loop, as described, or double the yarn.
Filling ideas
- Small treats: chocolate coins, a candy cane, a clementine in the toe.
- Handmade gifts: a crochet gnome, a pair of crochet fingerless gloves or a set of easy crochet coasters.
- For crafters: a new hook, stitch markers and a ball of special yarn.
- For children: small books, crayons, hair clips and a little toy.
- Notes: a handwritten note for each member of the family.
Caring for and storing your stocking
- Hand wash the stocking in cool water if it gets dirty. Squeeze out the water, reshape it and dry it flat.
- Store it flat in a box or a cotton bag with a sheet of tissue paper inside, so the cuff keeps its shape.
- Keep it away from moths with a cedar block or lavender bag if it contains wool.
- Brush a fluffy cuff gently before hanging it each year.
The Craft Yarn Council's guide to care symbols explains the symbols on your yarn label.
Frequently asked questions
Is this crochet stocking good for beginners? Yes. It's flat rows of half double crochet with a few simple decreases.
How long does it take? About 5 to 7 hours for a full-size stocking.
How much yarn do I need? About 170 m (185 yd) of red and 50 m (55 yd) of white.
Can I make it bigger? Yes. Add more stitches to the leg (an even number), more chains for the foot, and more rows. Keep the foot about 55% as long as the leg is wide.
Will it hold gifts? Yes, small gifts and sweets. For heavier gifts, line it with fabric.
Can I sell stockings made from this pattern? Yes. Personalised stockings are a popular craft market item.
What to make next
- For a festive friend, try the crochet gnome pattern.
- For tree decorations, see the crochet Christmas ornaments.
- For winter windows, make a crochet snowflake.
- For a cosy gift, try crochet fingerless gloves.
There are more holiday projects in the seasonal section.
Save it for later
Pin this to your Pinterest board so it's there when you're ready to stitch.
Keep stitching
Related crochet projects
Seasonal Crochet Christmas Tree Pattern: Free Easy Mini Trees
7 min read
Seasonal Crochet Gnome Pattern: Free Easy Christmas Gnome for Beginners
9 min read
Seasonal Crochet Snowflake Pattern: 3 Easy Free Designs for Christmas
11 min read
Seasonal Crochet Christmas Ornaments: 4 Easy Patterns for Beginners
12 min read