Crochet Snowflake Pattern: 3 Easy Free Designs for Christmas
Three easy crochet snowflake patterns, mini, classic and large, with checked stitch counts. Learn how to block and stiffen them with glue, starch or sugar, and how to hang and store them.
By AlixaPublished 11 min read
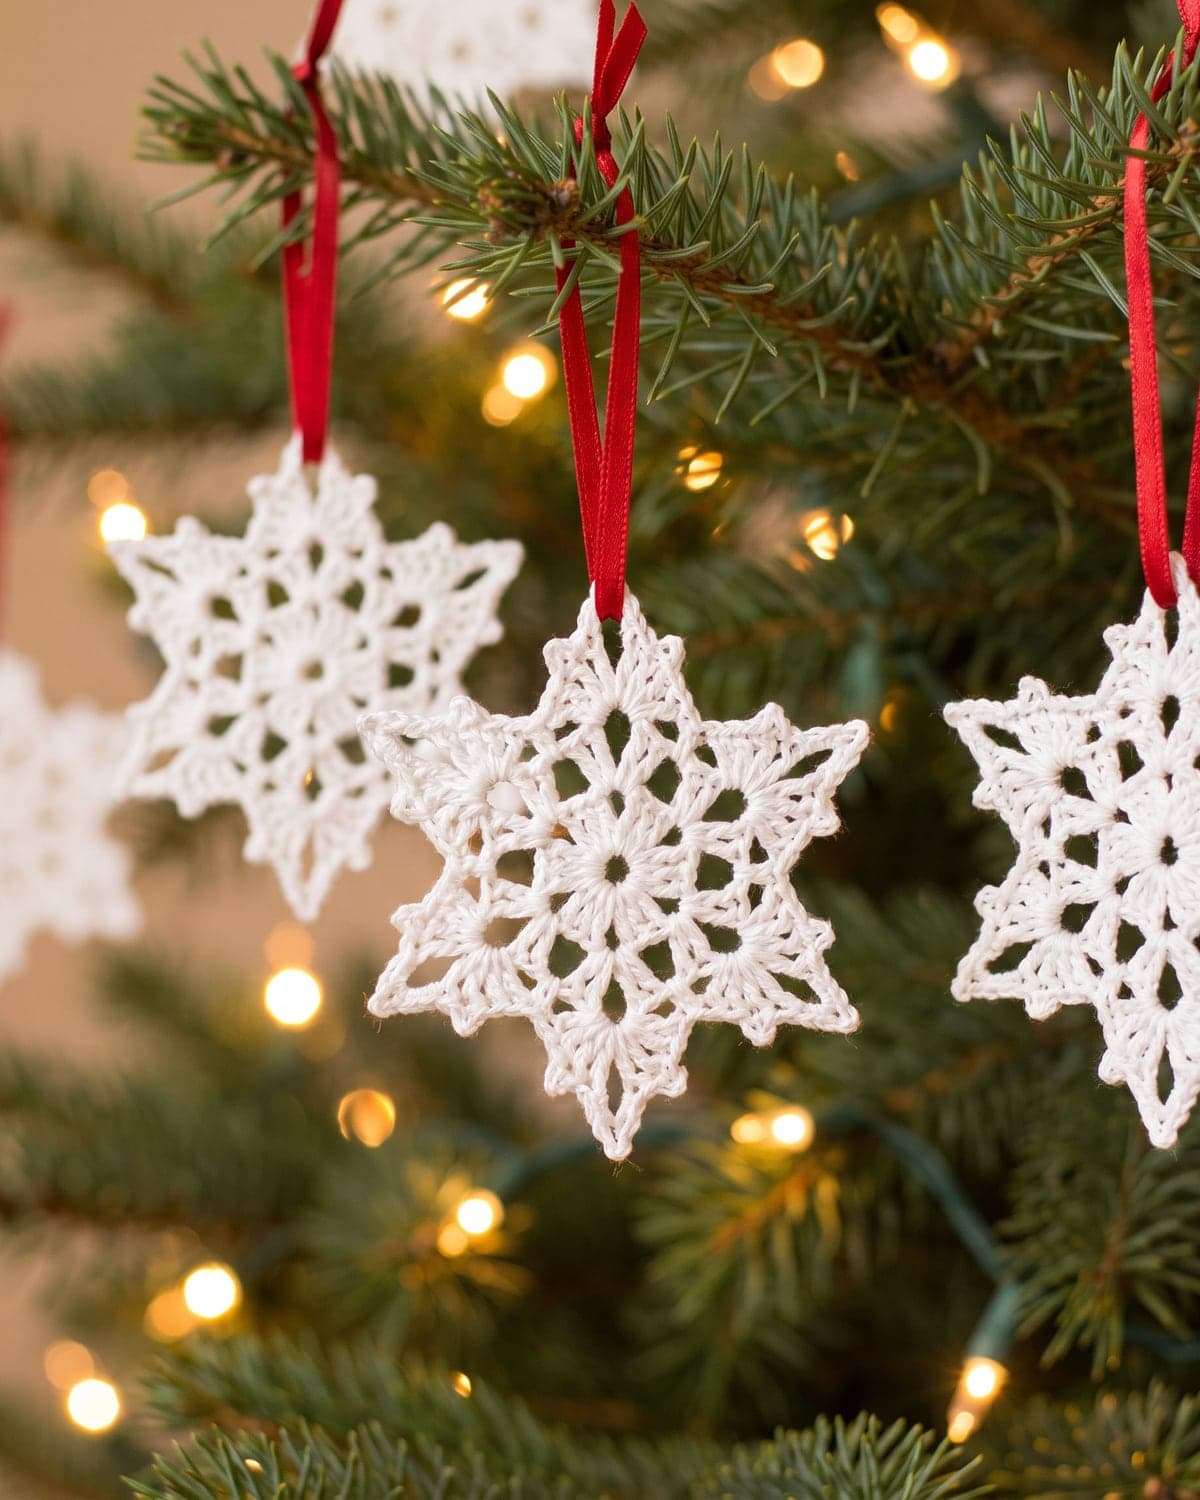
Crochet snowflakes are the perfect small Christmas project. Each one takes ten to twenty minutes and a few metres of thread. They weigh almost nothing, so they hang well on a tree, in a window or on a parcel. And because they're made of chains and simple stitches, they're a gentle introduction to lace.
The one thing that surprises beginners is how a snowflake looks when it comes off the hook: curled, crumpled and nothing like the photo. The shape comes from blocking and stiffening, and that step is explained here in detail.
This guide has three patterns, a mini, a classic and a large pointed snowflake, each with stitch counts checked, plus full instructions for pinning, stiffening and hanging.
Terms used here: US crochet terms. Single crochet (sc) is UK double crochet, half double crochet (hdc) is UK half treble, and double crochet (dc) is UK treble.
About these patterns: they're simple designs written for this guide. The counts have been checked so each round adds up. Finished sizes are approximate and depend on your thread, your hook and how firmly you stretch the snowflake when you pin it.
At a glance
| Skill level | Confident beginner |
| Stitches | Chain, slip stitch, single, half double and double crochet, picot |
| Thread | Size 3 crochet cotton, or fingering / 4-ply cotton (weight 1) |
| Hook | 2.5 mm (US C-2) |
| Finished size | Mini 4 cm, classic 7 cm, large 10 cm (1.5, 2.75 and 4 in) |
| Construction | Worked in joined rounds from the centre, then pinned and stiffened |
| Time | 10 to 20 minutes each, plus drying time |
What you need
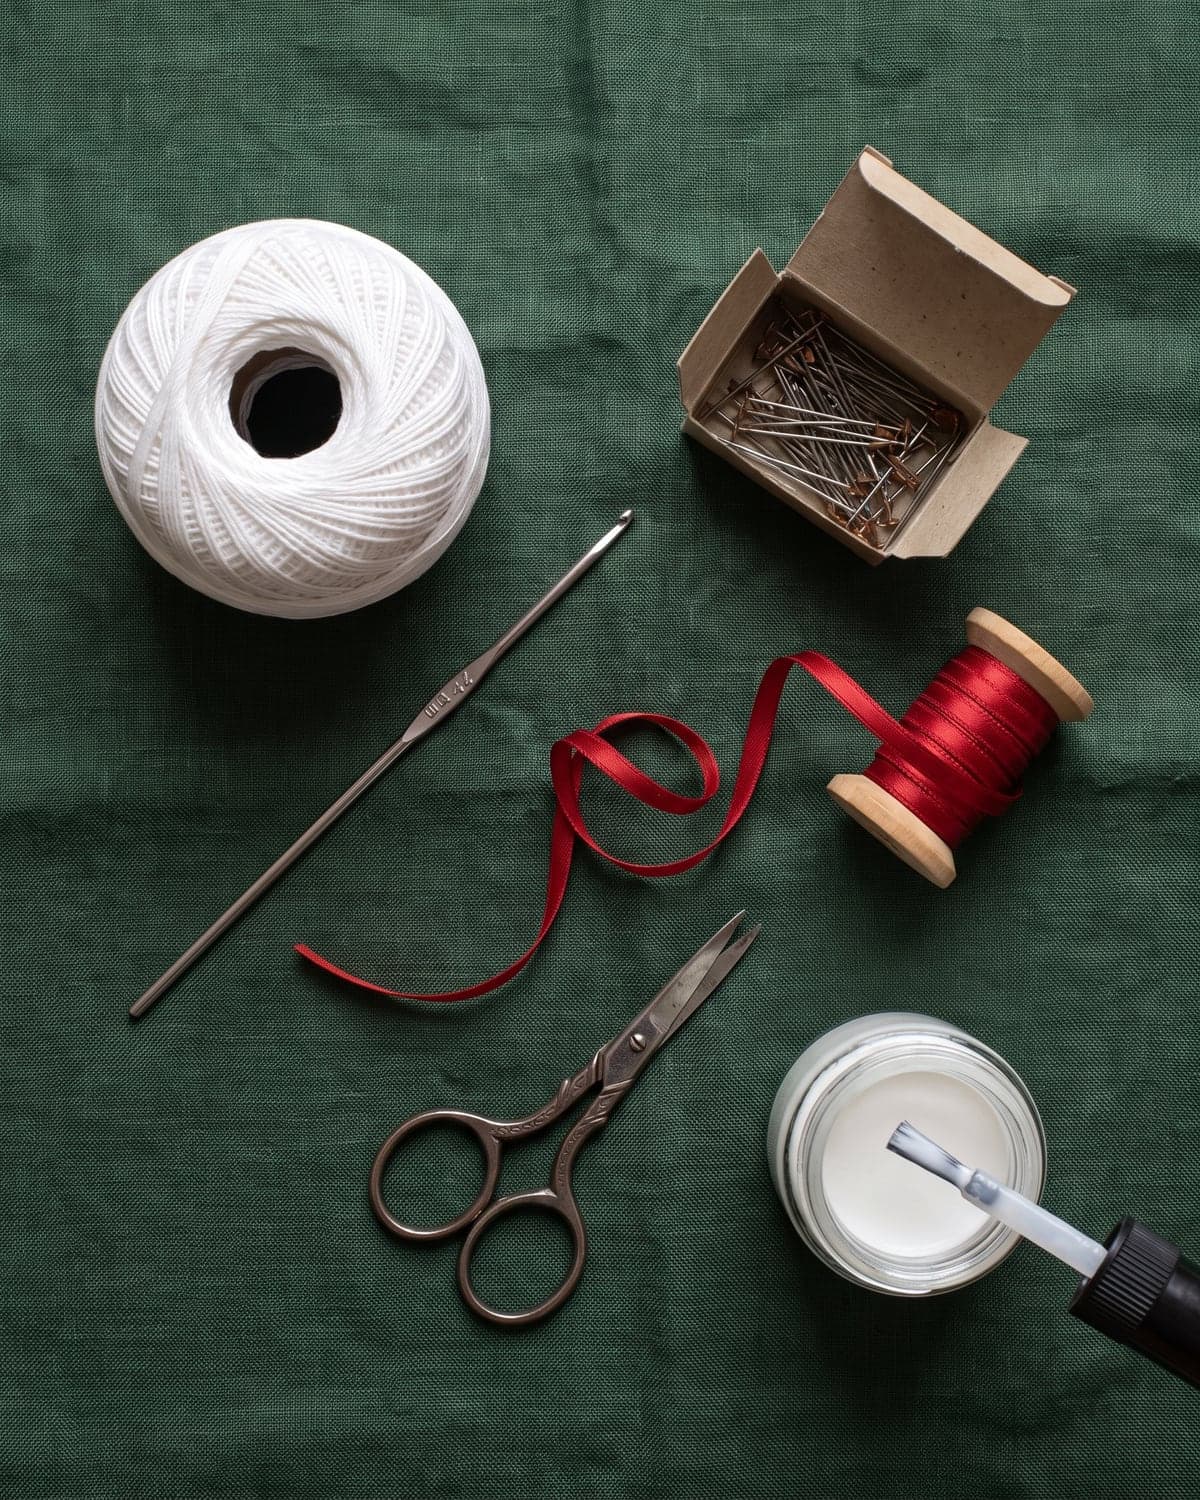
- White cotton thread or fine yarn. Size 3 crochet cotton is ideal for learning: it's fine enough to look delicate and thick enough to see. One 50 g ball makes dozens of snowflakes. Mercerised cotton has a slight sheen and holds its shape well.
- A 2.5 mm (US C-2) hook.
- Small sharp scissors and a fine tapestry needle.
For blocking and stiffening:
- Rust-proof pins. This matters. Ordinary pins can leave rust marks on white thread.
- A foam mat, a cork board or thick corrugated card.
- Baking parchment or cling film to cover the board.
- White PVA craft glue and water, or another stiffener from the list below.
- A small brush or a shallow dish.
- Thin ribbon, thread or ornament hooks for hanging.
Thread and hook options
| Thread | Hook | Result |
|---|---|---|
| Size 10 crochet cotton | 1.5 to 1.75 mm | Fine, traditional and delicate |
| Size 3 crochet cotton or 4-ply | 2.5 mm | Easy to see, and the sizes given here |
| DK cotton | 3.5 mm | Chunky snowflakes about 50% larger |
| Worsted cotton | 4.5 mm | Big, bold, good for garlands |
Start thicker than you think you need. Once the rounds make sense, the same patterns work in any thread. The Craft Yarn Council's hook size chart lists steel and standard hook sizes.
Stitches and terms
- Joined rounds. Each round ends with a slip stitch into its first stitch. You don't turn. The right side always faces you.
- Picot. A small point. Chain 3, then slip stitch into the first of those three chains.
- Chain loop. A length of chain anchored at both ends. On the next round you work into the space under the loop, not into the individual chains.
- Six-fold symmetry. Real snowflakes have six arms, so every pattern here repeats six times around. If you count six of everything, it's right. Wikipedia's article on snowflakes explains why they form that way.
If you need to review the basic stitches, see easy crochet stitches for beginners. For help with working in the round, see how to crochet a magic ring.
Pattern 1: mini snowflake
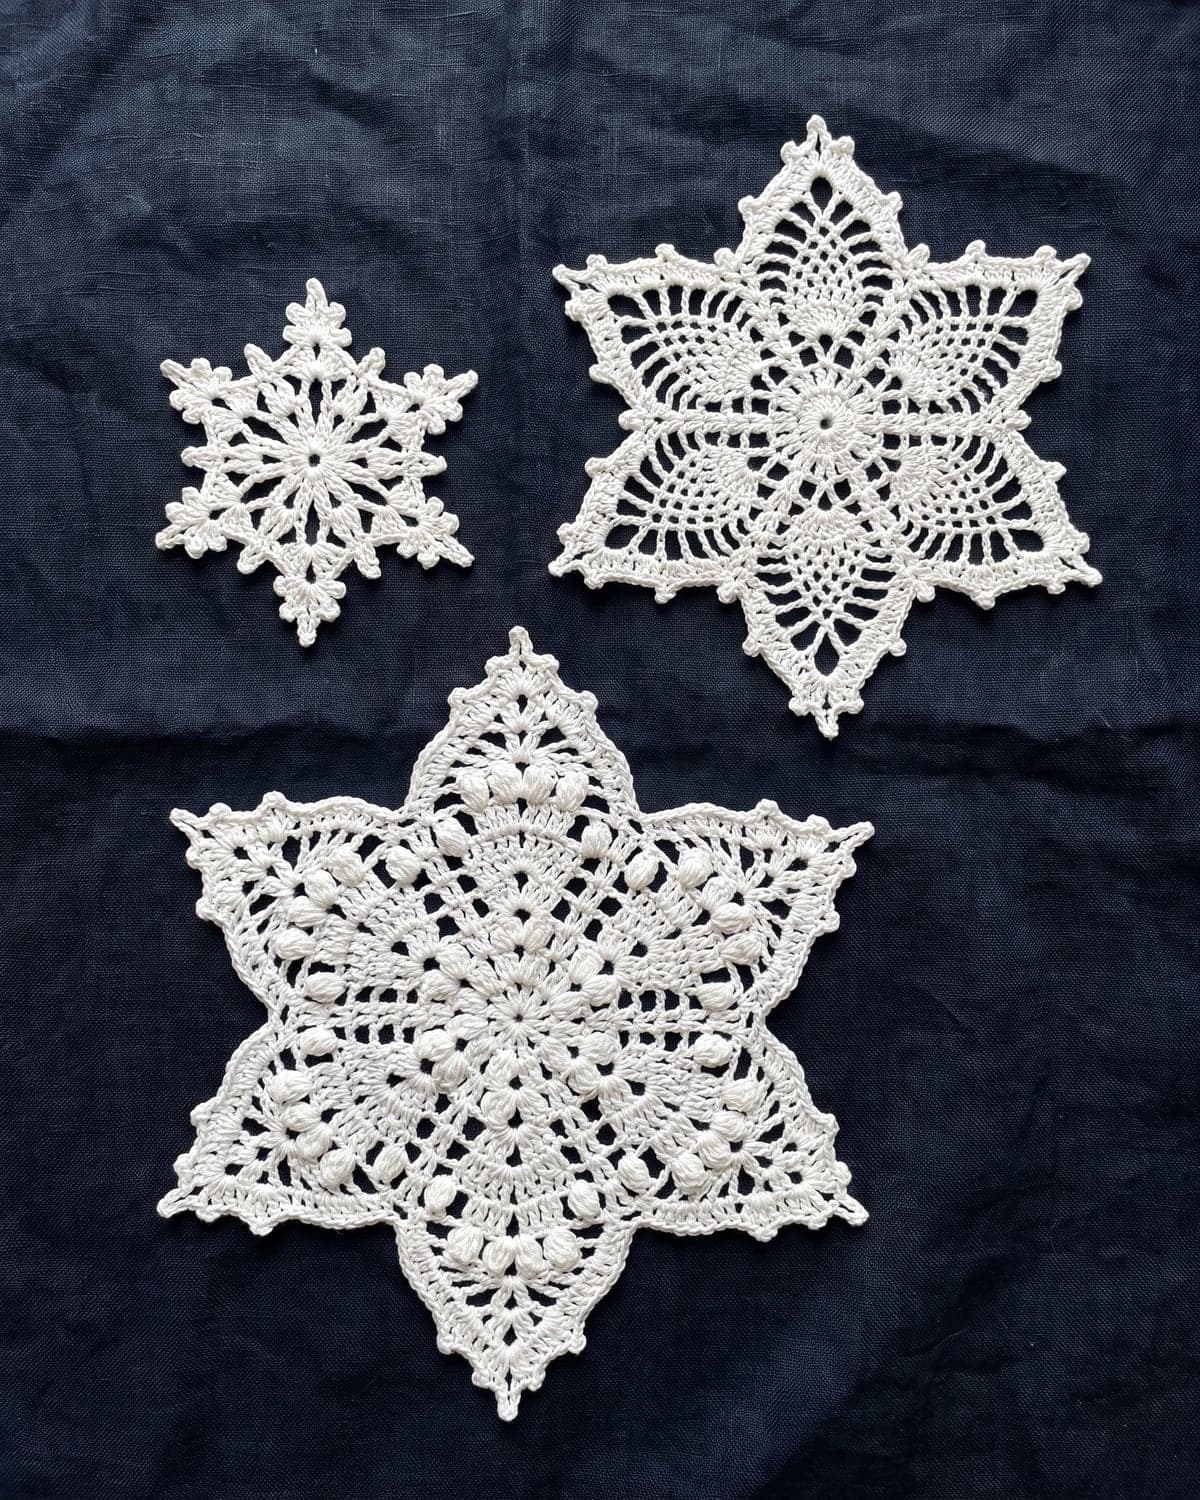
Two rounds. About 4 cm (1.5 in) across. It's good for gift tags, cards and filling gaps on a small tree.
- R1: 6 sc in a magic ring. Slip stitch into the first sc to join. (6)
- R2: (chain 5, slip stitch in the 3rd chain from the hook, chain 2, slip stitch in the next stitch) × 6.
Each repeat makes a small arm with a picot at its tip: two chains up, a three-chain picot, two chains down. Your last slip stitch goes into the stitch where the round began.
Fasten off, leaving a 10 cm (4 in) tail. You have 6 points.
Pattern 2: classic snowflake
Three rounds. About 7 cm (2.75 in) across. This is the one to learn first.
- Start: chain 6. Slip stitch into the first chain to make a ring.
- R1: chain 1. Work 12 sc into the ring. Slip stitch into the first sc. (12)
- R2: chain 1, sc in the same stitch. (Chain 5, skip 1 stitch, sc in the next stitch) × 5. Chain 5, skip the last stitch, slip stitch into the first sc. (6 chain loops)
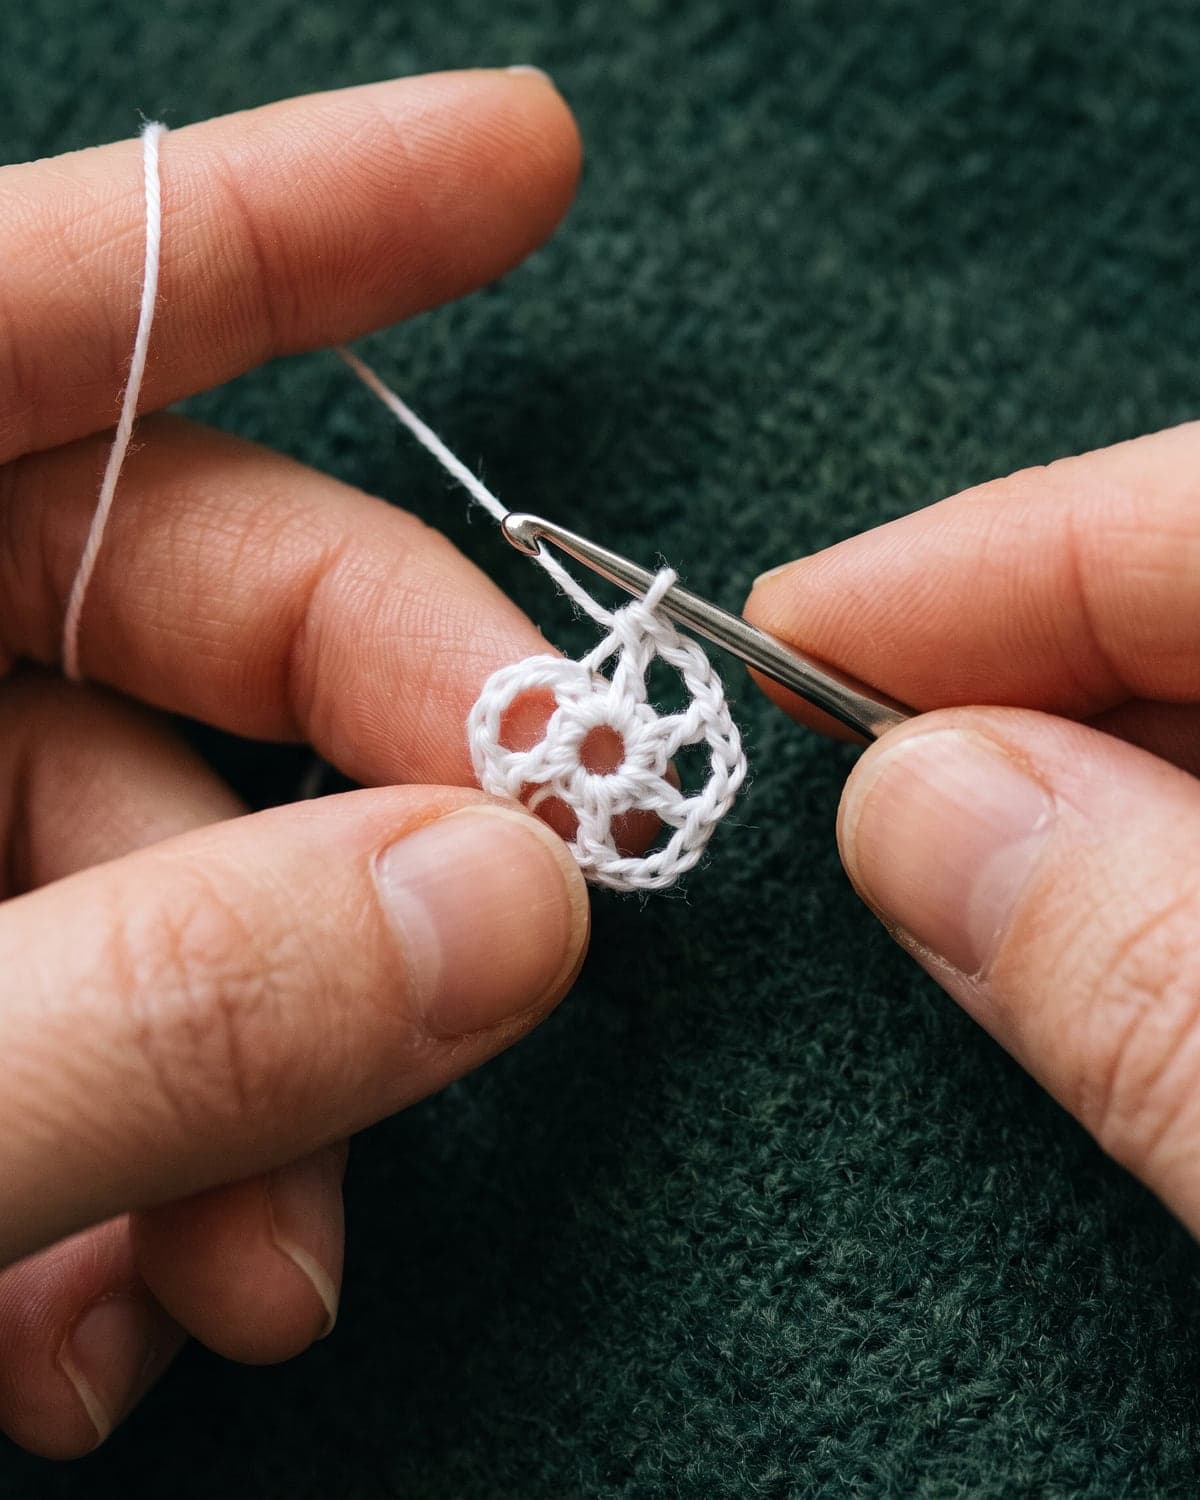
- R3: work into each chain loop, not into the chains. In every loop, work (sc, hdc, dc, picot, dc, hdc, sc). Do this in all 6 loops. Slip stitch into the first sc.
Fasten off, leaving a 10 cm (4 in) tail. You have 6 rounded arms, each with a picot at its tip.
To make it lacier, add a chain 1 between the arms in round 3.
Pattern 3: large pointed snowflake
Four rounds. About 10 cm (4 in) across. It has long, three-pronged tips, like a snowflake in a picture book.
- Start, R1 and R2: work as for the classic snowflake. You'll have 6 chain-5 loops.
- R3: slip stitch into the first loop. Chain 1. In each loop work (3 sc, chain 2, 3 sc). Do this in all 6 loops. Slip stitch into the first sc. (6 chain-2 spaces)
- R4: slip stitch in each of the next 2 sc, then slip stitch into the chain-2 space. In each chain-2 space work a point: (sc, chain 3, sc, chain 5, sc, chain 3, sc), all in the same space. Chain 4 to travel to the next space. Work 6 points, with chain 4 after each one. Slip stitch into the first sc.
Fasten off, leaving a 10 cm (4 in) tail. Each point has three loops: a short one, a long one and a short one. When you pin it out, you'll pull the long loop into a tip and the short loops out to the sides.
Weaving in the ends
Sew the ends in before stiffening. Afterwards the thread is too hard to push a needle through.
Thread each tail onto a fine needle and run it through the base of several stitches on the wrong side, following a solid part of the design: the centre ring, or the single crochets of round 3. Go back the other way for a few stitches, then trim close.
Take care not to pull the tail across an open space, where it would show.
Blocking and stiffening
This is where a crumpled bit of thread becomes a snowflake.
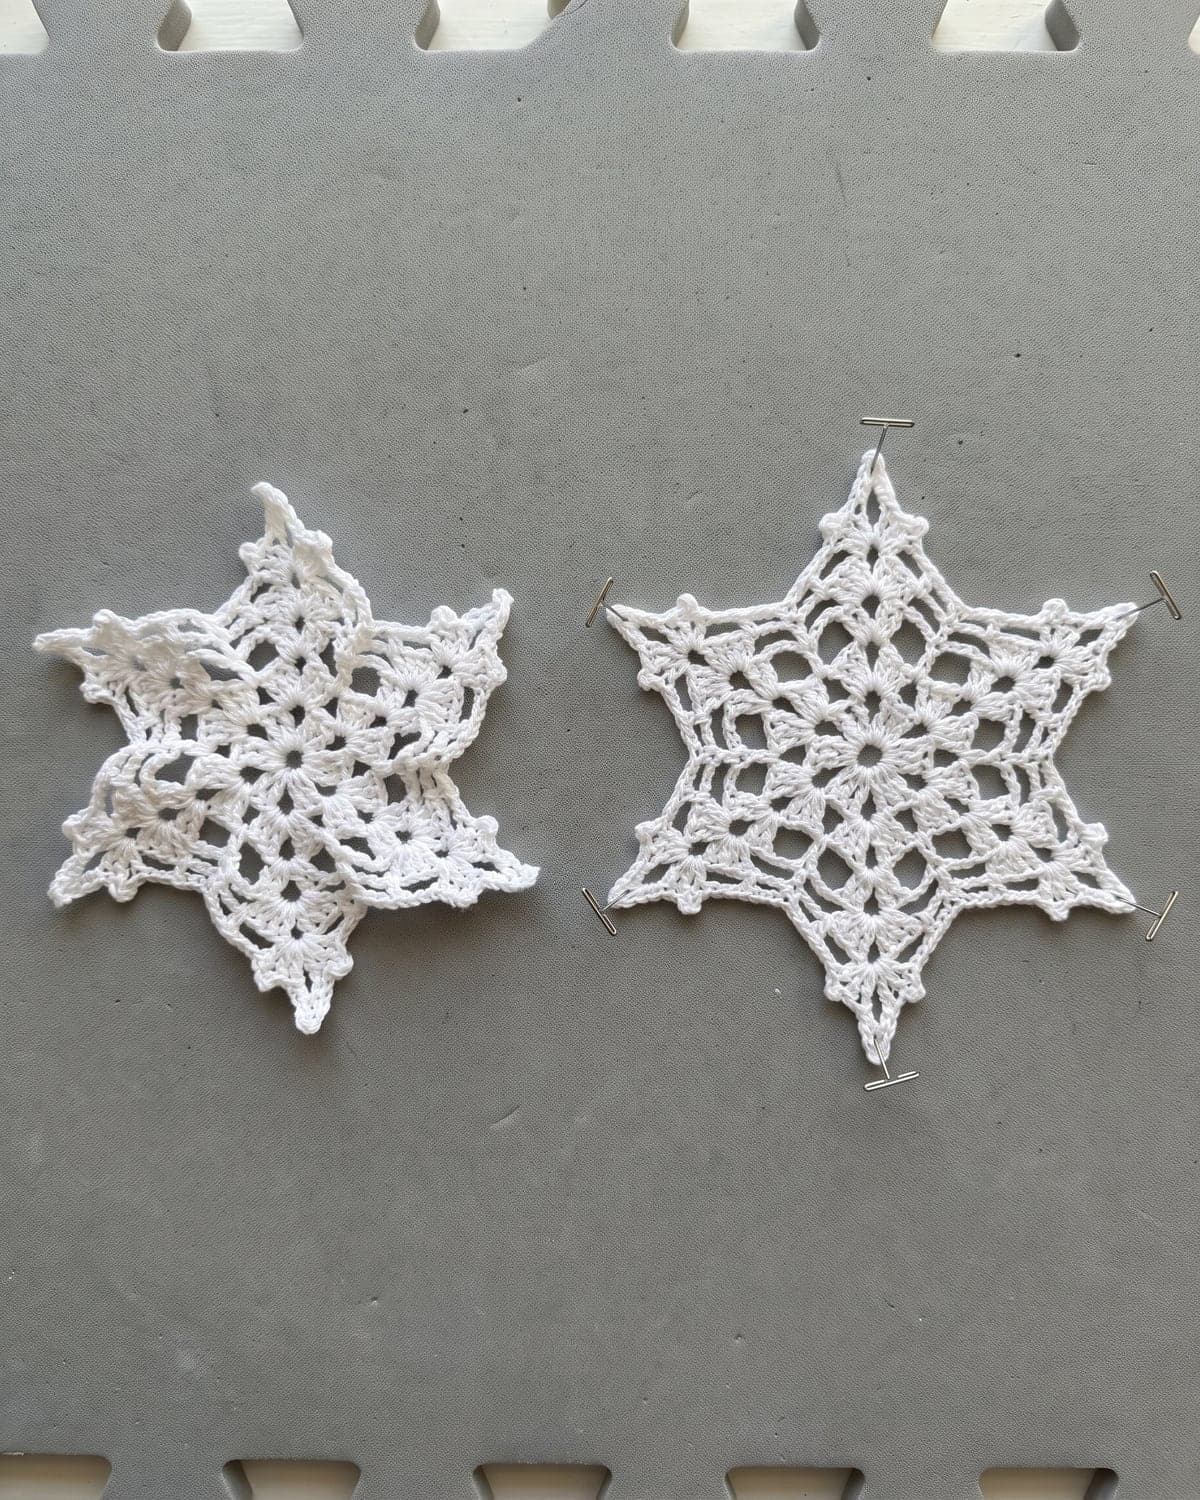
Step 1: Prepare the board
Draw a template on paper: a circle slightly larger than your snowflake, with six lines through the centre at equal angles, like a clock with lines at 12, 2, 4, 6, 8 and 10. Tape it to your foam mat or card, and cover it with baking parchment or cling film, so the snowflake won't stick.
Step 2: Apply the stiffener
Mix equal parts white PVA glue and water in a shallow dish. Dip the snowflake until it's soaked through, then press it between your fingers or in a paper towel to remove the excess. It should be damp, not dripping.
Step 3: Pin it out
- Pin the centre first.
- Pull each of the six arms out along a template line and pin the tip.
- Pin any side loops or picots open.
- Check that the arms are equal in length and evenly spaced. Adjust until they are.
Angle the pins slightly outwards, away from the centre, so the thread can't slide up them. Use plenty: a large snowflake can need 18 or more.
Step 4: Let it dry
Leave it for 12 to 24 hours, until it's completely hard. Don't speed it up with a hot hairdryer, which can yellow the glue.
Step 5: Unpin and hang
Take out the pins and peel the snowflake off the parchment. If a film of glue fills any of the holes, poke it out with a pin.
Thread 15 cm of thin ribbon, gold thread or clear nylon through one tip and knot it.
Other stiffeners
| Stiffener | Result | Notes |
|---|---|---|
| PVA glue and water, 1:1 | Firm | Easy and dries clear. Use more glue for a harder finish. |
| Commercial fabric stiffener | Firm to very hard | Made for the job. Follow the bottle. |
| Spray starch | Soft | Pin first, then spray several coats. Good for garlands. |
| Sugar and water, boiled to a syrup | Very hard, traditional | Can attract damp and insects in storage. |
| Cornflour (cornstarch) cooked in water | Medium | A cheap, traditional option. |
For sparkle, sprinkle fine white or iridescent glitter over the snowflake while the glue is still wet.
Ways to use crochet snowflakes
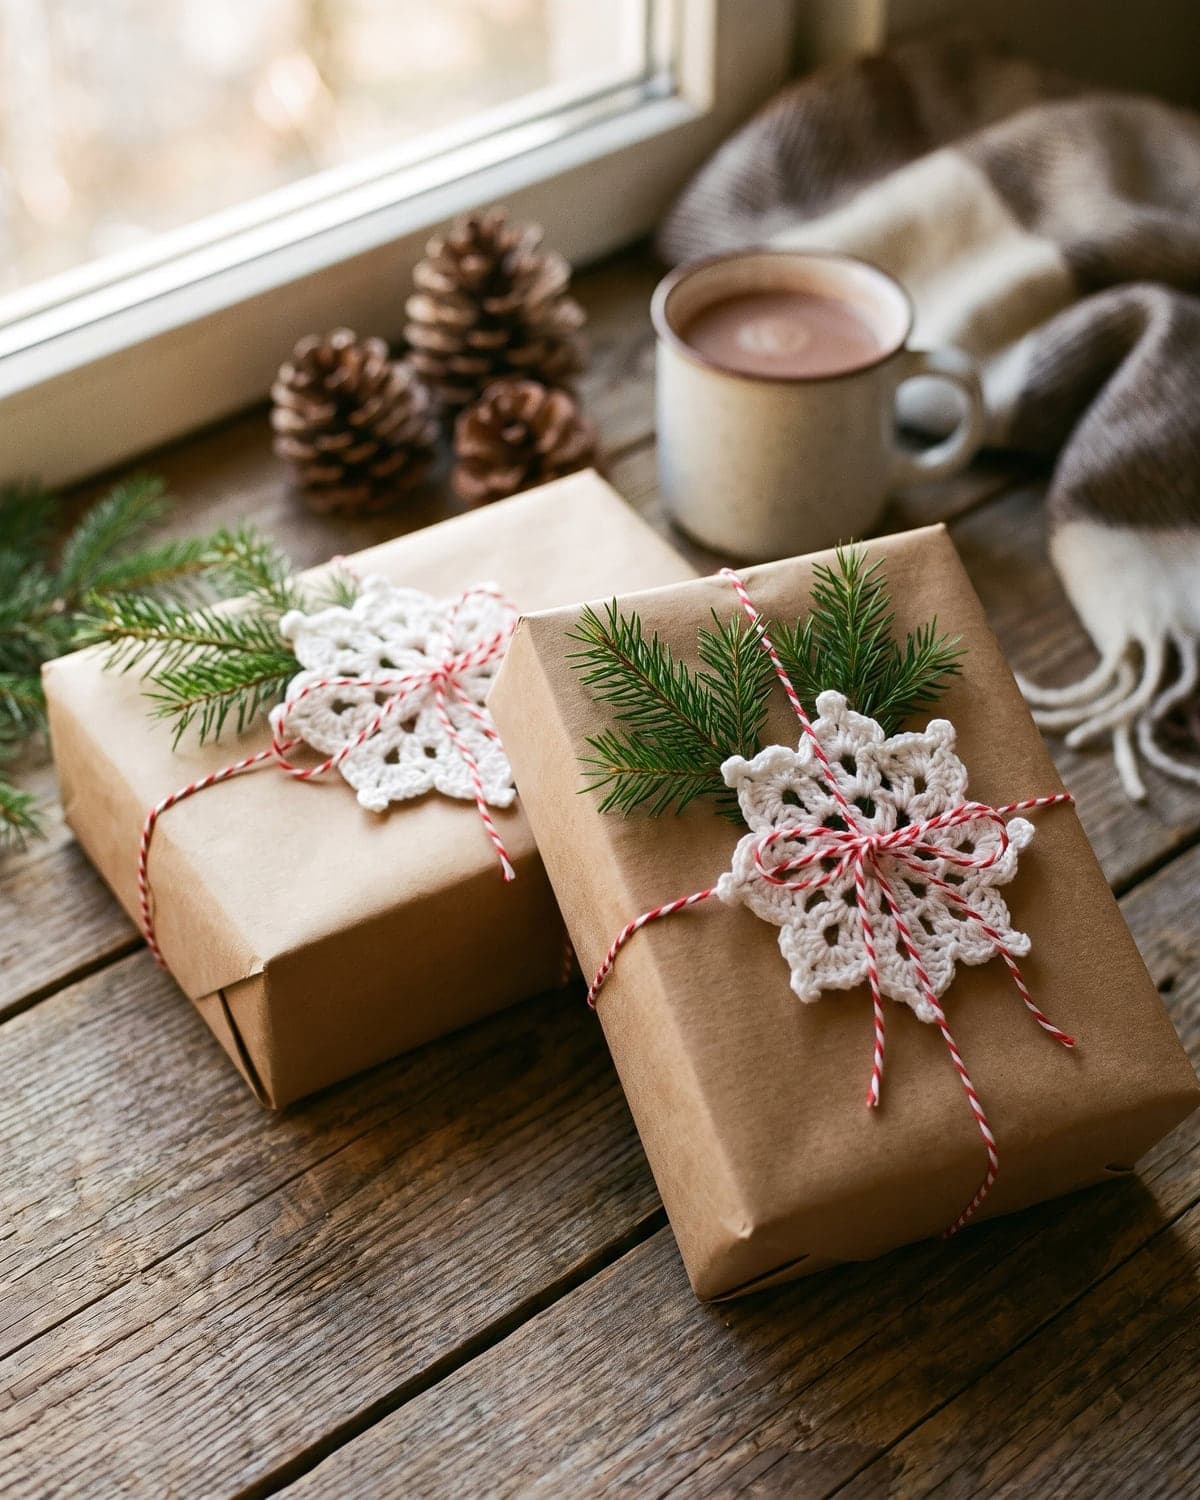
- Tree ornaments. Mix the three sizes. White snowflakes show up beautifully against green branches and warm lights.
- Window decorations. Hang them at different heights on clear thread from a curtain pole or a branch.
- Gift toppers. Tie one onto a parcel with baker's twine. It's a small extra present.
- A garland. Thread snowflakes onto ribbon, or join them as you go by slip stitching one tip to the next.
- Christmas cards. Glue a mini snowflake to the front of a blank card.
- Table settings. Use one as a place marker, a napkin tie or a scatter decoration.
- A wreath. Wire or glue a dozen onto a ring.
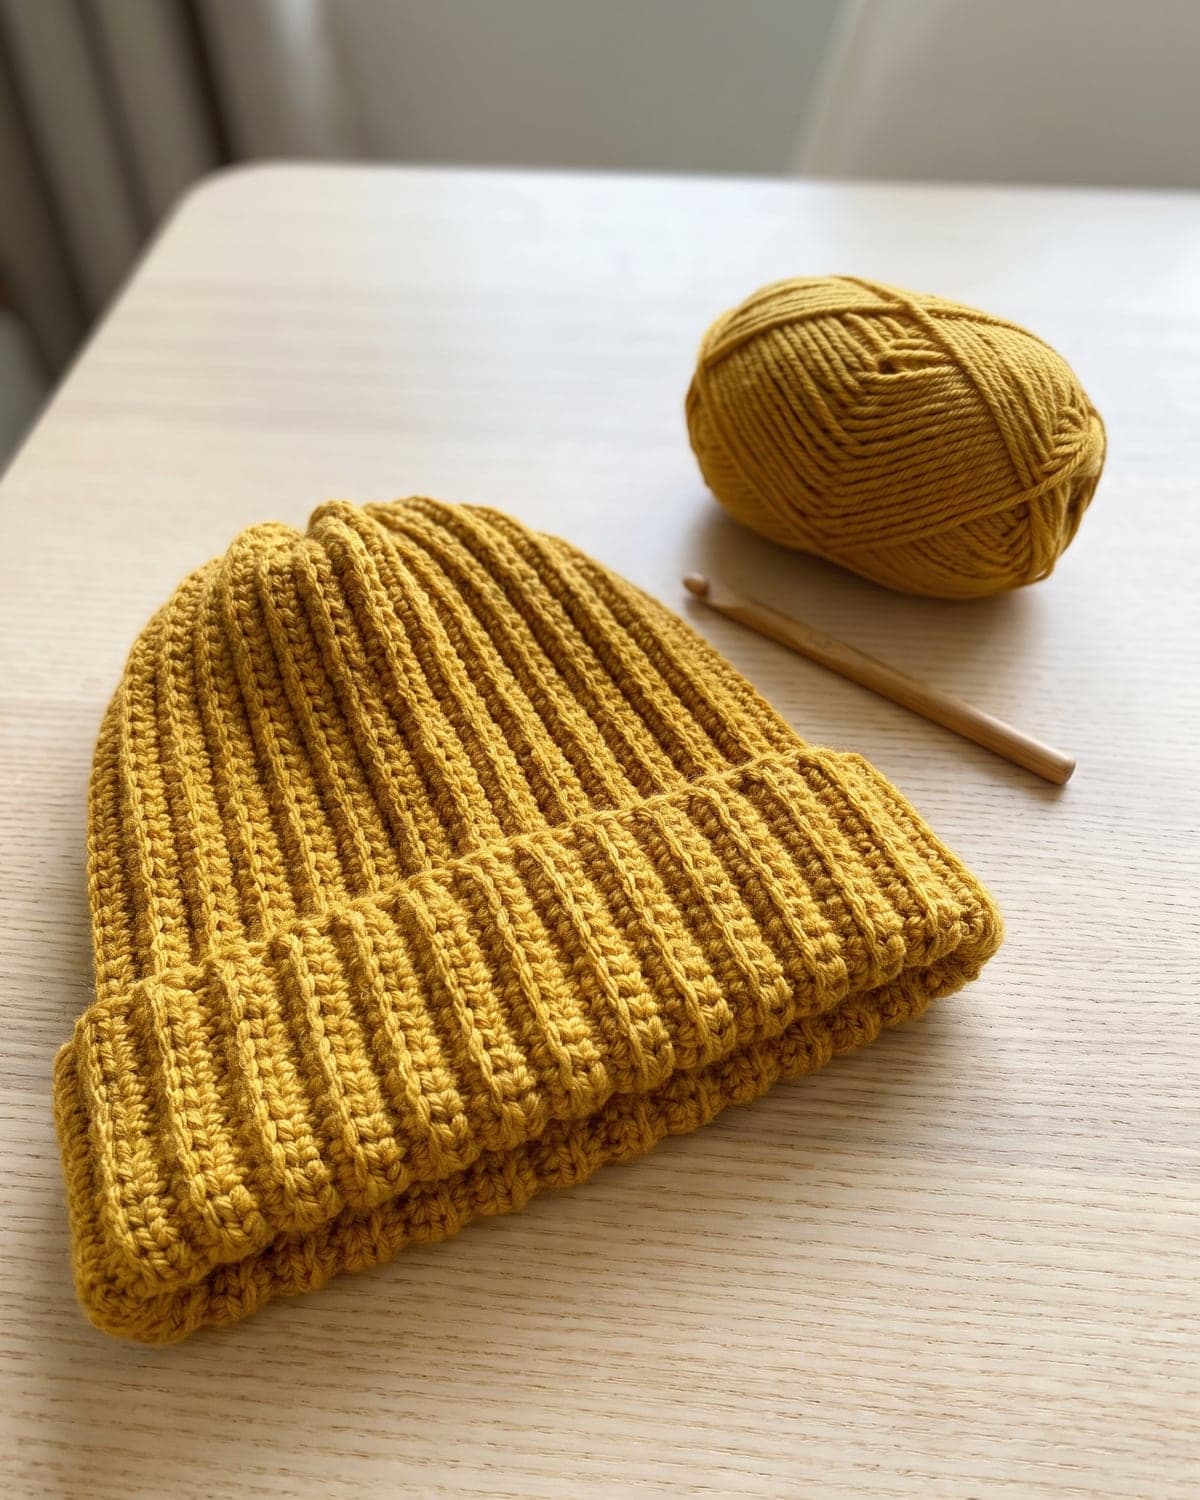
- Unstiffened appliqués. Sew soft snowflakes onto a stocking, a cushion or a winter hat such as the easy crochet beanie.
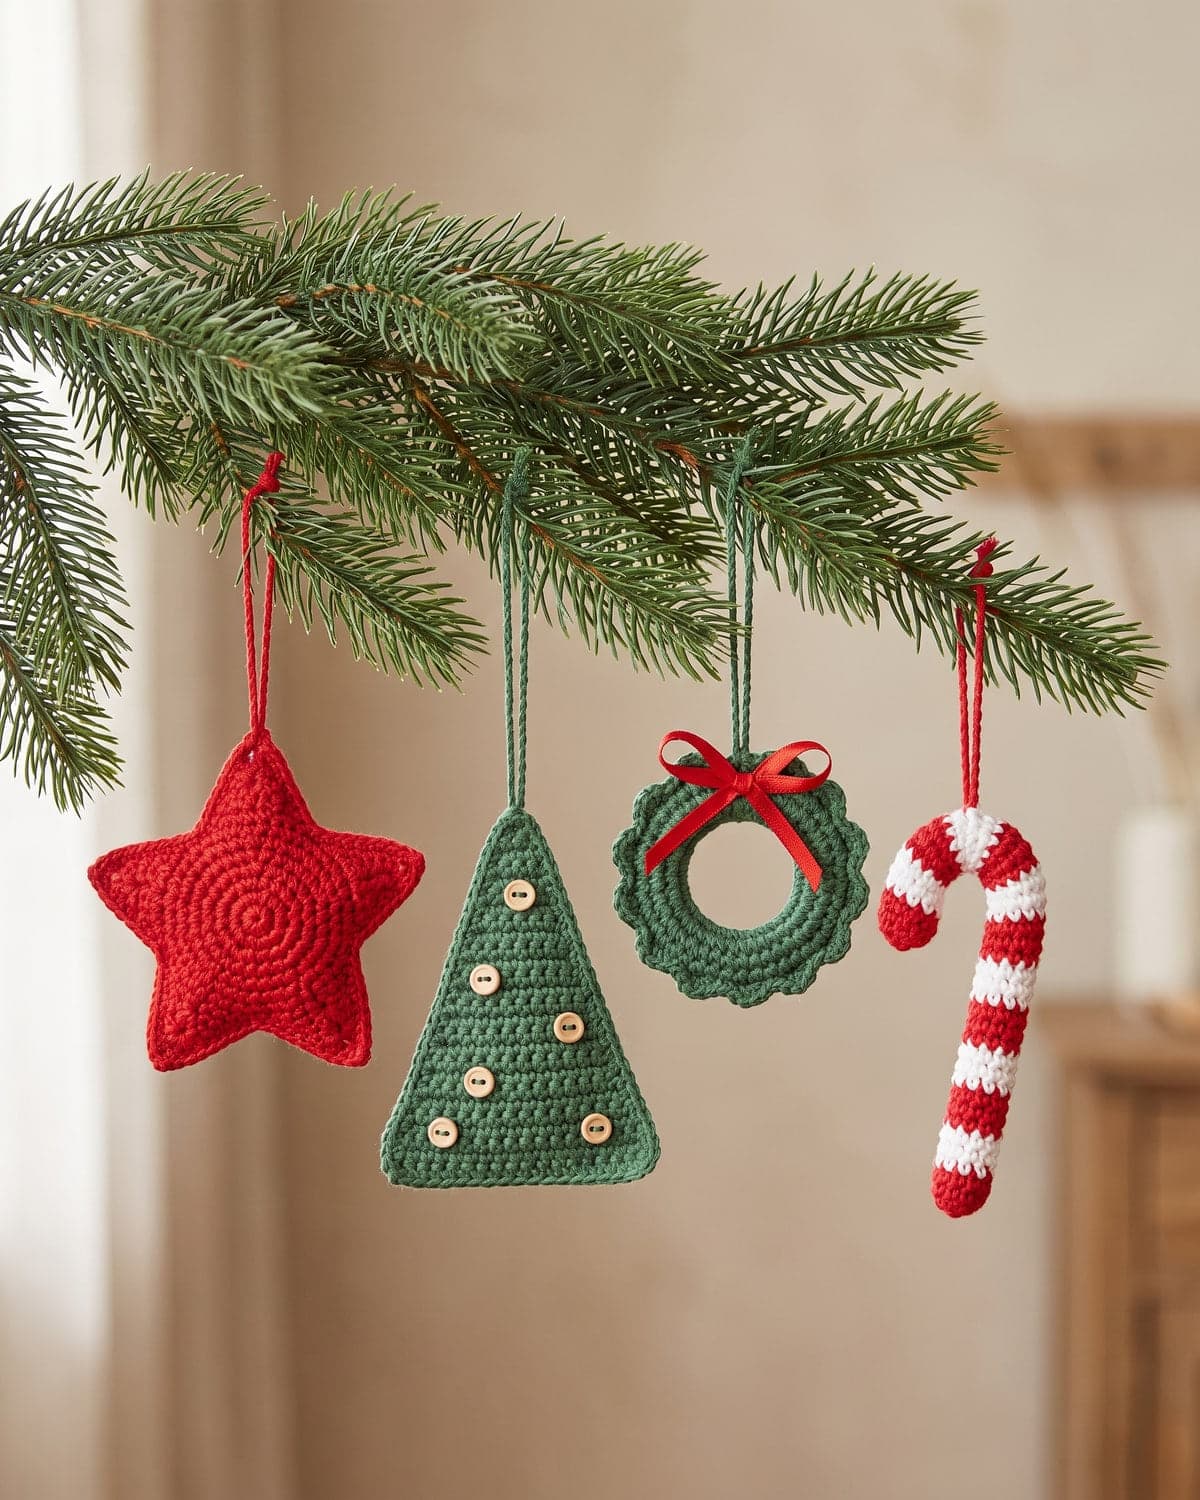
They sit well alongside the stars, trees and candy canes in crochet Christmas ornaments.
Variations
- Colour. Icy blue, silver-grey and pale lilac look wintry. Red and white suit a Scandinavian scheme.
- Metallic. Hold a strand of fine silver or gold thread together with the cotton.
- Beads. Thread six small beads onto the cotton before you start, and slide one up into each picot on the last round.
- Two-tone. Work the last round in a second colour.
- Bigger. Use thicker yarn and a larger hook. The stitch counts don't change.
Storing your snowflakes
Stiffened snowflakes last for years if you look after them.
- Store them flat, between sheets of tissue or baking parchment, in a rigid box.
- Keep them dry. Damp softens glue and starch.
- Avoid plastic bags for long-term storage. They trap moisture.
- Re-stiffen any that have gone limp: dampen, pin out and brush with fresh glue mix.
Common problems and fixes
My snowflake is curled and looks nothing like the picture. That's normal. Every crochet snowflake looks like that before it's blocked.
It has five or seven arms. A stitch was skipped or added in round 2. After round 1 of the classic pattern there must be 12 stitches, and after round 2 there must be 6 loops.
The centre ring is too tight to fit 12 stitches. Push the stitches along the ring with your fingers as you go, or start with chain 7.
The arms are different lengths. They'll even out in blocking. Pin each tip to the same circle on your template.
It's floppy after drying. There was too little glue, or it was wrung out too hard. Brush on another coat and pin it out again.
There are shiny patches of dried glue. Too much stiffener was left in. Blot more firmly next time, and pick out the film with a pin.
The snowflake stuck to the board. Always use parchment or cling film. If it has stuck to paper, dampen the back and peel it gently.
There are rust marks. The pins weren't rust-proof. Use stainless steel or nickel-plated pins.
I can't see my stitches in fine thread. Work under a bright lamp, against a dark cloth on your lap. Move up to thicker thread until the pattern is familiar.
Frequently asked questions
Are crochet snowflakes hard to make? No. They use basic stitches and chains. The fine thread takes a little getting used to, and the blocking does most of the work.
What thread is best for crochet snowflakes? White mercerised cotton. Size 10 is traditional. Size 3, or 4-ply cotton, is easier for a first attempt.
How do you stiffen crochet snowflakes? Soak them in equal parts white PVA glue and water, pin them out flat on a covered board and let them dry for a day.
How long do they take? Ten to twenty minutes each to crochet, plus overnight to dry.
Can I make them with ordinary yarn? Yes. DK cotton and a 3.5 mm hook give larger, bolder snowflakes. Acrylic doesn't stiffen as crisply as cotton.
Do they need to be stiffened? For hanging, yes. For sewing onto fabric, no.
Can I wash them? Washing removes the stiffener. Dust them, and re-stiffen if needed.
Can I sell snowflakes made from these patterns? Yes. You're welcome to sell what you make.
More seasonal makes
- More for the tree: crochet Christmas ornaments.
- For autumn: easy crochet pumpkins and the crochet ghost pattern.
- Handmade presents: a crochet flower bouquet or a set of easy crochet coasters.
There are more projects for every time of year in the seasonal section. If pattern shorthand is new to you, how to read crochet patterns explains it.
Save it for later
Pin this to your Pinterest board so it's there when you're ready to stitch.
Keep stitching
Related crochet projects
Seasonal Crochet Christmas Ornaments: 4 Easy Patterns for Beginners
12 min read
Clothing Easy Crochet Beanie for Beginners: Free Pattern in 4 Sizes
11 min read
Clothing Easy Crochet Scarf for Beginners: One Stitch, Free Pattern
10 min read
Flowers Crochet Sunflower Pattern: Easy Free Tutorial in 3 Simple Parts
11 min read