Crochet Bucket Hat: Easy Free Pattern in All Sizes
Crochet an easy bucket hat from the top down: a flat half double crochet crown, straight sides and a flared brim. A free pattern with stitch counts for child to adult large, plus striped, checkered and granny square versions.
By AlixaPublished 9 min read
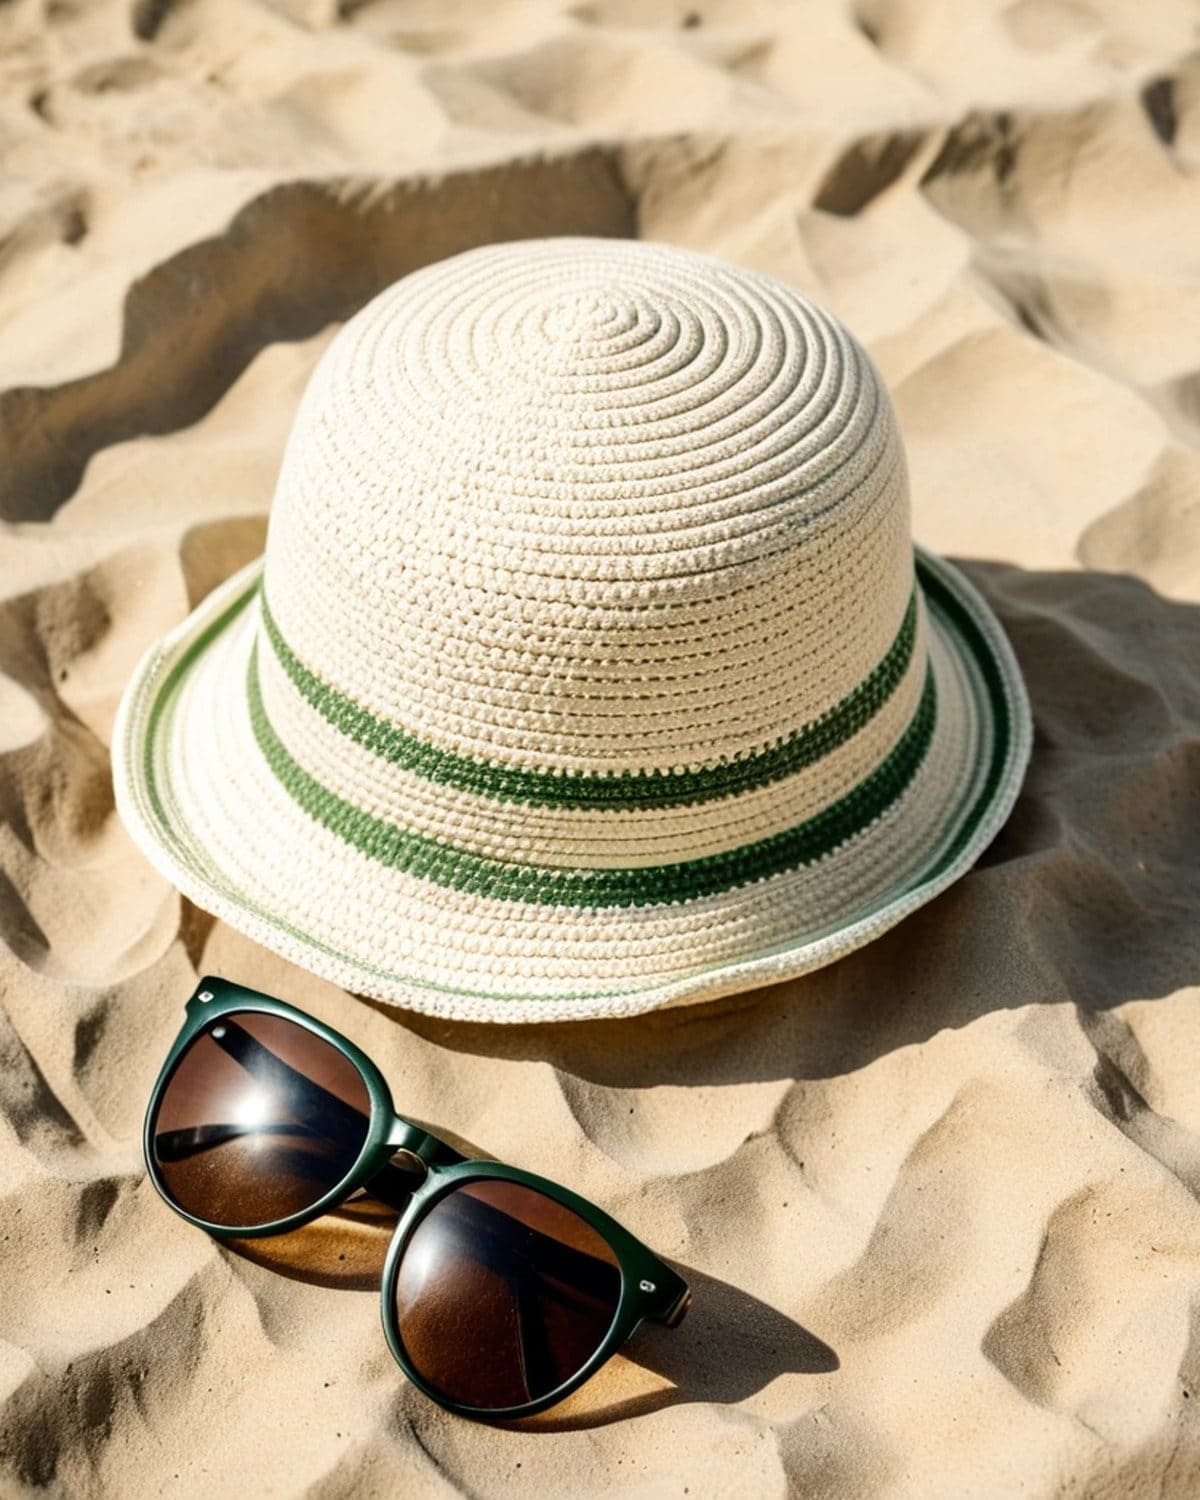
A crochet bucket hat is the perfect mix of easy and stylish. It's worked in the round from the top down: a flat circle for the crown, straight rounds for the sides, then a few increase rounds for the brim. There's no seaming, no complicated shaping, and you can try it on as you go. Make it in cotton for summer festivals and beach days, or in a soft wool blend for autumn.
This free crochet bucket hat pattern gives you a step-by-step guide with stitch counts for every round, sizes from child to adult large, how to check the fit, ideas for stripes and granny square hats, and tips for a brim that holds its shape.
Terms used here: US crochet terms. Half double crochet (hdc) is UK half treble, and single crochet (sc) is UK double crochet.
About this pattern: it's a simple design written for this guide. The stitch counts have been checked so the numbers add up. Sizes are approximate and depend on your yarn, hook and tension, so check the fit as you go.
At a glance
| Skill level | Beginner (comfortable with half double crochet in the round) |
| Stitches | Magic ring, ch, sl st, hdc, sc, back loop only |
| Yarn | Worsted (weight 4) cotton or cotton blend, about 150 to 200 m |
| Hook | 5 mm (US H-8) |
| Gauge | 14 hdc and 11 rounds = 10 cm (4 in) |
| Sizes | Child, Adult S/M, Adult L |
| Time | 3 to 5 hours |
What you need

- Worsted yarn (weight 4), about 150 m (165 yd) for a child's hat and 200 m (220 yd) for an adult's. Cotton or a cotton blend gives a structured, breathable summer hat. Acrylic is softer and works well too.
- A 5 mm (US H-8) hook.
- A stitch marker for the first stitch of each round.
- A tapestry needle and scissors.
- A tape measure.
Sizes
Measure around the head, just above the ears and across the forehead. The hat should be the same size as the head or up to 2 cm (0.75 in) larger, because a bucket hat sits loosely.
| Size | Head | Crown stitches | Crown rounds | Side rounds |
|---|---|---|---|---|
| Child | 48 to 52 cm | 72 | 9 | 9 |
| Adult S/M | 54 to 58 cm | 80 | 10 | 11 |
| Adult L | 59 to 62 cm | 88 | 11 | 12 |
The pattern below is written for Adult S/M. Changes for the other sizes follow.
Gauge
Gauge matters for a hat. Make a small half double crochet circle (rounds 1 to 4) and measure it: it should be about 7 cm (2.75 in) across. If it's bigger, use a smaller hook; if it's smaller, use a larger hook.
The finished crown for Adult S/M should be about 18 cm (7 in) across.
How this bucket hat works
- Crown: a flat half double crochet circle. Each round adds 8 stitches. See how to crochet a circle if you'd like more detail.
- Edge: one round in the back loops only. It makes a crisp fold where the crown turns into the sides.
- Sides: straight rounds without increases.
- Brim: increase rounds that flare outwards, finished with single crochet for a firm edge.
Every round is joined with a slip stitch. The chain-2 at the start of each round does not count as a stitch.
Crown
- R1: ch 2, 8 hdc in a magic ring. Sl st into the first hdc. (8)
- R2: ch 2, 2 hdc in each st around. Sl st to join. (16)
- R3: ch 2, (hdc, 2 hdc in next) × 8. Sl st to join. (24)
- R4: ch 2, (2 hdc, 2 hdc in next) × 8. Sl st to join. (32)
- R5: ch 2, (3 hdc, 2 hdc in next) × 8. Sl st to join. (40)
- R6: ch 2, (4 hdc, 2 hdc in next) × 8. Sl st to join. (48)
- R7: ch 2, (5 hdc, 2 hdc in next) × 8. Sl st to join. (56)
- R8: ch 2, (6 hdc, 2 hdc in next) × 8. Sl st to join. (64)
- R9: ch 2, (7 hdc, 2 hdc in next) × 8. Sl st to join. (72)
- R10: ch 2, (8 hdc, 2 hdc in next) × 8. Sl st to join. (80)
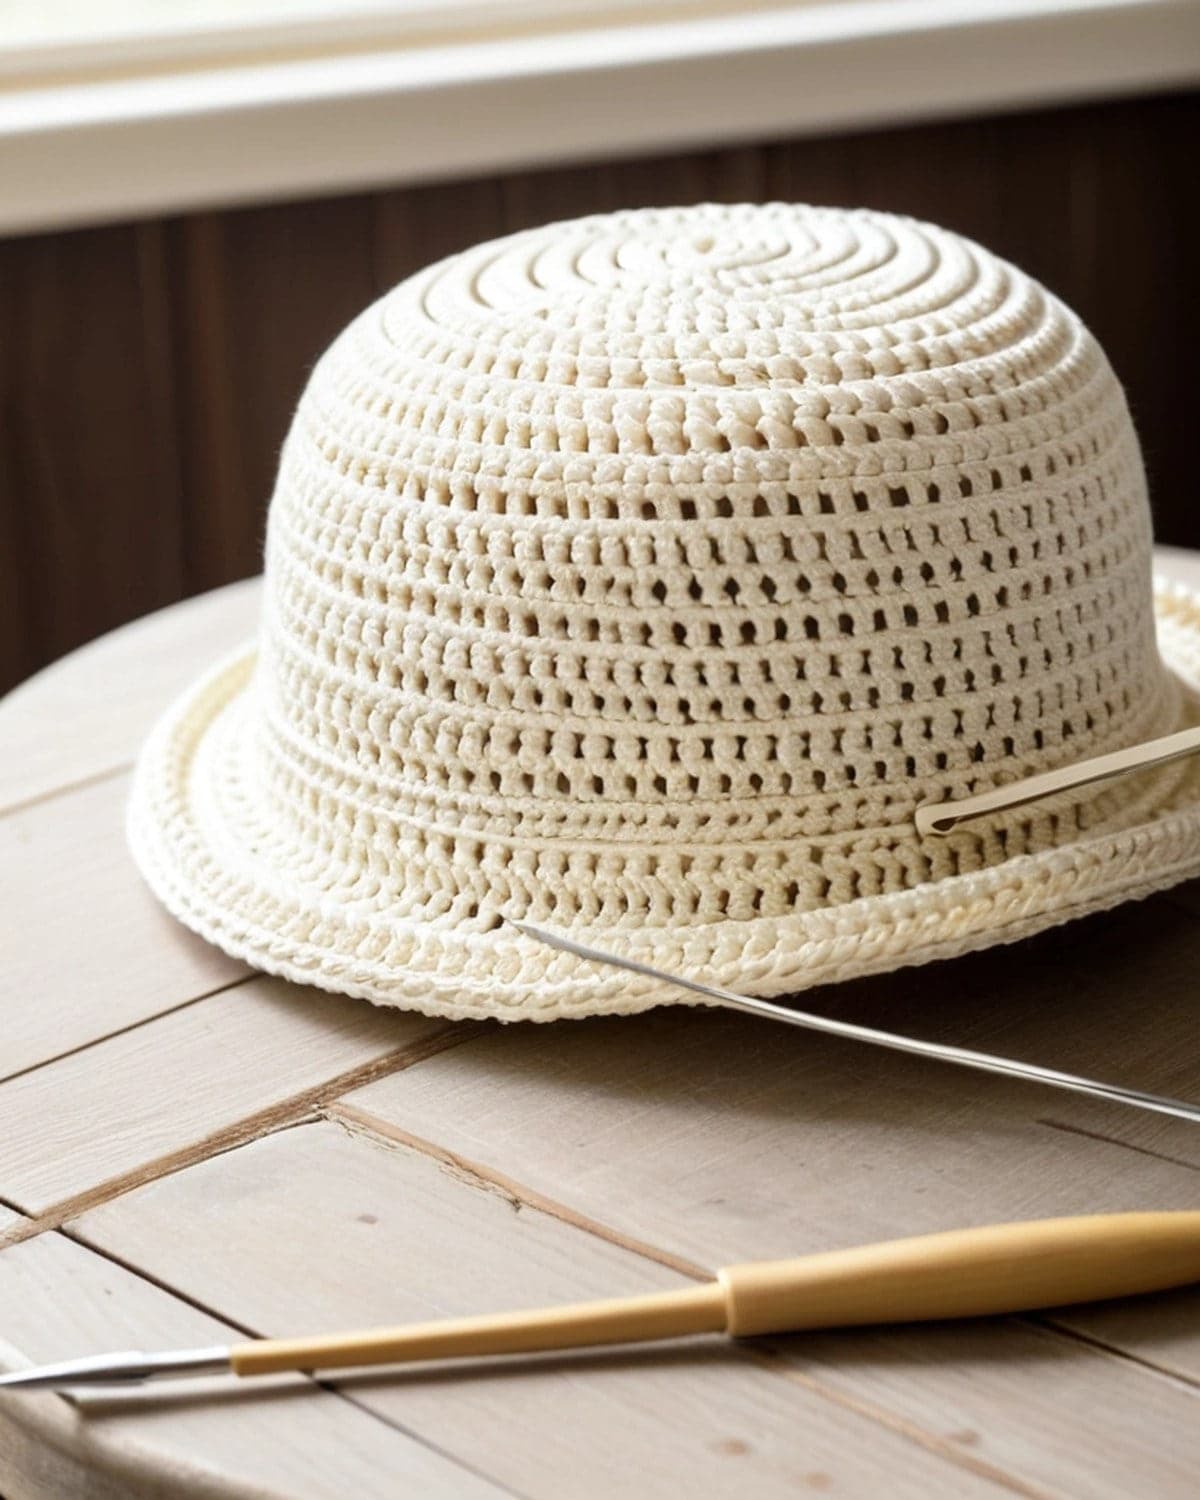 Check the crown: lay it flat. It should be about 18 cm (7 in) across and lie flat with no ruffles or cupping. To hide the increase lines, start each round one stitch further along, or stagger the increases (see the circle guide).
Sides
- R11: ch 2, hdc in the back loop only of each st around. Sl st to join. (80)
- R12 to R21: ch 2, hdc in each st around. Sl st to join. (80)
That's 11 rounds for the sides, about 10 cm (4 in) deep.
Try it on. The hat should sit just above your eyebrows at the front. If it's too shallow, add a round or two. If it's too deep, remove one.

Brim
- R22: ch 2, (9 hdc, 2 hdc in next) × 8. Sl st to join. (88)
- R23: ch 2, hdc in each st around. Sl st to join. (88)
- R24: ch 2, (10 hdc, 2 hdc in next) × 8. Sl st to join. (96)
- R25: ch 2, hdc in each st around. Sl st to join. (96)
- R26: ch 2, (11 hdc, 2 hdc in next) × 8. Sl st to join. (104)
- R27: ch 1, sc in each st around. Sl st to join. (104)
Fasten off and weave in all the ends. The brim is about 5 to 6 cm (2 to 2.25 in) wide.
For a floppier brim, add another pair of rounds: R27 hdc around (104), R28 (12 hdc, 2 hdc in next) × 8 (112), then the sc round.
For a stiffer brim, work the last two brim rounds in sc instead of hdc, or work a round of slip stitches around the edge.
Changes for other sizes
Child: work the crown to round 9 (72 stitches). Work the BLO round and 8 more rounds for the sides (9 side rounds in all). For the brim, increase 8 stitches every other round three times: (8 hdc, 2 hdc in next) × 8 (80), a plain round, (9 hdc, 2 hdc in next) × 8 (88), a plain round, (10 hdc, 2 hdc in next) × 8 (96), then a round of sc.
Adult L: work the crown to round 11: (9 hdc, 2 hdc in next) × 8 (88). Work the BLO round and 11 more rounds (12 side rounds). For the brim: (10 hdc, 2 hdc in next) × 8 (96), plain, (11 hdc, 2 hdc in next) × 8 (104), plain, (12 hdc, 2 hdc in next) × 8 (112), then a round of sc.
Finishing and blocking
- Weave in ends through stitches of the same colour, changing direction once.
- Block the hat. Wet it, squeeze out the water in a towel, then shape it over a bowl or a balloon the size of a head, with the brim spread out flat on a towel. Let it dry completely. Cotton hats look much crisper after blocking.
- Add a cord (optional). Chain 90 to 100 in a matching colour, or make a twisted cord, and thread the ends through the sides above the brim. Knot them under the chin for windy days.
Ideas and variations
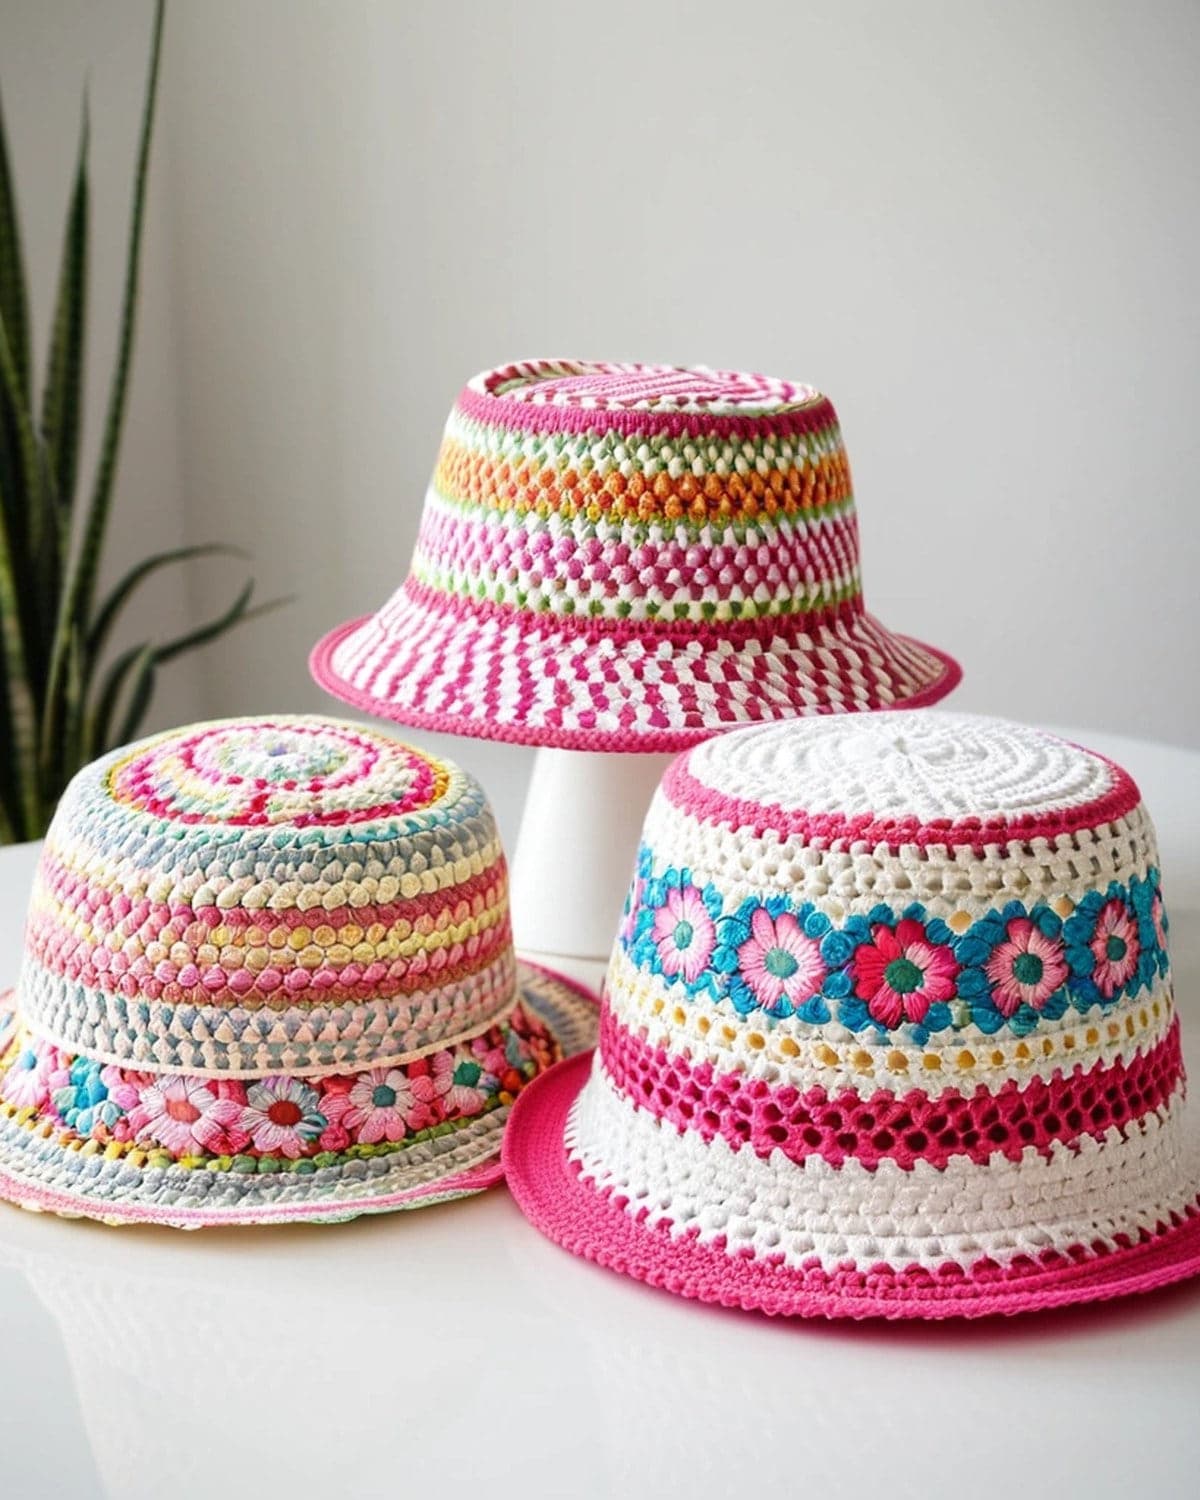
Striped bucket hat
Change colour every two rounds in the sides, or work a few contrast stripes in the brim. Change colour on the joining slip stitch. See how to change colours in crochet.
Checkered bucket hat
For the popular checkered look, carry two colours and change every 4 stitches, working over the unused colour (tapestry crochet). Shift the pattern by 4 stitches every 2 rounds. Use single crochet for the sides so the checks are square.
Granny square bucket hat
Make 4 or 5 small granny squares for the sides, join them into a ring, then work the crown and brim in rounds onto the ring. The crochet flower granny square makes an especially pretty floral version.
Reversible bucket hat
Make two hats in different colours, place one inside the other with wrong sides together, and join them with a round of single crochet through both brim edges.
Fluffy winter bucket hat
Use a soft bulky yarn and a 6 mm hook. The hat will be warmer and fuzzier. Reduce the stitch counts by working fewer crown rounds, and check the circle size against the head.
Styling ideas

- Summer: a cream or pastel cotton bucket hat with sunglasses and a sundress.
- Festival: a bright striped or checkered hat.
- Autumn: a mustard, rust or olive hat in a wool blend.
- Matching set: pair it with an easy crochet tote bag in the same yarn.
The bucket hat has a long history, from fishermen's rain hats to a fashion icon. Wikipedia's article on the bucket hat tells the story.
Tips for a great bucket hat
- Check your gauge. A 1 cm difference in the crown changes the fit by about 3 cm around the head.
- Count stitches at the end of every increase round.
- Hide the seam. Start each round one stitch along, so the joins don't line up.
- Keep the brim even. If it ruffles, you have too many stitches; if it curls up, too few.
- Choose a firm yarn. Mercerised cotton, cotton-linen and cotton-acrylic blends all hold their shape well.
Common problems and fixes
The crown ruffles. Your stitches are loose, or you added extra stitches. Use a smaller hook, or count again.
The crown cups. You're working tightly, or missed an increase. Use a larger hook.
The hat is too small. Add one more crown round (8 more stitches, about 5.5 cm or 2.25 in around).
The hat is too big. Remove a crown round, or use a smaller hook for the sides.
The brim is floppy. Use cotton, add a round of sc, or stiffen with a light spray of fabric starch.
The seam line slants. That's normal in joined rounds. Move the start of each round to hide it.
Frequently asked questions
Is a crochet bucket hat good for beginners? Yes. If you can work half double crochet in the round, you can make it. Every round is either an increase round or a plain round.
What's the best yarn for a crochet bucket hat? Worsted cotton or a cotton blend for summer; wool or acrylic for cooler weather.
How long does it take? About 3 to 5 hours.
Can I make it with single crochet? Yes. Use the single crochet circle (6 increases per round) for the crown, and keep increasing until it's the right size. The hat will be stiffer and take longer.
How do I make the brim stand out more? Increase more often: every round instead of every other round.
Can I sell hats made from this pattern? Yes. You're welcome to sell the hats you make.
What to make next
- For a warm winter hat, try the easy crochet beanie.
- For cosy hands, make crochet fingerless gloves.
- For a matching bag, see the easy crochet tote bag.
- For a first garment, try the easy crochet cardigan for beginners.
There are more patterns to wear in the clothing section.
Save it for later
Pin this to your Pinterest board so it's there when you're ready to stitch.

Keep stitching
Related crochet projects
Clothing Easy Crochet Beanie for Beginners: Free Pattern in 4 Sizes
11 min read
Home decor Crochet Plant Hanger: Easy Free Pattern for Any Pot
9 min read
Seasonal Crochet Gnome Pattern: Free Easy Christmas Gnome for Beginners
9 min read
Amigurumi Crochet Frog Pattern: Free Easy Amigurumi Frog for Beginners
9 min read