Corner to Corner Crochet Blanket: Easy C2C Pattern for Beginners
Learn the corner to corner (C2C) crochet blanket step by step: tiles of three double crochets worked diagonally, increasing to the widest point and decreasing to a square or rectangle. With sizes, yarn amounts, graphs and borders.
By AlixaPublished 10 min read

A corner to corner crochet blanket, usually called a C2C blanket, is worked diagonally, from one corner to the opposite one, in little blocks called tiles. Each tile is just three double crochets and a chain, so the stitch is easy to learn and quick to work. And because every tile is like a pixel, a C2C blanket is the easiest way to crochet stripes, checks, hearts, letters and pictures.
This guide teaches the C2C stitch step by step, from the first tile to the final corner. It explains how to increase, how to decrease for a square and how to make a rectangle, then covers blanket sizes, yarn amounts, colour changes, working from a graph, borders and the most common mistakes.
Terms used here: US crochet terms. Double crochet (dc) is UK treble, and single crochet (sc) is UK double crochet.
About this pattern: it's the classic corner to corner method, written out for this guide. Sizes and yarn amounts are approximate and depend on your yarn, hook and tension.
At a glance
| Skill level | Beginner (comfortable with chains and double crochet) |
| Stitches | Chain, slip stitch, double crochet |
| Unit | A tile: ch 3 and 3 dc, about 2.5 cm (1 in) square in worsted |
| Yarn | Worsted (weight 4) acrylic or cotton blend |
| Hook | 5 mm (US H-8) |
| Baby blanket | 30 × 36 tiles, about 75 × 90 cm (30 × 36 in) |
| Construction | Diagonal rows: increase to the widest point, then decrease |
What you need

- Worsted weight yarn (weight 4). Soft acrylic is the usual choice for blankets: it's warm, light and machine washable. A cotton blend is cooler and good for summer throws.
- A 5 mm (US H-8) hook. C2C looks best a little firm, so go down half a size if your tiles look loose.
- A tapestry needle and scissors.
- Bobbins or clothes pegs if you plan to work a picture with many colours.
For yarn amounts, see the size table below. If you're not sure about yarn weights, the Craft Yarn Council's chart explains them.
How C2C works
Each tile sits at an angle, and each diagonal row of tiles is one row of your work.
- Increase rows: each row adds one tile. The blanket grows from a single tile in one corner into a bigger and bigger triangle.
- Decrease rows: once the triangle is as wide as the blanket, each row has one tile fewer, and the work closes into the opposite corner.
A tile is made of a ch-3 space and 3 dc. You'll always join a new tile into the ch-3 space of a tile in the previous row.
Increasing: the first rows
Row 1 (1 tile)
- Ch 6.
- Dc in the 4th ch from the hook, and in each of the next 2 ch. (1 tile)
The 3 skipped chains make the ch-3 space at the top of the tile. Turn.
Row 2 (2 tiles)
- New tile: ch 6, dc in the 4th ch from the hook and in the next 2 ch.
- Join: sl st into the ch-3 space of the tile from row 1.
- Next tile: ch 3, 3 dc into the same ch-3 space.
Turn. (2 tiles)

Row 3 and every increase row
- New tile: ch 6, dc in the 4th ch from the hook and in the next 2 ch.
- For each tile of the previous row: sl st into its ch-3 space, ch 3, 3 dc in the same space.
Turn. Each row has one more tile than the row before: row 3 has 3 tiles, row 4 has 4, and so on.
Count your tiles along the bottom edge and the side edge. They grow by one each row.
Decreasing for a square
When one side of the triangle is as long as you want your blanket to be wide, you start decreasing. For a square blanket, decrease on both edges.
Decrease row
- Turn, then sl st across the tops of the 3 dc of the last tile you made, and into its ch-3 space. Don't make a new tile.
- For each remaining tile: ch 3, 3 dc in the ch-3 space, then sl st into the ch-3 space of the next tile.
- Stop when you reach the last tile: don't work into it. Sl st into its ch-3 space and turn.
Each decrease row has one tile fewer than the row before. Keep going until there's only one tile left, then fasten off.
Tip: the slip stitches across the top of the tile should be firm but not tight. If they're tight, the edge will pucker.

Making a rectangle
For a rectangle, you increase on one side and decrease on the other for a while.
- Increase on both sides until the bottom edge has as many tiles as the blanket's width (the shorter side).
- Then increase on one side and decrease on the other. On rows that begin on the long edge, make a new tile at the start (increase). On rows that end at the short edge, stop one tile early (decrease). The number of tiles in each row stays the same, and the blanket grows longer.
- When the long side reaches the blanket's length, decrease on both sides until you're back to a single tile.
Count the edge tiles, not the rows. Every few rows, count the tiles along the bottom and the side to check where you are.
Blanket sizes and yarn
In worsted yarn with a 5 mm hook, each tile is about 2.5 cm (1 in). Each tile uses roughly 1 m (1.1 yd) of yarn.
| Blanket | Tiles | Approximate size | Approximate yarn |
|---|---|---|---|
| Lovey | 14 × 14 | 35 × 35 cm (14 × 14 in) | 200 m (220 yd) |
| Baby | 30 × 36 | 75 × 90 cm (30 × 36 in) | 1,100 m (1,200 yd) |
| Lap or throw | 40 × 52 | 100 × 130 cm (40 × 52 in) | 2,100 m (2,300 yd) |
| Twin bed | 56 × 76 | 140 × 190 cm (56 × 76 in) | 4,300 m (4,700 yd) |
Add about 10% for the border. Your tension may be different, so make a 10 × 10 tile swatch, measure it and weigh it before buying all your yarn.
C2C with colours

Stripes
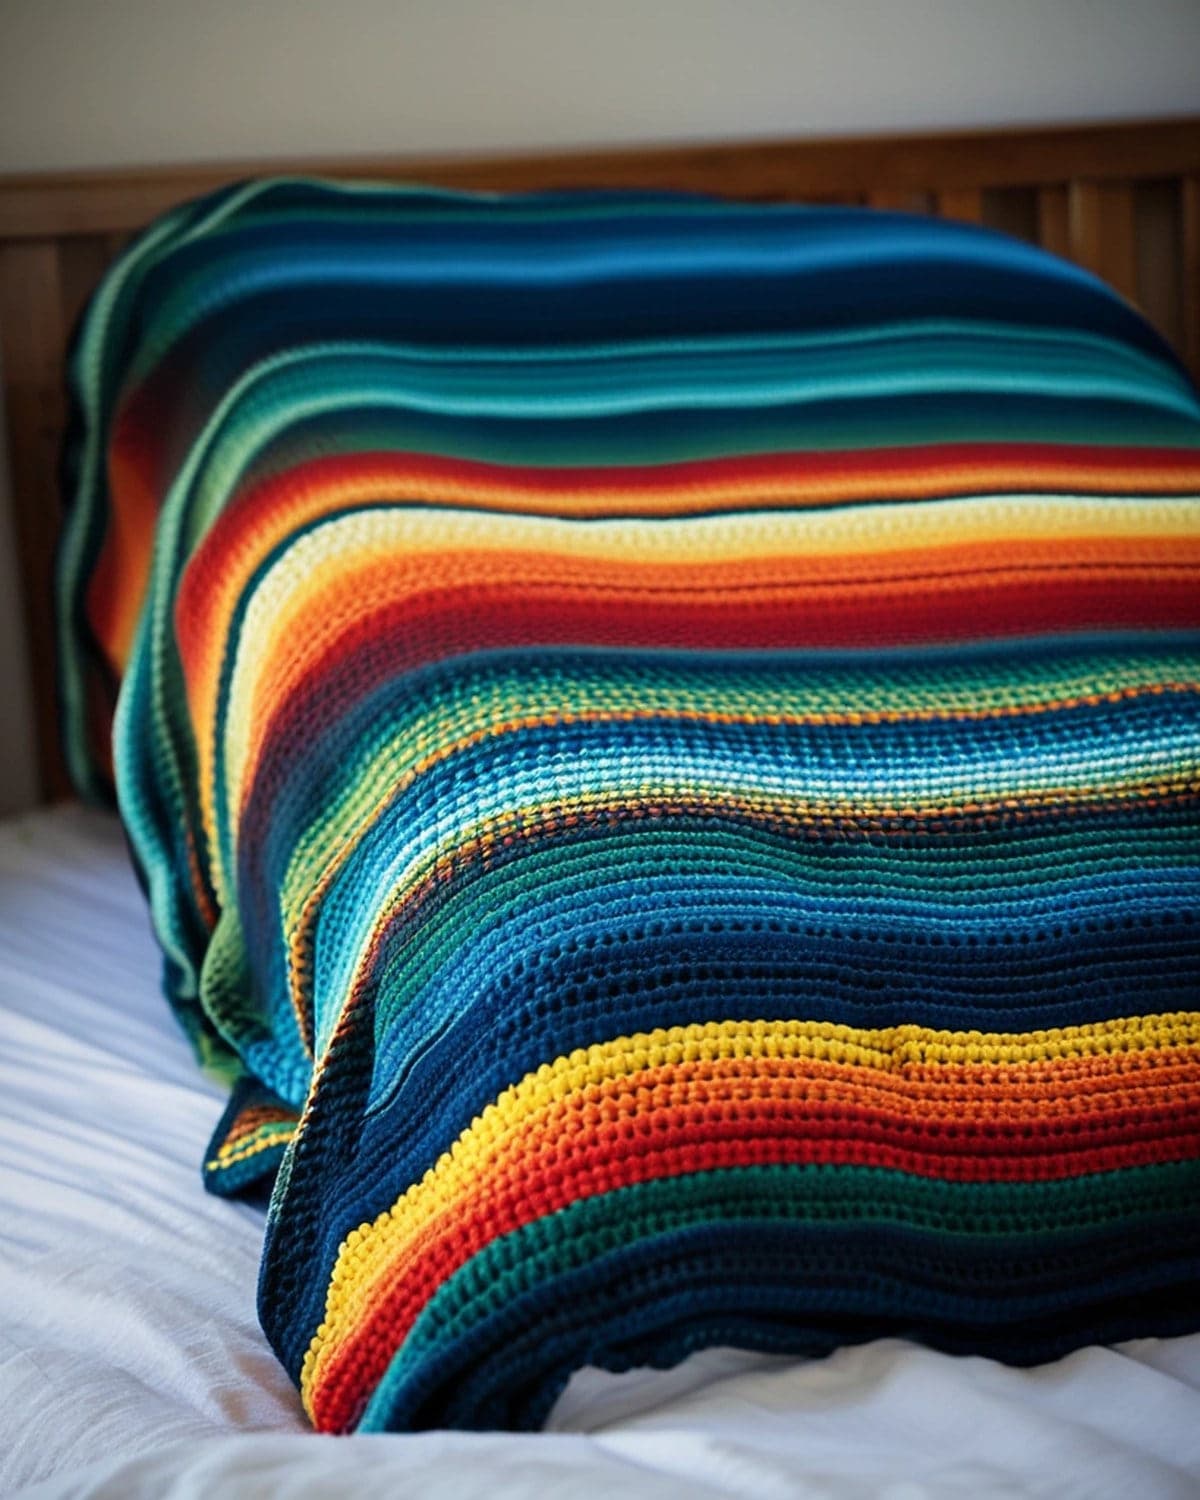
Change colour at the end of a row for diagonal stripes. Use the colour change described in how to change colours in crochet: finish the last dc of the row with the new colour.
For horizontal or vertical stripes, you'll change colour within the row instead, every time a tile crosses the stripe line. That means more ends to weave in, but it gives a striking look.
Working from a graph
A C2C graph is a grid where each square is one tile. Start at the bottom right corner (or the bottom left if you're left-handed) and read the graph diagonally, one diagonal line per row.
- Mark the rows on a printout or tablet so you don't lose your place.
- Use a bobbin for each colour section in a row, so the yarn doesn't travel across the back.
- Change colour on the last yarn over of the tile before the new colour starts.
- Weave in ends as you go, a few rows at a time, or crochet over them.
Small pictures, like a heart or an initial, are the best first graph projects. Draw your own on squared paper: one square equals one tile.
Ideas for C2C blankets
- Ombré diagonals: five shades of one colour, each 6 rows deep.
- Gingham: alternate light and dark tiles in a check, with a middle shade where they overlap.
- A heart: a red or pink heart in the middle of a cream blanket.
- A name: a baby's name for a keepsake blanket.
- Pixel art: characters, animals or flowers drawn on a graph.
Borders for a C2C blanket
C2C edges are a little uneven, so a border makes a big difference. Work along the sides into the ends of the tiles: about 3 sc into each tile's edge.
- Simple: 2 or 3 rounds of sc, with 3 sc in each corner.
- Classic: 1 round of sc, then a round of hdc, then a round of sc in a contrast colour.
- Scalloped: 1 round of sc, then shells. See shell stitch crochet.
- Granny border: groups of 3 dc in every third stitch, with ch 1 between.
For more on finishing and blocking a blanket, see granny square blanket for beginners.
Tips for a neat C2C blanket
- Keep your tension even. The tiles should all be the same size. Relax your grip on long sessions.
- Don't skip the turning chain. The ch-6 at the start of an increase row gives you both the new tile and its ch-3 space.
- Slip stitch firmly. Loose slip stitches leave gaps between tiles.
- Check the tile count every 5 rows.
- Block the blanket when it's done. Lay it flat, spray it with water and let it dry. The tiles line up and the edges straighten.
- Use a project bag with separate pockets for each colour when working a graph.
Common problems and fixes
 The edges are wavy. Your slip stitches are too tight or too loose. Keep them the same tension as your chains.
There are holes between tiles. Your ch-3 spaces are loose. Pull the chain snug before you work the 3 dc.
The blanket isn't square. You started decreasing too early on one side. Count the tiles along both edges: they must match for a square.
My tiles slant. That's normal for C2C, and blocking evens it out.
The graph doesn't match. You may have read a row in the wrong direction. Rows alternate: one goes up, the next goes down. Mark each row as you finish it.
I have too many ends. Crochet over the tails as you go, and carry colours across short gaps inside the tiles.
Caring for a C2C blanket
A C2C blanket gets a lot of use, so choose a yarn you can wash easily.
- Acrylic: machine wash cool on a gentle cycle and dry flat, or tumble dry on low if the label allows.
- Cotton blends: wash cool and dry flat to stop them shrinking.
- Wool: hand wash, or use the wool cycle, and dry flat.
- Reshape after washing. Lay it on a clean towel and pat the edges straight. The tiles realign as they dry.
- Store it folded, in a cotton bag, rather than in plastic.
Check the care symbols on the yarn label before the first wash. The Craft Yarn Council's guide to care symbols explains them.
Frequently asked questions
Is C2C good for beginners? Yes. You only need chains, slip stitches and double crochet, and the repeat is the same in every row.
How long does a C2C baby blanket take? About 20 to 30 hours, depending on your speed and how many colour changes there are.
Can I make C2C with half double crochet? Yes. Use ch 2 and 2 hdc for each tile. The tiles are smaller and the fabric is denser.
How do I make a C2C square smaller after starting? Simply start decreasing earlier. The blanket will be square as long as both edges have the same number of tiles.
Which side is the right side? Both sides look very similar. Pick the side you like best once you've done a few rows.
Can I join C2C squares? Yes. Make several smaller C2C squares and join them like granny squares for a patchwork look.
What to make next
- For a colour-by-row blanket, try a crochet temperature blanket.
- For a classic beginner blanket, see the easy crochet baby blanket.
- For waves of colour, try the easy ripple crochet blanket.
- For a fast, cosy throw, see the chunky crochet blanket for beginners.
There are more blanket patterns in the blankets section.
Save it for later
Pin this to your Pinterest board so it's there when you're ready to stitch.

Keep stitching
Related crochet projects
Blankets Easy Crochet Baby Blanket for Beginners: Free V-Stitch Pattern
11 min read
Blankets Crochet Temperature Blanket: Easy Pattern and Colour Chart
10 min read
Beginner tutorials Crochet Bag Charm for Beginners: Free Pattern for a Kawaii Turtle
13 min read
Blankets Crochet Hexagon Blanket: Free Granny Hexagon Pattern
8 min read