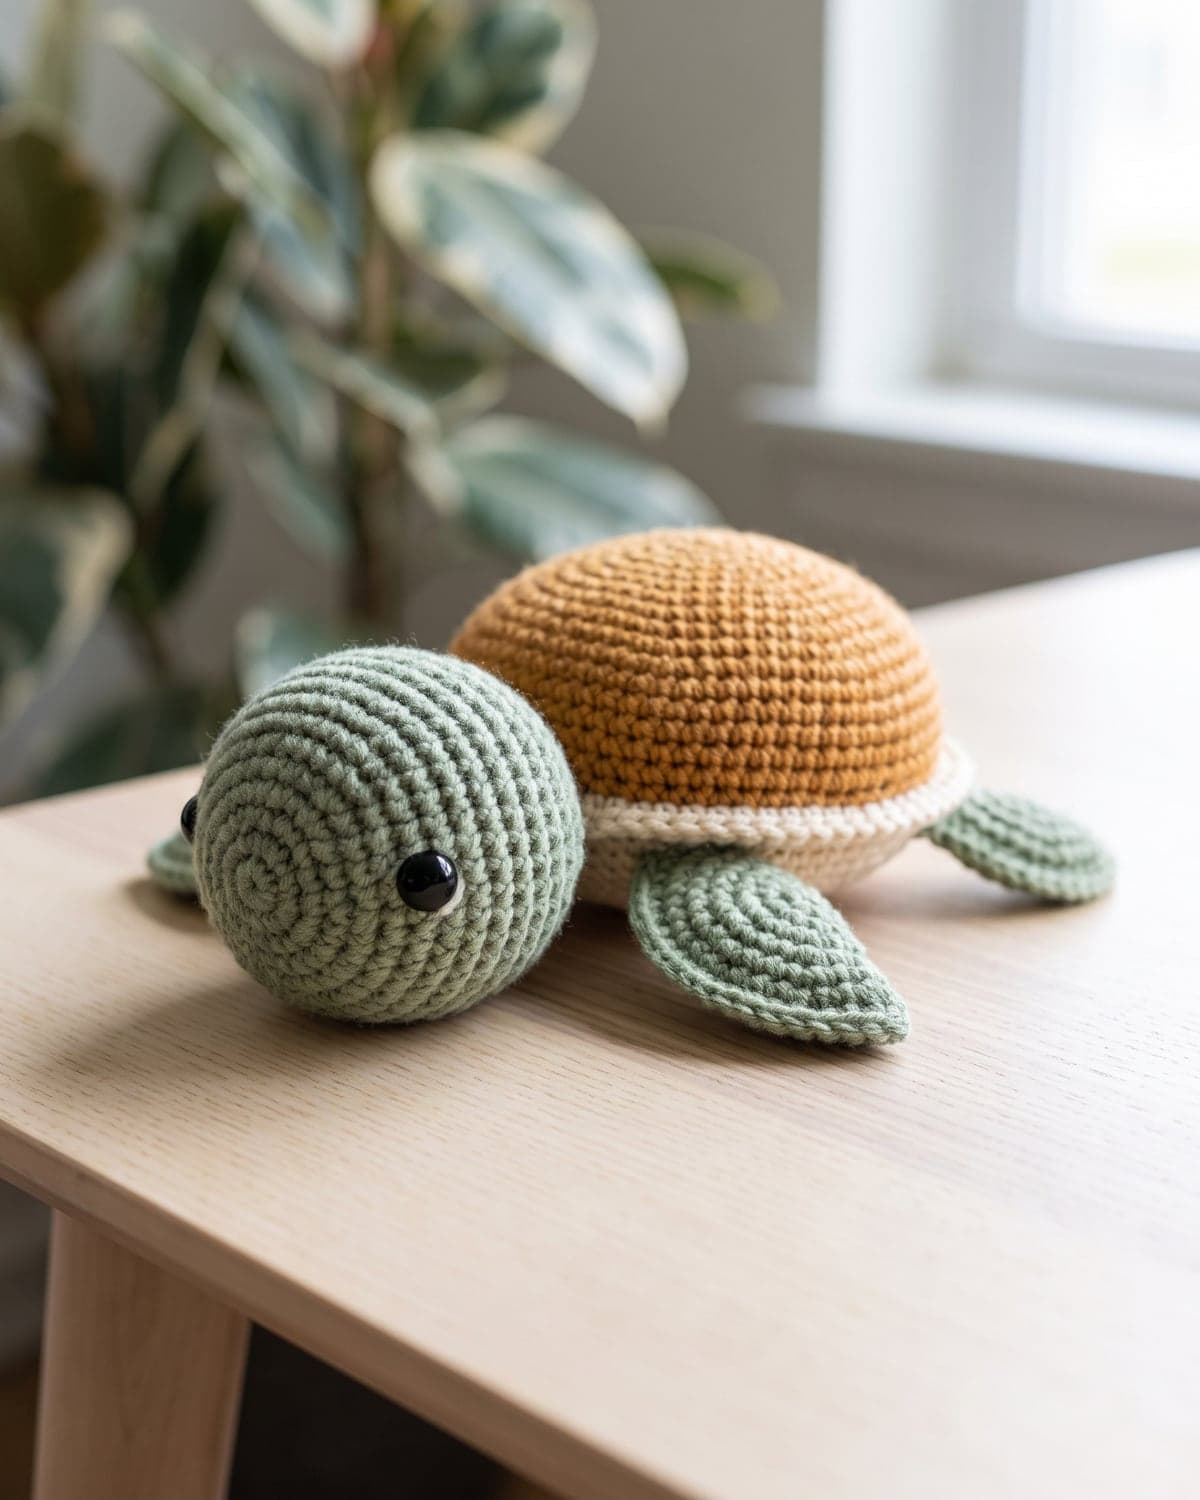
Crochet Turtle Keychain: Free Pattern for a Mini Amigurumi Turtle
Crochet a tiny kawaii turtle keychain with this free pattern: a round head, cream belly, olive shell and a strong keyring loop. Every round with stitch counts, assembly, sizes and colour ideas.
By AlixaPublished 13 min read
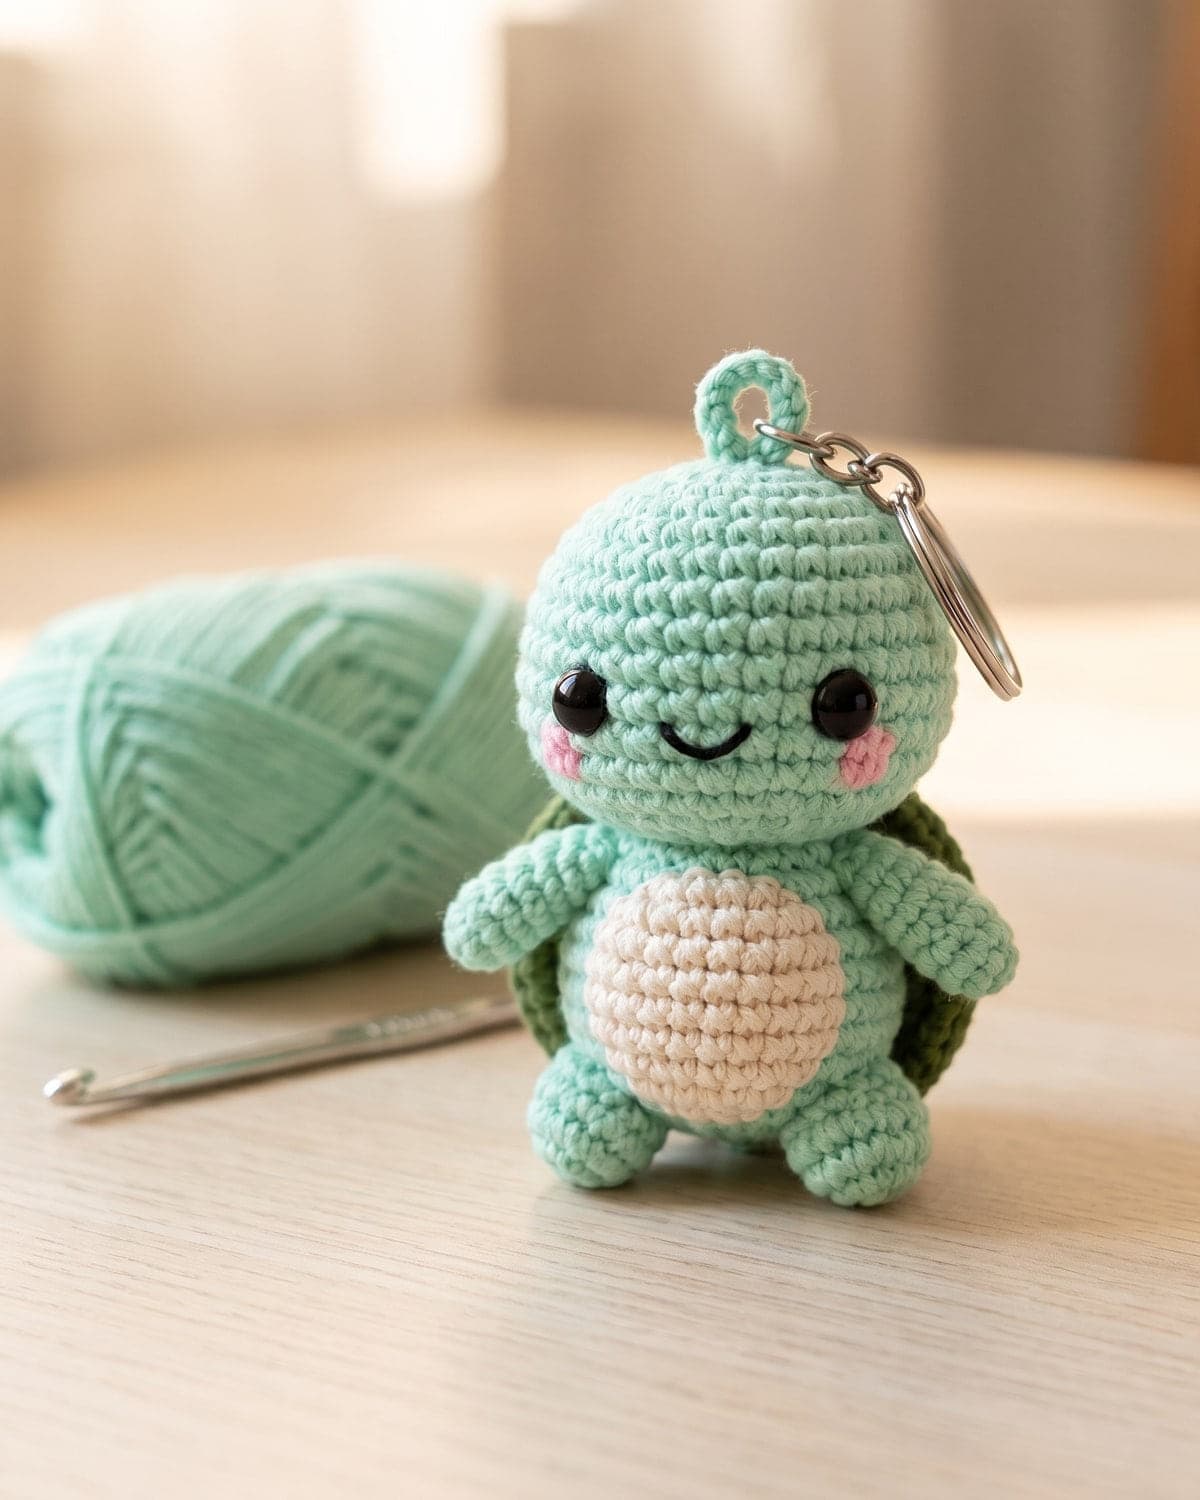
This crochet turtle keychain is a tiny kawaii amigurumi: a big round head, a small body with a cream belly, short flippers, little feet and a dark green shell on its back. It stands about 8.5 cm (3.35 in) tall, so it fits on a bunch of keys, a backpack zip or a bag strap.
The free pattern below gives every round with its stitch count, then shows where each piece goes, how to make a loop strong enough to carry the charm, and how to change the colours and the size.
Terms used here: US crochet terms. Single crochet (sc) is called double crochet (dc) in UK terms.
About this pattern: it's the Minty Turtle Keyring design. Each round's stitch count has been checked so the numbers add up. The finished size is approximate, because it depends on your yarn, your hook and how firmly you stuff.
At a glance
| Skill level | Beginner to confident beginner |
| Stitches | Magic ring, single crochet, increase, invisible decrease, slip stitch |
| Yarn | DK cotton (weight 3) in mint, dark olive and cream, about 40 to 45 g |
| Hook | 2.5 mm, plus an optional 3 mm for the loop |
| Finished size | About 8.5 cm (3.35 in) tall and 6.5 cm (2.55 in) across the arms |
| Construction | Nine small pieces worked in a spiral, sewn together, plus a loop |
What you need
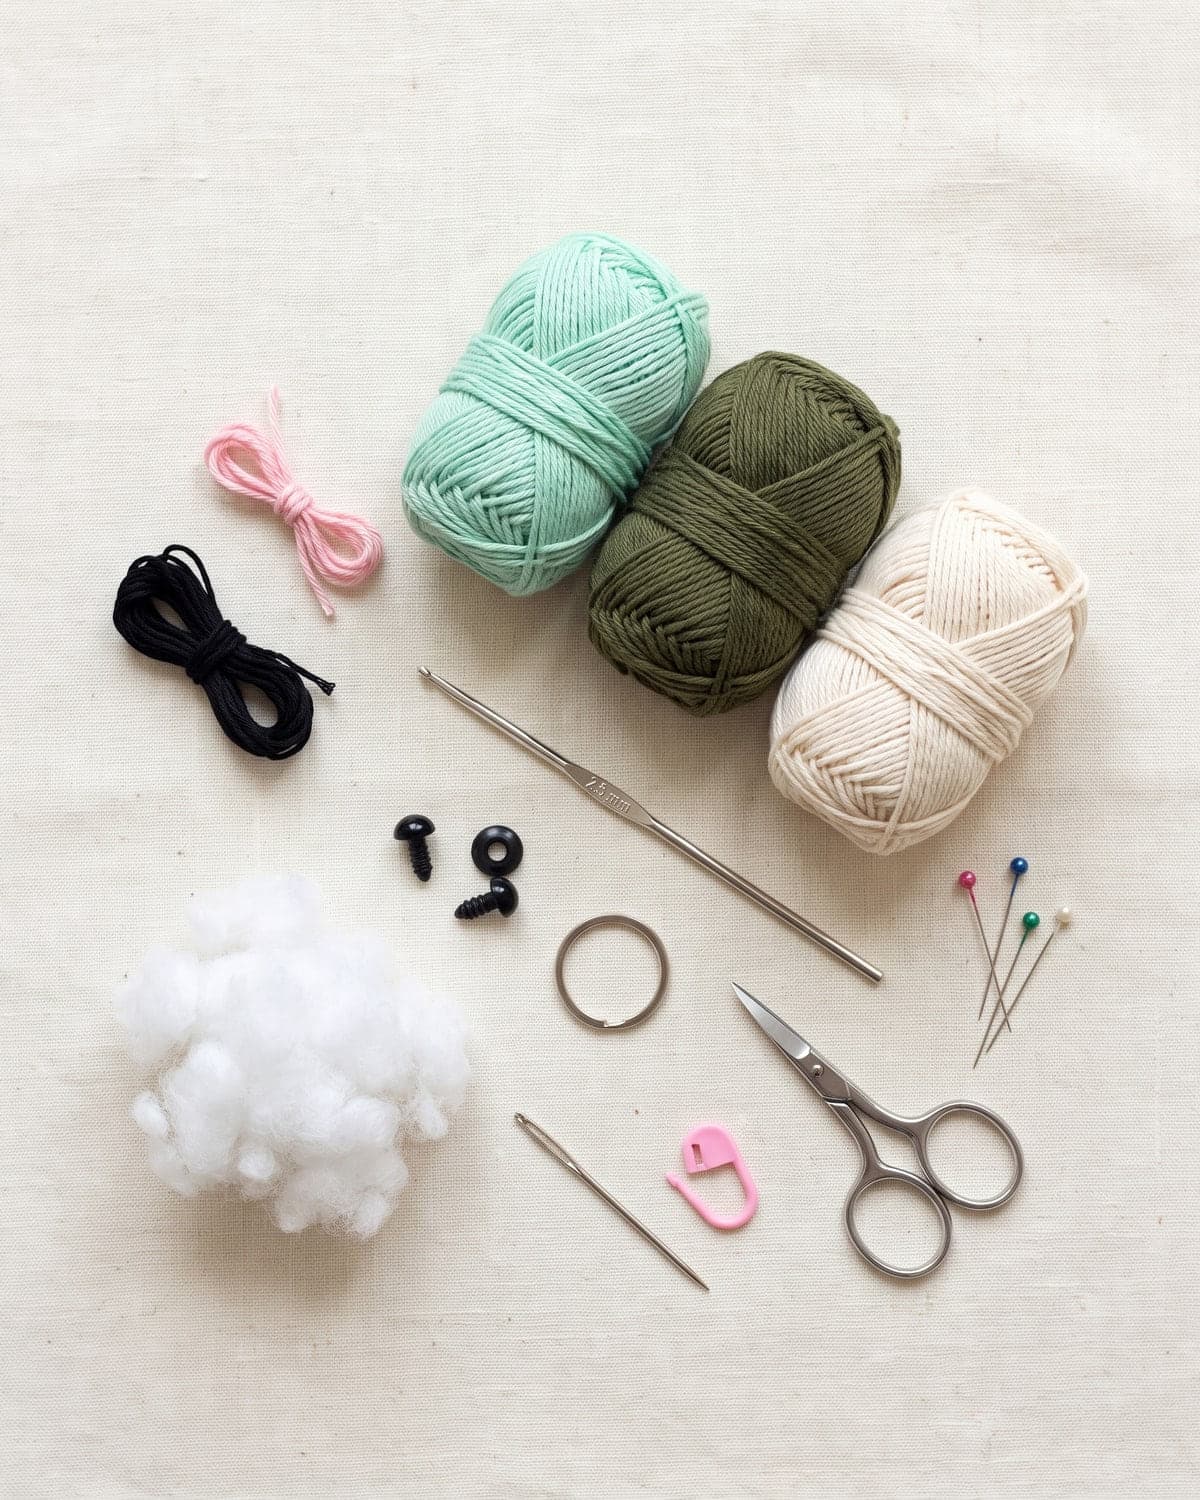
- DK cotton or cotton-blend yarn (light worsted, weight 3) in three colours: mint green for the head, body, arms, legs, tail and loop (20 to 25 g), dark olive green for the shell (10 to 12 g) and cream for the belly (4 to 5 g). Amounts are estimates. The Craft Yarn Council's standard yarn weight system shows how weight 3 compares with other yarns.
- Tiny amounts of pink yarn and black embroidery thread for the cheeks and the smile.
- A 2.5 mm hook. This is much smaller than the yarn label suggests. The tight fabric is what keeps the stuffing hidden. A 3 mm hook is handy for the loop, which is worked with two strands.
- Two 6 mm safety eyes, or black thread to embroider them.
- Polyester fibrefill, about 8 to 12 g.
- A 25 to 30 mm split key ring. A small jump ring and pliers are optional.
- A yarn needle, a locking stitch marker, scissors and pins.
A safety note before you start
A keyring is not a toy for small children. Safety eyes and metal rings are small, hard parts, and they can come off. If the turtle is for a baby or a child under three, embroider the eyes and leave off the metal ring. The US Consumer Product Safety Commission publishes guidance on small parts in toys for young children.
Gauge
Gauge isn't critical, but the fabric has to be firm. As a check, a flat 24-stitch circle (four rounds) in DK cotton on a 2.5 mm hook should measure about 3 to 3.4 cm (1.2 to 1.35 in) across. A thicker yarn makes a bigger turtle.
Techniques used
Everything here is explained in detail in amigurumi for beginners. A quick recap:
- Magic ring (MR). An adjustable loop that closes the centre of the first round. Make the loop, pull up a loop of yarn, chain 1 to secure it, work the stitches into the ring and pull the tail to close the hole. Photos of each step are in how to crochet a magic ring.
- Working in a spiral. Rounds aren't joined. Put a stitch marker in the first stitch of each round and move it up as you go.
- Increase (inc). Two single crochets in the same stitch.
- Invisible decrease (dec). Insert the hook under the front loop of the next stitch, then under the front loop of the one after. Yarn over and pull through both front loops. Yarn over and pull through the two loops on the hook.
- Back loop only (BLO). Insert the hook under the back loop of the stitch only. It's used for one round of the shell.
Reading the pattern
R4: (2 sc, inc) × 6 (24) means: single crochet in each of the next two stitches, then increase in the next stitch. Do that six times. The round ends with 24 stitches. If the shorthand is new to you, how to read crochet patterns explains it.
Crochet turtle keychain pattern
Leave a long yarn tail on every piece that will be sewn on: the belly, shell, arms, legs and tail.
Head
Use mint. Work in a continuous spiral.
- R1: 6 sc in a magic ring (6)
- R2: inc in each stitch around (12)
- R3: (sc, inc) × 6 (18)
- R4: (2 sc, inc) × 6 (24)
- R5: (3 sc, inc) × 6 (30)
- R6: (4 sc, inc) × 6 (36)
- R7 to R11: sc in each stitch around, for 5 rounds (36)
Eyes: stop here and fit the safety eyes between rounds 9 and 10, about 8 stitches apart, on the smoothest side of the head. Push the posts through and look at the face from the front before you press the washers on. They don't come off again.

- R12: (4 sc, dec) × 6 (30)
- R13: (3 sc, dec) × 6 (24)
Start stuffing now. Add small pieces of fibrefill at a time and shape the head into a smooth, round ball.
- R14: (2 sc, dec) × 6 (18)
- R15: (sc, dec) × 6 (12)
- R16: dec × 6 (6)
Fasten off, leaving a 15 cm (6 in) tail. Thread the tail through the front loops of the last 6 stitches, pull the hole closed, knot the yarn and hide the end inside the head.
Face: with black thread, stitch a small, shallow U-shaped smile centred between rounds 10 and 11. With pink yarn, make one short horizontal stitch under the outer edge of each eye for the cheeks. Keep both small. That's what makes the face look kawaii.
For embroidered eyes, make 3 or 4 vertical black stitches between rounds 9 and 10 for each eye, with the centres about 8 stitches apart.
Body
Use mint. Round 1 is the bottom of the body. The last rounds are the top, where the head sits.
- R1: 6 sc in a magic ring (6)
- R2: inc in each stitch around (12)
- R3: (sc, inc) × 6 (18)
- R4: (2 sc, inc) × 6 (24)
- R5: (3 sc, inc) × 6 (30)
- R6 to R8: sc in each stitch around, for 3 rounds (30)
- R9: (3 sc, dec) × 6 (24)
- R10 and R11: sc in each stitch around, for 2 rounds (24)
- R12: (2 sc, dec) × 6 (18)
Stuff the body firmly, especially the lower half, so it stays round.
- R13: sc in each stitch around (18)
- R14: (sc, dec) × 6 (12)
- R15: dec × 6 (6)
Fasten off and close the hole the same way as the head.
Belly patch
Use cream.
- R1: 6 sc in a magic ring (6)
- R2: inc in each stitch around (12)
- R3: (sc, inc) × 6 (18)
- R4: (2 sc, inc) × 6 (24)
Fasten off with a long tail. Don't stuff it. The circle is stretched into an oval when you sew it on.
Arms (make 2)
Use mint.
- R1: 6 sc in a magic ring (6)
- R2: inc in each stitch around (12)
- R3 and R4: sc in each stitch around, for 2 rounds (12)
- R5: (sc, dec) × 4 (8)
Don't stuff the arms, or add only a tiny pinch at the rounded end. Flatten the opening and close it with 4 sc worked through both layers, or simply sew it flat. Fasten off with a 20 cm (8 in) tail.
Legs (make 2)
Use mint.
- R1: 6 sc in a magic ring (6)
- R2: inc in each stitch around (12)
- R3 and R4: sc in each stitch around, for 2 rounds (12)
Stuff very lightly.
- R5: dec × 6 (6)
Fasten off with a long tail. Draw the last 6 stitches closed, but keep the tail for sewing.
Tail
Use mint.
- R1: 4 sc in a magic ring (4)
- R2: sc in each stitch around (4)
- R3: (sc, inc) × 2 (6)
Fasten off with a long tail. Don't stuff. Round 1 is the pointed tip. Round 3 is the wider end that is sewn to the body.
Shell
Use dark olive.
- R1: 6 sc in a magic ring (6)
- R2: inc in each stitch around (12)
- R3: (sc, inc) × 6 (18)
- R4: (2 sc, inc) × 6 (24)
- R5: (3 sc, inc) × 6 (30)
- R6: (4 sc, inc) × 6 (36)
- R7: sc in the back loop only of each stitch around (36)
- R8: sc in each stitch around (36)
Fasten off with a long tail. The back-loop round turns the edge down, so the shell looks like a shallow cup with a small rim.
 You now have nine pieces: a head, a body, a belly patch, a shell, two arms, two legs and a tail.
Shell lines (optional)
 The raised lines turn a plain disc into a turtle shell. Add them before you sew the shell on.
- Thread a long strand of dark olive yarn onto your needle.
- Make 6 evenly spaced straight stitches from near the centre of the shell out towards the edge. Stop just before round 7.
- Join the 6 spokes with short stitches around rounds 3 and 4. This makes a small hexagon in the middle.
Keep the yarn snug, but not so tight that it pulls the shell out of shape. For the easiest version, skip this step. A plain shell looks good too.
Assembly
Pin every piece before you sew anything, and look at the turtle from the front, the side and the back. Sew each piece with its own yarn colour.
- Belly. Stretch the cream circle gently from top to bottom so it becomes an oval. Pin it to the front of the body, over rounds 4 to 11. Sew around the edge with small, even stitches.
- Shell. Centre the shell on the back. Its top edge sits near body rounds 9 to 11 and its bottom edge near rounds 3 and 4. Sew around the rim. When half is sewn, tuck in a very thin layer of stuffing, then finish.
- Head. Set the closed head on top of the body. Sew around the top of the body, taking small stitches through both pieces. Add a little extra stuffing at the neck before you close the last gap, so the head doesn't wobble.
- Arms. Pin one arm on each side of the body, around rounds 7 to 9. Angle them slightly down and towards the front. Sew the flattened edge to the body.
- Legs. Sew the legs low on the body, around rounds 3 to 5, about 7 to 9 stitches apart across the front. Angle them slightly outwards.
- Tail. Sew the wide end of the tail to the centre back, just under the shell, around body rounds 3 and 4.
Before you tie the last knots, stand the turtle on a flat surface. If it leans, move a leg. Then hide every yarn end by running it through the stuffed body and trimming it close.
The keyring loop
The loop carries the full weight of the charm, so it has to be strong.
- Hold two strands of mint yarn together. The 3 mm hook makes this easier.
- Chain 14.
- Starting in the 2nd chain from the hook, slip stitch in each chain back along the row. (13 slip stitches)
- Fasten off, leaving two long tails.
- Bend the cord into a loop. Sew both ends to the crown of the head, around rounds 1 and 2. Pass the needle through several stitches around the crown, knot the yarn firmly inside the head and hide the tails.
Slide the split ring straight through the crochet loop, or join the two with a small jump ring. If you use a jump ring, close it fully with pliers so there's no gap. Give the loop and the ring a firm tug before you hang the turtle on anything.

Finished measurements
| Part | Size |
|---|---|
| Height | 8 to 8.8 cm (3.15 to 3.45 in) |
| Width across arms | 6 to 6.8 cm (2.35 to 2.7 in) |
| Shell diameter | 4.2 to 4.8 cm (1.65 to 1.9 in) |
| Depth with shell | 4.5 to 5.2 cm (1.75 to 2.05 in) |
| Loop | 2 to 2.5 cm (0.8 to 1 in) tall |
Tension, fibre, hook size, stuffing and where you sew the pieces all change the size a little. That's normal for a handmade toy.
Variations
Different colours
- Classic: mint body, dark olive shell, cream belly.
- Sweet: pink body with a dusty rose shell, or lilac with a purple shell.
- Ocean: sky blue body with a navy shell and a white belly.
- Sand: beige body with a caramel shell.
Choose a shell that's clearly darker than the body, so it shows from the front.
A mini turtle
Use fingering-weight cotton and a 2 mm hook with the same rounds. The turtle will be about 6 cm tall. Use 4 mm eyes.
A desk turtle
Skip the loop and the ring. With chenille yarn and a 4.5 mm hook, the same pattern gives a soft turtle about twice the size.
A flatter, classic turtle
For a turtle that lies on its belly, with a domed shell crocheted onto the body, use the crochet turtle pattern.
Tips for a neat finish
- Keep your stitches tight. If you can see stuffing between the stitches, go down a hook size.
- Count every round. Each increase round adds six stitches, and each decrease round removes six.
- Stuff in small pieces. Big lumps show through. Too much stuffing stretches the stitches.
- Don't pull the last round too tight. A hard pull makes the head pointed.
- Set the eyes wide and low. Eight stitches apart, just below the middle of the head, gives the sweetest face.
- Trim fuzz carefully. Snip loose fibres without cutting into a stitch.
Common problems and fixes
Stuffing shows through. The tension is too loose. Crochet more firmly or use a smaller hook.
The head looks pointed. Move the stuffing around with the needle, and don't pull the final closure so hard.
The shell curls too much. Loosen your tension on rounds 7 and 8, or use less stuffing under it.
The belly looks round, not oval. Stretch it from top to bottom as you pin it, and pin the top and bottom first.
The turtle won't stand straight. Unpin the legs, set them lower and level, and check on a flat surface before sewing.
The loop feels weak. Use two strands of cotton, sew through more stitches on the crown, or use a ready-made cord loop.
Care
Spot clean with cool water and a little mild soap. Don't soak the metal ring. Press the turtle in a towel, reshape it and let it dry flat. Don't tumble dry, bleach or iron it.
Frequently asked questions
Is this crochet turtle keychain easy for beginners? Yes, if you can single crochet in the round, increase and decrease. Every piece starts the same way. The sewing takes the most patience.
How long does it take to make? About three to four hours, including sewing. The head takes the longest.
How much yarn do I need? About 40 to 45 g of DK cotton in total. Leftovers from other projects are usually enough.
Can I use acrylic yarn? Yes. Cotton gives crisper stitches and keeps its shape better on a keyring, but smooth acrylic works.
How do I stop the keychain loop from breaking? Work the cord with two strands, sew both ends through several stitches on the crown and knot the yarn inside the head. Tug it hard before use.
Can I make it without safety eyes? Yes. Embroider each eye with 3 or 4 black stitches. This is the safer choice for children.
Can I sell turtles made from this pattern? Yes, in small quantities. Please use your own photos of the turtles you made, and don't copy or resell the pattern itself.
What to make next
- If this is your first charm and you want every step explained slowly, read crochet bag charm for beginners.
- For a bigger turtle with a domed shell, try the crochet turtle pattern.
- For a toy with almost no sewing, make the easy crochet octopus.
- For long ears and a pompom tail, see the crochet bunny pattern.
More small toys are in the amigurumi section. The history of the craft is covered in Wikipedia's article on amigurumi.
Save it for later
Pin this to your Pinterest board so it's there when you're ready to stitch.

Keep stitching