Crochet Tulip Pattern: Easy Free Tutorial with Stem and Leaves
An easy crochet tulip pattern worked from the bottom up in the round, with closed petal tips, a wire stem and green leaves. Perfect for handmade spring bouquets, Mother's Day and gifts that never wilt.
By AlixaPublished 6 min read
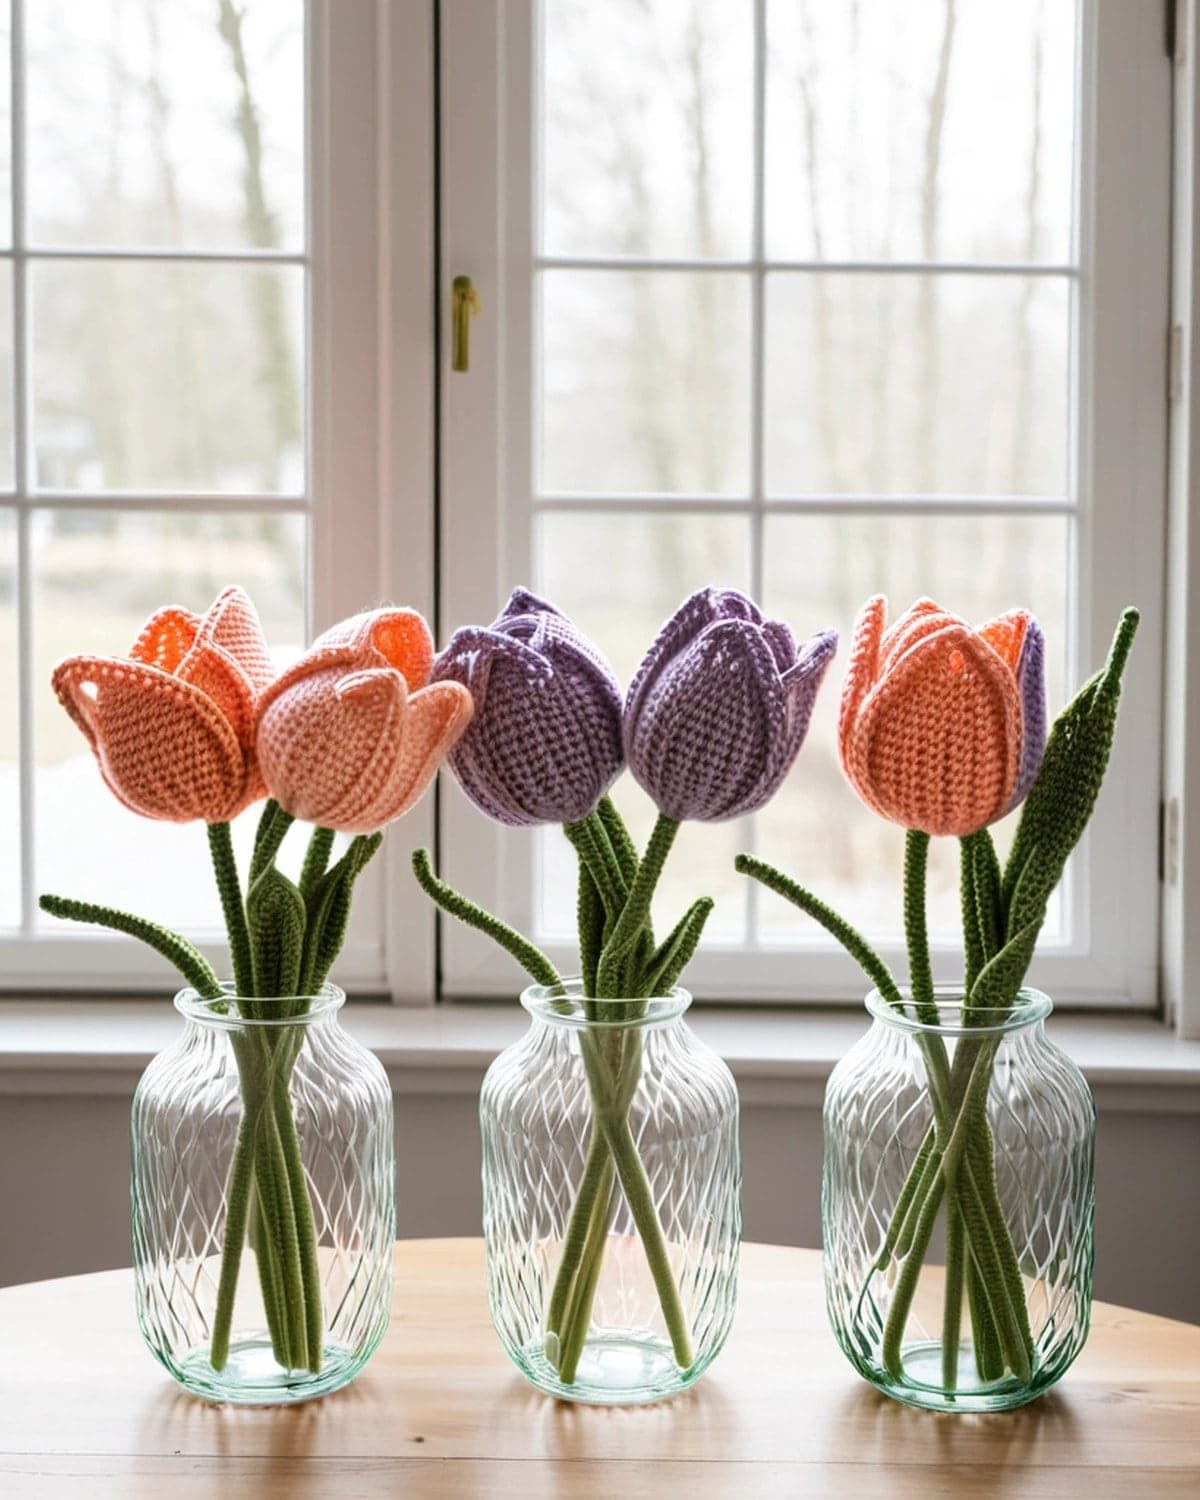
A crochet tulip is one of the most elegant flowers you can make, and it's surprisingly simple. Unlike flat appliqués or flowers that require rolling, a crochet tulip is worked in the round from the bottom up, creating a charming 3D cup shape with neatly closed petal tips. Finished with a wire stem and lush green leaves, a handful of these make a stunning bouquet that never wilts.
This free crochet tulip pattern gives you every round with its exact stitch count, explains how to shape the closed petals, and shows you how to add a sturdy stem and leaves. You'll also find tips for choosing yarn colors, sizing adjustments, and ideas for gifting.
Terms used here: US crochet terms. Single crochet (sc) is UK double crochet, half double crochet (hdc) is UK half treble, and double crochet (dc) is UK treble.
About this pattern: it's a simple design written for this guide. Each round's stitch count has been checked so the numbers add up. The finished size is approximate and depends on your yarn, hook and tension.
At a glance
| Skill level | Beginner / Easy (comfortable working in the round) |
| Stitches | Magic ring, sc, hdc, dc, slip stitch, invisible decrease (invdec) |
| Yarn | DK cotton (weight 3) in tulip pink/red and leaf green |
| Hook | 3.5 mm (US E-4) |
| Finished size | Flower head about 6 cm (2.5 in) tall and 4 cm wide |
| Time | About 30 to 45 minutes per tulip |
| Construction | Worked in the round from base to tip, stuffed lightly |
What you need

- DK cotton yarn (weight 3) in a tulip colour (such as pink, peach, yellow, red or purple) and leaf green. One tulip uses roughly 12 m of flower colour and 6 m of green.
- A 3.5 mm (US E-4) crochet hook.
- A locking stitch marker to keep track of rounds.
- A small handful of polyester stuffing (or cotton scraps) to give the cup shape fullness.
- Scissors and a tapestry needle.
For stems:
- Floral wire (18 gauge), about 30 cm (12 in) per stem.
- Green floral tape or green yarn and craft glue.
- Small pliers for bending the wire safely.
Cotton yarn gives crisp, defined petal points that hold their shape. Acrylic works too, yielding a slightly softer feel.
Techniques used
- Magic ring. An adjustable loop that closes the base without a hole. See how to crochet a magic ring.
- Single crochet decrease (invdec or sc2tog). Insert hook in front loop of stitch 1, then front loop of stitch 2, yarn over and pull through both loops, yarn over and pull through remaining two loops. This invisible decrease keeps shaping smooth.
- Working in the round. Continuous spirals without joining rounds, marked with a stitch marker.
If you need a refresher on any basic stitch, see easy crochet stitches for beginners. To practise reading pattern instructions, check how to read crochet patterns.
Tulip flower head pattern
The tulip head is worked from the bottom base up to the pointed petal tips.
The base and cup
Use your main flower colour. Work in a continuous spiral without joining rounds; move your stitch marker up at the start of every round.
- R1: 6 sc in a magic ring (6)
- R2: inc in each stitch around (12)
- R3: (sc, inc) × 6 (18)
- R4: (2 sc, inc) × 6 (24)
- R5–R10: sc in each stitch around (24) — 6 rounds total for the straight sides of the cup
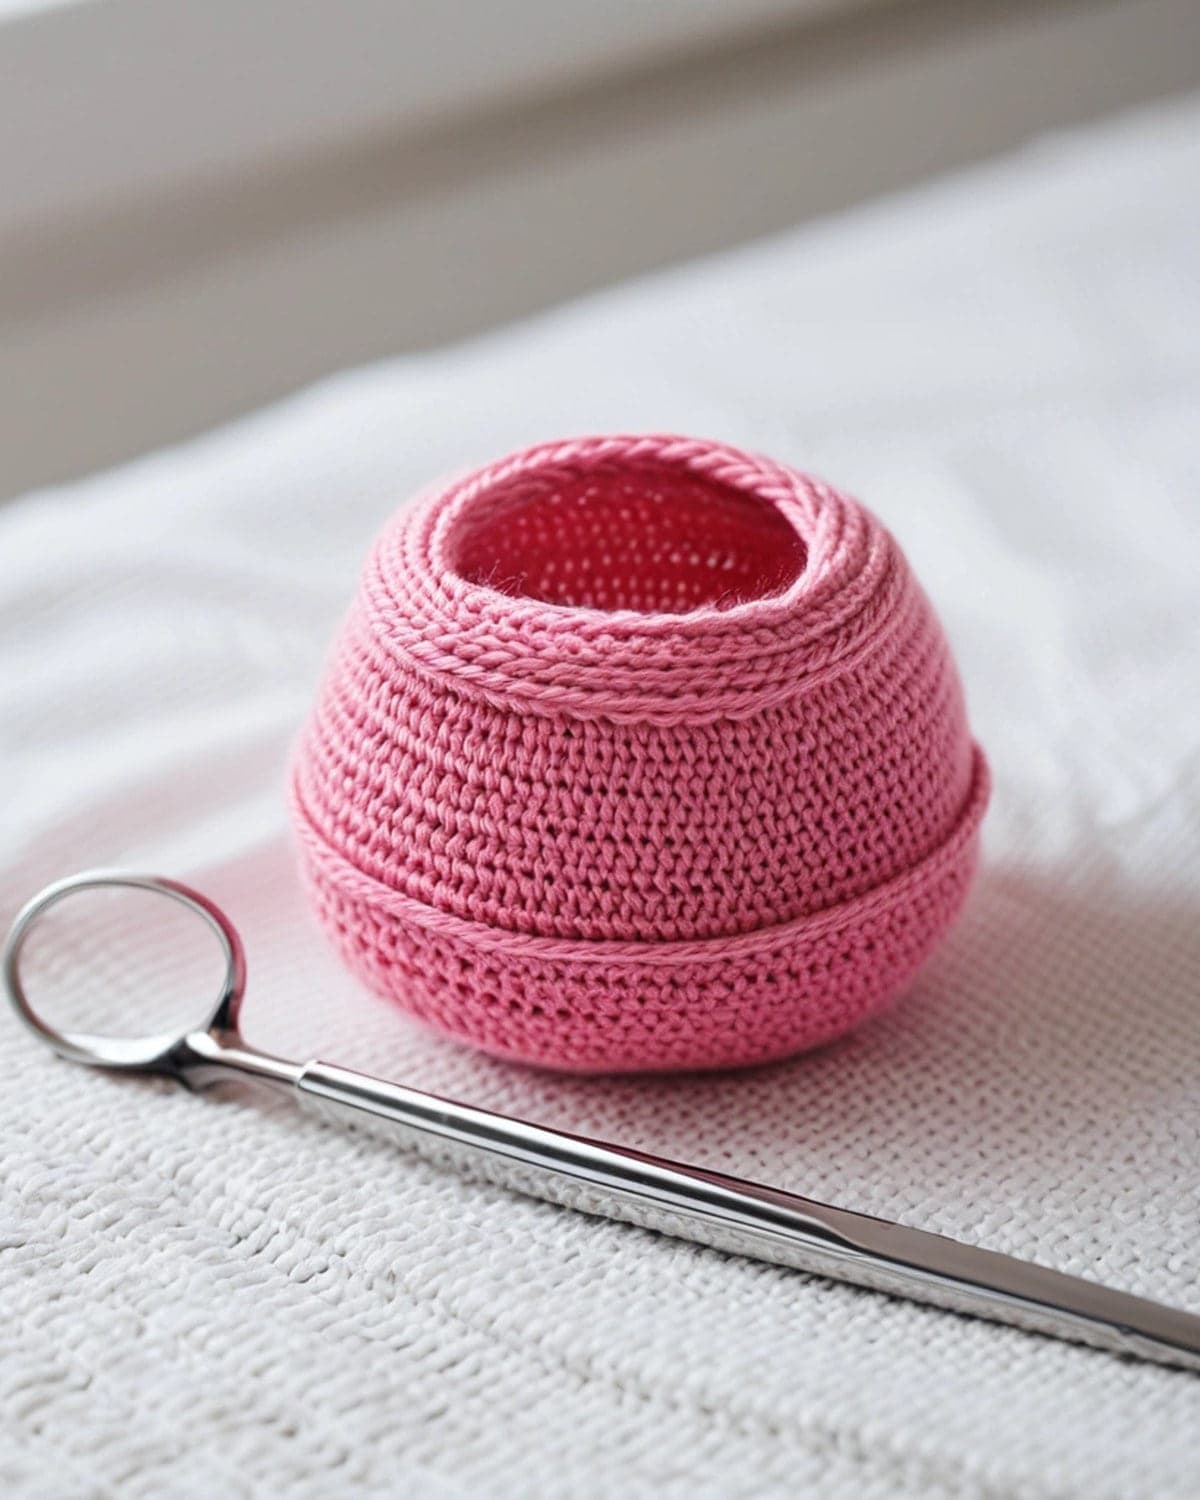
Shaping the petals
Now we decrease to create the closed tulip bud shape.
- R11: (2 sc, invdec) × 6 (18)
- R12: sc in each stitch around (18)
- R13: (sc, invdec) × 6 (12)
Stop here and stuff the tulip head lightly with polyester fiberfill or yarn scraps. Don't overstuff; it should remain a soft, rounded cup.
- R14: invdec × 6 (6)
Fasten off, leaving a 20 cm (8 in) tail. Thread the tail onto your tapestry needle, weave it through the front loops of the remaining 6 stitches, and pull tightly to close the top completely. Secure and hide the yarn end inside the flower.

The leaves
Use green. The leaves are worked in a round around a central chain or in flat rows with tapering ends. Here is a simple tapered leaf:
- Chain 16.
- Starting in 2nd chain from hook: sc, hdc, dc in next 10 chains, hdc, sc, and 3 sc in the last chain to turn.
- Working down the opposite side of the chain: sc, hdc, dc in next 10 chains, hdc, sc.
- Slip stitch to first sc to join. Fasten off, leaving a 20 cm (8 in) tail for attaching to the stem. Make 1 or 2 leaves per tulip.

How to add a stem
- Prepare the wire: Use pliers to bend the top 1 cm of the 18-gauge floral wire into a small flat loop. This prevents the sharp end from poking through the flower base.
- Insert the stem: Push the straight end of the wire up through the center of the magic ring base (Round 1) until the loop rests snugly against the inside base.
- Wrap the stem: Wrap green floral tape tightly down the wire starting right underneath the flower base, stretching the tape slightly so it activates its wax adhesive. Alternatively, run a thin line of craft glue along the wire and wind green yarn closely around it.
- Attach the leaves: About halfway down the stem, hold the leaf tail against the wire and wrap floral tape or yarn directly over it to secure it firmly in place.
For more bouquet styling, flower mixing, and wrapping instructions, see our comprehensive crochet flower bouquet guide. You can also mix tulips with crochet roses, crochet sunflowers, and crochet daisies.
More ways to use crochet tulips
- Single stem gifts: Wrap a single pink tulip in kraft paper with a ribbon for a thoughtful, lasting teacher or hostess gift.
- Spring centerpieces: Arrange a dozen colorful tulips in a ceramic pitcher or mason jar for a maintenance-free dining table centerpiece.
- Granny square accents: Use closed tulip heads as 3D appliqués sewn onto blankets or cardigans like our easy crochet cardigan for beginners.
- Hair accessories: Glue a small mini tulip head onto a barrette or headband.
Choosing your yarn colours
Tulips come in almost every colour of the rainbow, making them ideal for using up scrap yarn from larger projects like an easy ripple crochet blanket.
- Classic spring: Soft pink, pastel peach, and buttercup yellow.
- Dramatic: Deep burgundy, velvety purple, and pure white.
- Variegated yarn: Self-striping yarn creates lovely natural colour shifts across the petals without changing balls.
Tips for neat crochet tulips
- Keep tension even: Consistent tension ensures the cup sides stay straight and symmetrical.
- Don't overstuff: Light stuffing gives the cup structure without distorting the stitches.
- Secure the wire loop: Ensure the bent wire loop sits flat inside the base so the flower stands straight on its stem.
- Steam blocking: If your petals need extra crispness, pin them out and apply a light steam with an iron (holding it just above the yarn, without touching).
Frequently asked questions
Are crochet tulips easy for beginners? Yes! If you are comfortable working in the round with single crochet and basic decreases, you can easily make a tulip in under 45 minutes.
How do I clean my crochet flowers? Cotton flowers can be gently hand-washed in lukewarm water with mild soap and left to dry flat on a towel. Do not machine wash stemmed flowers with wire inside.
Gallery

Save it for later
Pin this to your Pinterest board so it's there when you're ready to stitch.

Keep stitching